CapCut AI Tools Hub: Current Matrix by Task, Platform, Plan and Credits
Compare CapCut AI tools by task, input, output, platform and access type. Find the right guide, then check the live plan, credit quote and regional limits.
Last updated October 1, 2026.
INDEPENDENT WORKFLOW GUIDE · CHECKED 23 SEPTEMBER 2026
Which CapCut AI tool do you need? Start with what you have: a script, an image, selected clips or a long recording. Choose the result you want below, then open the relevant guide. This is an independent guide, not an AI generator.
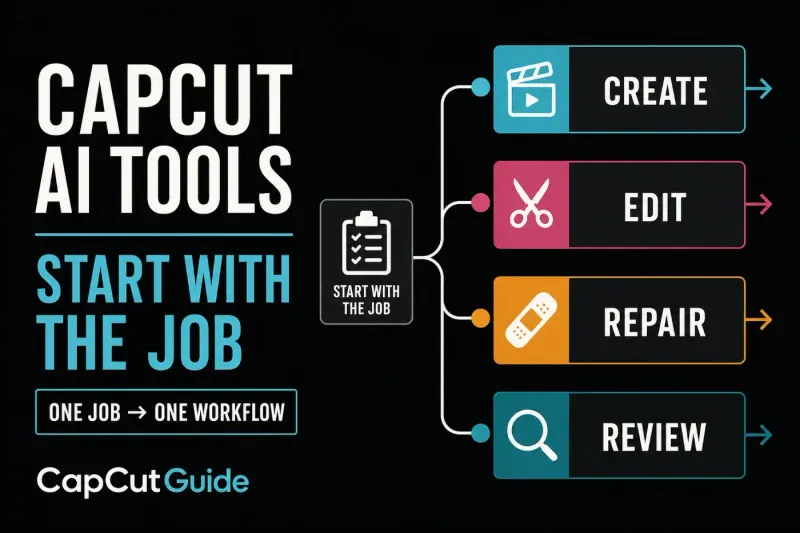
Start with the job, then open the focused CapCut AI workflow.
CapCut AI tool matrix by task, platform and access
Use this table as a route map, then confirm the live screen in your account. CapCut's official AI tools catalog changes as features and models move between products. Platform availability can also depend on version, region, account and rollout, while the current credit rules do not replace the badge, gate or quote shown for the specific task.
Decision rule: configure a representative task first. Treat the current plan badge, credit gate and final quote in your signed-in account as the answer for that run.
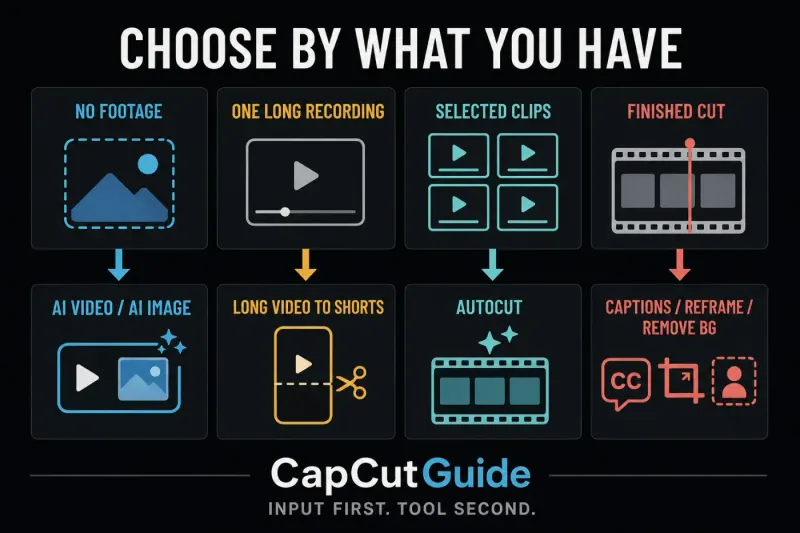
The correct CapCut AI workflow starts with the input you already have.
Choose the tool from the input and output
CapCut's own current AI editing overview separates idea-led generation from automatic editing, characters and cleanup. That is a better starting point than one long feature list. The same label can also move between Mobile, Desktop and Web, so the task matters more than a memorized menu path.
The names overlap: CapCut uses “AI video maker” for more than one type of creation. Our guides separate the jobs, not every product label. Check whether the screen in front of you asks for a brief, one scene prompt, a script or existing footage.
Try a short, non-sensitive sample before committing a large project. Include its difficult part: two speakers, a moving subject, an unusual name or a product near the edge. The diagrams below explain the choices; they are not proof of the buttons, prices or options available in your account.
Create from an idea
Choose between a generated clip, a talking presenter, a still image, a script-based first cut or a storyboard. All five need review before publishing.
Describe the subject, action, setting and intended format. For several scenes, check that the subject and setting stay consistent. Compare generated text, products and factual details with your originals.
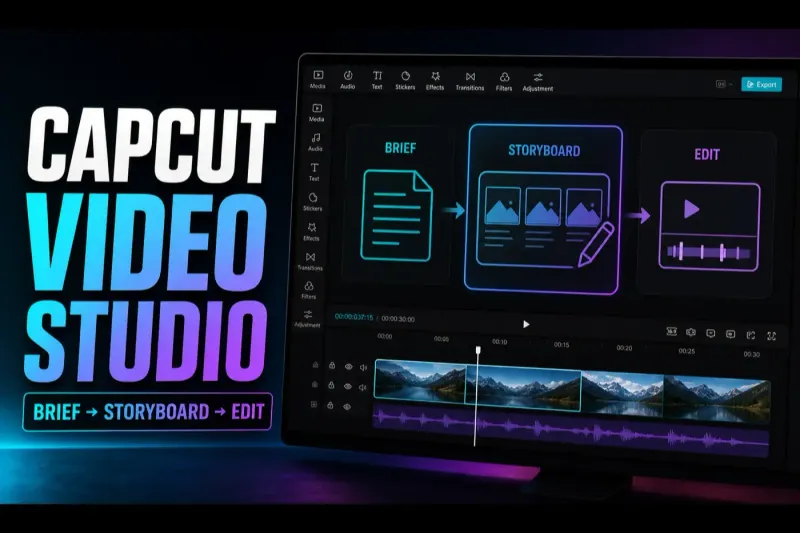
Choose it when the starting point is a brief or script and you want CapCut to propose a storyboard, scenes and a first video draft. The useful checkpoint is the storyboard: fix the structure there before generating more material.
Not for extracting clips from an existing interview.
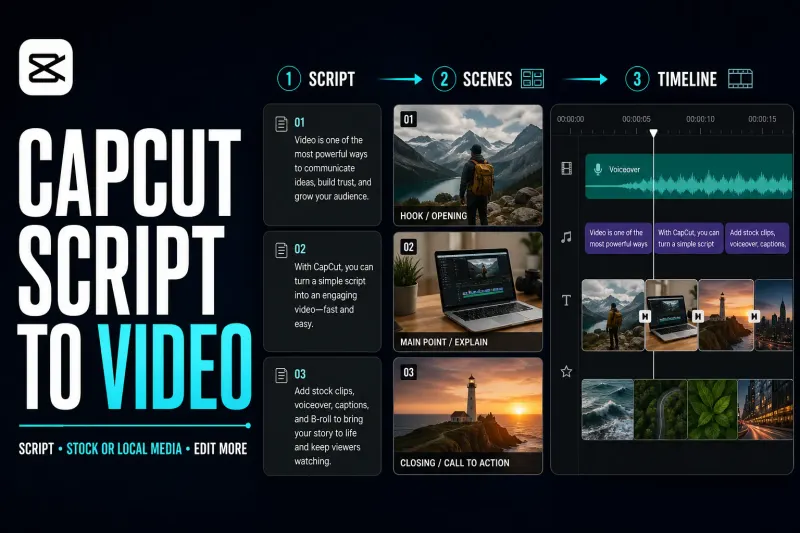
Use this guide for a script-led first cut with narration and scenes. Write the script yourself or review an AI-written draft. Where offered, choose stock or local media, then replace unsuitable shots and check the captions.
Start with an approved script, rather than a single scene prompt.
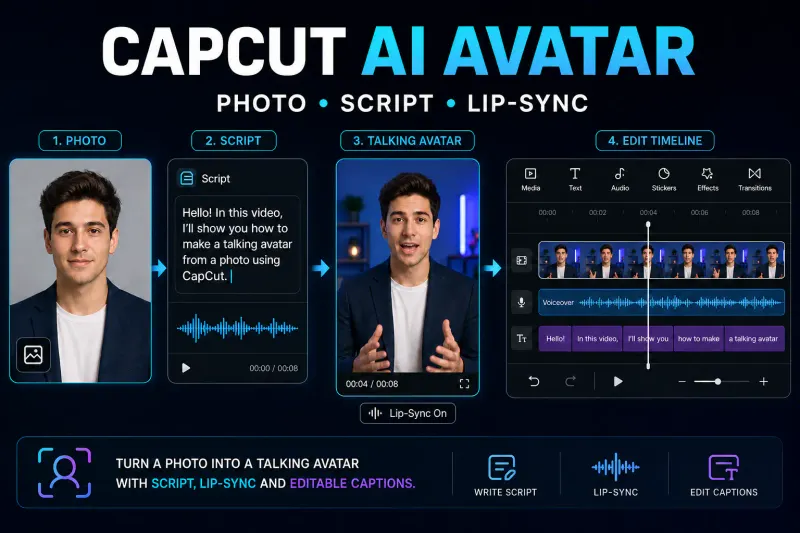
Use this route when one presenter needs to deliver a script. Choose an available preset or, where supported, a portrait you have permission to use. Check the price or credit quote, lip-sync, pronunciation and export.
Not a multi-scene storyboard, profile picture or two-character dialogue workflow.
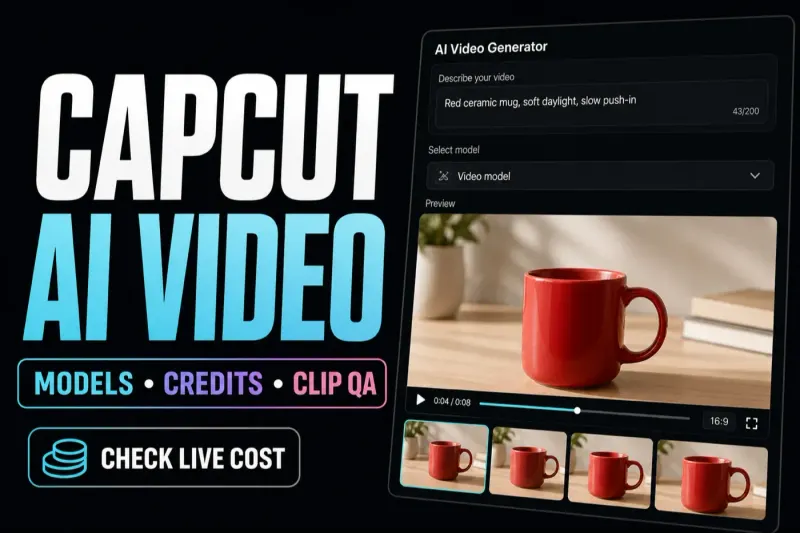
Use this route for a single generated clip from text, an image or supported reference controls. Model, duration, resolution and aspect-ratio options can change the live quote, so configure the request before judging its cost.
Need a connected story? Start with the Video Studio guide.
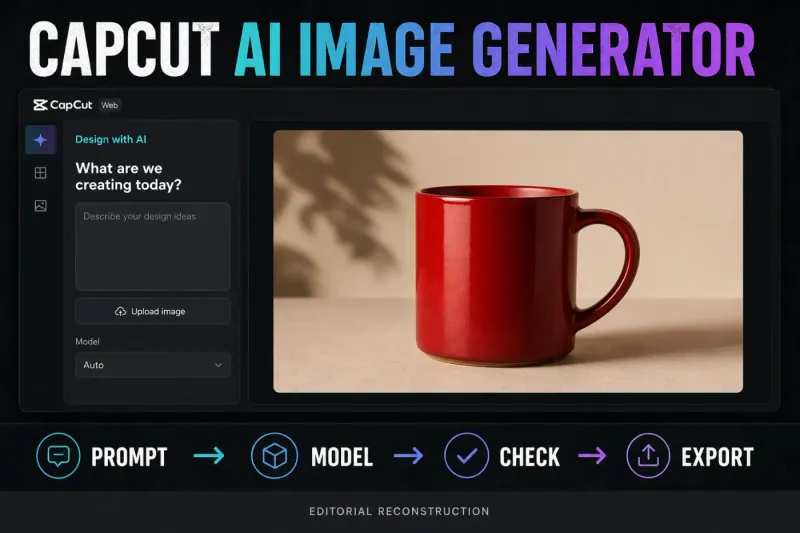
Start here when the deliverable is a still image, background or visual asset. Pick the model and destination format before writing the prompt. Review faces, hands, products, text and brand details at full size before the asset enters a video. If approved packshots need to become a complete ad rather than one generated asset, use the product-video workflow from photos. If the input is a catalogue and the job is repeated commerce assets rather than one CapCut edit, start with our Pippit AI guide.
Not proof that an image is licensed or factually accurate.
Cut or repurpose existing footage
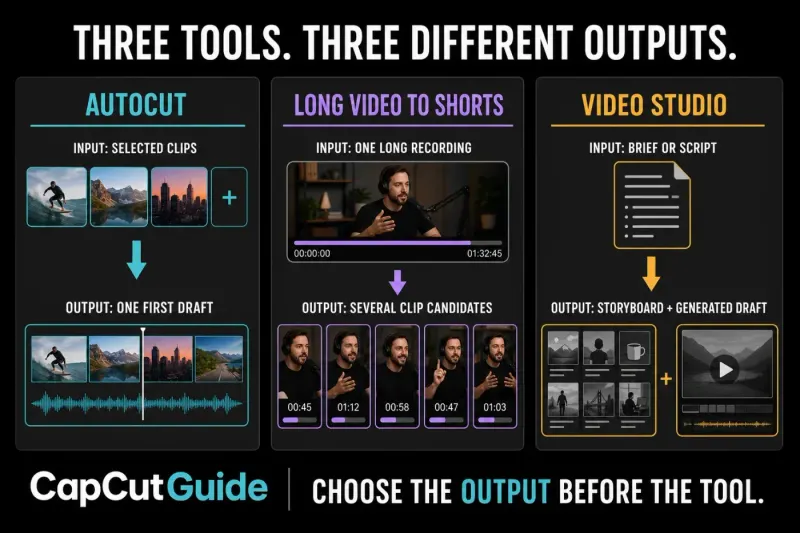
These tools all touch footage you already have, but their outputs are different. AutoCut combines selected media into one first assembly. Long Video to Shorts searches one long source for several moments. Auto Reframe keeps the chosen edit and changes where the subject sits inside a different canvas.
Keep original files untouched and leave failed takes out of the test selection. If an automatic cut changes a quote's meaning, hides a product or repeats shots, correct it on the timeline. Confirm you can make the edits you need before committing the full project.
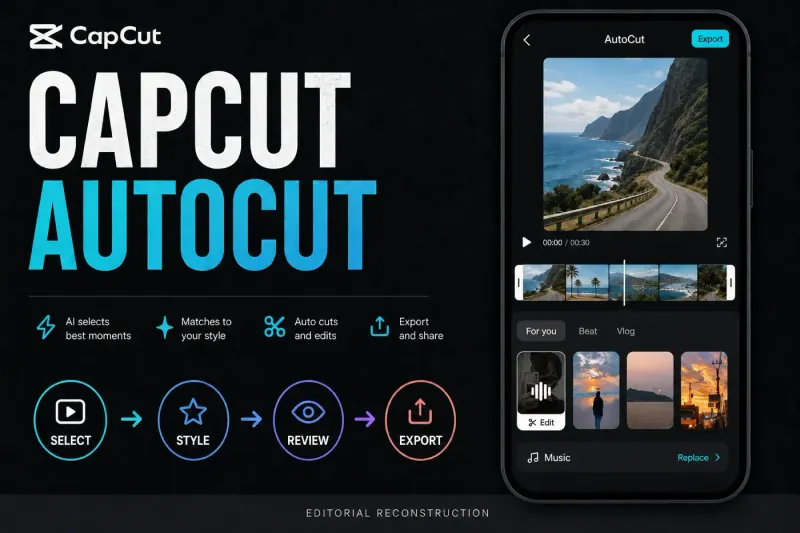
Use it to turn chosen clips or photos into an automatic draft. Depending on the version, automatic editing may follow music, rhythm or speech. Review the order, repeated shots, music rights and ending.
If you need exact in/out points, use the normal timeline instead.
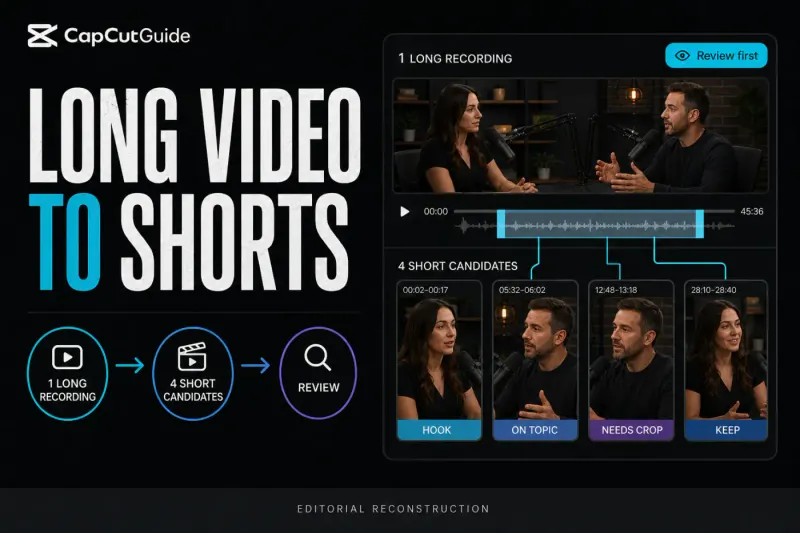
Choose this for an interview, podcast, lecture or presentation when you want several separate clip candidates. Check each candidate for a complete thought, clean opening, suitable crop, accurate captions and a clean export.
It doesn't promise a fixed number of usable clips.
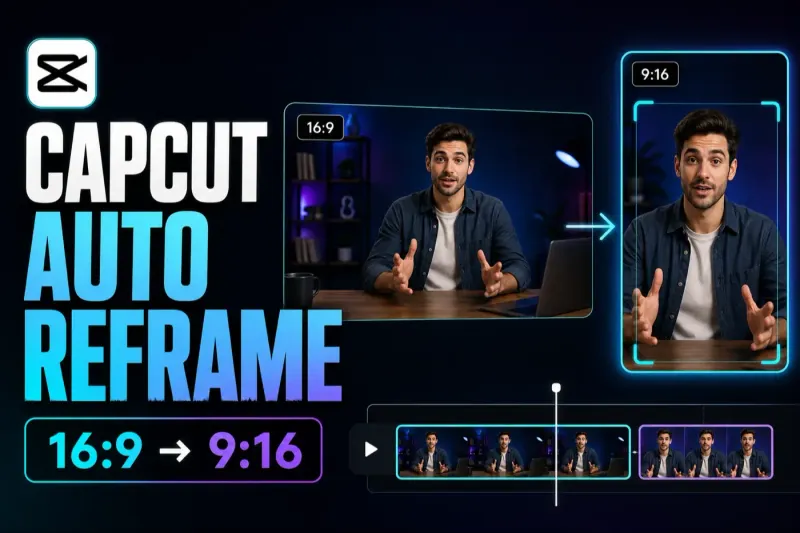
Use it after the story is approved and only the canvas must change, for example from horizontal to 9:16. Watch the entire result for jumps, lost gestures, cut-off captions and two-person shots that confuse the tracker.
It doesn't choose the story. If access is paid or missing, crop and position the shot manually.
AutoCut, Long Video to Shorts and Video Studio solve three different production jobs.
Speech, captions and voice
The guides in this section cover timed text, translation, narration from a script and voice effects. Decide which one your video needs.
Read for meaning, then listen for timing and pronunciation. Keep a copy of approved text before regenerating anything. Ask a fluent speaker to review translations you cannot judge yourself.
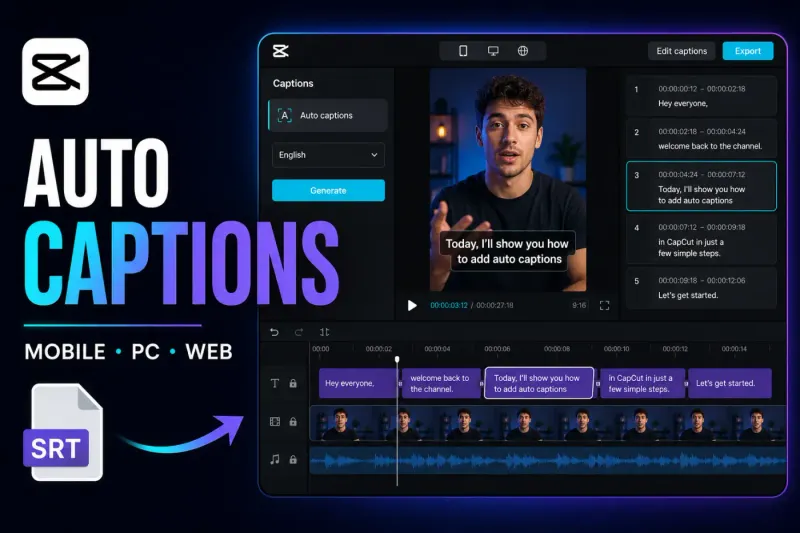
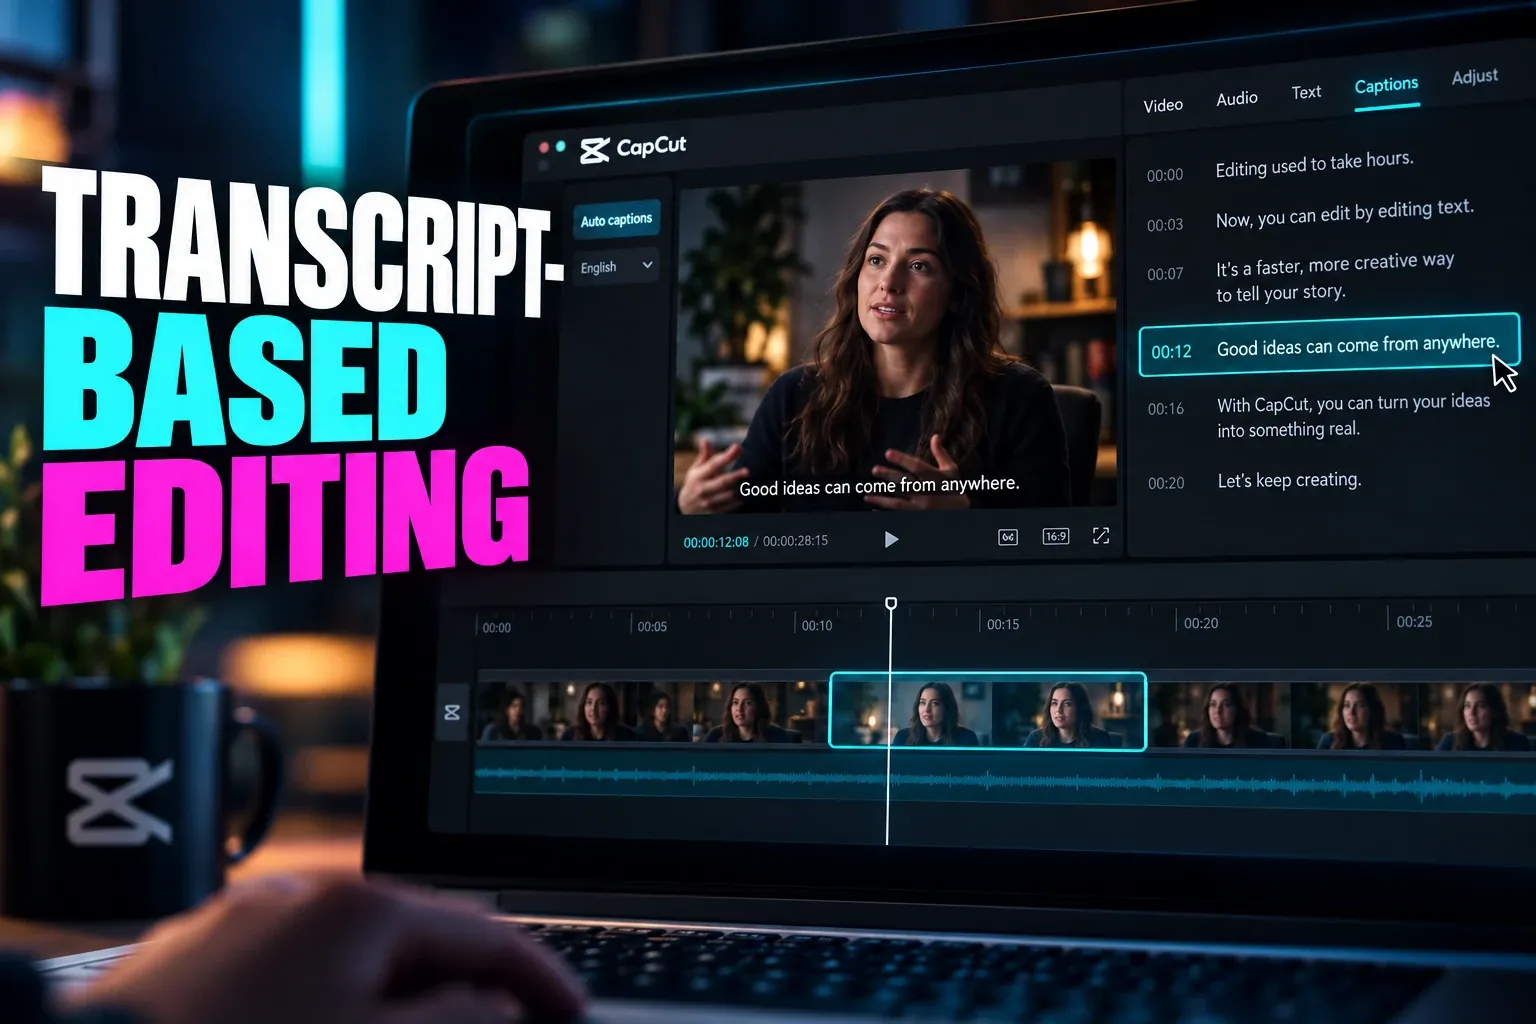
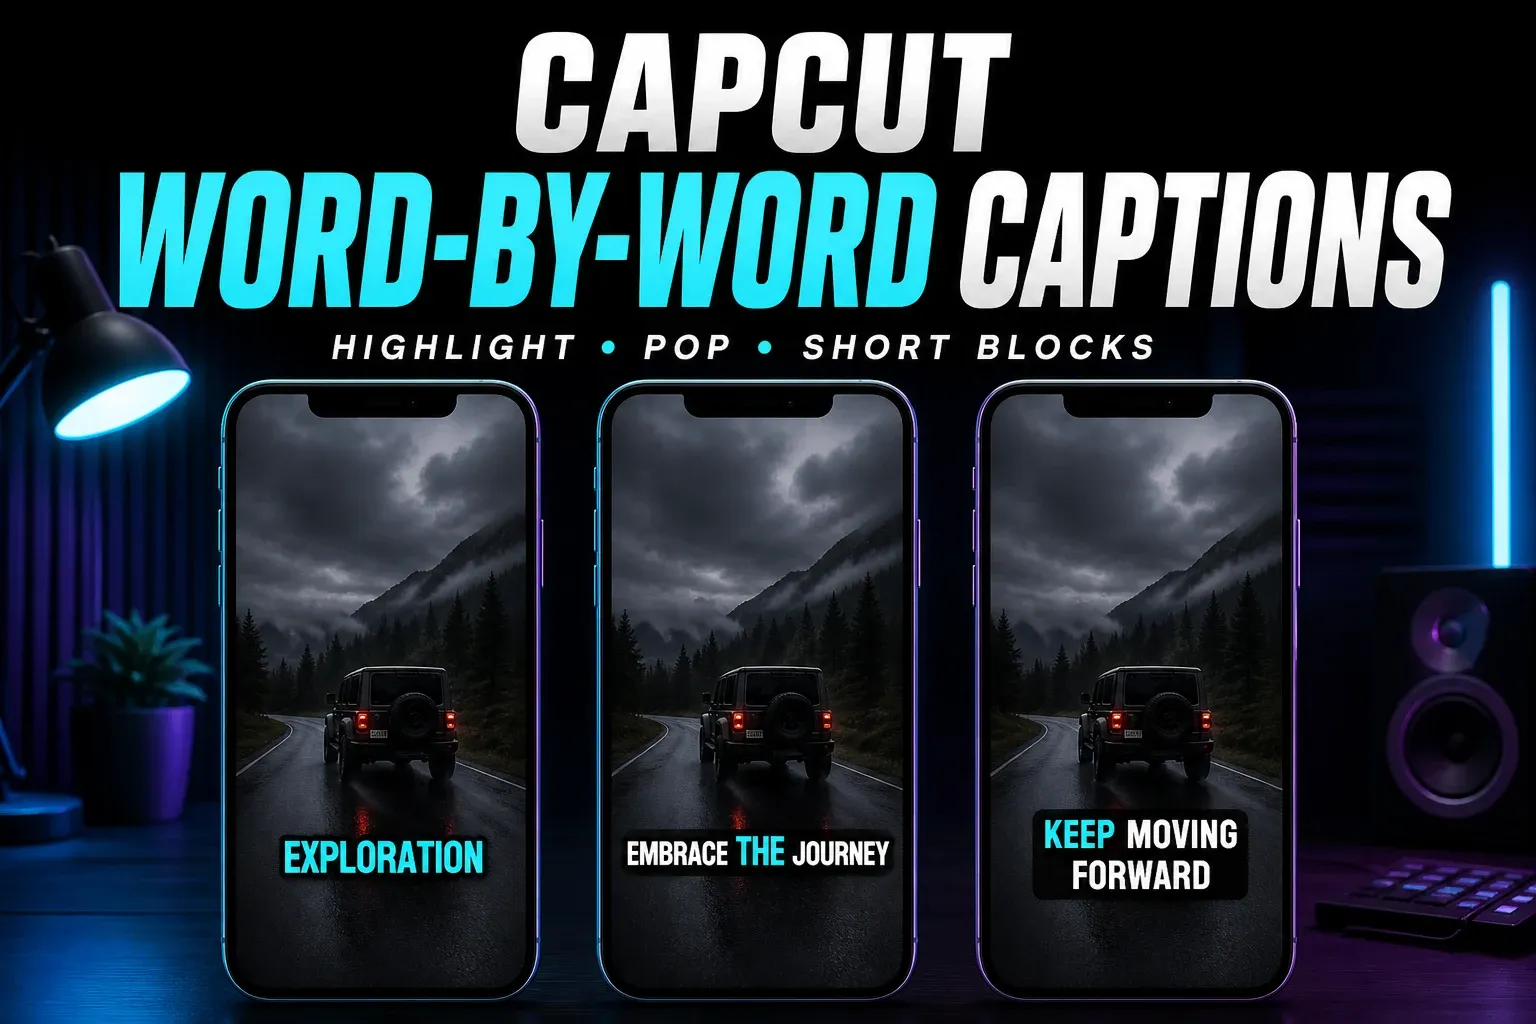
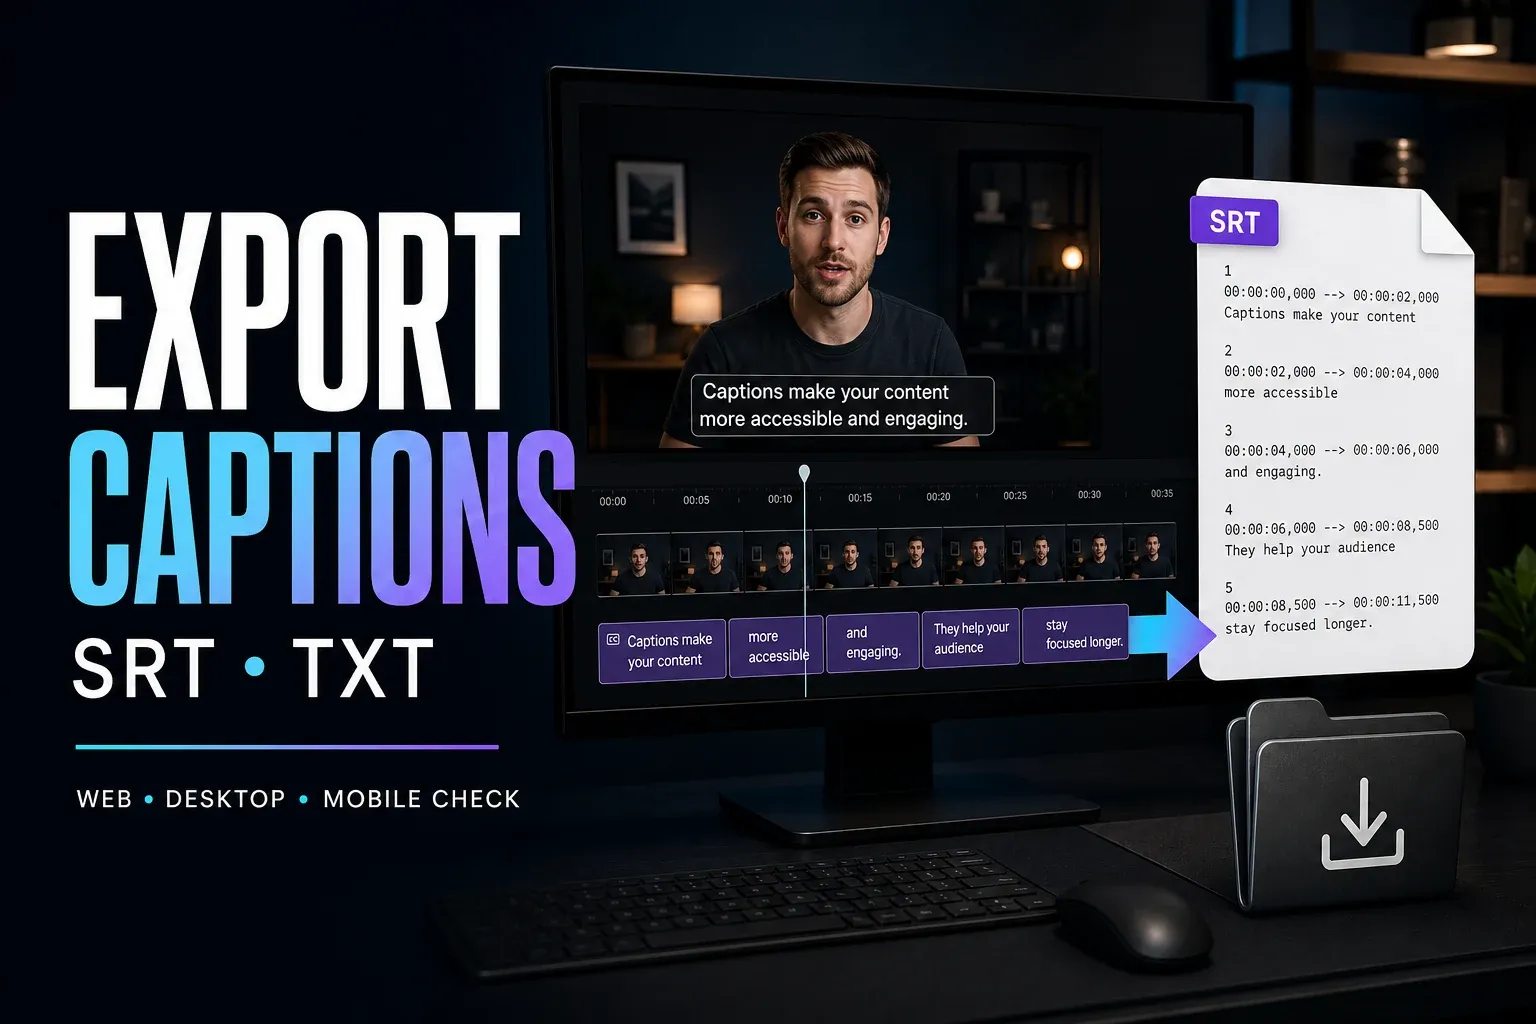
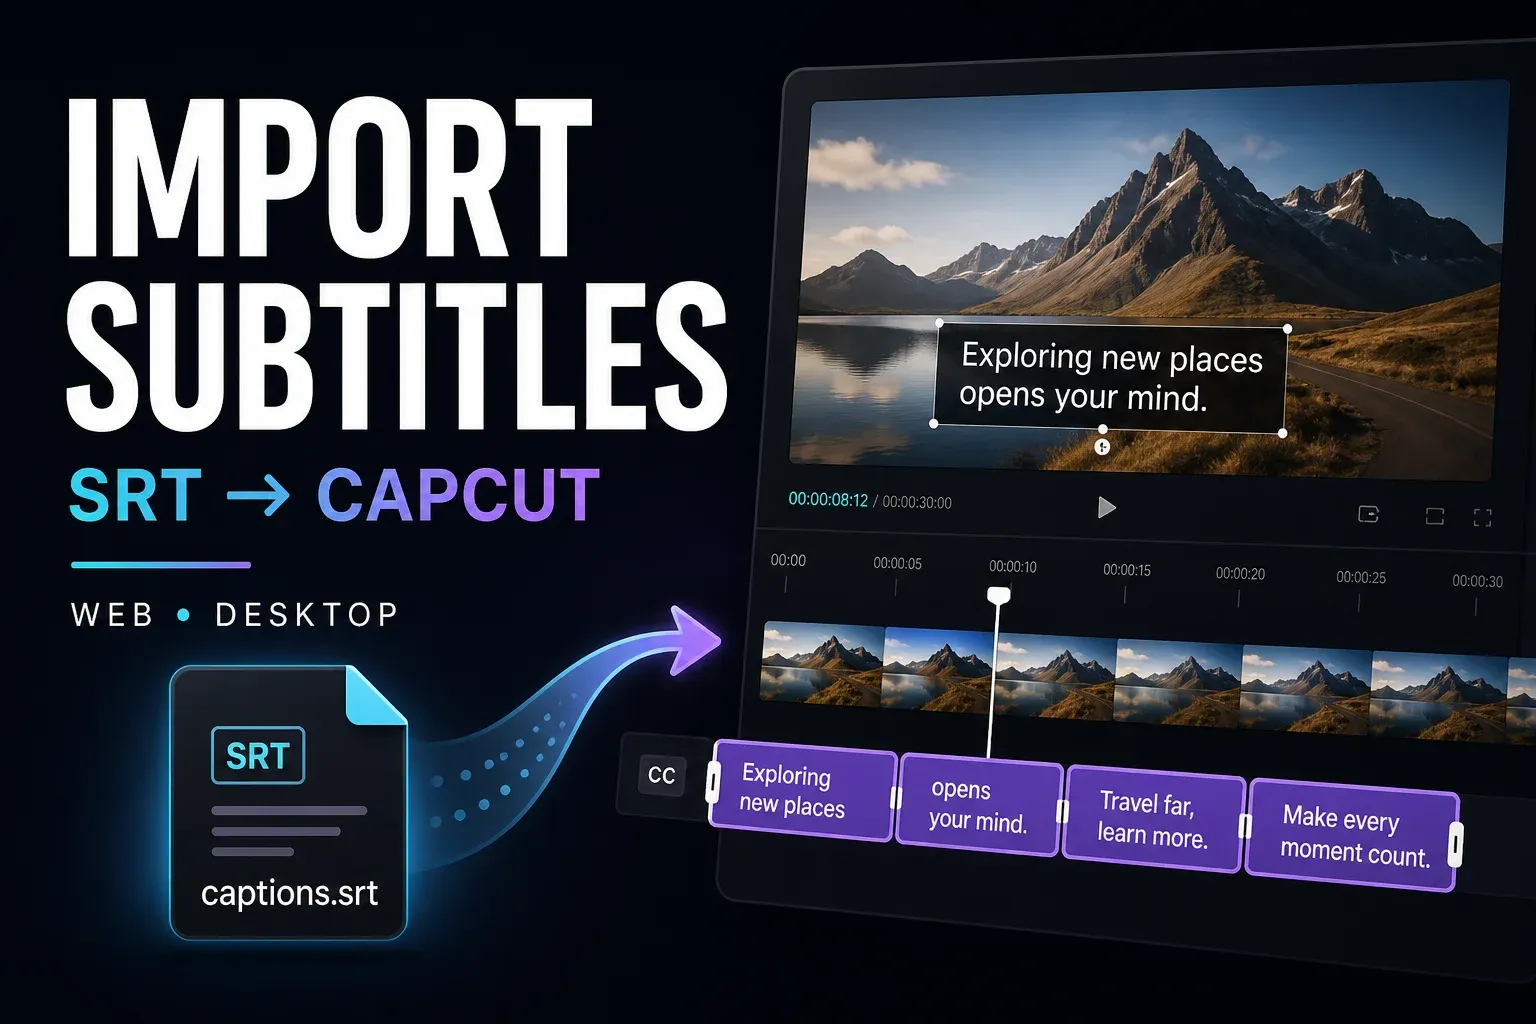
Generate an editable subtitle track from spoken audio. Correct names, technical terms, punctuation, timing and line breaks while listening to the source. A clean-looking style can't rescue a wrong transcript.
Use this when the speaker already exists in the recording.
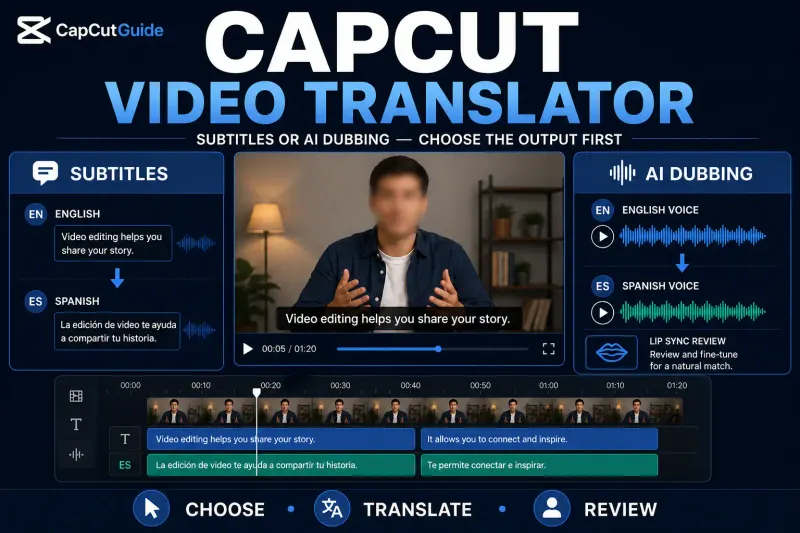
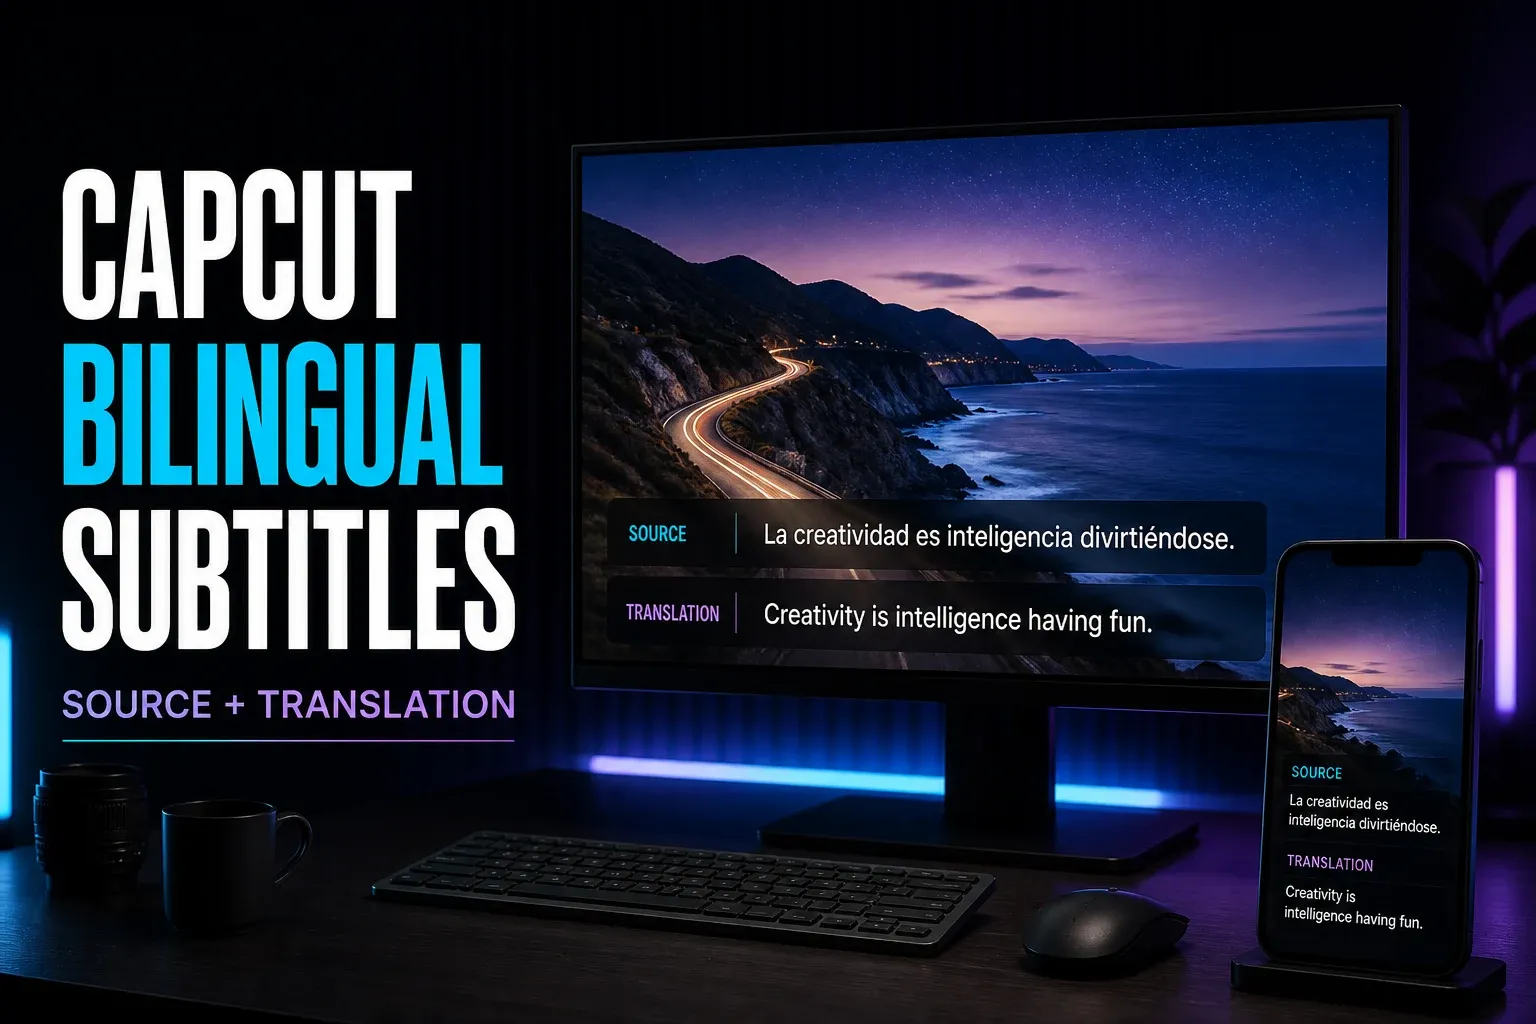
Choose translated subtitles for on-screen text, or dubbing for translated speech. Correct existing captions before translating those captions. New bilingual recognition or dubbing may process the audio again instead of reusing your edits; review the new output separately.
Not the same job as ordinary captions, text-to-speech or a voice effect.
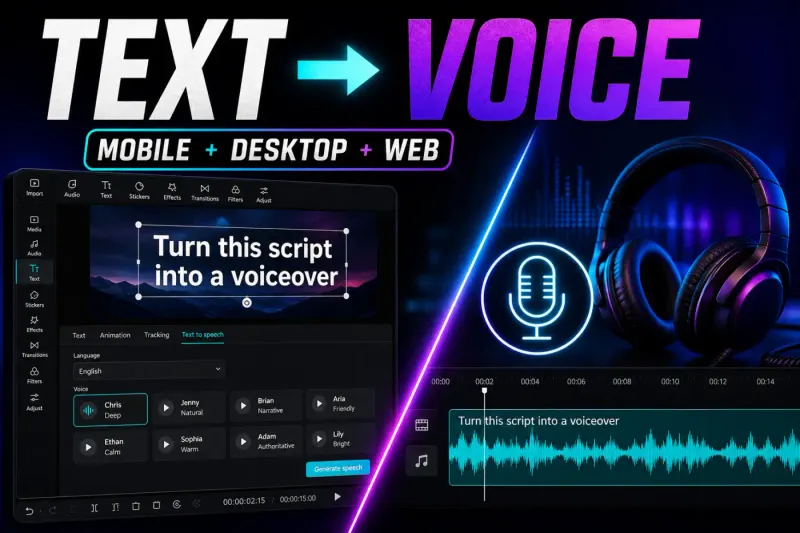
Turn a written script into narration. Split long copy into short, speakable sections before choosing a voice. Check pronunciation, pace and pauses inside the full edit rather than approving an isolated preview.
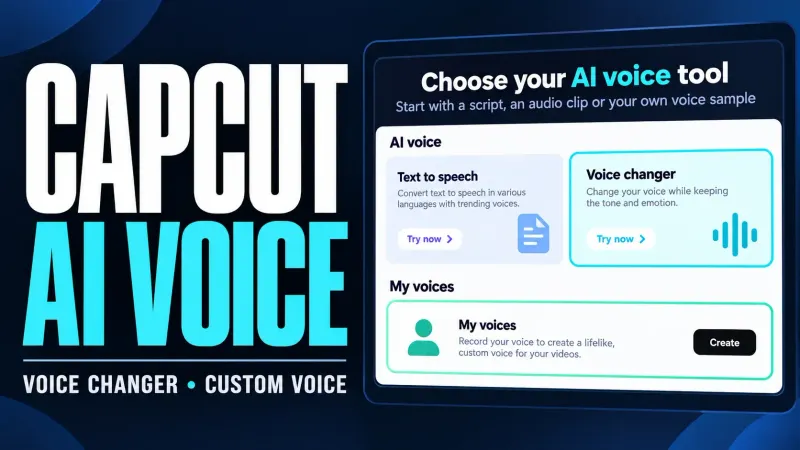
Open this guide for voice changing, custom voice and recording-led tools. Consent matters before cloning or imitating a voice. The output also needs a listening pass for mispronunciations, clipped consonants and a tone that doesn't fit the speaker.
Keep voice identity and usage rights separate from technical quality.
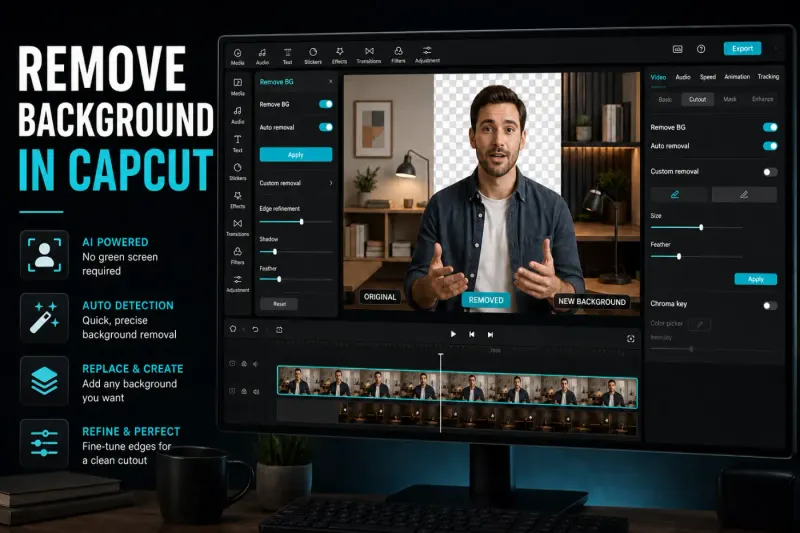
Use automatic removal when the footage is already chosen and only the subject must be separated from the background. Start with the automatic result, then inspect hair, hands, motion blur, transparent objects and fast movement. A clean edge on one paused frame can still flicker during playback.
For a literal green-screen shoot, chroma key remains a different workflow. For one object, logo or face area, masking may be more predictable than asking background removal to understand the scene.
The workflow guides above are not a complete inventory of every AI badge. CapCut's current AI Suite overview also names AI Story Maker, AI Clipper, the Transcript tool and AI Video Translator. It separately covers AI Avatar, Lipsync, Mimic Motion, AI Dialogue Scene, AI Remove, Auto Styles and Auto Enhance. Its broader tools directory adds upscalers, background expansion and other one-purpose utilities.
Some of those are separate web tools, some sit inside a larger editor, and some overlap the result of a workflow already covered here. For example, AI Clipper and Long Video to Shorts both start from longer footage, while Transcript combines text-led editing with captions and cleanup. Choose by the input and deliverable shown in the live interface, then use the feature availability matrix before assuming a name, menu position or plan badge applies to every account.
Free, Pro, credits and missing tools
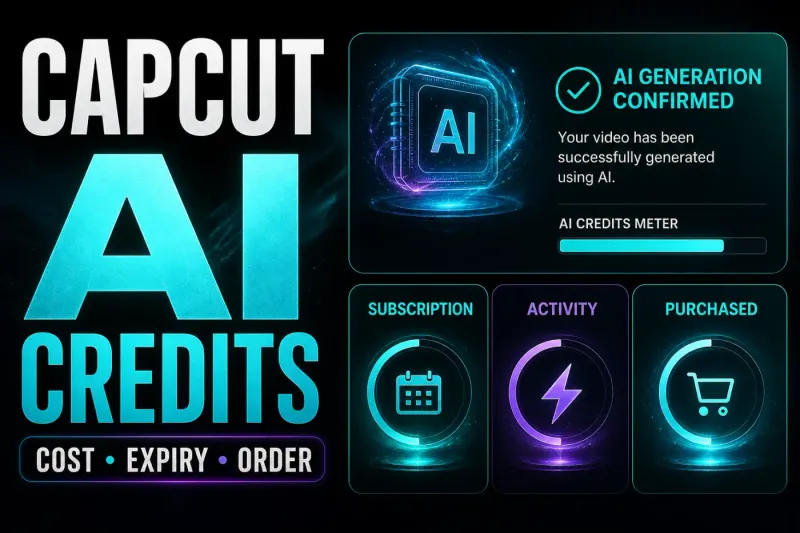
Check the exact action before paying: access and limits can differ by tool, model, platform, region, account and selected options. CapCut's credit-types page and its credit-use instructions describe conflicting deduction orders. Check your account's credit details rather than assuming which balance will be used first.
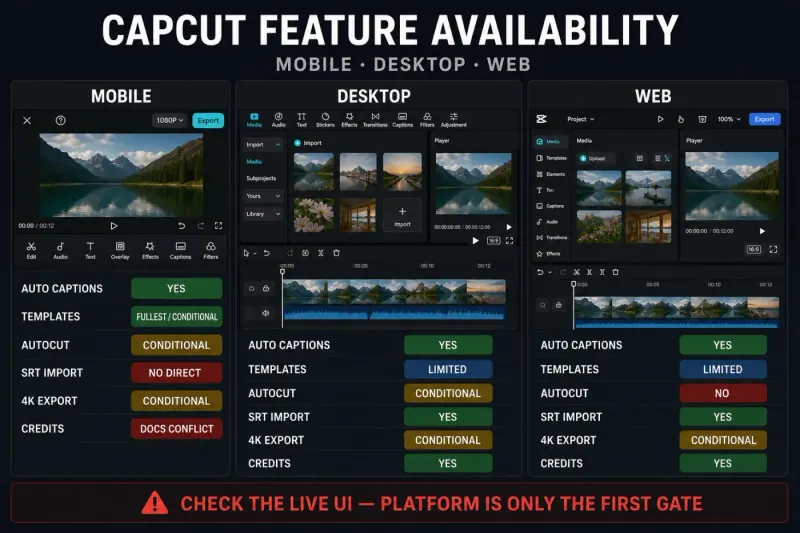
Use the CapCut AI Credits guide to understand the live quote and the conflicts between official help pages. Use the feature availability matrix when a tool is missing or carries a different badge on Mobile, Desktop or Web.
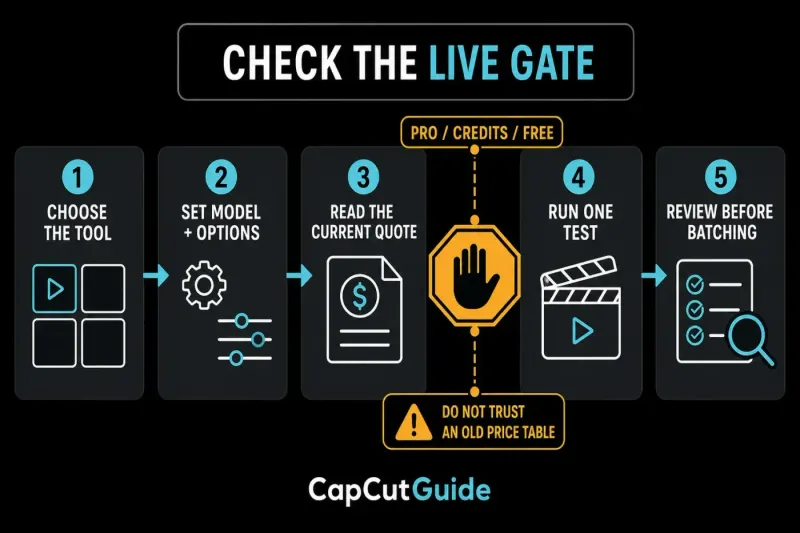
Before confirming a paid action, check the options it offers (such as model, duration, resolution or aspect ratio) and the resulting quote. Try one sample, inspect the charge and export, and only then decide whether to process more. Review every result in a batch; a good sample does not guarantee the rest.
Configure one real task, read the current gate, test once and review before batching.
Check what the live action says it will consume, which balance appears and what expiry is shown in your account. Don't infer a current allowance from an old screenshot.
Separate available, plan-gated, credit-gated, region-dependent and version-dependent states. A missing Desktop card doesn't prove that the whole tool has been removed.
CapCut's current AI Help category covers poor output and stalled generation. If a tool disappears, check its current Help page. Try Web only if that feature has a Web version; it is not a universal replacement for missing Desktop or Mobile tools.
What CapCut AI can't approve for you
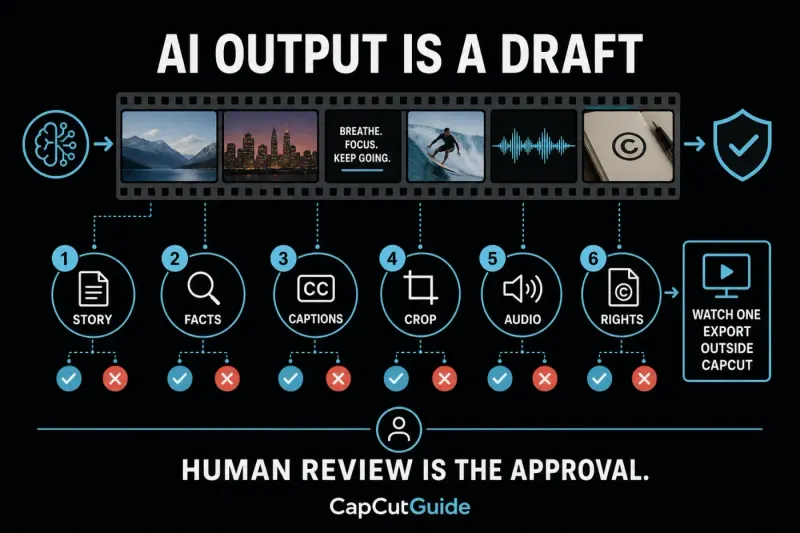
A polished preview is still a draft. Check the story, facts, transcript, crop, audio and permissions before publishing. Review a representative result before spending more credits, then check every output you intend to use.
Watch the exported file full-screen and listen with headphones. Check edge flicker, clipped words, caption placement and music levels. View it on the intended device too; a readable desktop preview may be cramped on a phone. Our walkthrough of CapCut export settings helps if resolution, frame rate or compression is the remaining decision.
An AI result remains a draft until a human checks the edit and watches an exported file.
Story: does the result begin with enough context and end on a complete thought?
Facts: are names, claims, products, dates and generated details correct?
Captions: do the words, timing and line breaks match the audio?
Crop: do faces, hands, products and on-screen text stay inside the frame?
Audio: are beginnings clipped, speakers out of sync or music fighting the voice?
Rights: do you have permission for the input, likeness, music, voice and intended output use?
Export: watch the file outside CapCut on another screen before approving the workflow.
Privacy and permissions before upload
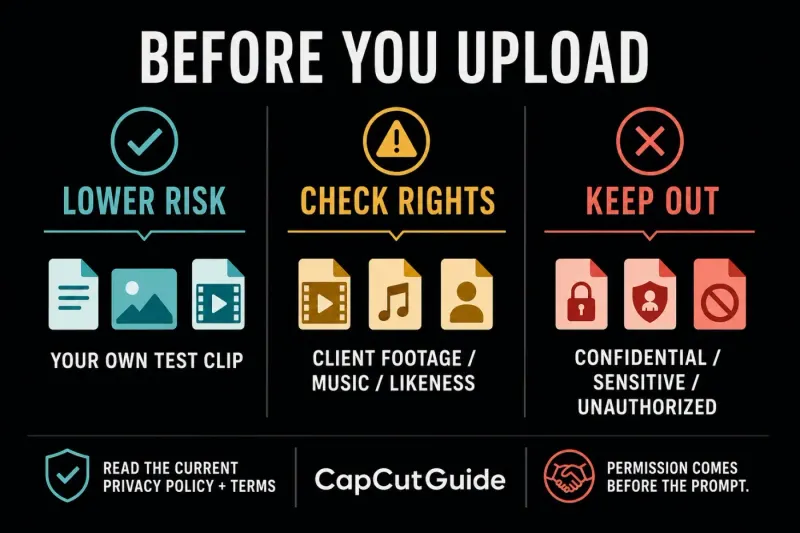
Cloud AI tools may process prompts, files, images, audio, video and generated responses. CapCut's current Privacy Policy includes these inputs as user content and describes service and technology improvement among its uses of information. Read the regional terms that apply to you; an unpublished project is not a guarantee that its content stays unprocessed. Its Terms of Service require the rights and permissions needed for inputs, including material sent to third-party AI services.
For a first test, use footage you own and can safely upload. Client footage, unreleased products, children, private conversations, licensed music and recognizable people need a deliberate permission check. Confidential, sensitive or unauthorized material should not become a convenient test prompt.
Permission and sensitivity checks come before any cloud AI upload.
When the tool is missing or different on your device
A missing button does not establish that a feature was removed. CapCut documents a staged rollout for AI Video Maker, while other tools have their own platform and account restrictions. Check the specific feature rather than treating every AI tool alike.
01
Confirm the job
For excerpts from a long recording, start with Long Video to Shorts. For a different crop, check Auto Reframe.
02
Check supported platforms
Look for a documented Web version of that specific tool. AutoCut, for example, is not listed as a Web feature in its current Help page.
03
Compare account and region
Verify the same login identity, plan and region before assuming two devices should show the same controls.
04
Protect the project first
Don't reinstall, clear app data or move local folders until the editable project and source media are protected.
CapCut currently groups AI features around generation, automatic editing, captions and voice, avatars, translation, cleanup, enhancement and format changes. This hub links to the workflow guides rather than treating every changing AI label as a separate tool. Credits and feature availability have their own guides.
Which CapCut AI tool should I use first?
Start with the input. Video Studio, AI Video and AI Image create new material. Long Video to Shorts mines one recording, while AutoCut assembles selected clips. Use captions for same-language text, Video Translator for another language, and voice tools for narration or treatment. Use background removal on a selected shot and Auto Reframe when an existing edit needs a different crop.
Are CapCut AI tools free?
Some actions may be available without payment, while others can be Pro-gated, credit-gated or limited by model, platform, region, account or rollout. Configure the real task and read the current signed-in quote or badge before running it.
What is the difference between AutoCut and Long Video to Shorts?
AutoCut takes selected clips or photos and builds one automatic first assembly. Long Video to Shorts takes one longer recording and proposes several separate clip candidates. Neither replaces a final human review.
Is Video Studio the same as the AI Video Generator?
The routes overlap, but they are not the same starting job. Use Video Studio when a brief needs structure, scenes and a connected draft. Use the focused AI Video workflow when the immediate deliverable is one generated clip from supported prompt or reference controls. Choose by the live input and output, not the menu name alone.
Do the same CapCut AI tools work on Mobile, Desktop and Web?
Not always. Availability and menu location can depend on platform, version, region, account, plan and rollout. Check the specific tool in the feature-availability guide. Try Web only when that feature has a documented Web version; not every Desktop or Mobile tool does.
Can I publish a CapCut AI result without checking it?
Check the story, facts, captions, crop, audio and rights, then watch the exported file outside CapCut. A representative test helps you decide whether to process more, but every output still needs review before publication.