

Choose the Guide That Matches the Job
Each of the eight guides solves a different point of failure:
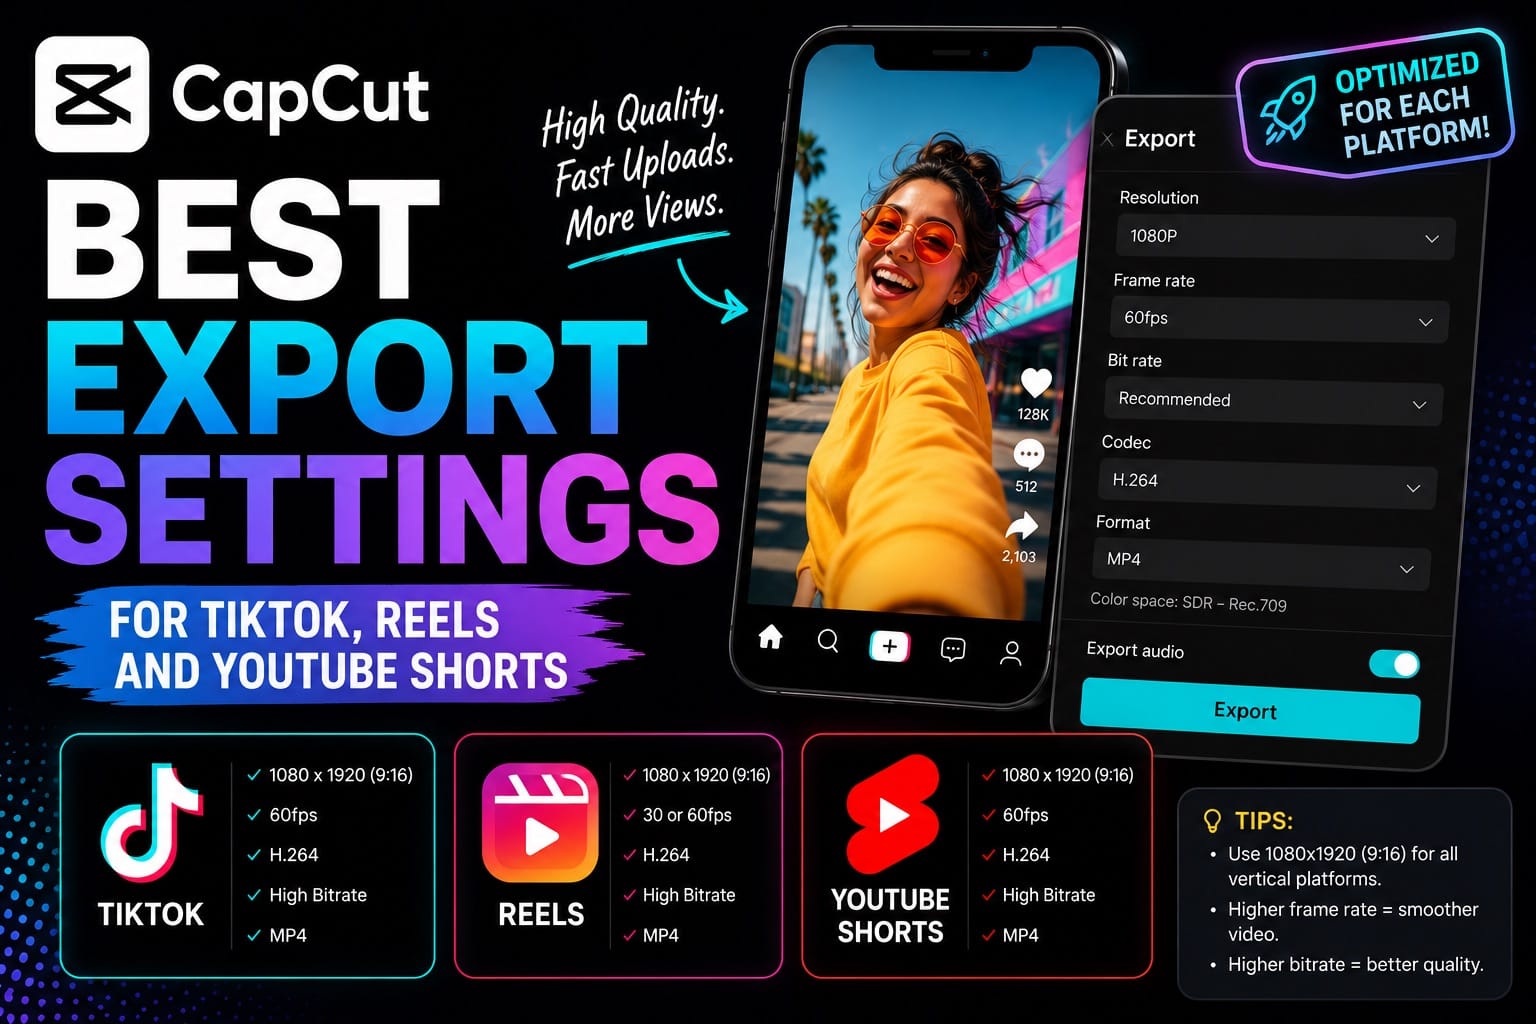
- Export settings are the shared technical baseline: canvas, resolution, frame rate, codec and bitrate.
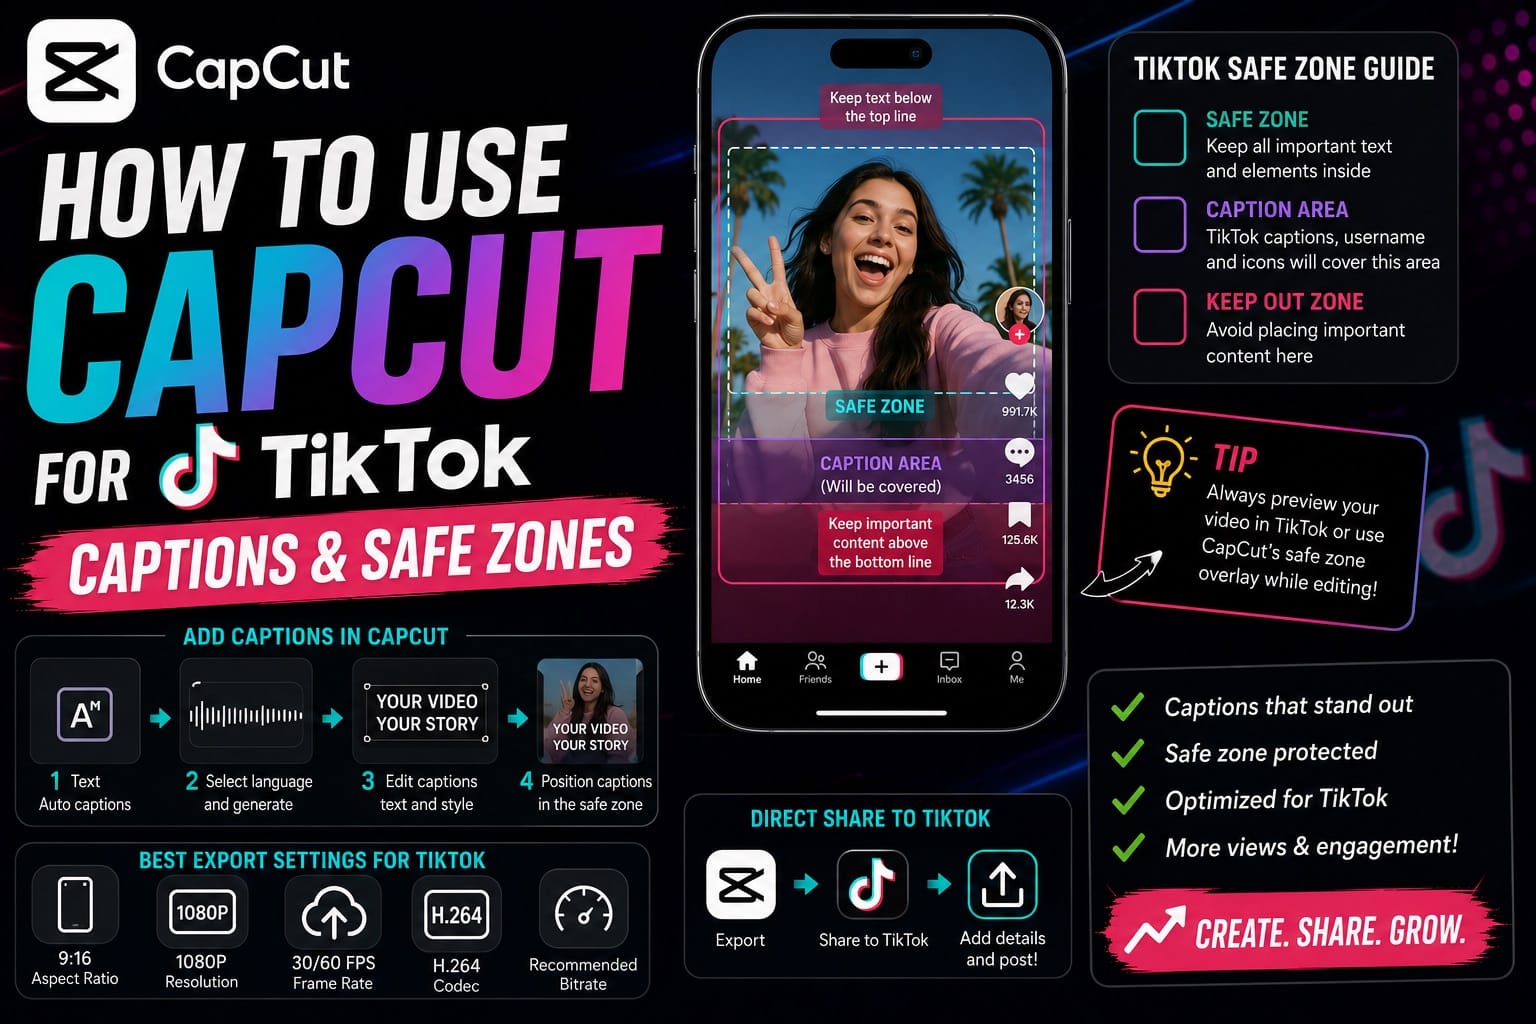
- TikTok is the route for fast hooks, on-screen text near a busy interface and a sound-led posting workflow.
- Instagram Reels covers cover framing, the profile-grid preview, Instagram compression and Reels controls.
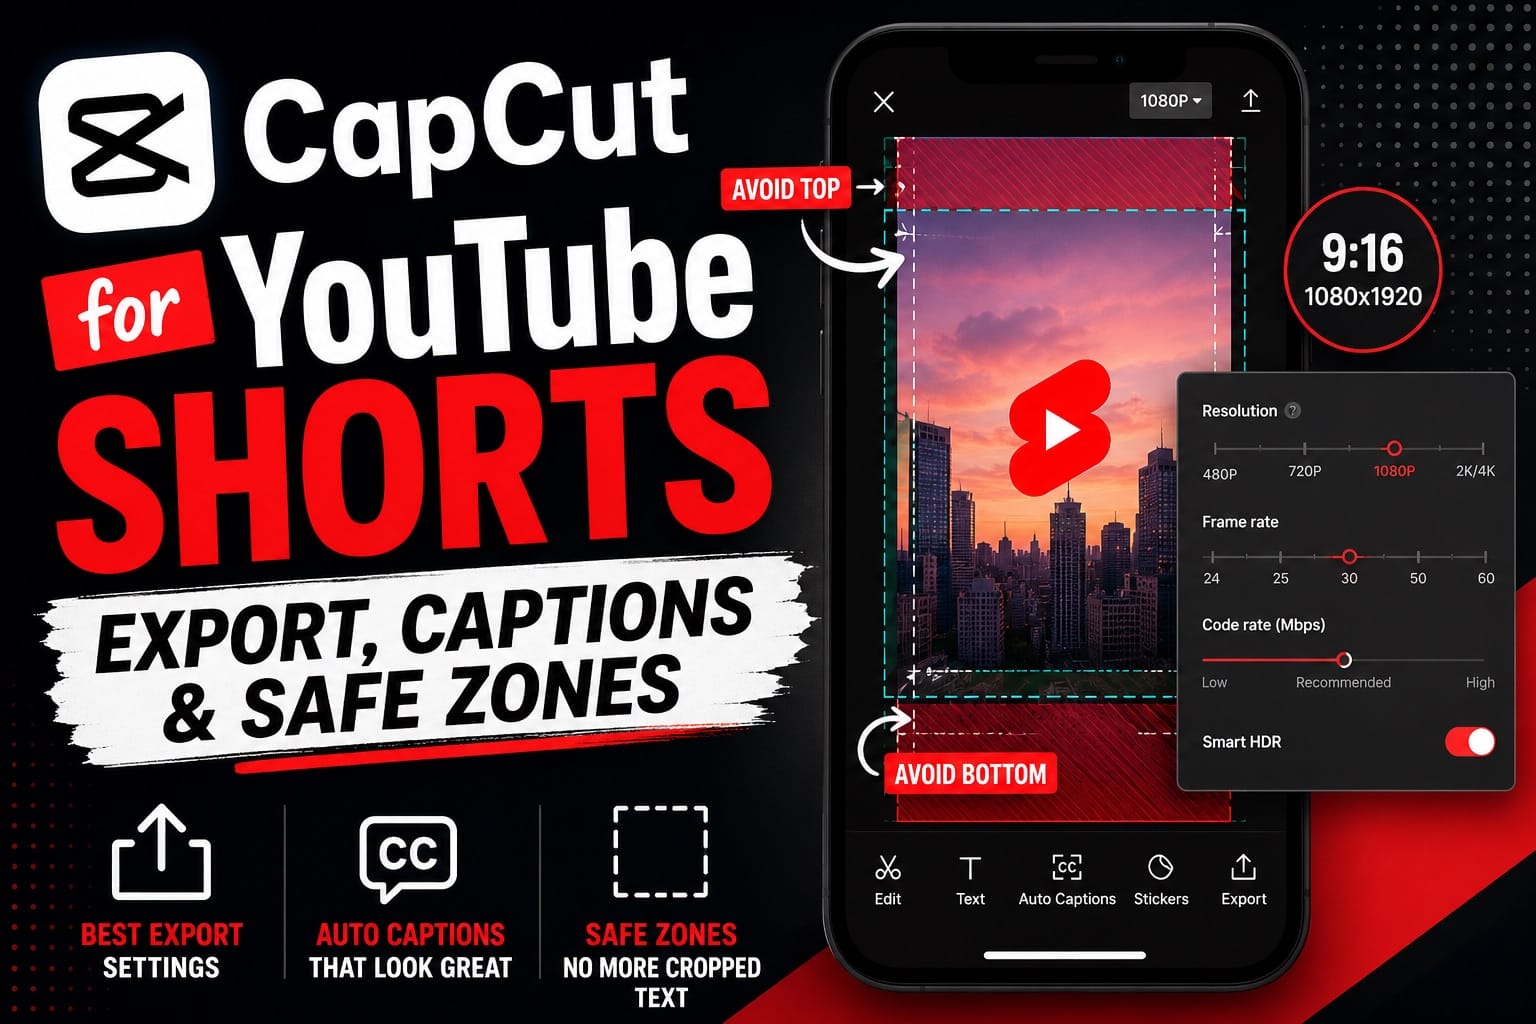
- YouTube Shorts deals with Shorts classification, longer vertical clips, YouTube upload checks and repurposing from a long video.
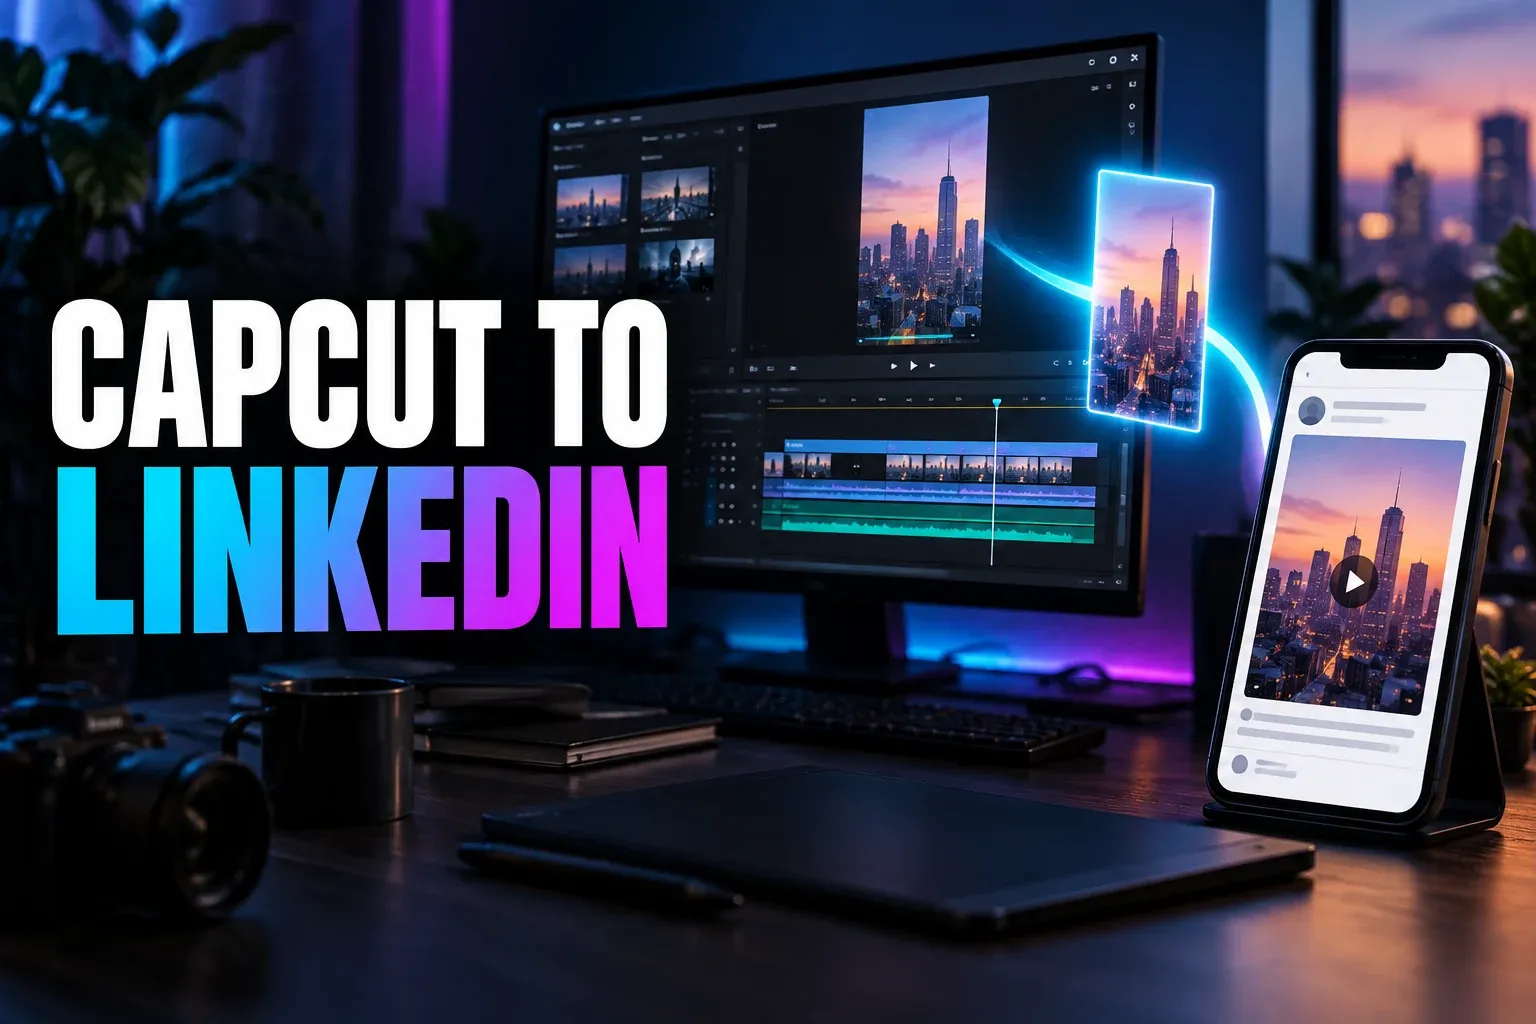
- LinkedIn is the route for a professional post: compare mobile sharing with a saved-file upload, then check framing and the post preview.
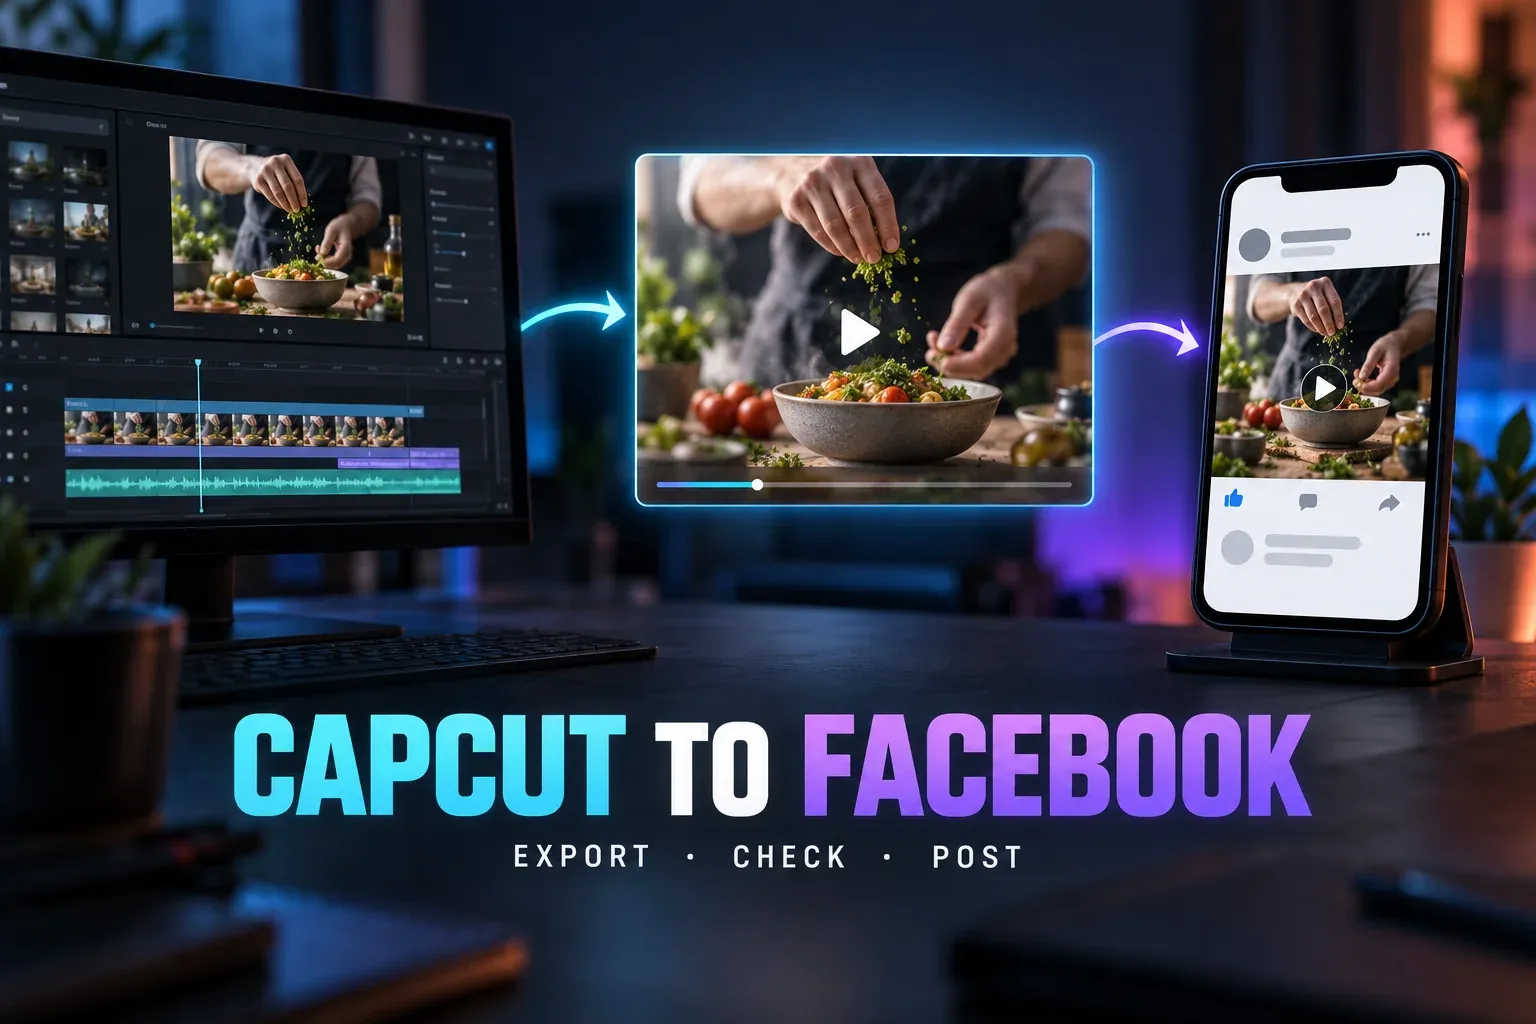
- Facebook needs the right profile or Page and audience: compare conditional mobile sharing with a saved-file upload, then check live playback.
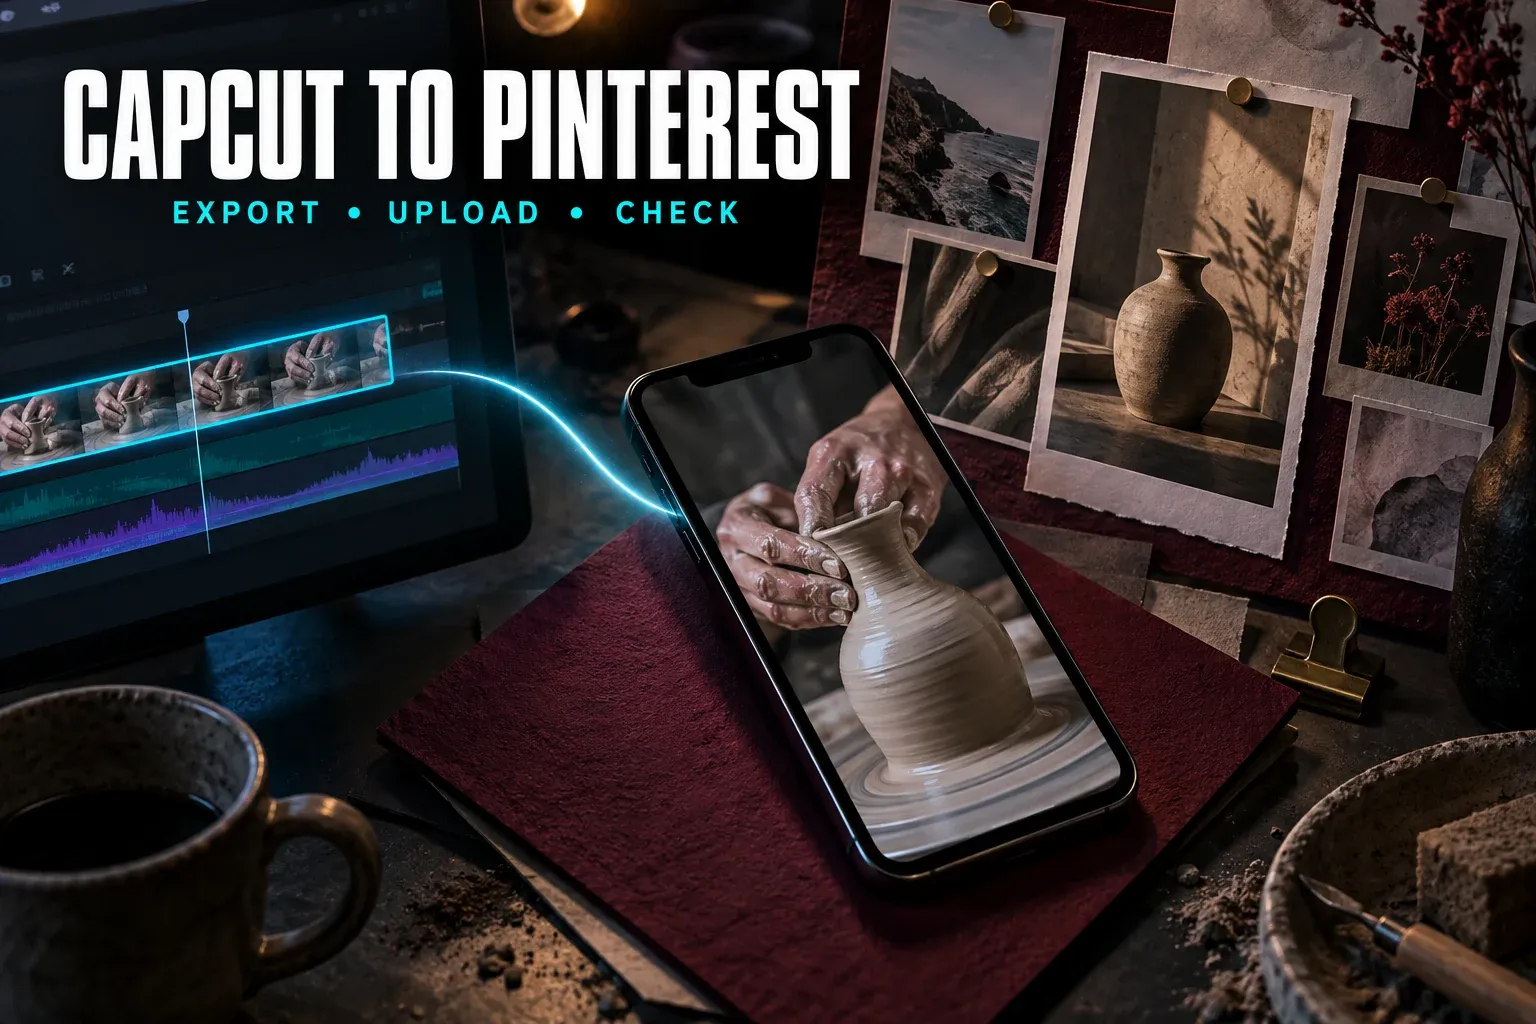
- Pinterest is the route for a video Pin: save a compatible file, choose a clear cover and board, then check playback and the destination link.
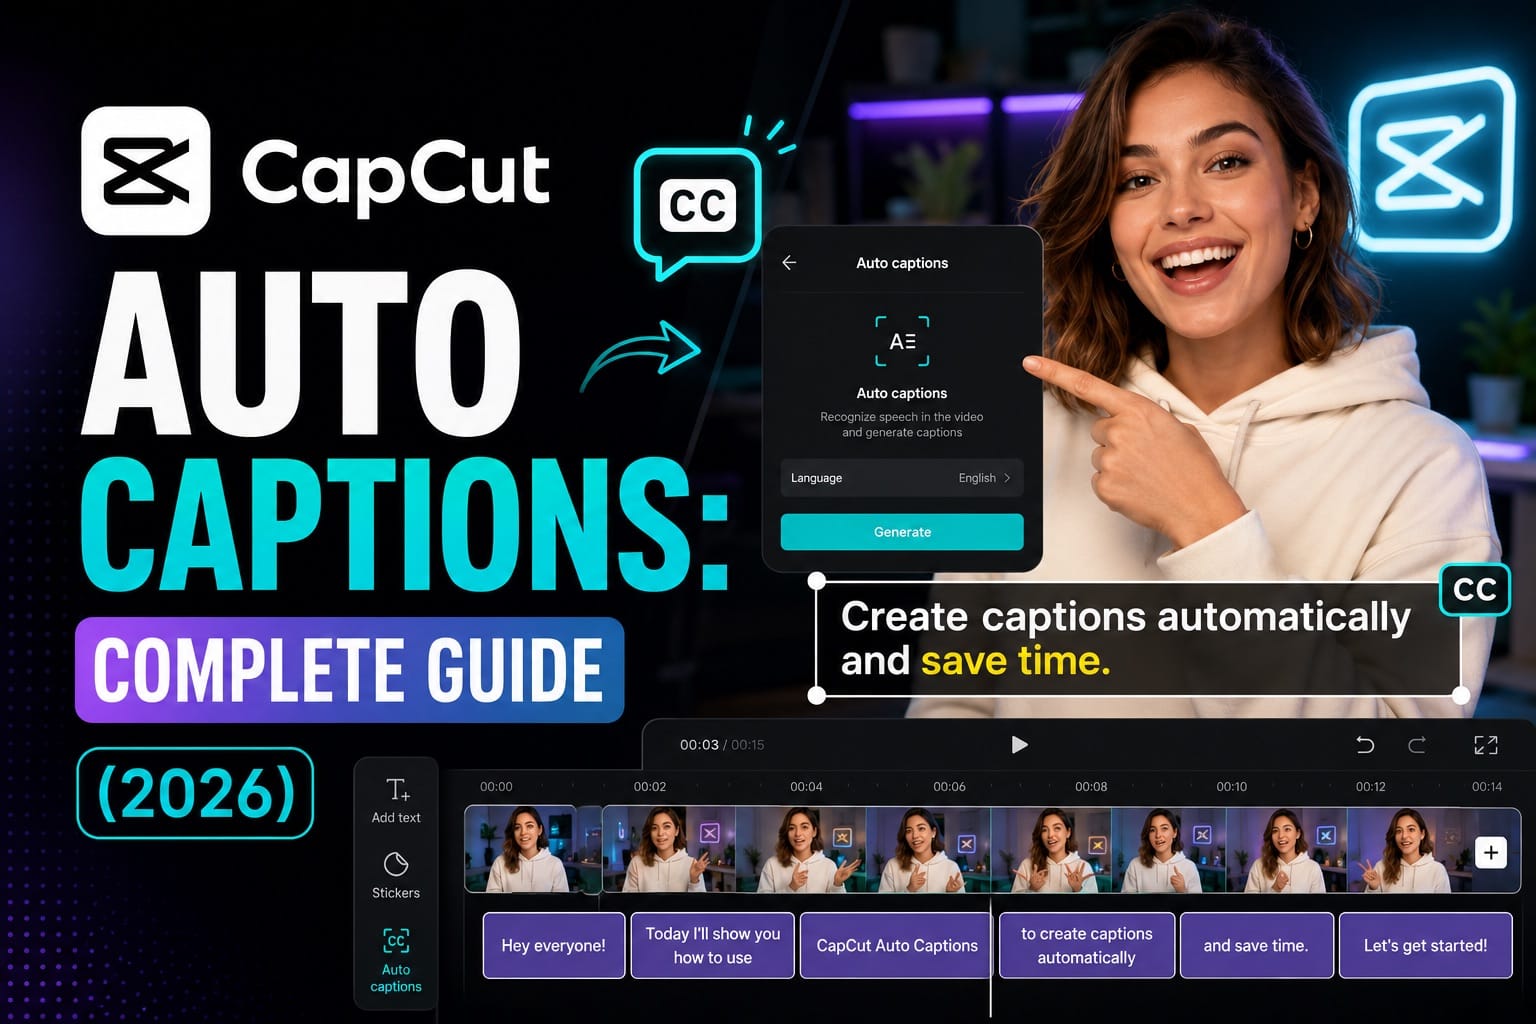
- Auto captions is the working guide for generating subtitles, correcting recognition and keeping each line readable.
If the video is part of a larger campaign, settle the brand system before polishing the edit. Our Canva Video Editor review is the better branch when the Reel must share typography, templates and approvals with posts, ads and presentation assets.
One CapCut Master or Three Separate Versions?
Start with one clean master project. For most talking-head clips, tutorials and product demos, a 1080×1920 canvas, 9:16 frame, MP4/H.264 export and the source frame rate give you a sensible handoff file. YouTube's official encoding guidance also recommends MP4, H.264 and uploading at the recorded frame rate.
That doesn't mean one finished upload is always enough. Duplicate the CapCut project before making platform-specific changes when any of these differ:
- the opening hook names a platform, feature or audience;
- captions, a logo or a call to action sits close to interface controls;
- the Instagram cover needs a different crop from the first video frame;
- you plan to add music from a platform's own licensed library;
- the title, ending or call to action sends viewers to a platform-specific action.
The useful split is simple: keep the story, clean audio and corrected caption text in the master; change the hook, text placement, cover and call to action in each delivery version. This is faster than rebuilding three edits and safer than forcing one compromised export everywhere.
What Changes Between TikTok, Reels and Shorts?
TikTok
The right-side action stack and bottom caption area compete with text inside the video. TikTok's creative-quality checklist favors full-screen 9:16 video, resolution of at least 720p and respect for safe zones. For an organic post, still preview the real upload screen: usernames, captions and interface states can change how much of the frame feels crowded.
Instagram Reels
Instagram accepts a wider range of aspect ratios, but 9:16 is the full-screen vertical choice. Meta's current Reels specifications list 1.91:1 through 9:16, at least 30 fps and at least 720 pixels. The same help page also documents the “upload at highest quality” setting. The extra job here is the cover: check how it reads in the Reels tab and profile grid instead of assuming the first frame will do both jobs.
YouTube Shorts
For standard channels, YouTube classifies square or vertical videos up to three minutes as Shorts when they were uploaded on or after October 15, 2024. Starting September 24, 2026, the official three-minute Shorts guidance says new Shorts longer than one minute and under three minutes with an active Content ID claim are no longer automatically blocked and may remain playable. A particular copyright claim can still block a video, so check its status in YouTube Studio. That makes a clean master especially useful: add platform music only after you know where the clip will live.
Caption and Safe-Zone Rules That Travel Well
There's no permanent pixel-perfect safe-zone number that covers every app state. Interfaces move, captions expand, accessibility settings differ and buttons can appear or disappear. Use these rules in the editable project:
- keep essential words away from the bottom and right edges;
- limit the number of words shown at once, especially on a phone;
- break lines by meaning rather than wherever auto captions happen to wrap;
- check names, numbers and product terms manually;
- watch the exported file full-screen before judging caption timing;
- upload privately, as a draft or unlisted where the platform allows it, then inspect the real interface.
CapCut's own subtitle help confirms that generated captions can be edited after recognition and that availability can differ across mobile, desktop and web. Treat recognition as a first draft, not a finished transcript.
A Final Check Before You Post
- Play the exported file outside CapCut and listen for clipped speech or missing audio.
- Pause on the opening frame. The subject and first line should make sense without waiting for the second beat.
- Check every caption against the spoken words, then check its position against platform controls.
- Confirm that the file has no accidental ending card, template watermark or paid asset warning.
- Choose the cover, title and platform music inside the destination app when that app controls them.
- Keep the clean local master. A platform download is not a replacement for your original export.
This last upload check matters more than chasing a mythical universal preset. A technically correct file can still fail because the cover crops badly, the subtitle sits behind a button or the music licence belongs to another platform.