
CapCut Tutorial: Beginner Path from First Cut to Export
Make one complete CapCut edit, then choose a current focused lesson for the exact cutting, text, audio, caption, layer or export job you need.
Last updated October 4, 2026.
Make one short video before learning every tool. Choose Mobile, Desktop or Web, import three or four clips, put them in order, remove one mistake, add a title, balance the sound and export the complete result. The eight-step exercise below links to the focused lesson at the point where you may need it.
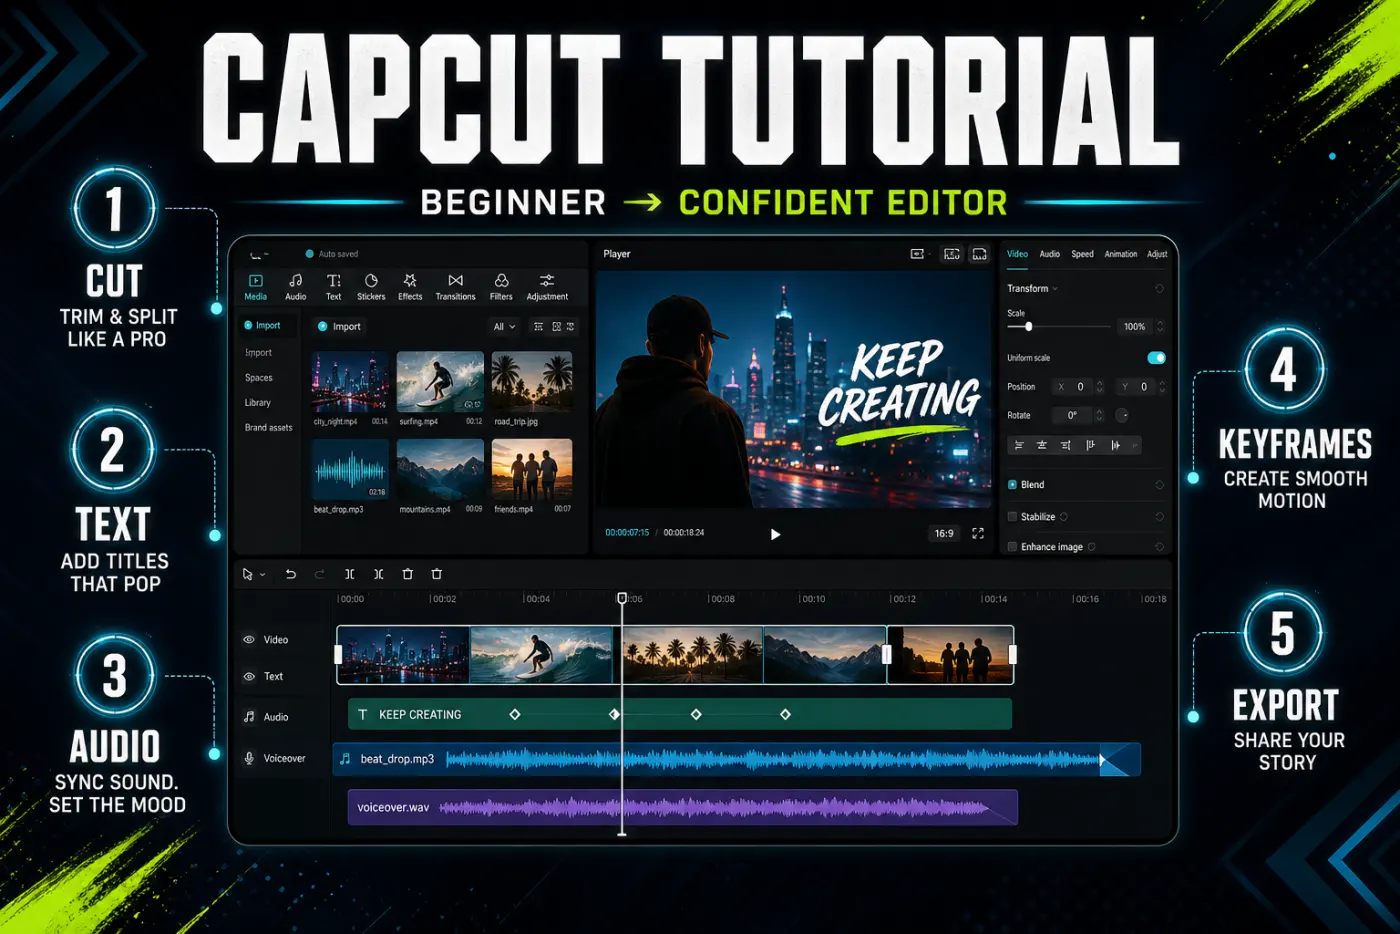
Make your first CapCut edit
Use three or four clips that total less than a minute. That length is a practice choice, not a CapCut limit. Use footage and audio you have permission to edit and publish. A simple sequence such as preparing a drink or packing a bag is enough.
For an important draft, first use the project safety guide to protect the editable project and source files. If you are practising on an existing edit, duplicate the project and work on the copy. An in-app duplicate helps you experiment, but it is not an independent backup.
Recognize three parts of the editor: the preview shows the frame at the playhead; the timeline holds video, text and audio in time order; the available controls depend on the selected clip or layer. Undo a wrong change before adding another fix.
- Start a blank project on one platform. On Mobile, look for New project. Desktop documentation uses Create project; Web uses New video. Labels can change, so choose the blank-project control rather than a template and stay on that platform for this exercise.
- Import and arrange local clips. On Mobile, select media and add it. On Desktop or Web, import or upload files, then place them on the timeline. If media is missing, check whether you selected Videos or Photos, allow access only to the files you need, and make sure cloud-only originals are available locally. Then follow the clip-order lesson.
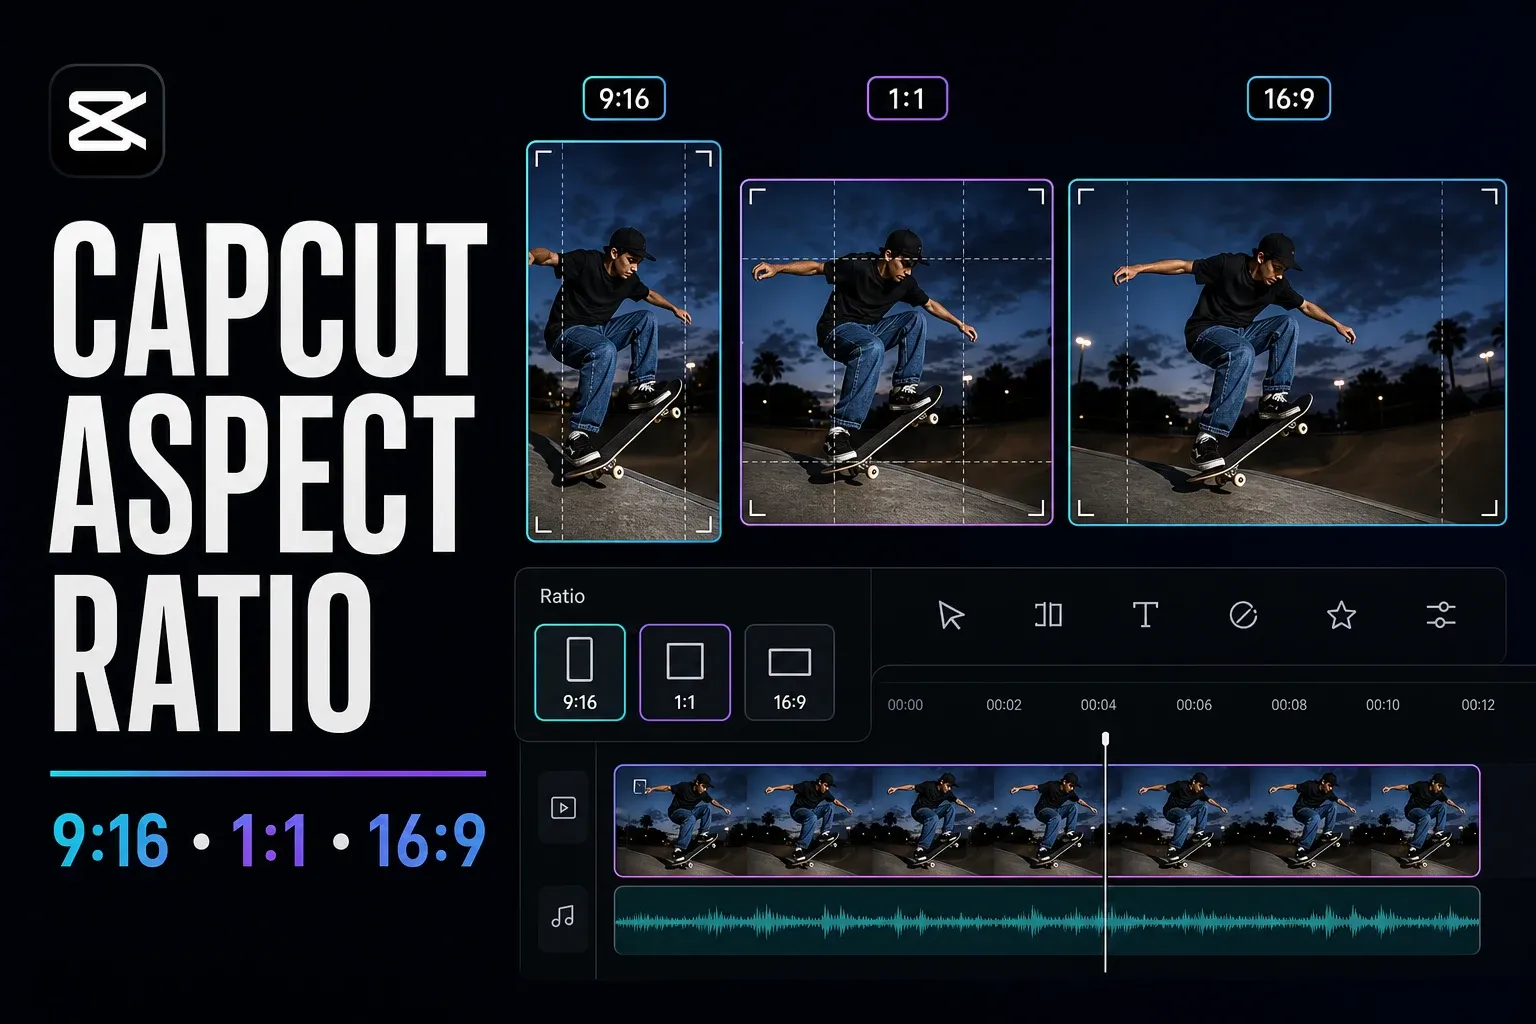
- Choose the canvas. Start with 9:16 for a vertical social video or 16:9 for a landscape video. These are starting choices, not the only supported shapes. Check every clip for stretching, unwanted crop or empty borders. Use the aspect-ratio guide when the source and destination differ.
- Trim and split. Drag a clip edge to shorten its beginning or end. To remove a mistake in the middle, split before and after it, select the isolated segment and delete it. Check that the retained clips sit in sequence rather than overlapping or leaving a blank gap; do not assume ripple or track-magnet behaviour is active. Replay the join, then open the cut, trim and split lesson if the tracks move unexpectedly.
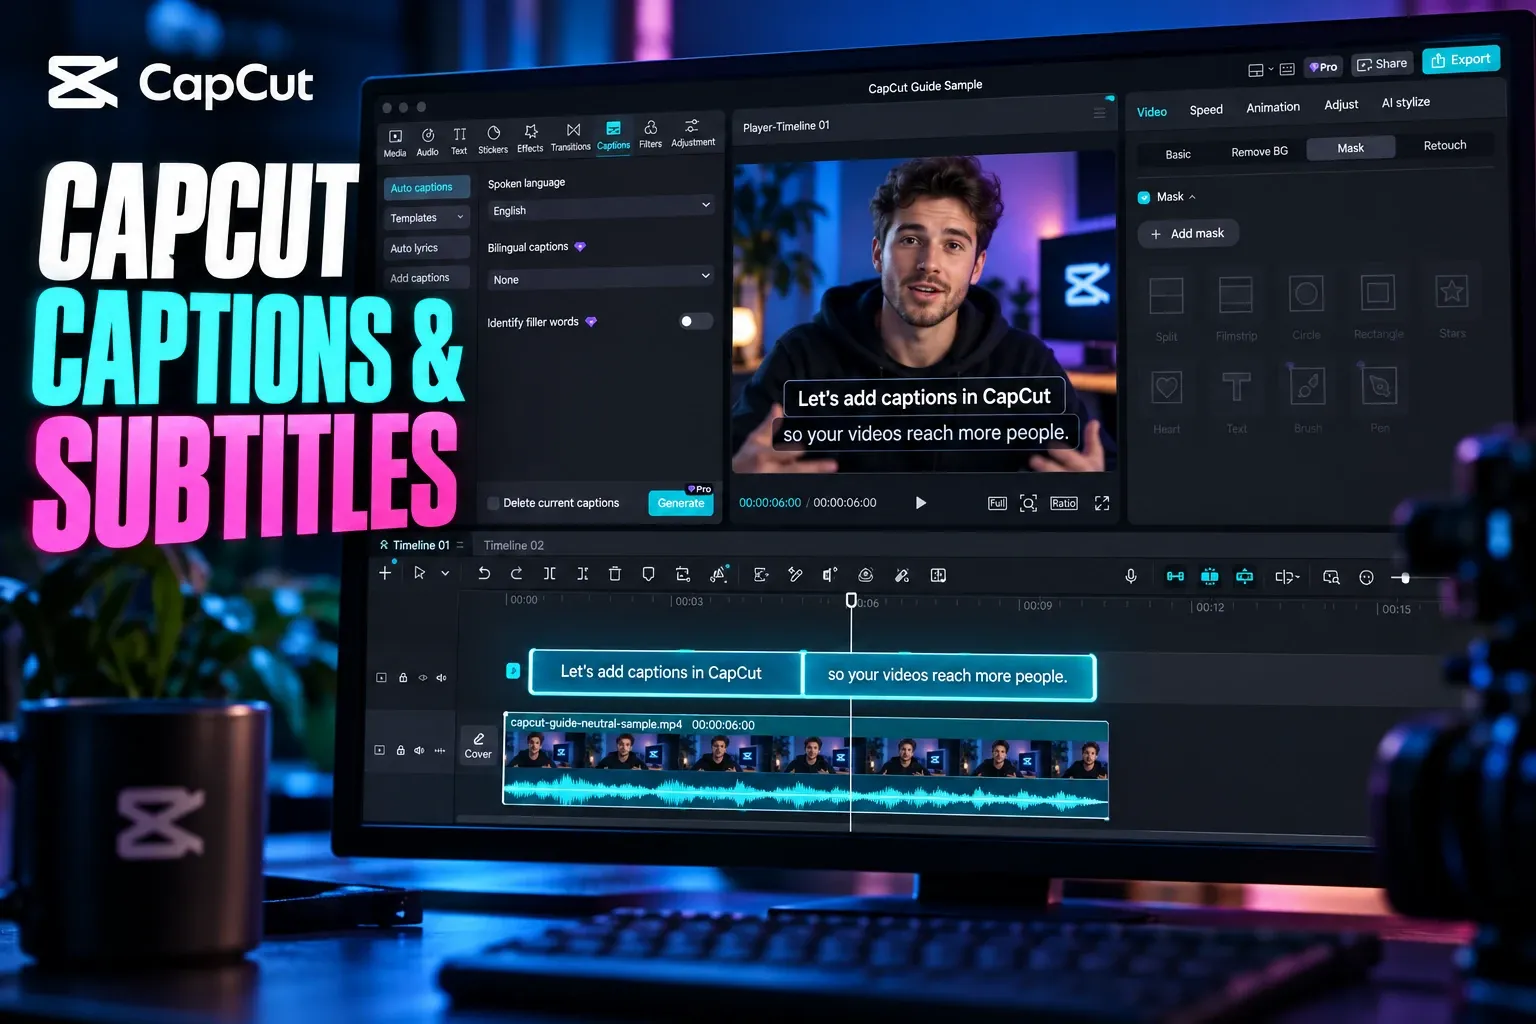
- Add a title and speech captions. Use plain text for the title and set the text layer's start and end. For spoken captions, choose the correct language and, where CapCut offers the choice, the audio source containing the speech. Correct names, timing and duplicate or overlapping lines. The text lesson and auto-captions lesson cover the separate workflows.
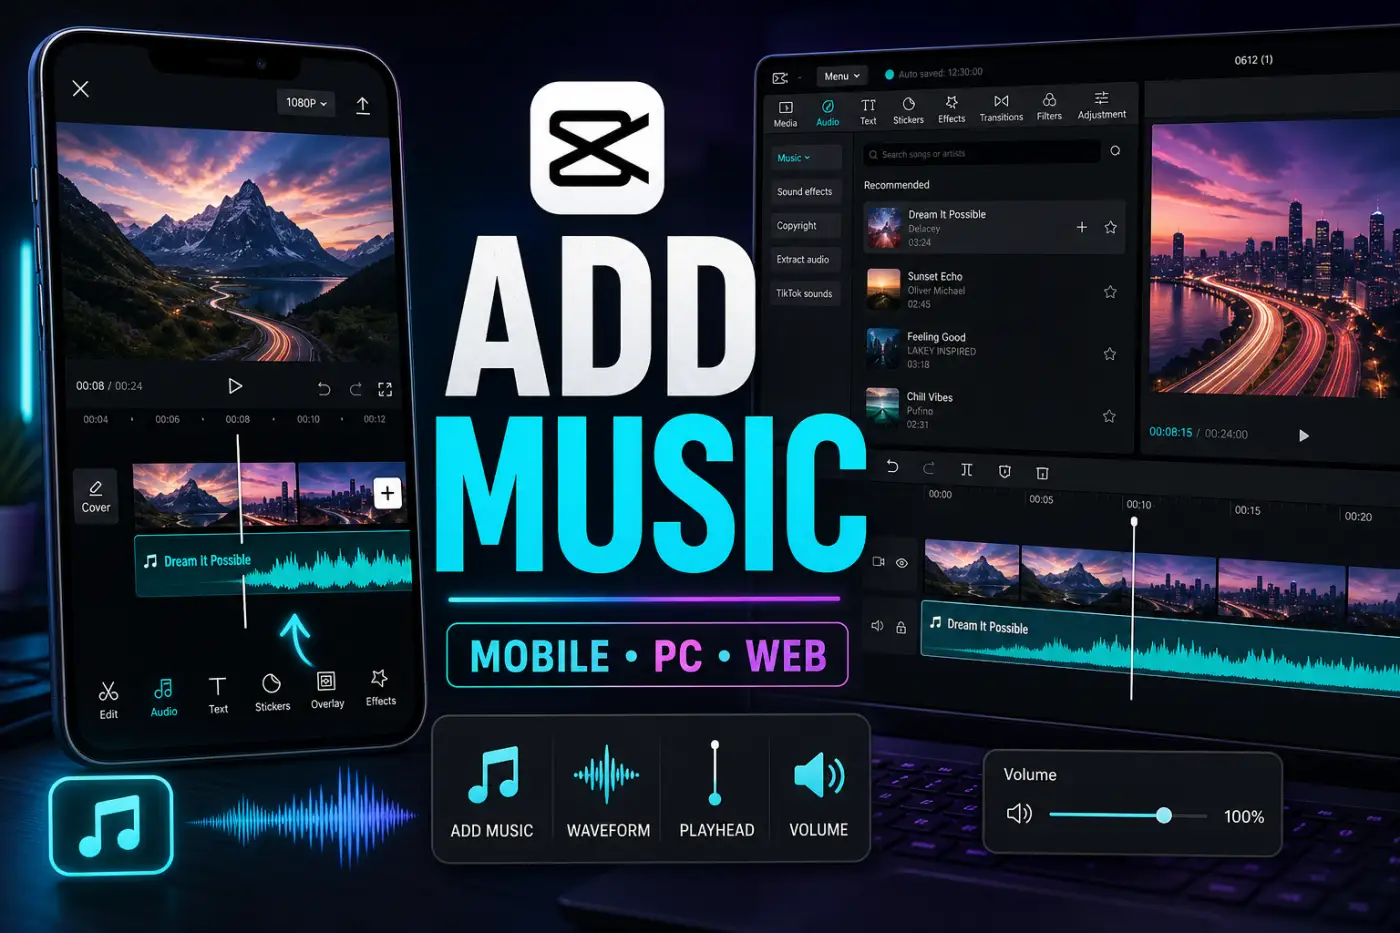
- Balance the sound. Set speech first. Add music only after the cut works, lower it until every word remains clear, and trim or fade an abrupt ending. A track appearing in CapCut does not grant every use: the materials licence distinguishes Sounds and Commercial Sounds and limits some uses. Use the music lesson for platform routes and licence checks, then the audio-mixing guide to balance voice, music and effects on separate tracks.
- Watch the whole timeline. Start at the first frame and check every cut, title, caption and audio change through the ending. Read text on a small screen. Remove blank frames, duplicate captions and unintended ending material. Add an overlay, transition or effect only if the finished sequence needs it.
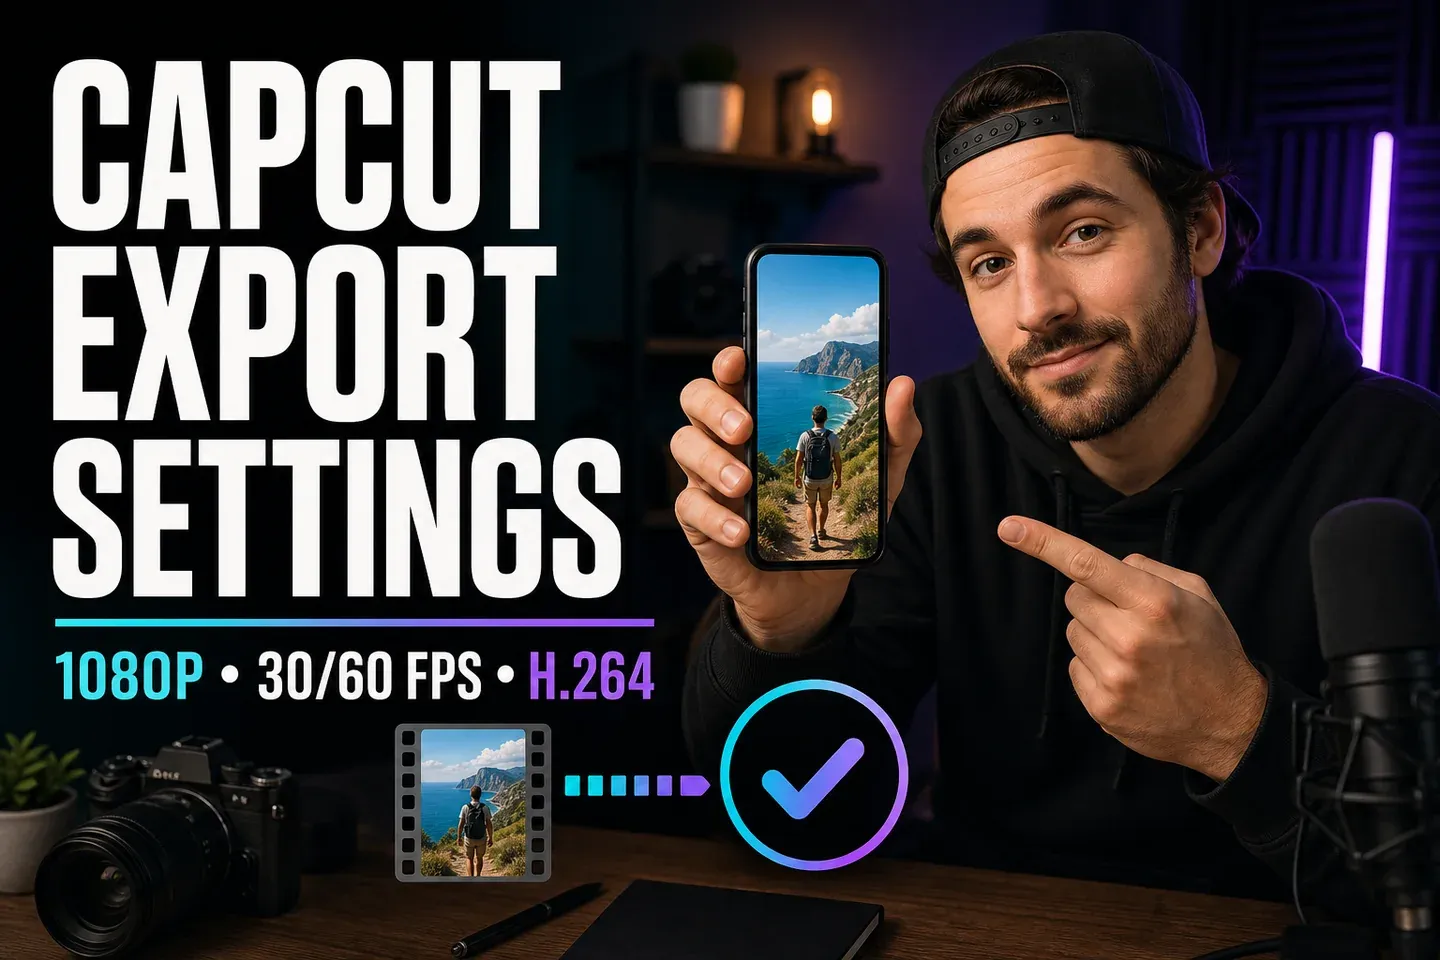
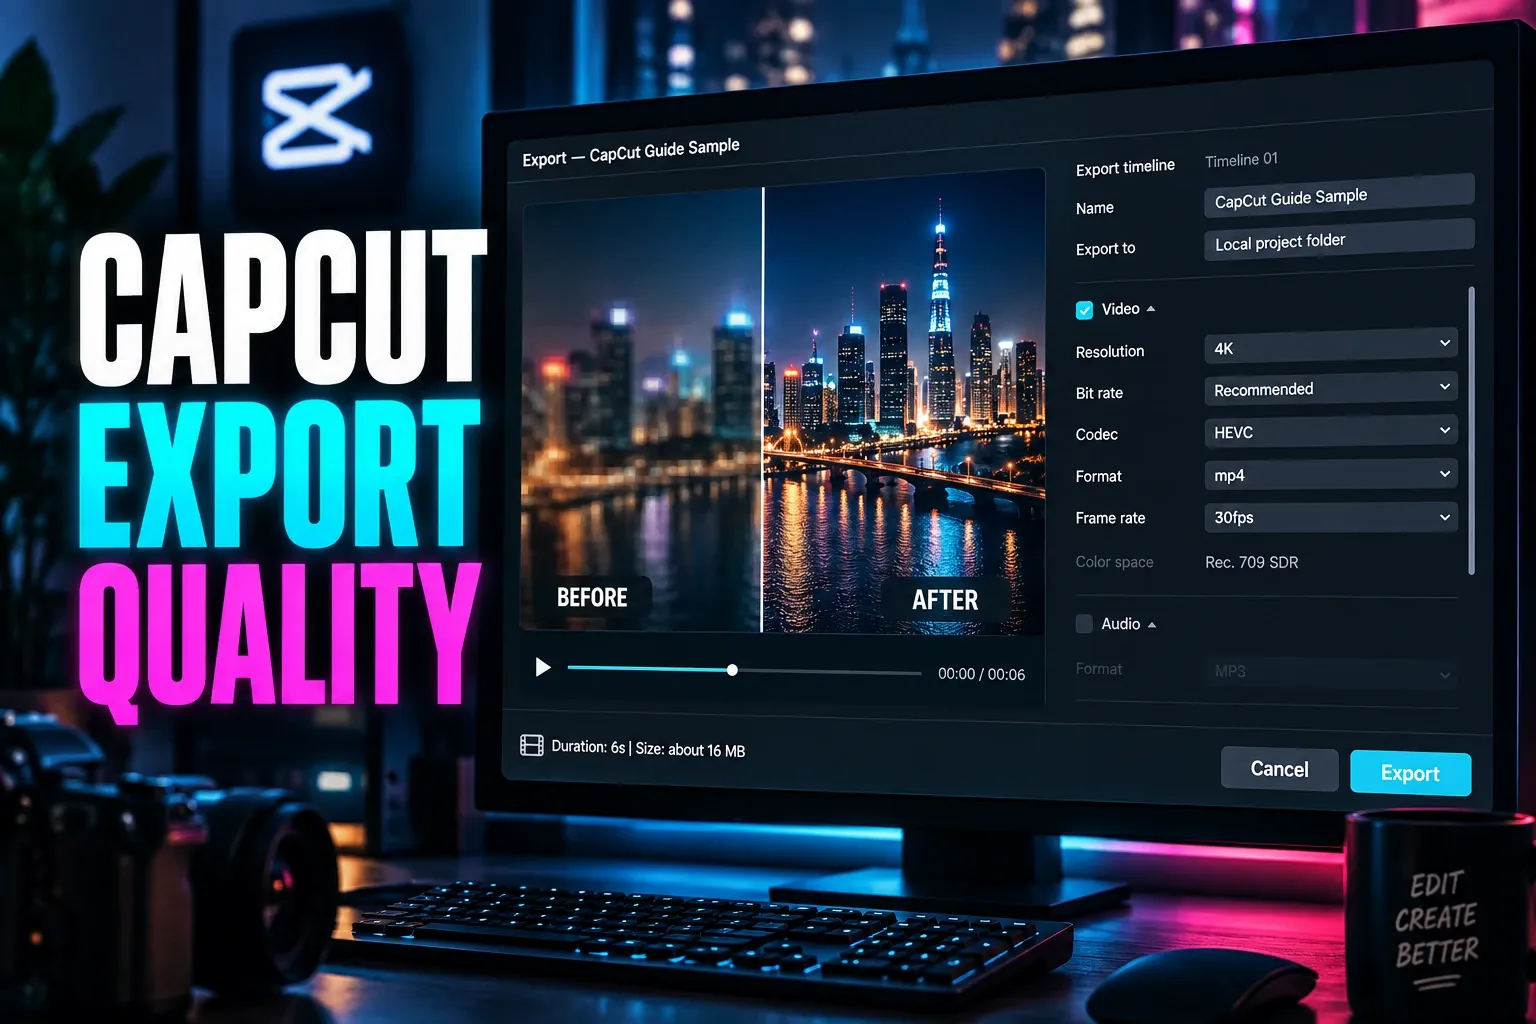
- Export and inspect the complete file. Read the live export panel, including any paid-asset prompt. Save the video, open it outside CapCut and watch from beginning to end with sound. A short diagnostic export can catch a local problem, but it cannot approve the rest of the timeline. Use the export-settings guide when the destination has specific requirements.
You are done when the full saved video plays correctly and the editable draft still opens with its source media. Keep both. CapCut confirms that re-importing an exported video creates one flattened clip; it does not restore separate tracks, captions or effects.
Choose the next lesson by the job
The cards are routes, not a 21-part course. Complete the core edit first. Then open one specialist lesson for the problem in front of you. Each guide appears once, and still-image or audio-only jobs are kept outside the main video path.
Core edit
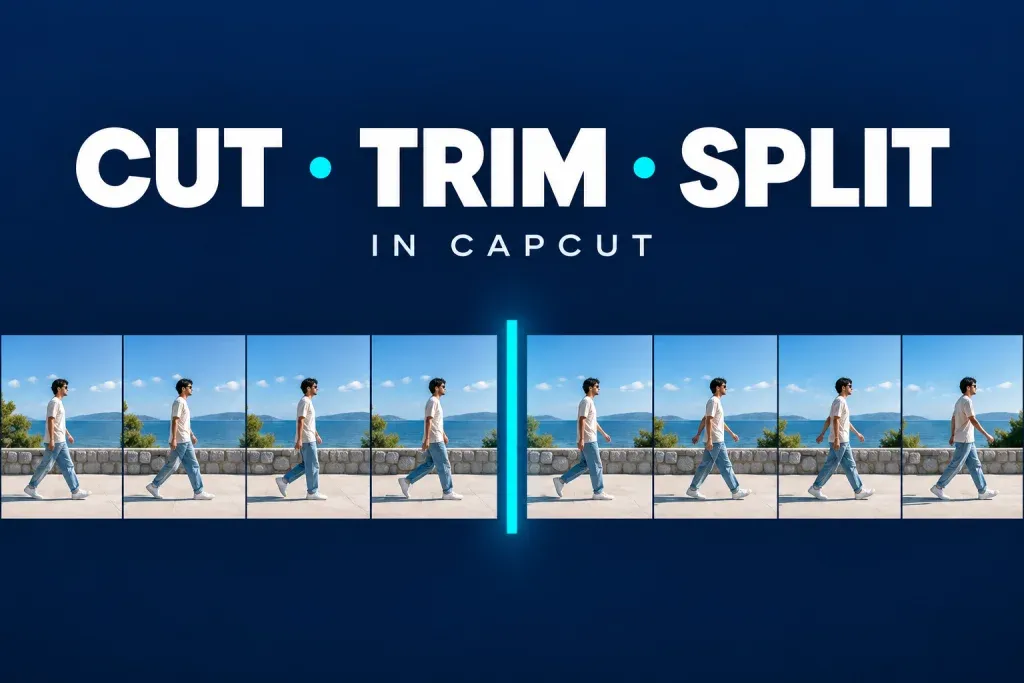
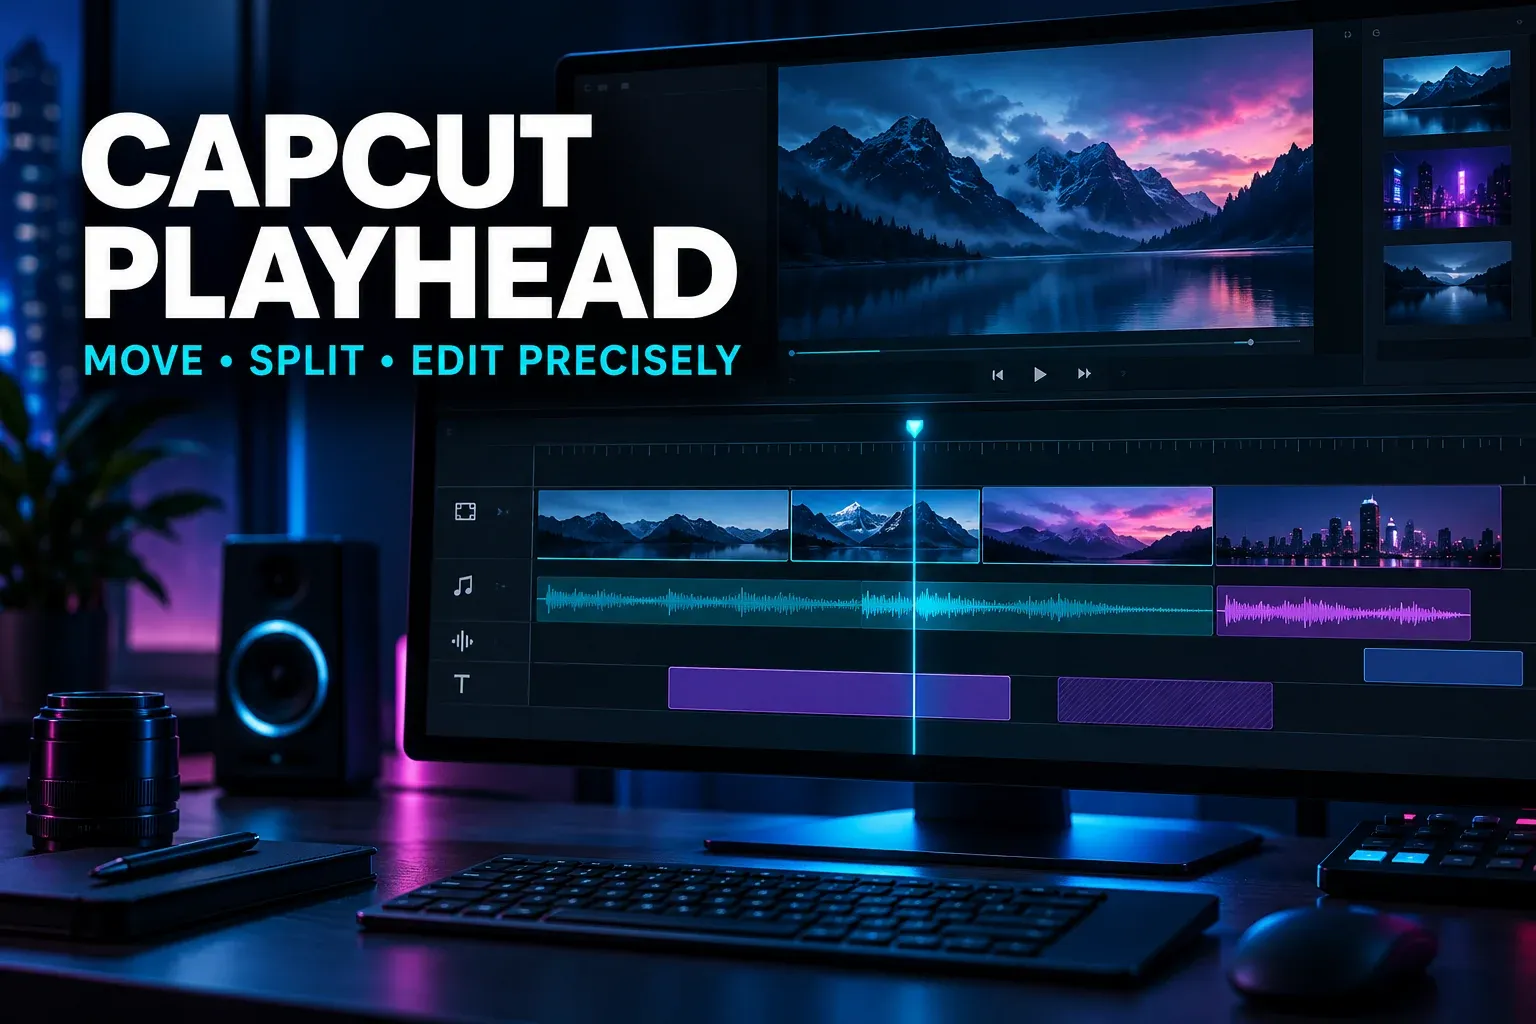

Frame and sequence
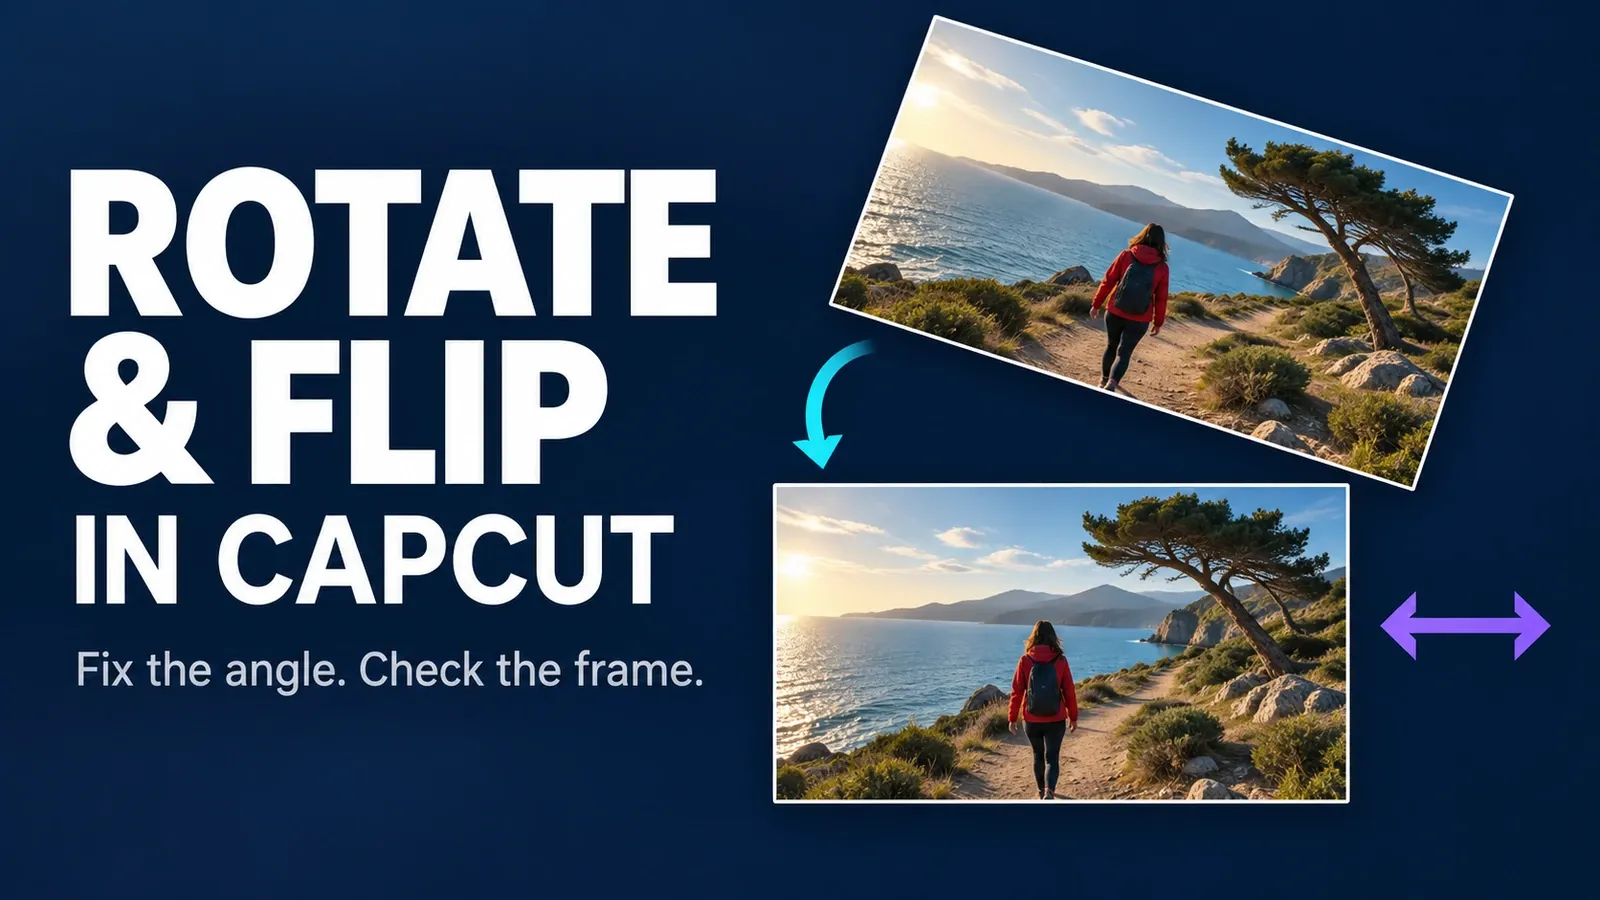
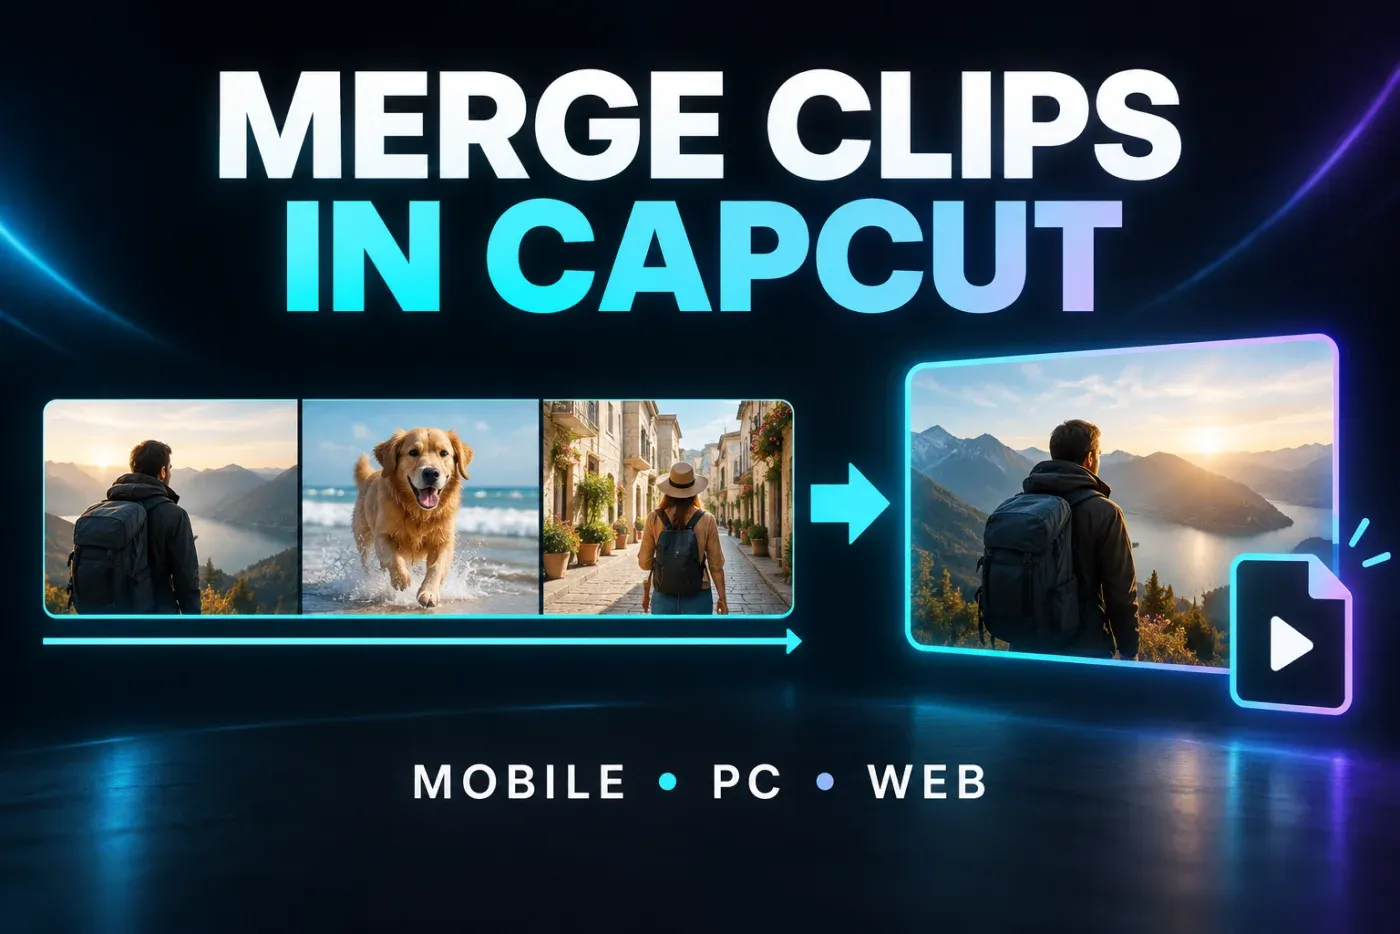
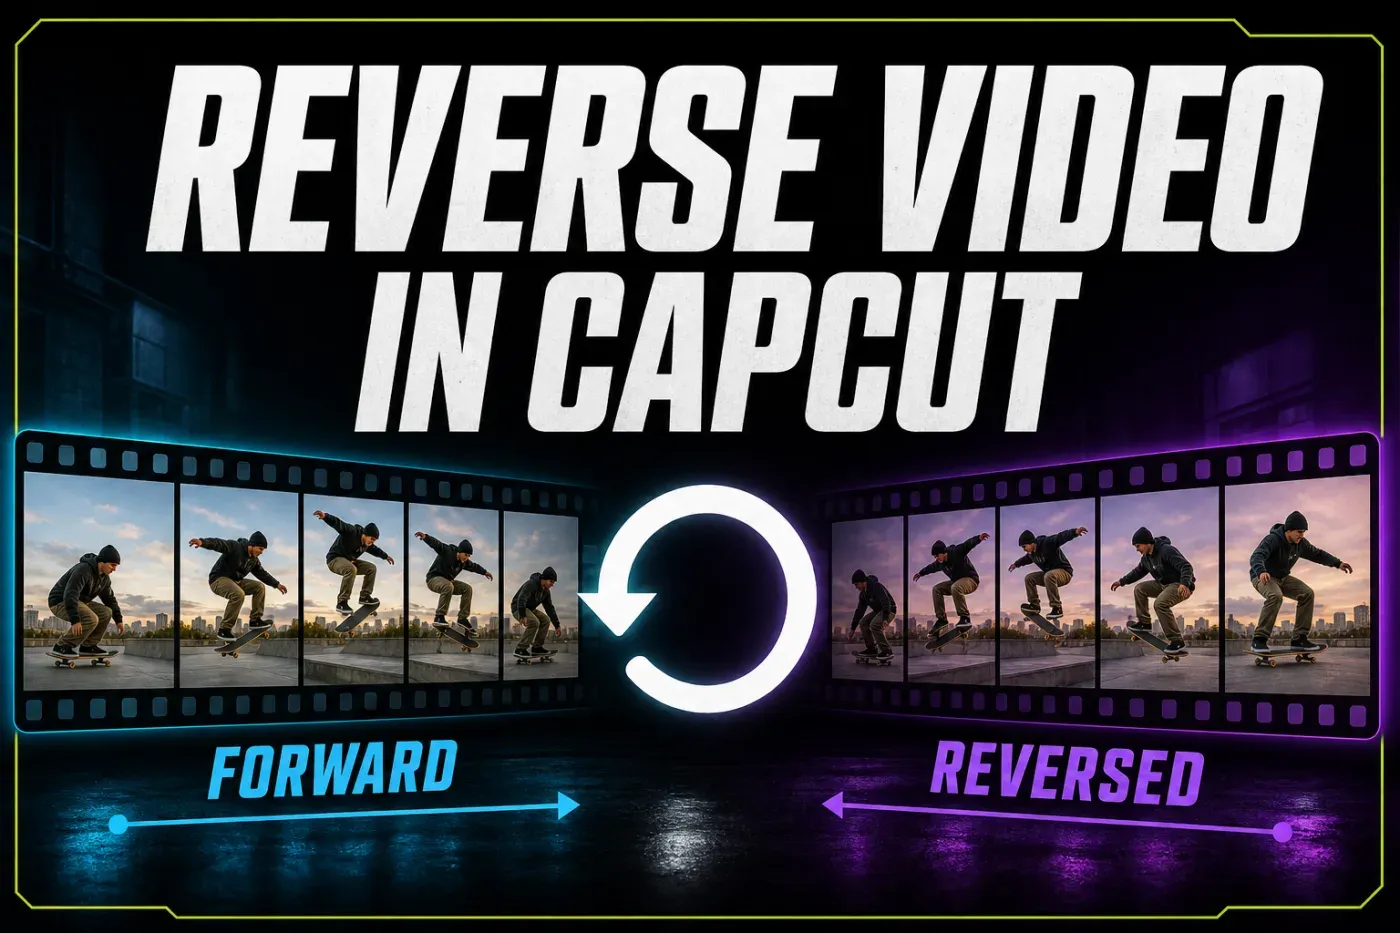
Layers, motion and repair
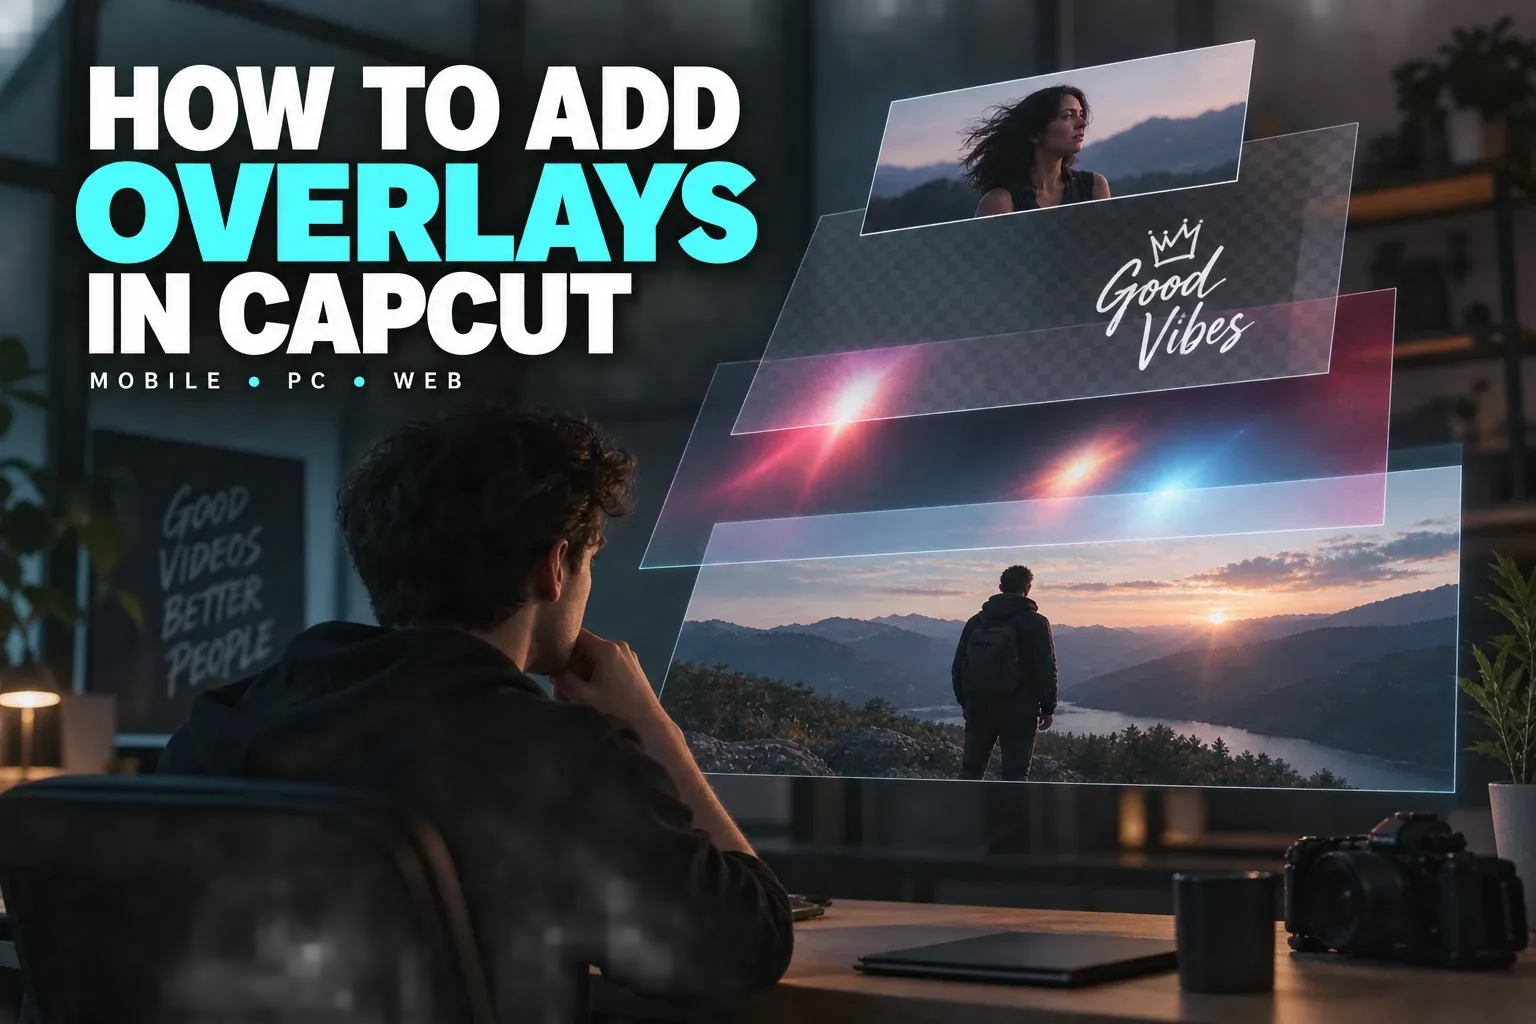


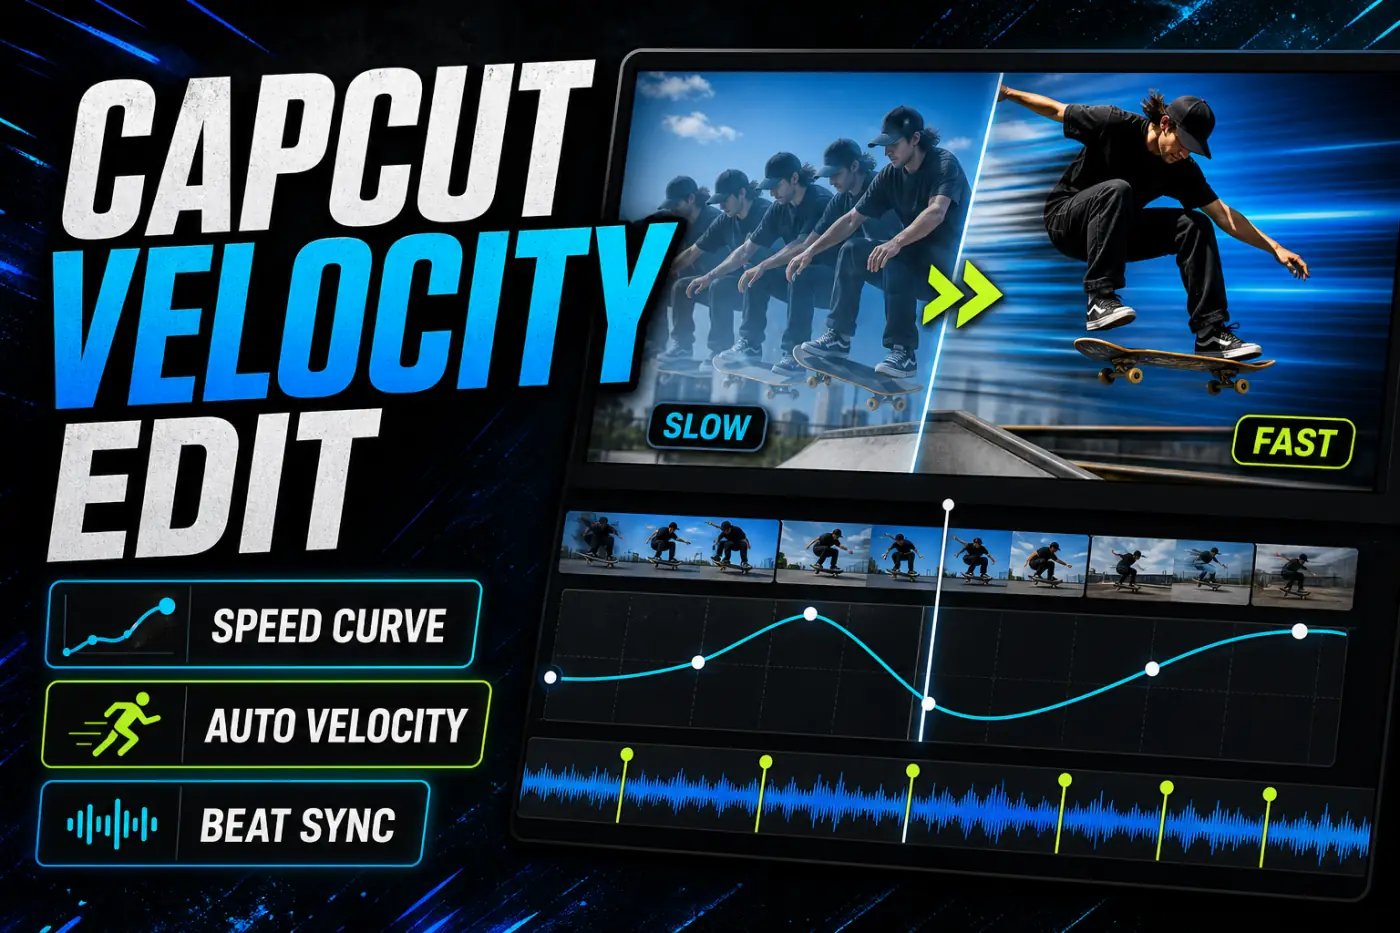
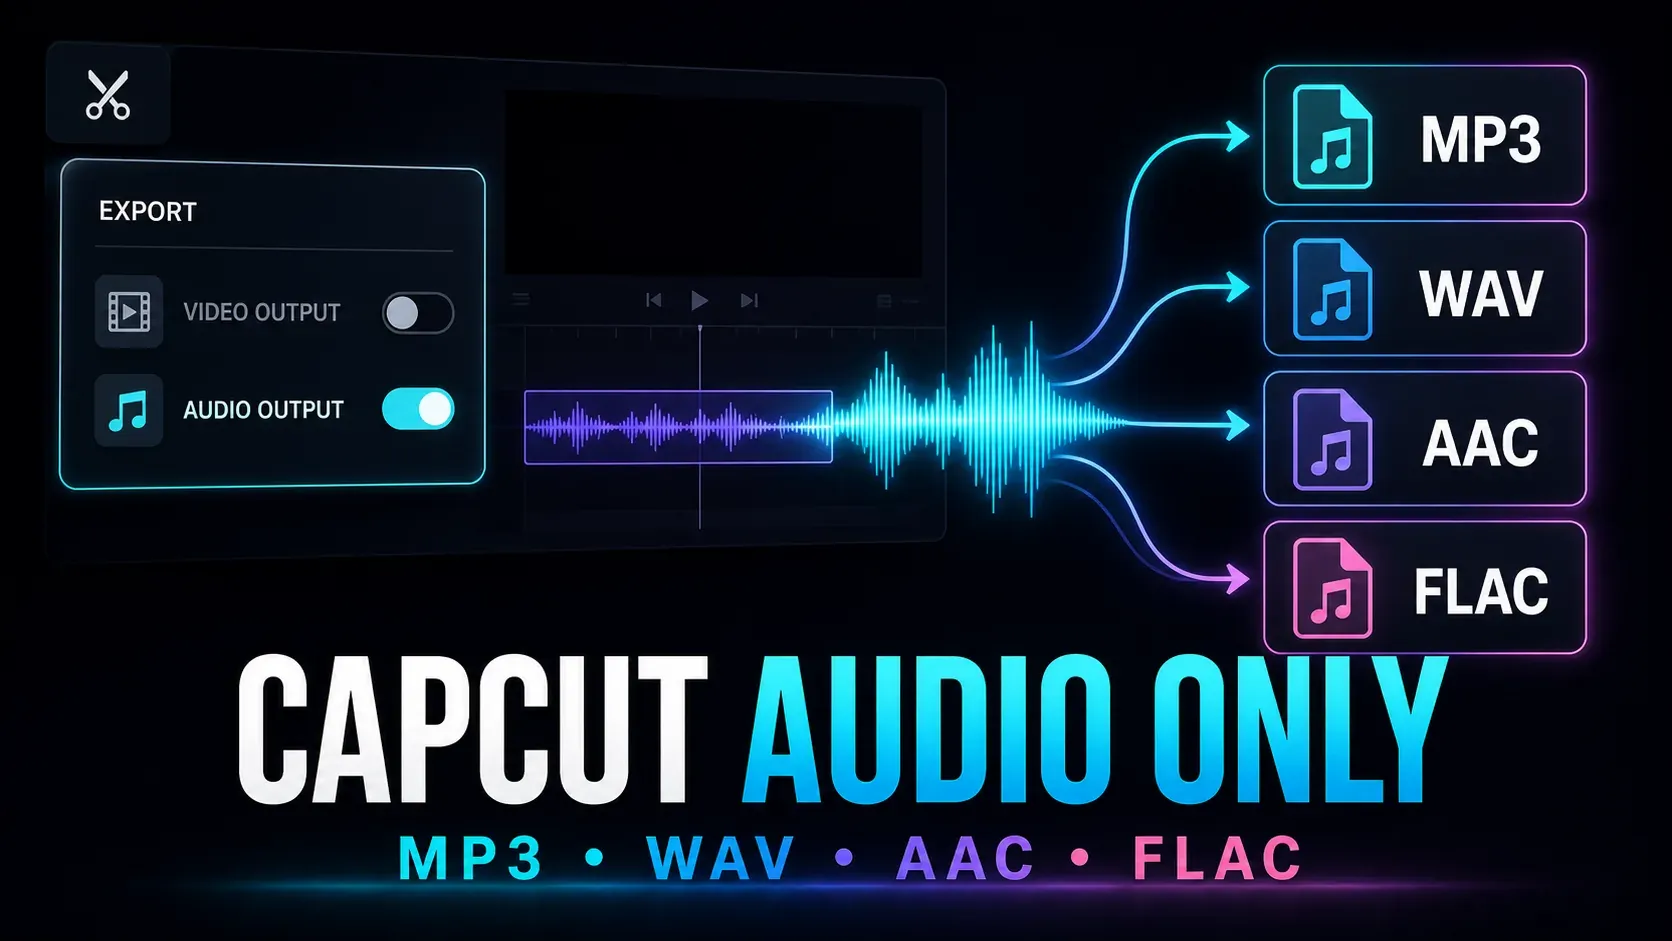
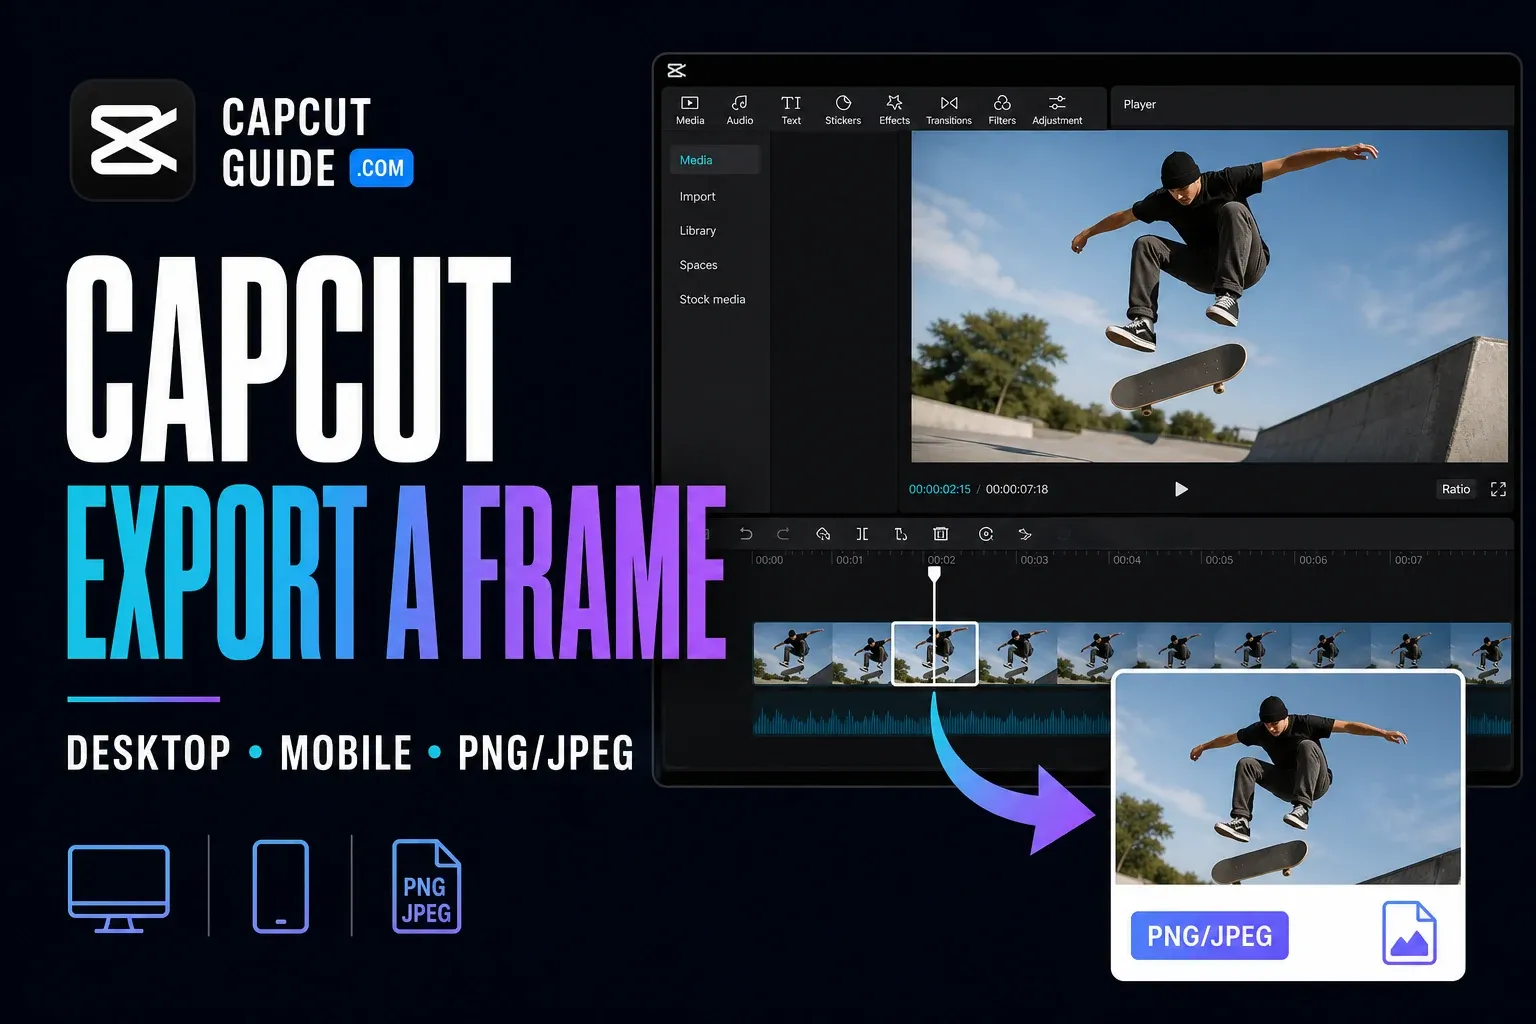
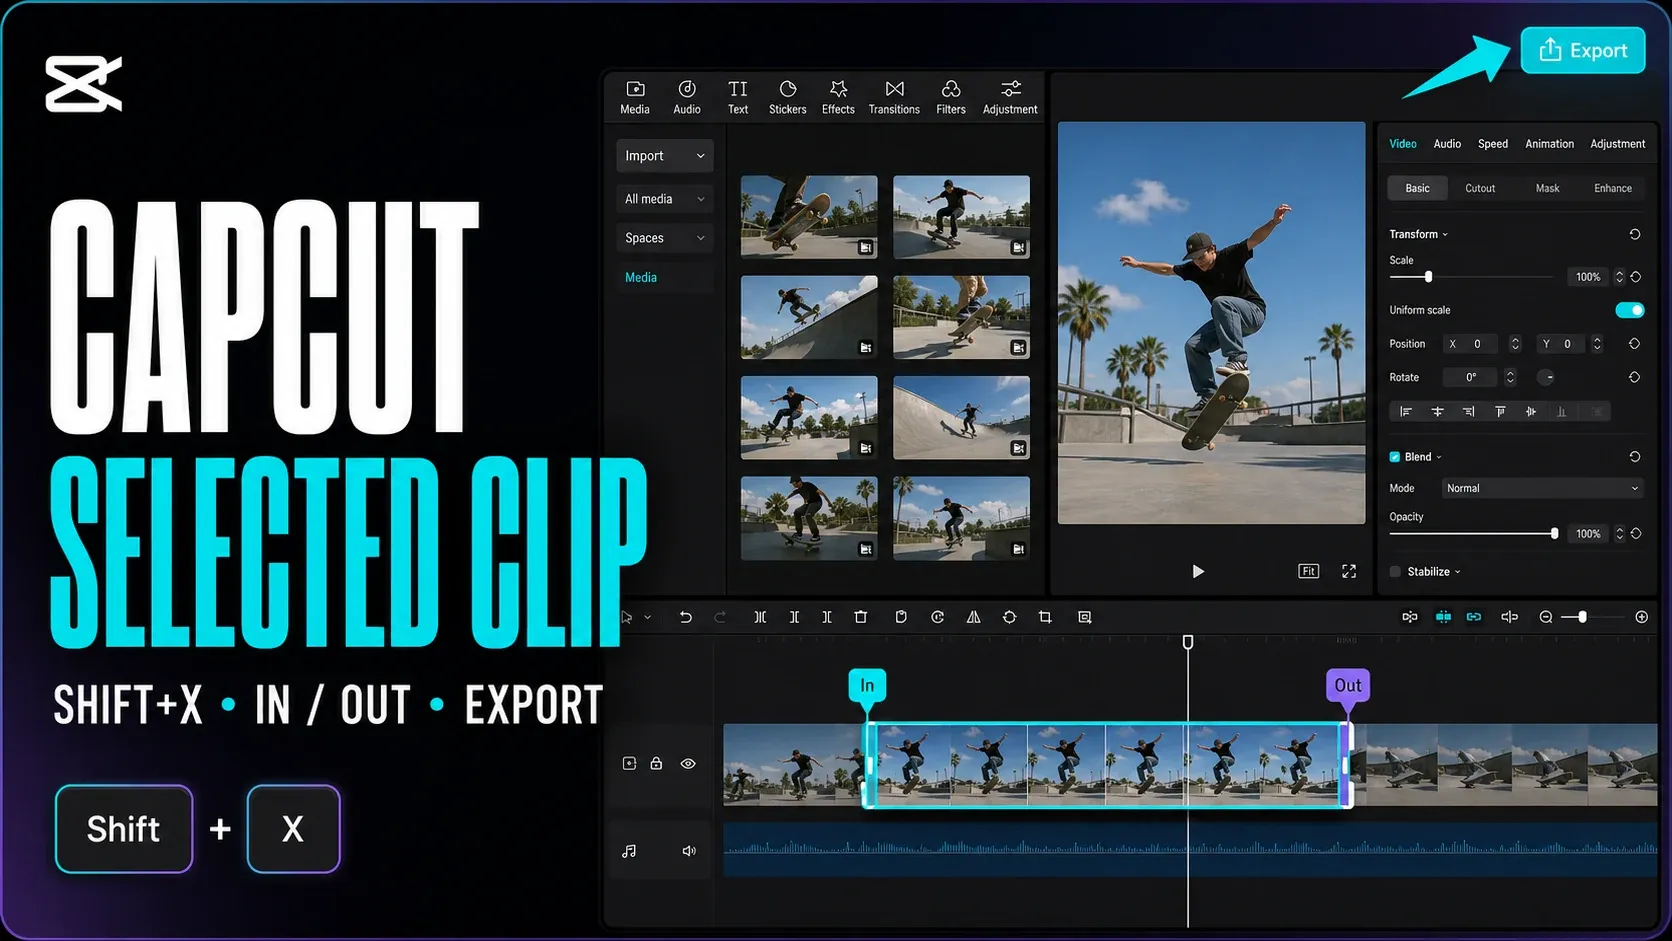
Separate output jobs
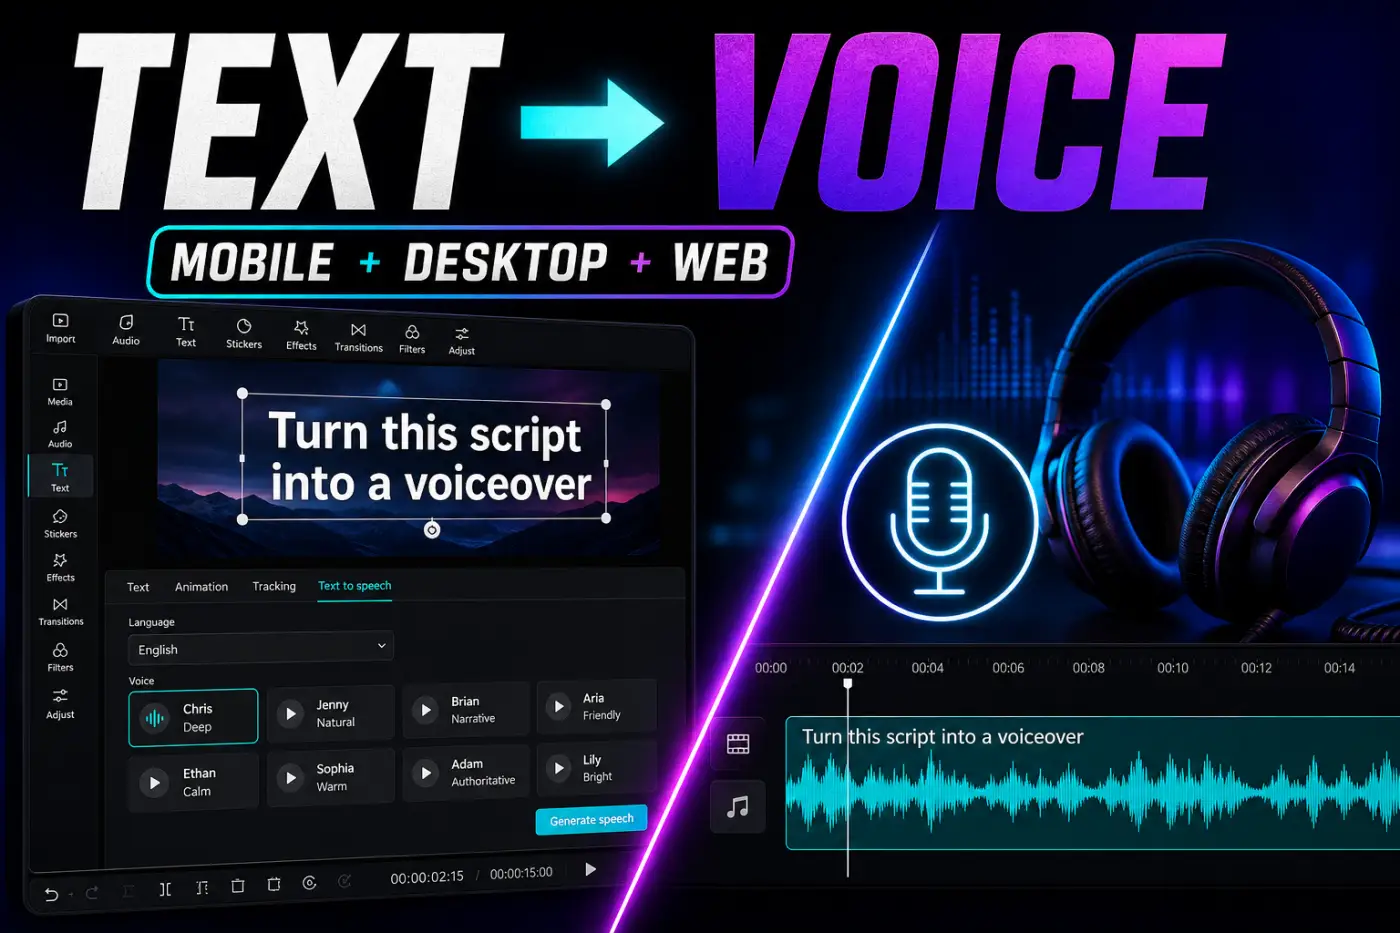
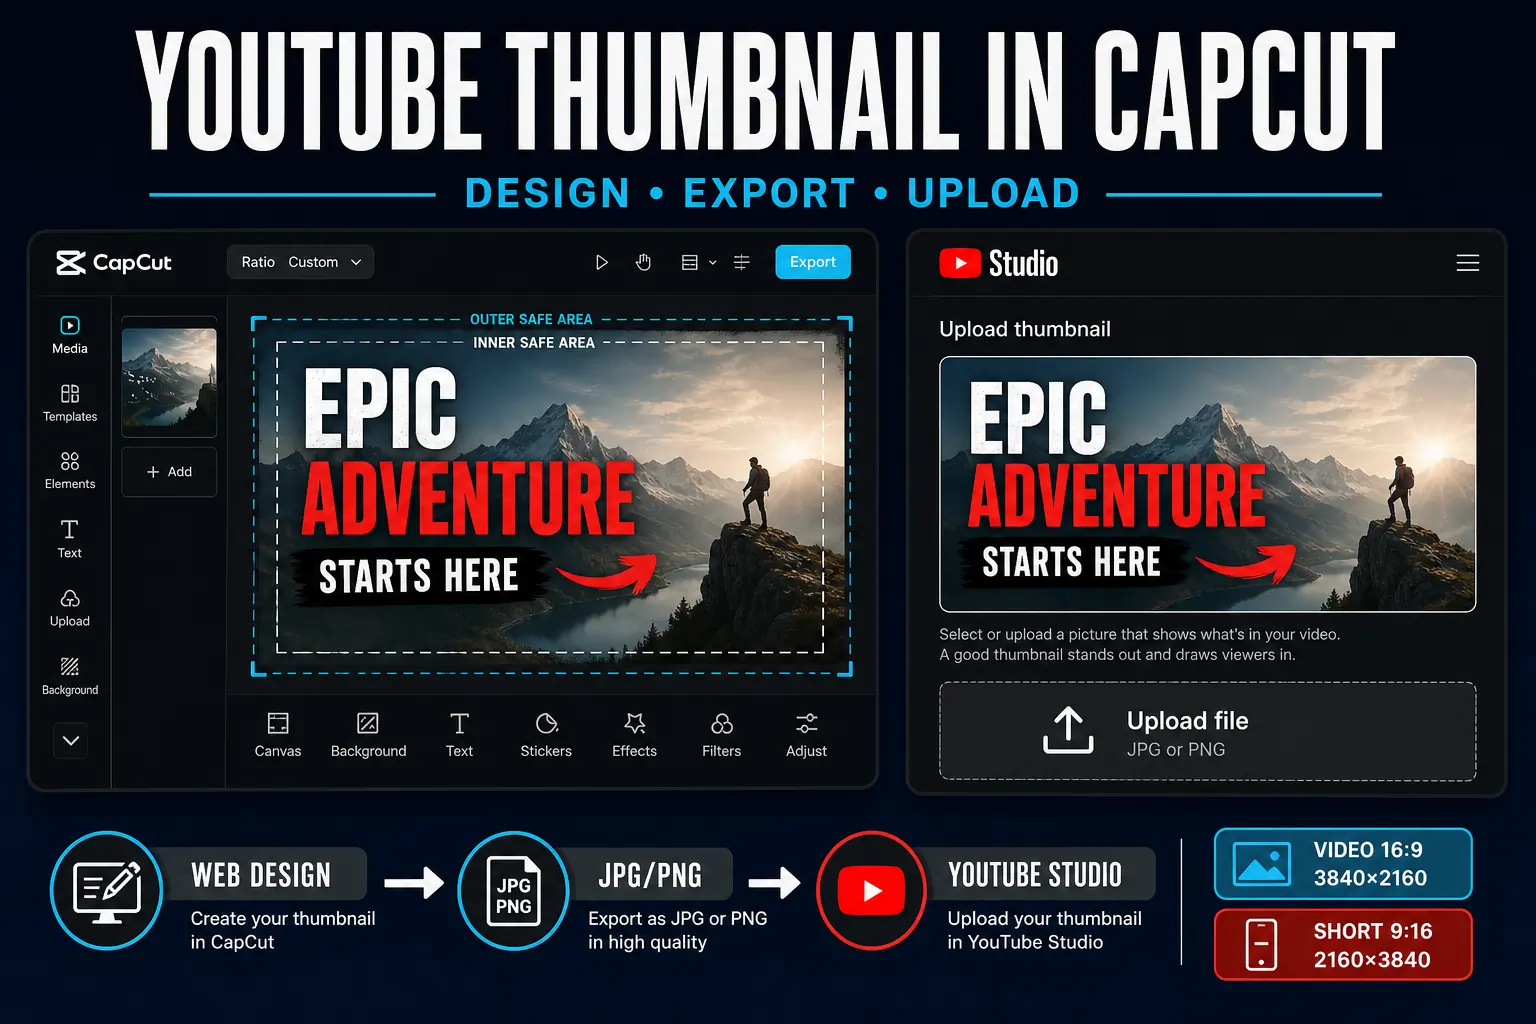
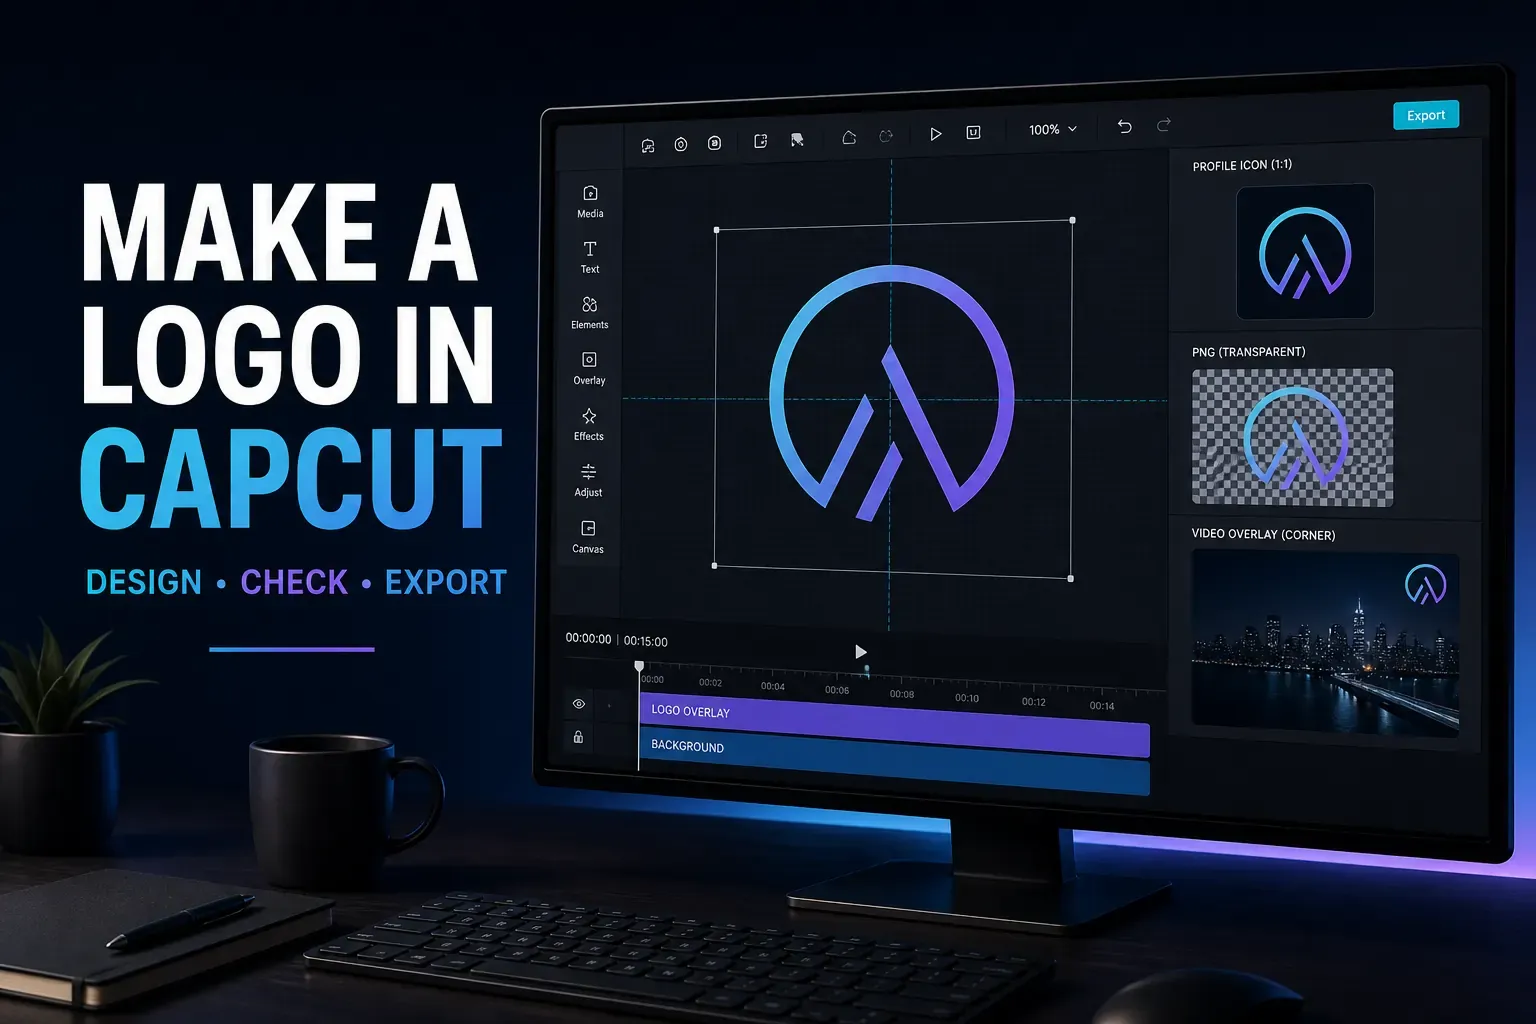
Choose Mobile, Desktop or Web
| Platform | Useful starting point | Before you commit the project |
|---|---|---|
| Mobile | Footage already on your phone and a short touch-based edit. | Check media permission, selected Photos or Videos category, available storage and whether a needed file exists locally. |
| Desktop | A wider multi-track timeline and local folders. | Keep source files in stable locations. Tool positions and template access can differ from Mobile. |
| Web | A browser timeline where app installation is unavailable or inconvenient. | Uploads, account identity, browser memory, network quality and cloud space affect the workflow. Check permission before uploading work or client media. |
For setup details, use the CapCut for PC guide or CapCut online editor guide. Platform menus and available tools can differ by account, region, plan and version. A missing button does not by itself prove a broken installation.
Five checks that prevent a bad first export
- Confirm the selected layer. Select the exact video, text or audio item before changing a control, then replay that section.
- Check the join after deletion. Look for a gap or overlap and listen for a cut-off word. Track magnet and ripple behaviour are not identical on every track.
- Preserve source files. Do not move, rename or delete them during the edit. If media is missing, protect the timeline placeholders and use the recovery guide before reinstalling.
- Read paid and rights prompts before export. One premium asset can trigger a prompt. Replace it or make an informed purchase; do not wait until delivery time to investigate.
- Watch the saved file. The preview and a short sample cannot prove the complete export. Check picture, sound, captions, first frame and final frame outside the editor.
How this hub was checked
Reviewed on September 16, 2026 against the current public lesson pages, CapCut's beginner, import, caption, project and licence documentation, and the observed search result set recorded with this correction. This is an editorial learning route, not a claim that every tool was tested in every account, region or device build.
CapCut tutorial FAQ
Where should a complete CapCut beginner start?
Make one short blank project: import local clips, arrange them, trim and split, add a title and any needed captions, balance sound, then export and watch the complete saved file. Open a focused lesson only when one step needs more detail.
Should I learn CapCut on Mobile, Desktop or Web?
Use the platform where you expect to finish the edit. Mobile suits phone footage and short touch-based work; Desktop gives a wider timeline and local-file controls; Web avoids installation but depends more on uploads, account state, browser resources and network quality.
What if CapCut cannot see my clips?
Check whether the import view is showing Videos or Photos, confirm permission for the media you need, and make sure cloud-only files are available locally. Desktop and Web use file selection or upload rather than mobile photo-library permission.
Do CapCut tutorials work on every version?
The editing logic transfers, but labels, button positions and available features can change by Mobile, Desktop, Web, account, plan, region and version. Match the lesson to your platform and confirm the control in the current interface.
Do I need CapCut Pro for my first edit?
You can build a basic edit with your own clips, plain text and available controls. Check the live export panel for paid assets or settings. Do not assume captions, AI tools, music or a particular output option are free merely because they appear in a tutorial.
Does exporting save an editable CapCut backup?
No. An export preserves the finished picture and sound, but not separate tracks, captions, keyframes or effects. Keep the editable project and source media, and verify a second editable copy before reinstalling the app or changing devices.