

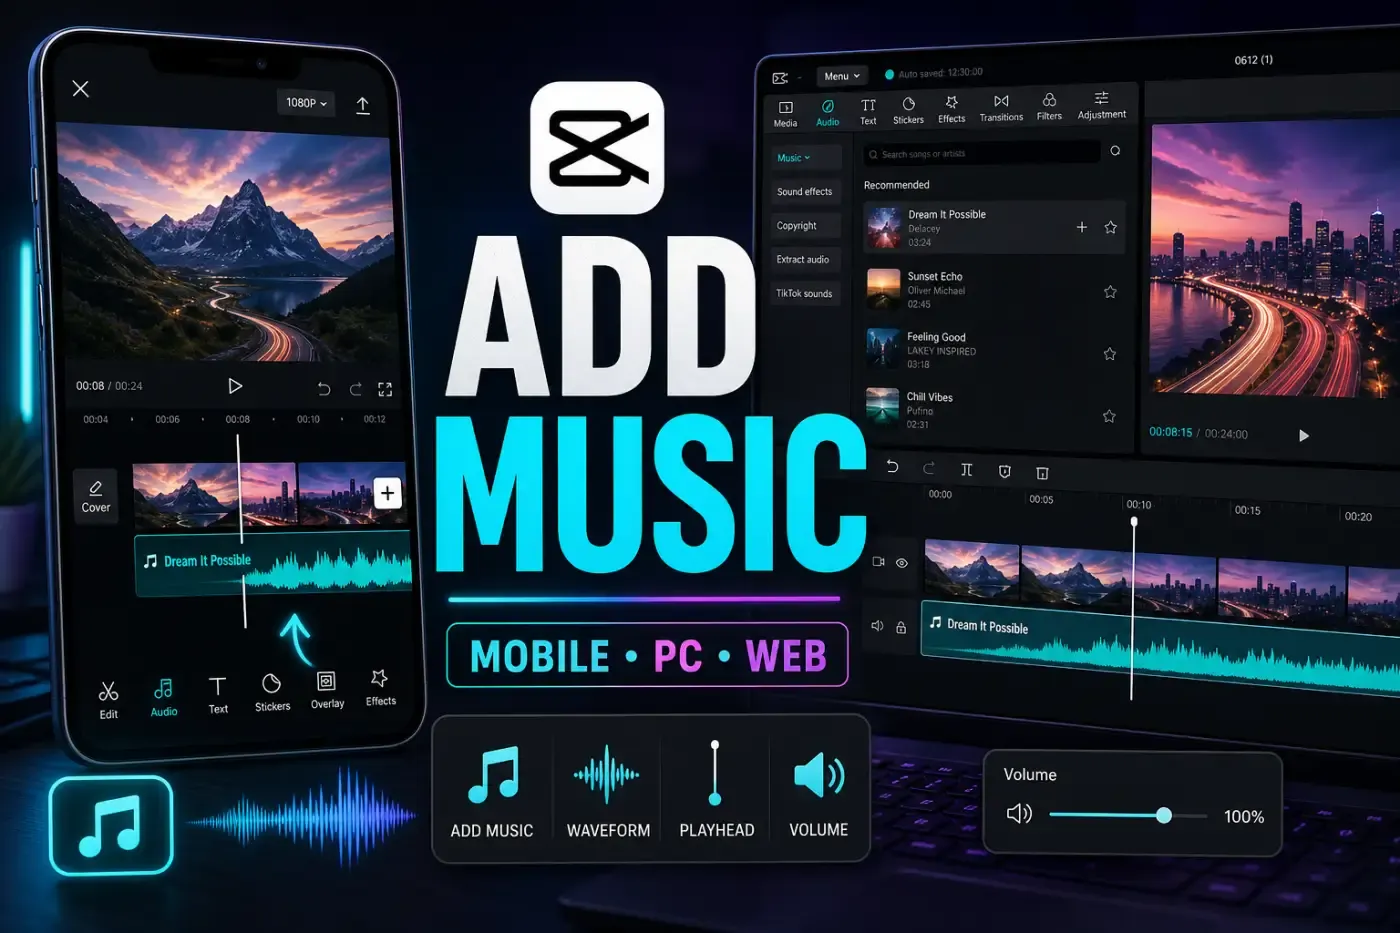
To add music to CapCut, choose a song through Audio on your phone, import a file through Media on Desktop, or upload it in the Web editor. Put the music below the video, trim it to fit, then lower it until speech is easy to hear.
For a talking video, finish the main cuts first. For a montage, you can choose the song first and cut around its rhythm. Either way, use a track you have permission to publish.
Instructions and sources reviewed September 13, 2026. This guide uses CapCut documentation and official interface examples, not a hands-on test of every device or account.
Choose a track you can keep using
If you already have an original recording or a licensed music file, keep a copy outside CapCut. Save its license or permission with the project, especially for client work. For a library song, read the track label before building an edit around it; the publishing limits below matter if you will post outside TikTok.
Add music on iPhone or Android
- Open your edit, or tap New project and add the video clips.
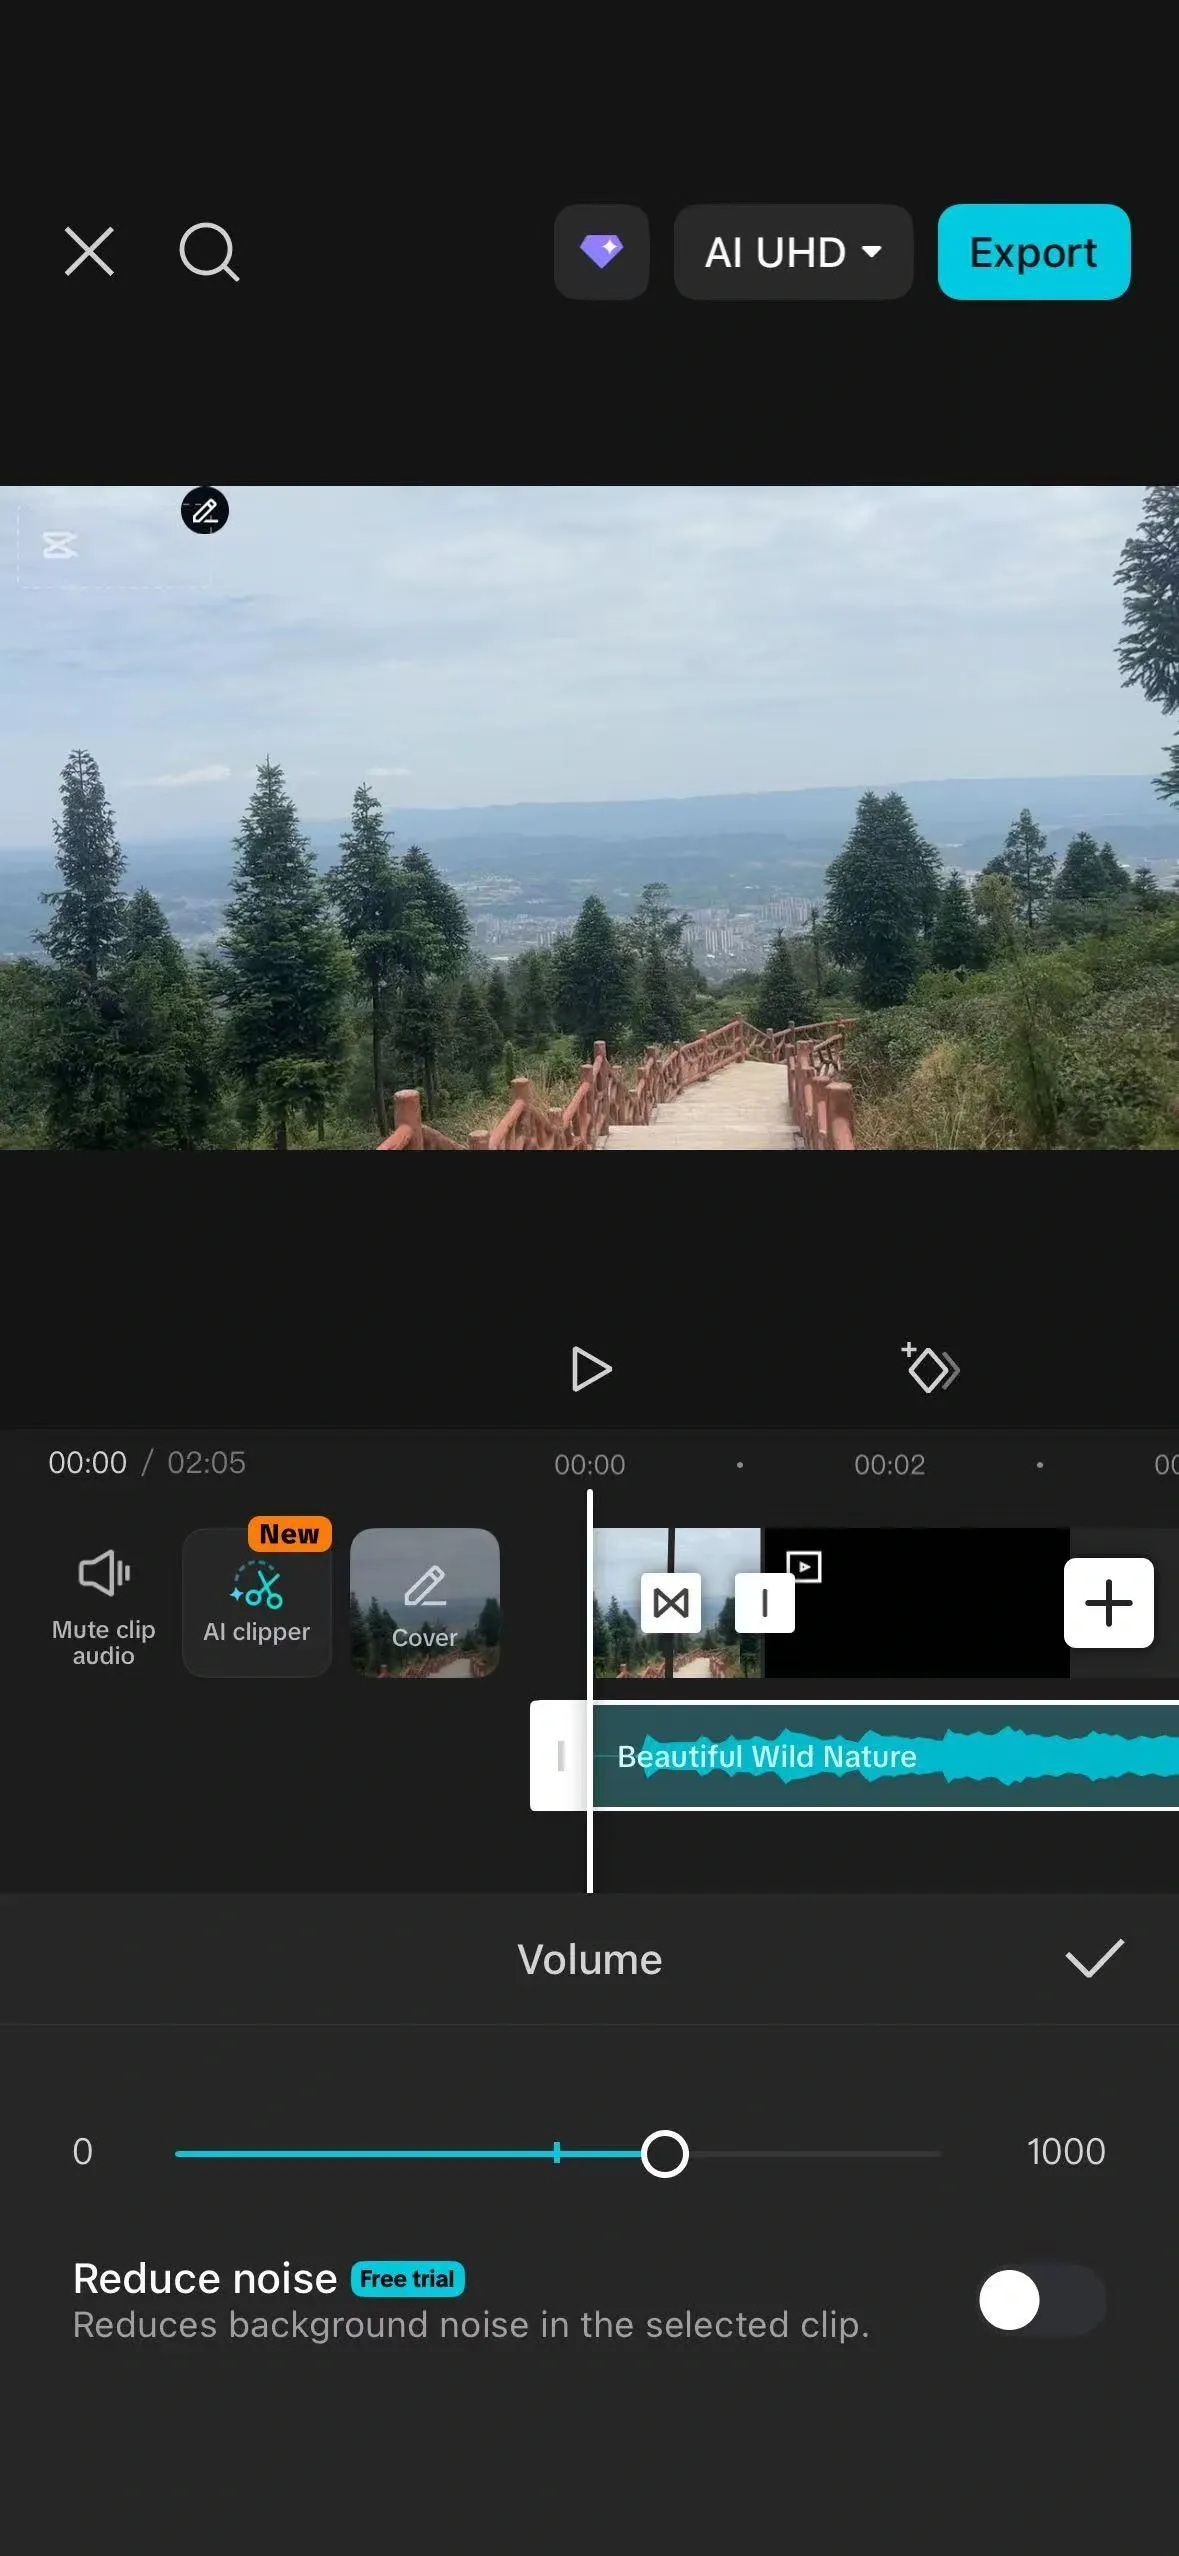
- Return to the main editing toolbar and tap Audio → Sounds. Some layouts also show Add audio directly under the video track.
- For library music, search or browse, preview a song, then use the add control beside that song. For a local recording, open the device-audio source if your version offers it; do not use the plus button at the end of the video track.
- Select the added audio waveform. Move the whole clip to change when the music starts; pull an edge inward to shorten it.
- Open Volume for the selected music clip. Lower it while speech plays, then use the audio fade controls if the start or ending is abrupt.
- Play the edit from the beginning and check the ending. Export a sample before relying on the mix for the full video.
CapCut documents Audio, Sounds and the selected-track volume controls. The local-file picker is less consistent across releases, so use the next checks if you cannot find it.
Your own music is in Files, but CapCut cannot see it?
First play the file in the phone’s file manager and let any cloud download finish. If CapCut opens a file picker, select the audio there. A photo-album picker will not necessarily list an MP3. If you are importing a video that contains the sound, check access to that video in Photos instead.
If your build has no device-audio entry, do not keep changing photo permissions or reinstalling the app in search of a missing folder icon. One iPad user reported exactly that missing import route; the report does not establish that all iPads behave the same way. Keep your project and try an available Desktop or Web import route with a copy of the source file. That test does not move your existing edit.
If you must finish on an iPhone or iPad and the picture edit is done, you can export it and add your local music in iMovie only if you have permission to edit every included asset outside CapCut. The US Materials License Agreement restricts editing CapCut-supplied materials outside the platform. Use your own or separately cleared assets for this fallback, and check the terms for your region. Apple documents Add Media → Files for stored audio. Keep the CapCut project: the exported video flattens the edit, so its original clips, captions and layers will not become separately editable in iMovie.
Import music on PC or Mac
- Open the project and choose Media → Import. Select the audio file saved on your computer.
- Preview the imported file so you don't add a silent or wrong version.
- Drag it to an empty audio track below the video timeline.
- Move the waveform until its first useful beat or phrase meets the intended cut.
- Trim the start and end. Split only when you need to remove a middle passage or build a deliberate edit.
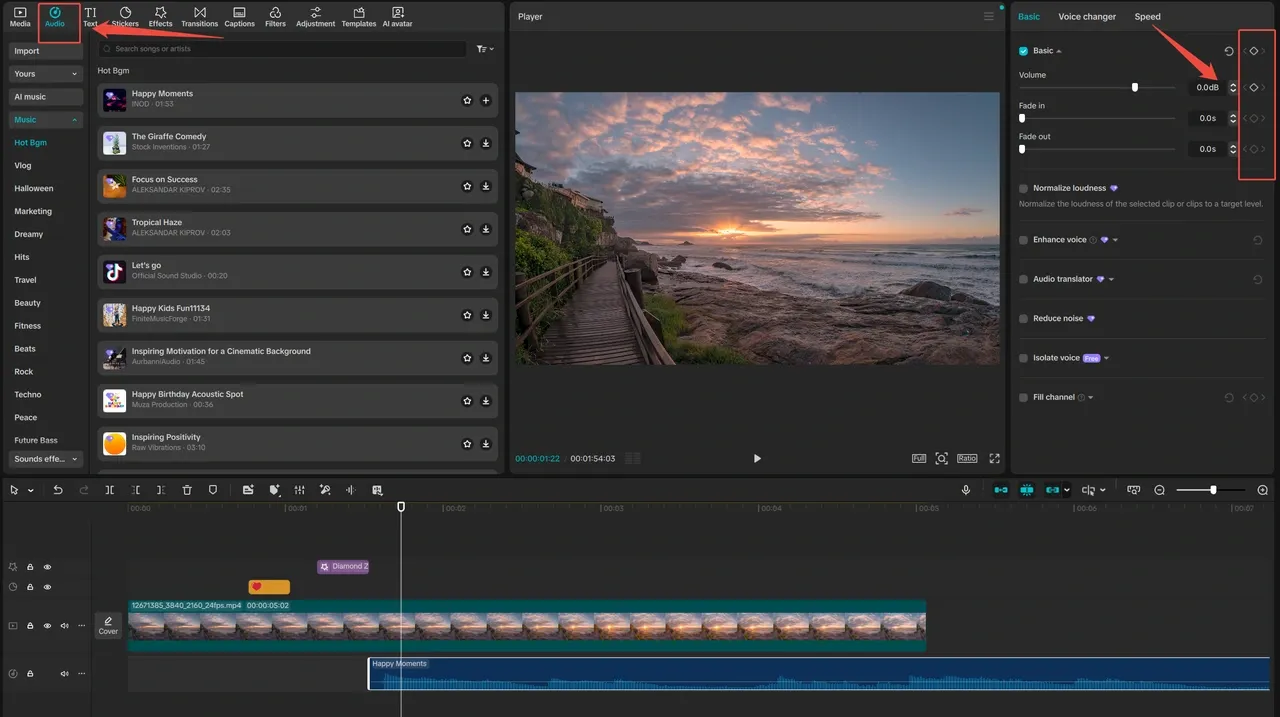
- With the music selected, set Volume, Fade in and Fade out in the right-hand Basic panel. Listen through the dialogue, then export and check the saved video outside CapCut.
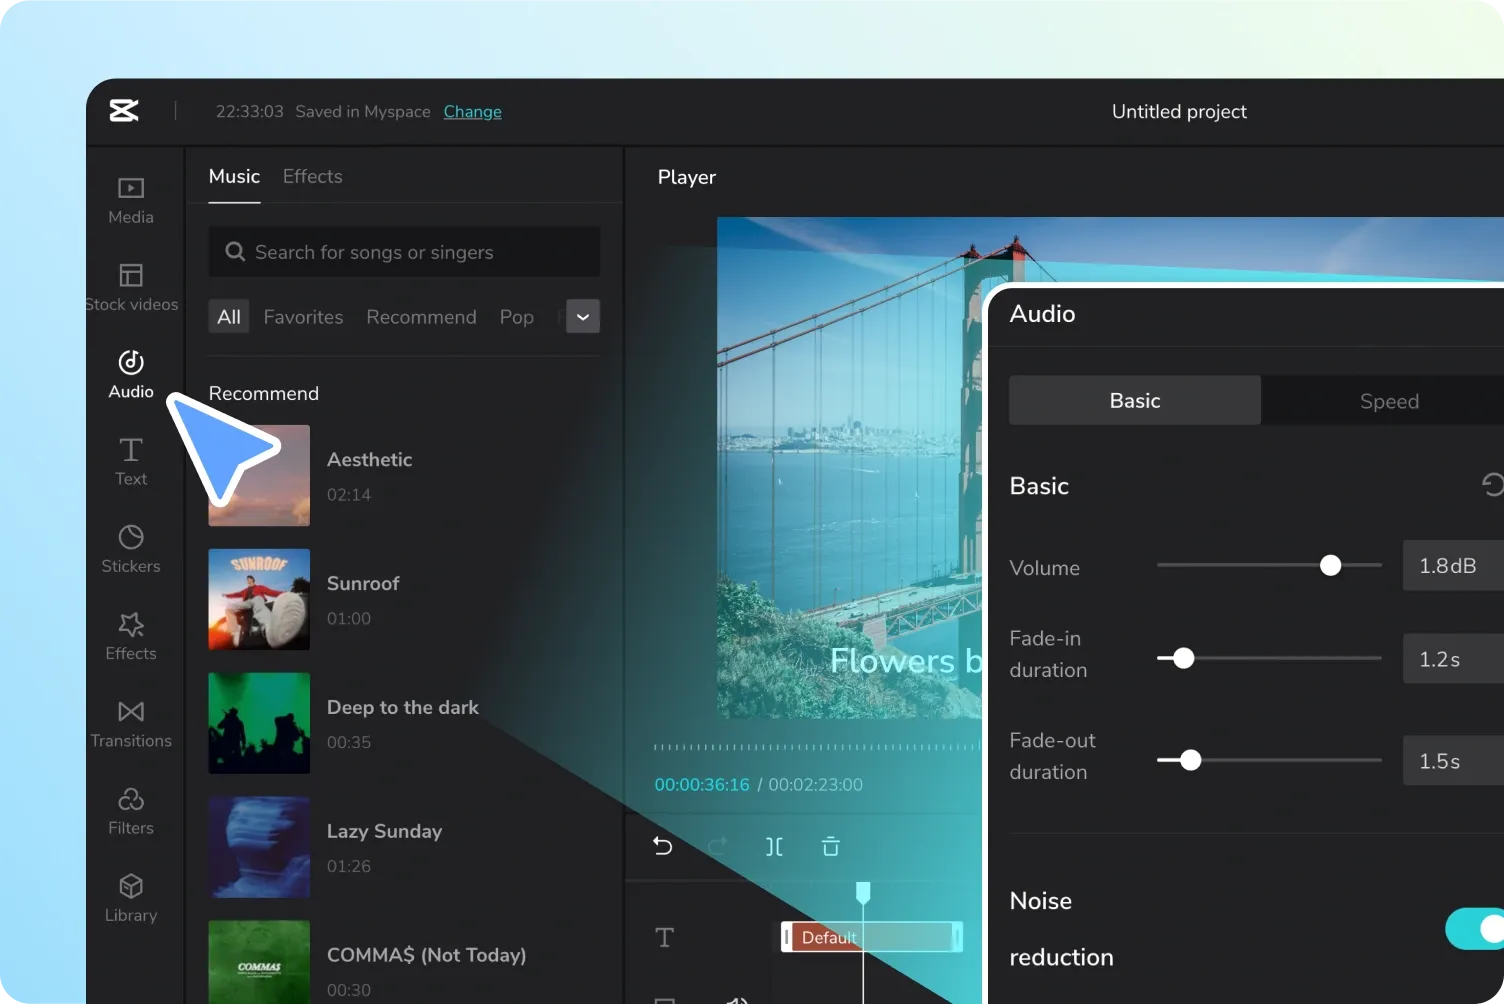
The official Desktop audio instructions use Media → Import. Use Audio → Music when you want the catalog instead. If the media bin and timeline are unfamiliar, start with the CapCut for PC guide.
Add music in the Web editor
- Open the browser editor and your project. For your own file, use the Media/Upload area and wait for the upload to finish. For a catalog song, browse Audio or its Music tab.
- Add the music to the timeline under the video, then select its waveform.
- Set the start and end. Open the selected clip’s audio controls to adjust volume and fade durations.
- Save the edit, export it and play the downloaded result outside the browser editor.
Keep the original music file outside the browser. For private recordings or client footage, confirm you can upload the material before sending it to a cloud editor. If an upload or preview stalls, use the Web editor checks; do not rebuild a long timeline before testing one small, permitted file.
Import your own MP3, WAV or recording
Give the file a name you will recognize later, such as recipe-instrumental-v2.mp3, and preview it before import. CapCut’s audio-format guidance lists MP3, WAV and AAC among supported inputs. That is not a guarantee that a damaged file, protected download or every codec variant will work.
If the file will not import, check whether it plays in another app. Export a fresh copy from the recording app or convert a copy with a trusted tool. Renaming a file from .m4a to .mp3 does not convert its contents. Keep the original, and avoid sending confidential recordings to an unknown online converter.
Leave spoken audio separate from the music when possible. For generated narration, use the text-to-speech guide; add and correct spoken subtitles with the auto-captions workflow.
Trim, Split and Position the Song
Select the audio waveform before editing it. Drag the left or right edge inward to remove unwanted material; move the entire clip when the right passage begins at the wrong time. Split at the playhead when you need to remove a middle section. For a smooth change in volume, use the keyframes described below instead of cutting the song into many pieces.
The clip-cutting and split workflow explains the selection logic in detail. For music, listen on both sides of every split. An edit can look clean but still click or jump to the wrong part of a phrase. Place the cut near a natural pause, beat or sustained sound, then add a short fade if the transition still feels sharp.
When the song is shorter than the video, don't loop it blindly. Find a phrase with a compatible beginning and ending, copy that section to the next position on the timeline, and listen across the join without watching the screen. If the repetition calls attention to itself, choose a longer track or let part of the edit breathe without music.
Mix Music Under Voice Without Losing Words
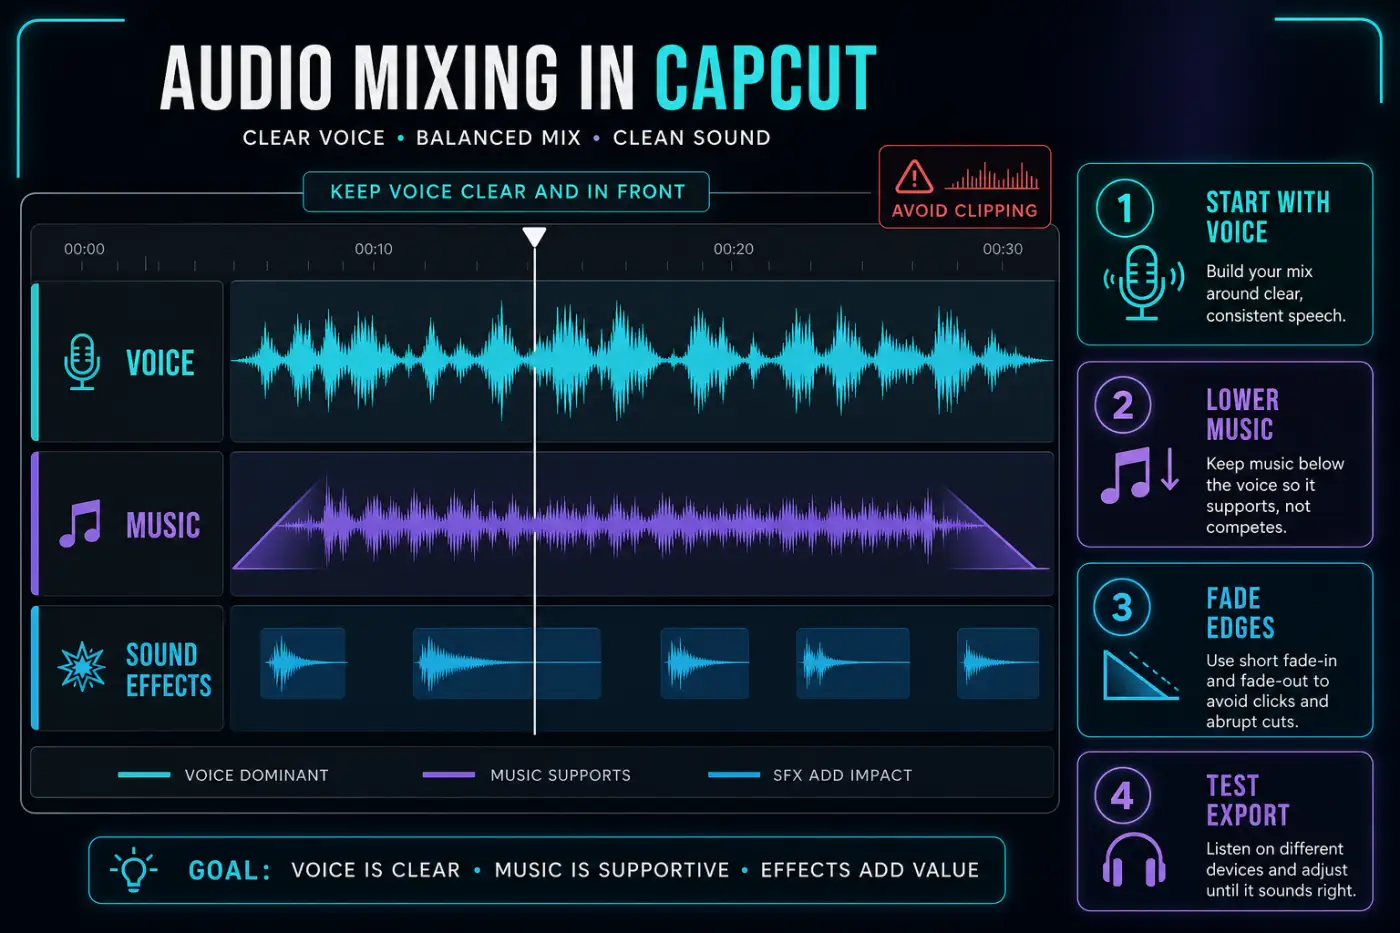
Start with speech at a comfortable listening level. Bring the music up from silence until it adds pace or mood, then lower it enough that every word remains intelligible. A single volume percentage can't guarantee that balance because source recordings, arrangements and devices differ.
For a simple ending, select the music and increase its Fade out duration until the stop feels deliberate. A video transition called Fade does not fade the soundtrack. To lower music only during speech, use four volume keyframes:
- Before the first word: set a keyframe at the music level you want between spoken passages.
- At the start of speech: set a second keyframe at a lower level. Play the approach to check that the dip finishes before it masks the first word.
- Just after the last word: set a third keyframe at that same lower level.
- A little later: set a fourth keyframe back at the original level. Move it farther right if the return feels rushed.
On Desktop, use the diamond beside Volume in the Basic panel shown above. If your Mobile or Web build offers no volume keyframes, keep the whole music clip quiet enough for speech; do not substitute a video-opacity keyframe. The keyframe guide explains how to select the correct property.
Listen once on headphones and once through a phone speaker. Headphones expose clicks and stereo problems; a small speaker quickly shows whether the voice disappears behind bass, drums or a dense chorus. Keep sound effects on their own track so one volume adjustment doesn't disturb the music bed.
Sync Cuts to the Beat Without Making Every Cut Obvious
Expand the audio track until individual waveform peaks are easier to see, then play and mark the beats that matter. Align a visual cut, title change or movement with selected accents rather than every peak. Constant beat cutting can make a tutorial or story feel mechanical.
Automatic beat or rhythm tools can help locate candidate moments, but their availability and names change between platforms and plans. Treat markers as suggestions and listen to the phrase. A drum transient, vocal entrance and musical downbeat can sit close together while producing very different cuts.
Build the picture edit first when speech carries the story. For a montage, choosing the music first can be more efficient. In both cases, preserve enough handle length around the audio so a later trim doesn't force the entire sequence out of sync.
Extract Music or Audio From a Video
CapCut’s extraction instructions describe selecting a video clip and using Extract audio on Desktop or Mobile; the Web example uses Separate audio from the timeline clip’s context menu. The separated audio becomes its own editable clip. Check the wording in your build and avoid adding a second copy that plays over the first.
A PC user reported extraction asking for Pro. That is one account’s report, not evidence that every version has the same price. Read the badge or export message in your own account before building the workflow around extraction.
Extraction changes the project structure, not ownership. Use audio from your own footage or material you're permitted to reuse. Screen-recording or extracting a commercial song is not a licensing workaround.
Can you use the song on YouTube or in client work?
For US users, the CapCut Materials License Agreement, dated January 22, 2026, limits ordinary Sounds to personal, non-commercial use unless you obtain the necessary rights. Its Commercial Sounds provision names CapCut, TikTok and TikTok for Business; use elsewhere needs separate permission. Use the agreement for your region and check the exact track’s terms.
Before posting, save the track name, license, intended platform and any client-use permission. If YouTube, advertising or your planned use is not covered, choose a track licensed for that use. Buying an editing subscription is not a substitute for checking the song.
CapCut’s missing-music guidance lists rights-holder removal, region and account differences among possible reasons a track disappears. Keep a permitted replacement available. For shared templates, copyright restrictions can also explain a muted published result; check the destination after publishing.
Why Music Is Missing, Unavailable or Silent
- Confirm timing: put the playhead inside the audio clip, not before or after it.
- Check mute states: inspect the clip, track and device output. Raise a percentage slider if it is at 0%, but do not confuse that with a gain control at 0 dB: zero gain means no amplification or attenuation, not mute.
- Verify the source: play the original file outside CapCut and import a properly converted copy if needed.
- Check availability: a streamed library track may have been removed, restricted or tied to another account or platform.
- Separate preview from export: save the project, confirm it has finished saving, then restart or refresh if needed. Render a short test and play it in another app.
CapCut's official audio-not-playing checklist identifies muted tracks, low volume, missing source audio, unsupported formats and device conditions as common causes. If the entire project is silent, follow the deeper CapCut no-sound guide. Protect local projects before clearing app data or reinstalling.
A gain setting of 0 dB differs from a level meter reaching its maximum. Audacity’s export troubleshooting describes 0 dB gain as neutral. Do not boost a track simply because that number appears in the Volume field.
Run an Audio Export Check
Test a copy of the project first if you are uncertain about the mix. Include speech, a music edit and an ending fade; use separate samples if those moments are far apart. A short sample checks those moments, not the rest of the video. Play it outside CapCut at ordinary listening volume and listen for buried words, clicks, missing music or a chopped-off ending.
Export the full project and listen from beginning to end, then check the upload at its destination. The export settings guide covers resolution and frame rate. Keep the editable project, original audio and license record; a finished video does not preserve the source timeline.
CapCut Music FAQ
How do I add music to CapCut Mobile?
Open the project, tap Audio, choose Sounds or the local-audio option available in your version, preview the exact track, and add it. Select the waveform to trim it and set volume or fades.
How do I add my own music to CapCut on PC?
Import the audio file through Media or Import, then drag it from the media bin to an audio track below the video. MP3 and WAV are practical starting formats, but the file still needs to contain valid, supported audio.
How do I add music in CapCut Web?
Upload your own file through Media/Upload, or browse Audio/Music for a catalog track. Place the music below the video, select it and set timing, volume and fades. Wait for uploads and saving to finish, then export and check the downloaded file.
Can I use CapCut music on YouTube or for a business?
Not automatically. Check the exact track’s license for your region, account and destination. The US Commercial Sounds terms name specific platforms; they are not blanket permission for YouTube or every kind of business use.
Why did a CapCut song disappear?
Library tracks can become unavailable because of licensing, region, account or platform differences. Keep a rights-cleared replacement ready and don't rely on one streamed track as the only copy of an unfinished edit.
Why is my music not playing in CapCut?
Check the clip and track mute states, volume, playhead position, file format and device output. Save the project, restart or refresh, then export a short test to learn whether the issue affects preview only or the rendered file.
How do I lower music under talking in CapCut?
Lower the music while listening to the voice. Where volume keyframes are available, use four points: normal level before speech, lower level by the first word, the same lower level after the last word, then a return to the normal level. Listen to both transitions.
How do I make music fade out in CapCut?
Select the audio clip and use the fade-out control shown in your build. Preview the last cut, then lengthen the fade if the ending still sounds abrupt. If your build offers volume keyframes, you can also use those to bring the track down gradually.
Can I add Spotify or Apple Music songs to CapCut?
A streaming download is not the same as a music file supplied for editing. Spotify’s download instructions cover offline playback in Spotify, not exporting songs to CapCut. Apple says protected Music-library files cannot be used in iMovie. Use an accessible, supported file you have permission to publish; do not bypass protection.
For the next editing task, the CapCut tutorials hub links to cutting, overlays and other editing guides.