

If a CapCut Desktop clip has voice only on the left, select that clip, open its Basic audio controls and choose Channels → Fill right with left. For voice only on the right, choose Fill left with right. CapCut’s Desktop audio-recording guidance documents channel filling and shows those choices. Your current panel may use a different section label, such as Fill channel.
Start by confirming that the recording is the problem. If every video plays through only one ear on the same headphones, check your playback output before you change the edit. A channel repair should follow the file. It shouldn’t compensate for a broken earbud.
I’d fix the affected voice clip in a project copy and listen to a short export before treating the rest. Keep the original recording: copying one side over the other can discard useful audio.
Find whether the problem belongs to the file or the device
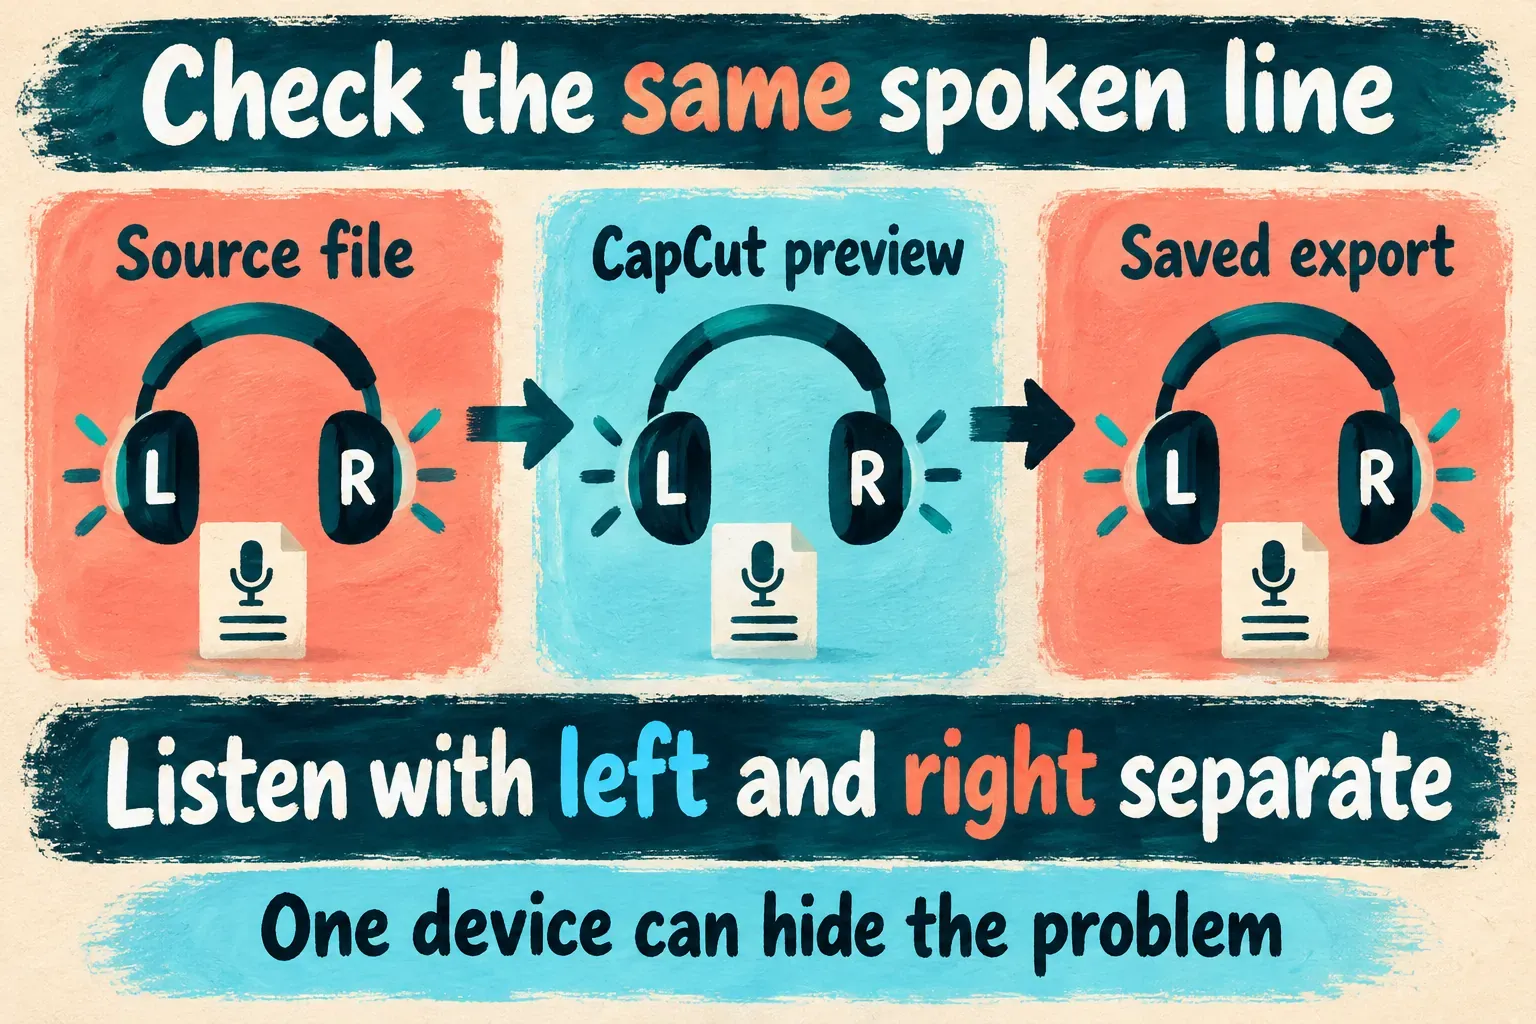
Listen to a recording you know works through the same output, then play the problem source outside CapCut. Compare the same spoken line in the editor and in a saved export. Pick an output that lets you hear left and right separately, because a single phone speaker can hide a channel imbalance.
| What you hear | Start with | Why it matters |
|---|---|---|
| Unrelated recordings also play through one ear | Headphones, connection, output routing and device balance | Changing one clip will not repair that playback path. |
| The original file is one-sided in another player too | The recording’s left and right content | The issue already exists before CapCut editing. |
| The source is balanced but this timeline clip is not | That clip’s audio settings and applied processing | The project may be changing an otherwise usable source. |
| The preview is balanced but the local export is not | The saved file in another player or output | Separate an export problem from a player-specific one. |
Don’t judge the repair with a playback setting that combines both channels into mono. That setting can make a one-sided stereo file sound centered on your device without changing the file other viewers receive. Go back to normal left/right listening for the final check.
If both sides are completely silent, use the CapCut no-sound diagnostic. Channel filling needs usable sound on one side. It can’t recover speech that’s missing from both.
Fill the silent channel on CapCut Desktop
Work on the audio-bearing clip that has the problem. If the sound is already detached, select that audio layer. If it’s still embedded in a video, use the video clip’s audio properties when they show the channel control. Don’t duplicate the whole soundtrack just to make the voice louder.
- Save a working copy of the project and select one affected clip.
- Open its audio properties and the Basic section shown in your build.
- Find Channels or Fill channel; scroll within the properties panel if needed.
- Enable the control if it has a checkbox, then choose the direction below.
- Play the same line and listen through both sides. Return the choice to None if it copies the wrong side or removes wanted sound.
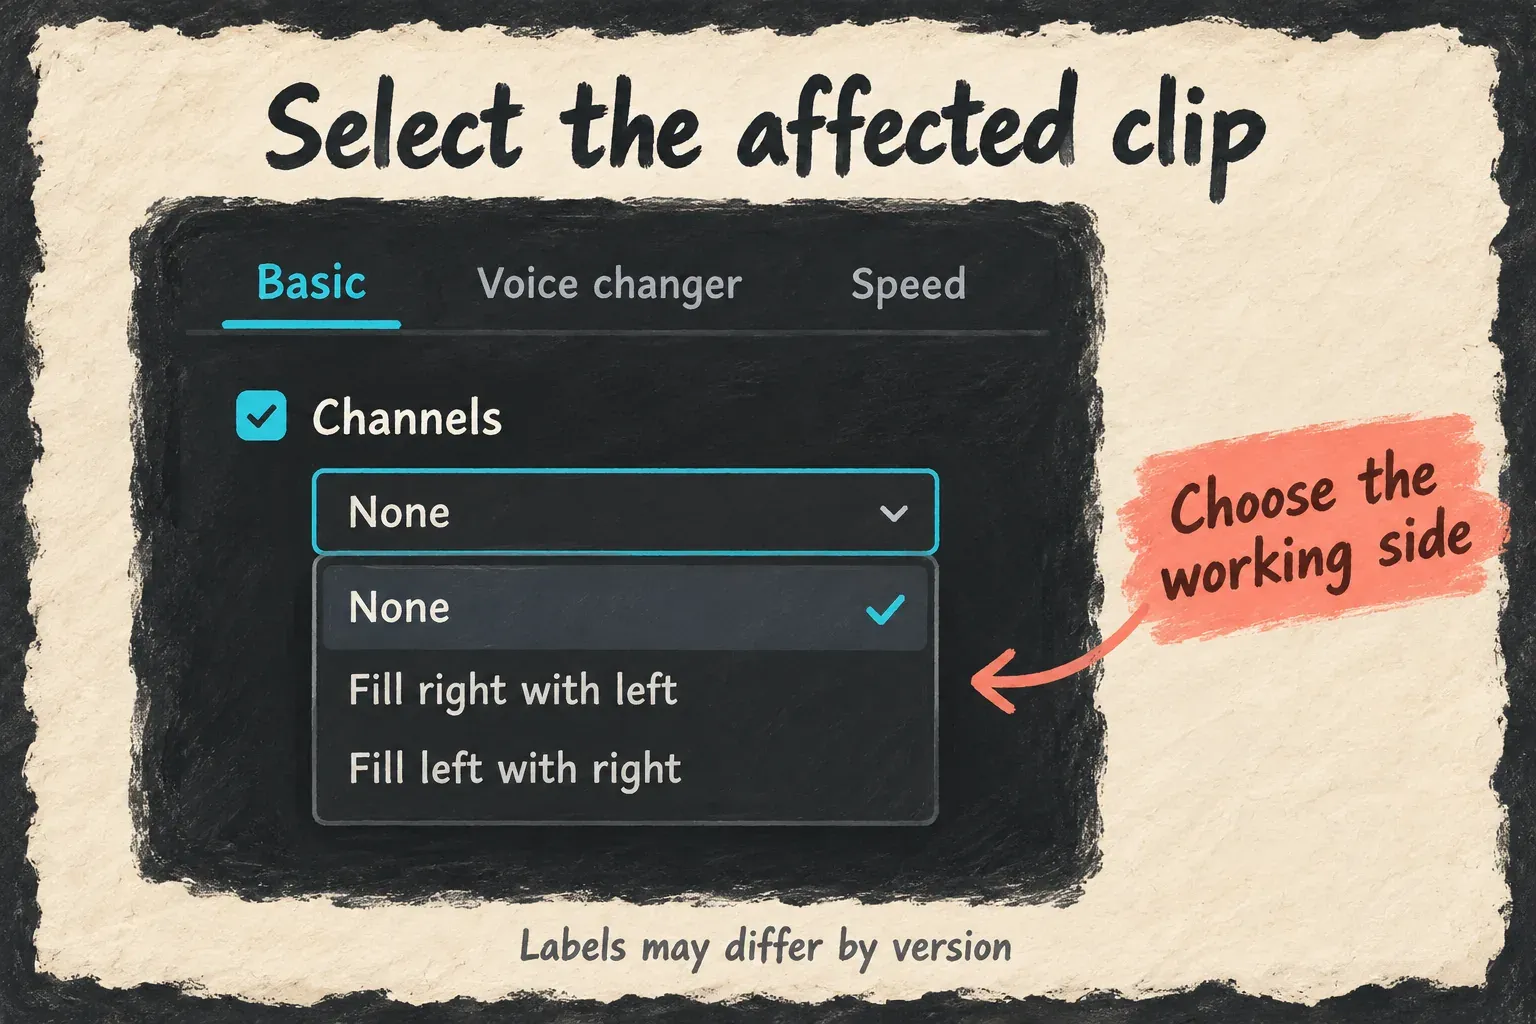
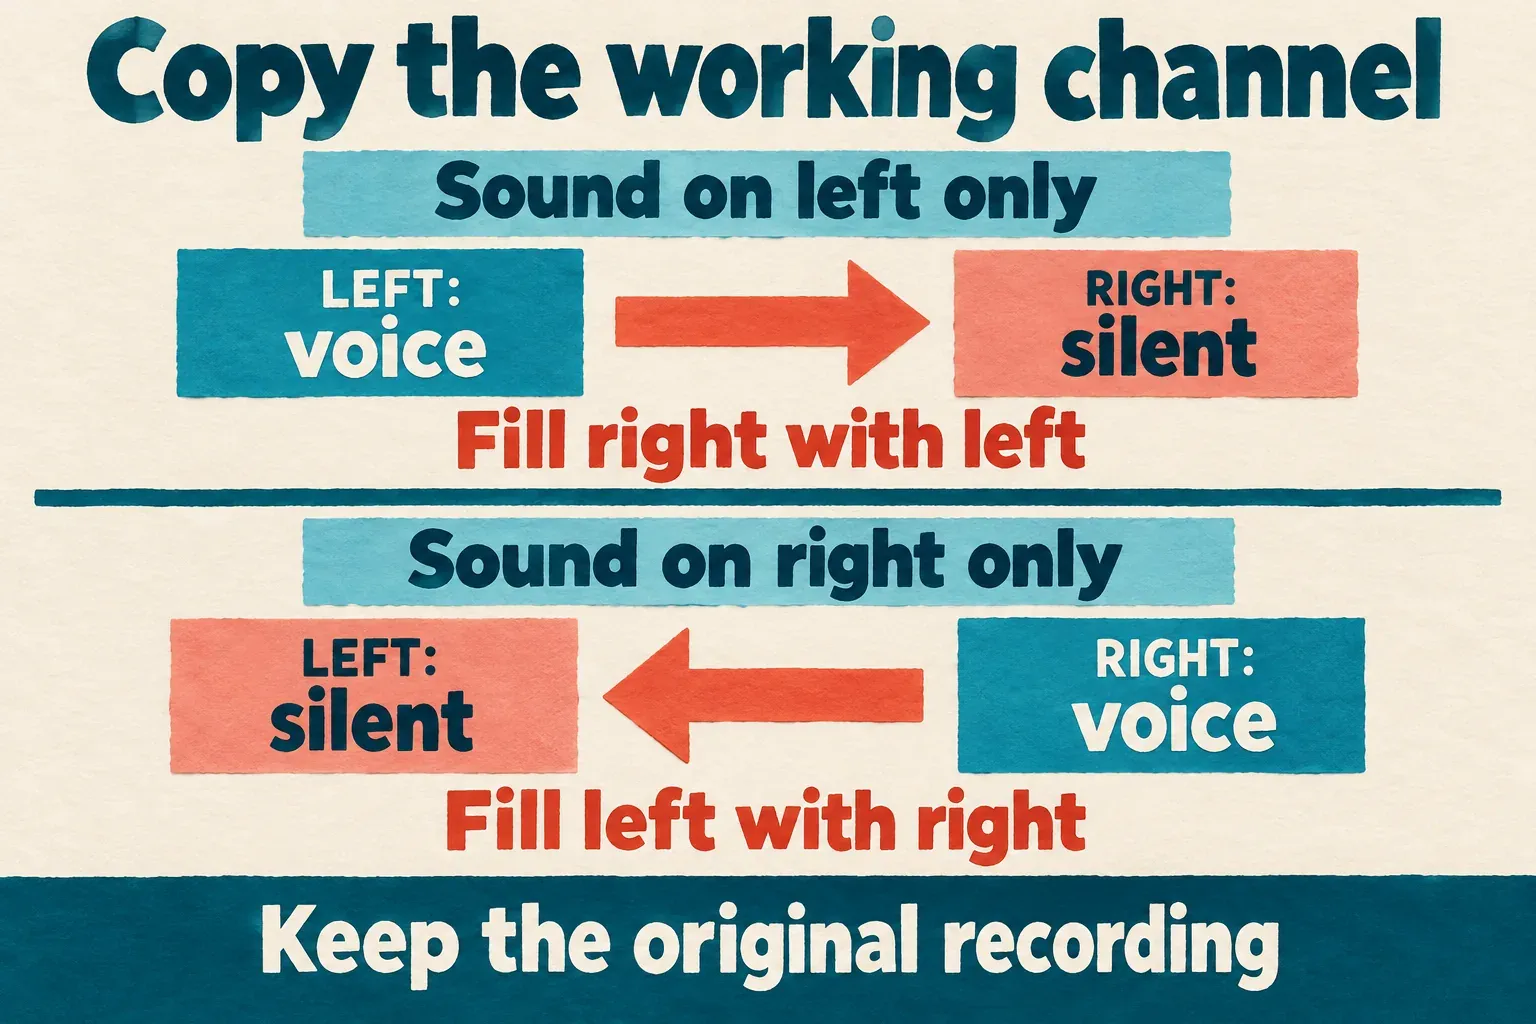
The name describes the destination first:
- Voice on the left, right silent: choose Fill right with left. The left side supplies the sound.
- Voice on the right, left silent: choose Fill left with right. The right side supplies the sound.
A CapCut community discussion about one-sided recordings describes the same directional approach. Replies in that thread also mention different panel locations and missing phone controls. Those are historical user reports, not proof that every current version uses one layout.
Once you’ve fixed a cut-up recording, check its other segments. A change on one selected clip doesn’t prove every separate segment received it. Leave music and effects out of the correction unless those recordings have the same problem.
Equal sound on both sides is not newly created stereo detail
You can copy a voice recorded into only one side of a two-channel file to both sides. The result is the same voice in left and right, often described as dual mono. Copying doesn’t create a second microphone perspective, room detail or stereo width.
A normal mono recording can already play through both speakers. “One channel” and “one ear” therefore describe different things. Here, the problem is commonly that useful sound is stored on one side of a stereo file, or that a playback path favors one side.
Before filling a channel, listen for content you need to preserve:
- Two interview microphones: one person may be on the left and another on the right. Filling one side with the other can remove a speaker.
- Music or ambience: the sides may intentionally contain different instruments or room information. A quiet passage is not necessarily a dead channel.
- Unequal but useful channels: if both contain wanted sound, balance them rather than replacing one blindly.
The audio-mixing guide covers the broader relationship between narration, music and effects. Turning up the volume or applying noise reduction doesn’t by itself choose which file channel supplies the voice.
Before a long take on a new single-microphone recording, check the recorder’s input and channel setup. The Audacity recording manual explains how recording a mono source into a stereo setup can leave a silent right channel, depending on the device. That’s a recording-format explanation, not evidence that CapCut uses Audacity’s controls.
If Channels is missing on Mobile, Web or your build
Make sure one audio-bearing timeline clip is selected and that you’re looking at its properties. A top-level music library is a different area. Save the edit before you update the official app, and check the instructions for your platform.
The documented panel above is a Desktop route. That doesn’t establish an equivalent iPhone, Android or Web button, and it doesn’t prove that buying Pro will reveal a missing control. If your version offers directional filling, use the audible-side rule and verify the saved result.
On a computer, one fallback is to build a centered mono replacement from the original recording in a local audio editor you already use. Audacity’s stereo-splitting instructions distinguish Split Stereo to Mono, which makes two center-panned mono tracks, from Split Stereo Track, which keeps the left and right tracks panned to their respective sides.
When a file has one genuinely silent side, split to mono, keep the channel you want and remove the silent track from that working copy. Export the kept channel as a new mono file. Make sure that file’s start and full duration stay aligned with the original. Don’t trim it just because the channel repair needs a new file.
Import the replacement into a copy of the CapCut project and line it up with the same start. While you compare, mute the old affected audio so it doesn’t play twice. If the original CapCut clip already has cuts, fades or timing changes, those edits don’t transfer automatically with a repaired source file. Recheck them before you replace anything in the main edit.
Check the exported file with both ears
Export a short section with the corrected voice, then open that saved file outside CapCut. Confirm that the voice comes through left and right separately, stays in sync with the picture and has no doubled speech.
If you need a separate MP3 or WAV, follow the audio-only export guide. Changing the audio format alone doesn’t repair a silent channel, and a “stereo” label on the file doesn’t prove both sides contain the intended mix.
Once the sample works, export the full finished video and listen all the way through. Check every affected voice segment and the transitions back into music. Keep the source and editable project until delivery is confirmed; the project safety hub covers preserving them together.
What you want is a voice that stays understandable through the viewer’s normal playback setup. Repair the channel that’s wrong, keep the sound that’s already right, and let the exported file confirm the decision.