

For stop motion from photos in CapCut Desktop, import the pictures, open Menu → Settings → Edit and set the image duration before placing them on the timeline. Save the setting, arrange the photos in capture order, check their holds and export the sequence. That’s the photo-assembly method in CapCut’s stop-motion instructions. Use the equivalent settings your current build shows.
What matters is how long each photograph stays on screen. Exporting at 24 or 30 FPS doesn’t, by itself, turn a row of three-second photos into quick animation.
I’d begin with a short run from the middle of the action. It tells you whether the movement and timing work before you place hundreds of pictures. Keep the original photos and make timing decisions in an editable project.
Choose the photo method for photographed movement
Stop motion builds movement out of separate poses. A paper boat shifts a little between photographs. Play those pictures in sequence and the boat appears to travel. The editor’s job is to assemble the images you captured.
Applying a choppy treatment to ordinary video is a different method, one that changes the look of existing continuous footage. The effects guide covers adding and checking a video preset; this guide covers an ordered photo sequence. For a collection of memories with longer holds, use the slideshow guide.
Check that the source sequence is usable before you start editing. Camera position, framing and lighting should stay consistent. Adobe’s clay-animation guidance recommends stable camera settings and small changes between poses. The same principle helps with a simple object animation: a jump in the background can be more distracting than the movement you intended.
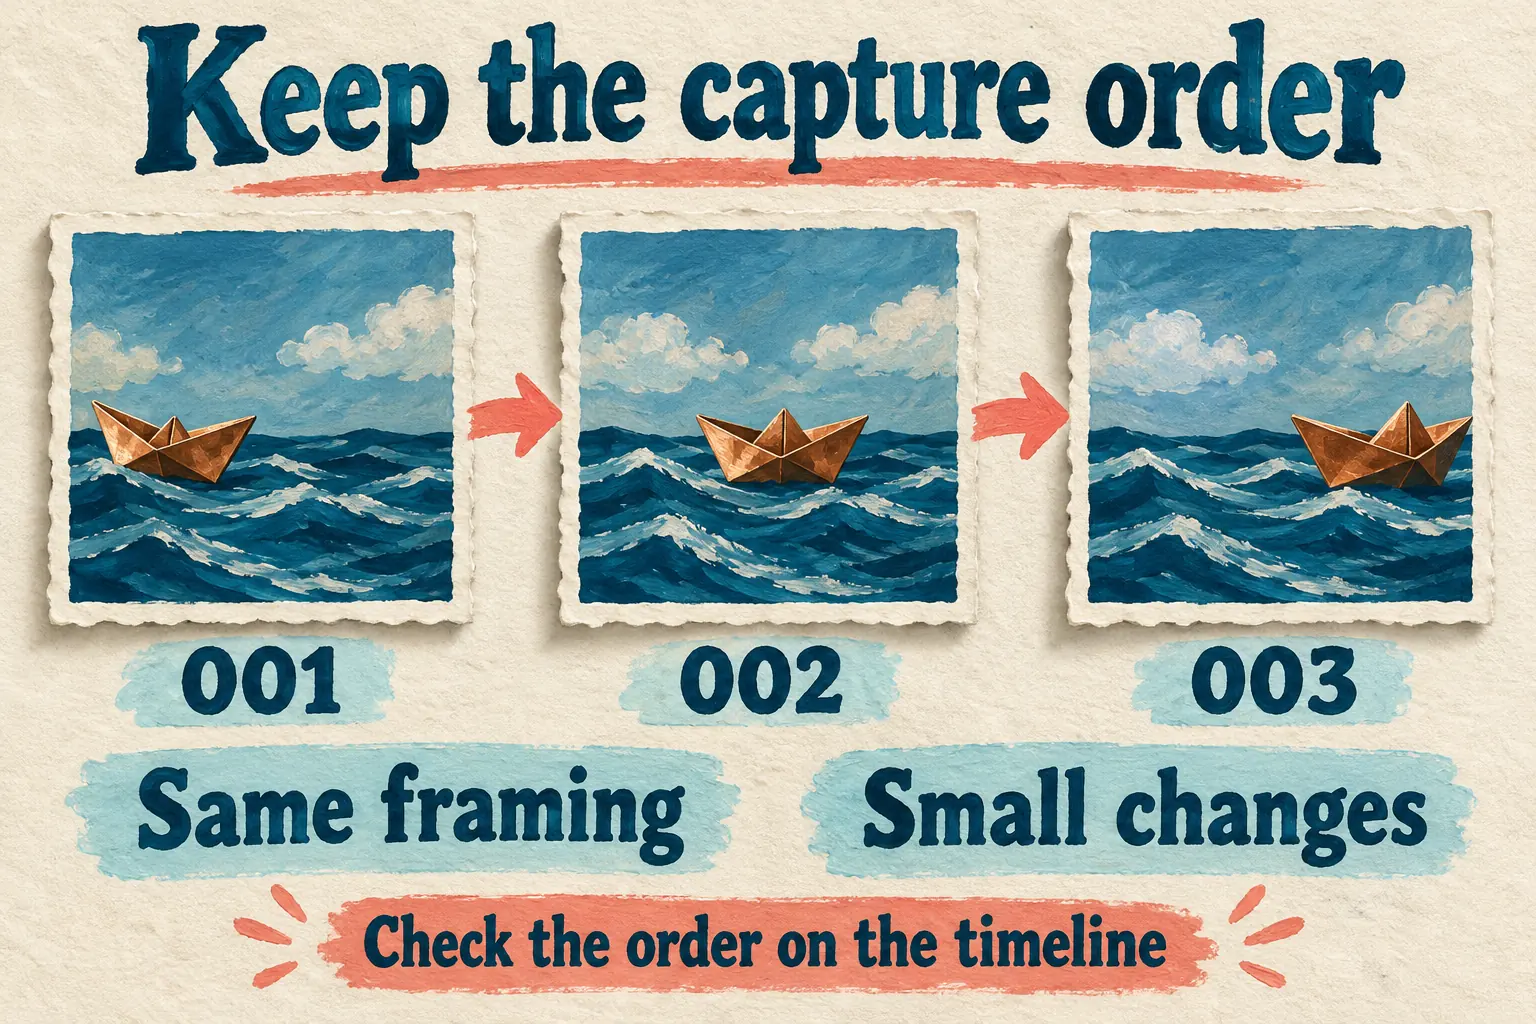
Work from a copy of the photo folder. Numbered names like shot-001, shot-002 and shot-003 make the sequence easier to inspect, but don’t assume the import panel will put everything in that order on its own. On the timeline, check the first few pictures, one from the middle and the last one.
Set short photo holds before building the full timeline
Open a normal Desktop project and pick the final frame shape. Import the photo sequence into the media area. Before you drag the full set onto the timeline, set the duration used for newly placed images.
- Open Menu → Settings → Edit, or your build’s corresponding editing settings.
- Find Image duration and choose a short starting hold. Set the project frame rate where your editor offers that choice.
- Save the setting, then place a few consecutive photos on the timeline.
- Inspect the actual clip lengths and play that short sequence. Adjust the hold if the movement is too slow or too abrupt.
- Once the pace works, place the remaining photos in order. Look for gaps, overlap and unintended transitions.
Treat this as a default for new placement. Don’t expect a change here to retime a sequence that’s already finished. A 2024 CapCut discussion about long photo holds describes that distinction, but the thread doesn’t establish which batch-editing options every current build has. Check the controls you can see before rebuilding anything.
If your timeline is already full of long holds, duplicate the project first. Confirm the new default with a freshly placed photo in a short separate section or working project. Only reassemble a sequence when that route beats the duration controls your build provides, and keep titles, audio and other finished work intact.
Photo-change rate and export FPS are separate decisions
The photo-change rate is how many different photographs appear each second. Output FPS is how many frames the video file displays each second. One photograph can occupy several output frames.
Say you’re on a 24 FPS timeline. Hold each photo for two frames and you get 12 photo changes per second; hold it for three frames and you get eight changes per second. These are timing examples, not universal CapCut presets or a rule that you must animate at one particular rate.
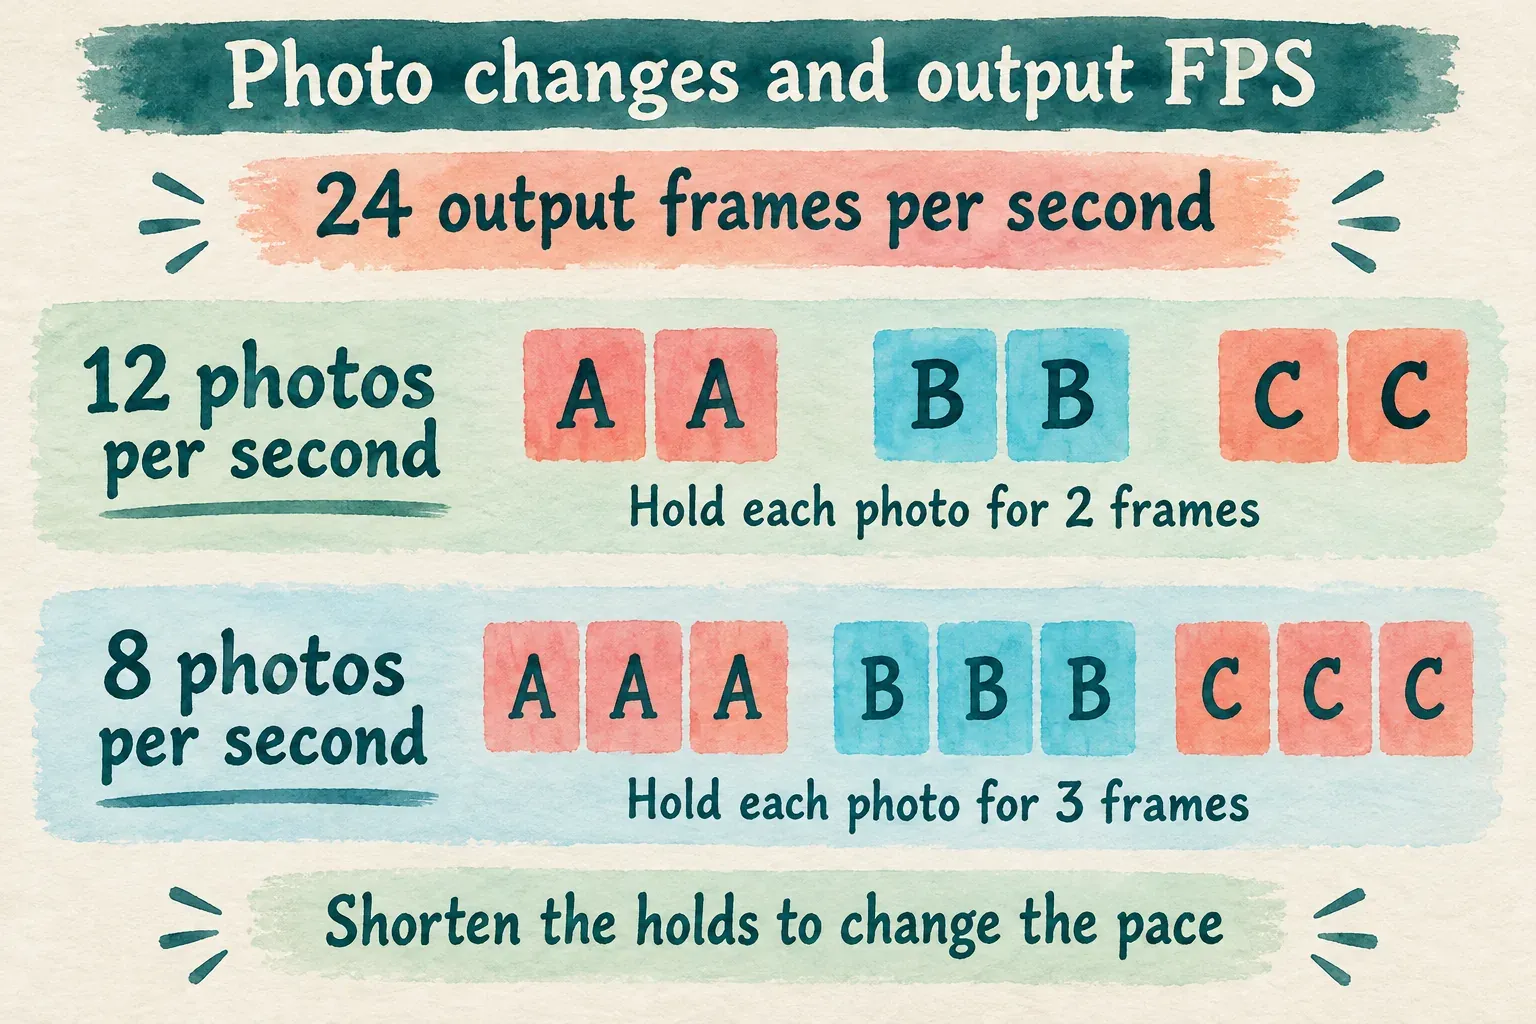
| Timing example at 24 FPS | Photo hold | Different photos each second | 120 photos, without extra pauses |
|---|---|---|---|
| Quicker changes | 2 output frames, about 0.0833 seconds | 12 | 10 seconds |
| More stepped movement | 3 output frames, 0.125 seconds | 8 | 15 seconds |
| Longer holds | 6 output frames, 0.25 seconds | 4 | 30 seconds |
The math is simple: total duration is the photo count multiplied by the hold duration. Extra pauses, repeated pictures and transitions can change that total. Check the timeline instead of just counting files.
If the duration control uses decimal seconds, its displayed precision or frame rounding can affect the result. Check how long the placed clip really is. A blanket “0.1 seconds at 24 FPS” recommendation doesn’t describe an exact whole number of frames: 0.1 × 24 is 2.4. Pick a practical cadence your build can represent, then judge the actual playback.
To make the photo animation faster, shorten the holds or revise the sequence. A higher export FPS doesn’t shorten a photograph’s timeline interval, and it can’t create extra photographed poses either. Leave automatic motion smoothing off the sequence unless you’ve chosen that new look on purpose.
Check order, gaps and framing at normal speed
Play the animation through without dragging the playhead. After that, look closely at any spot where the object seems to jump backward, pause unexpectedly or change size.
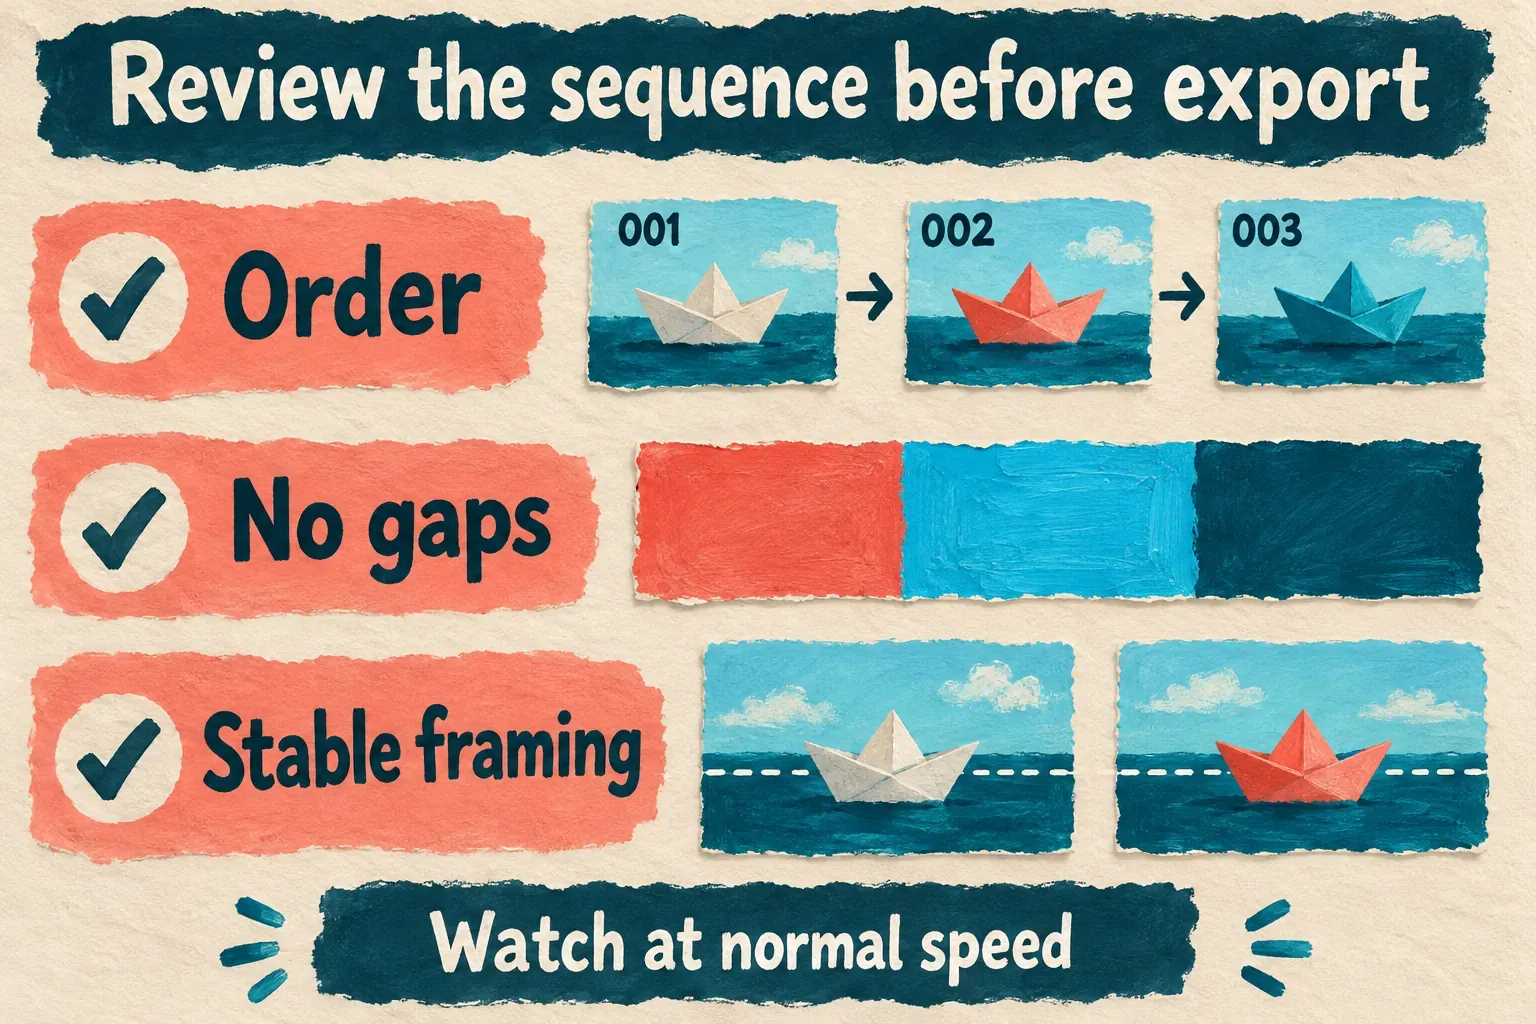
Match the symptom to the likely editing decision:
- The object jumps backward: compare the neighboring images and their capture order. A filename that looks correct is not proof of correct timeline placement.
- There is a sudden pause: look for a longer hold or an unintended repeated photo. Keep repeats that create a deliberate pause.
- A dark flash appears: inspect for an empty interval or missing media. Do not hide the gap with a dissolve before locating it.
- The subject pulses in size: compare the crop, scale and source dimensions across frames. Apply consistent framing rather than correcting every picture by eye.
- The lighting flickers: compare the source photographs. An editing effect cannot guarantee recovery from changing exposure or shadows during capture.
Stick to direct cuts between the photographed poses at first. A dissolve blends two different positions and can soften the movement you worked to capture. Add a transition only when the story calls for a separate scene change.
A deliberate pause can help viewers understand the action. When a boat reaches the edge or a product settles into place, hold the finished pose longer. You don’t need one identical duration across the whole sequence if that would make the story harder to follow.
Add sound and inspect the delivered animation
Get the picture timing finished before you place sound cues. Put music or effects on their own tracks, line up the important moments and trim the ending. When you shorten the photo sequence later, check those cues again. Use assets you have the right to publish; a catalog label alone doesn’t establish permission for every use.
Set resolution and output frame rate for the destination, using the export settings guide for the wider delivery choices. Keep the cadence you chose consistent all the way through the final check. Then watch the saved file outside the editor, looking for missing pictures, uneven holds, cropped details, dark flashes and a stray closing frame.
With a large photo set, keep the originals and the editable project together. A flattened video doesn’t keep each picture’s timing as an editable clip. The project safety hub covers protecting the edit and its media.
If the short holds are hard to manage on a phone, assemble the larger sequence on Desktop. This Desktop settings path does not promise an equivalent Mobile batch-duration control. The CapCut tutorial hub connects the rest of the edit once the frame sequence works.
At normal speed, the finished animation should make the action easy to follow. Let the small differences between photographs carry the movement, and keep effects, text and sound working for that action.