

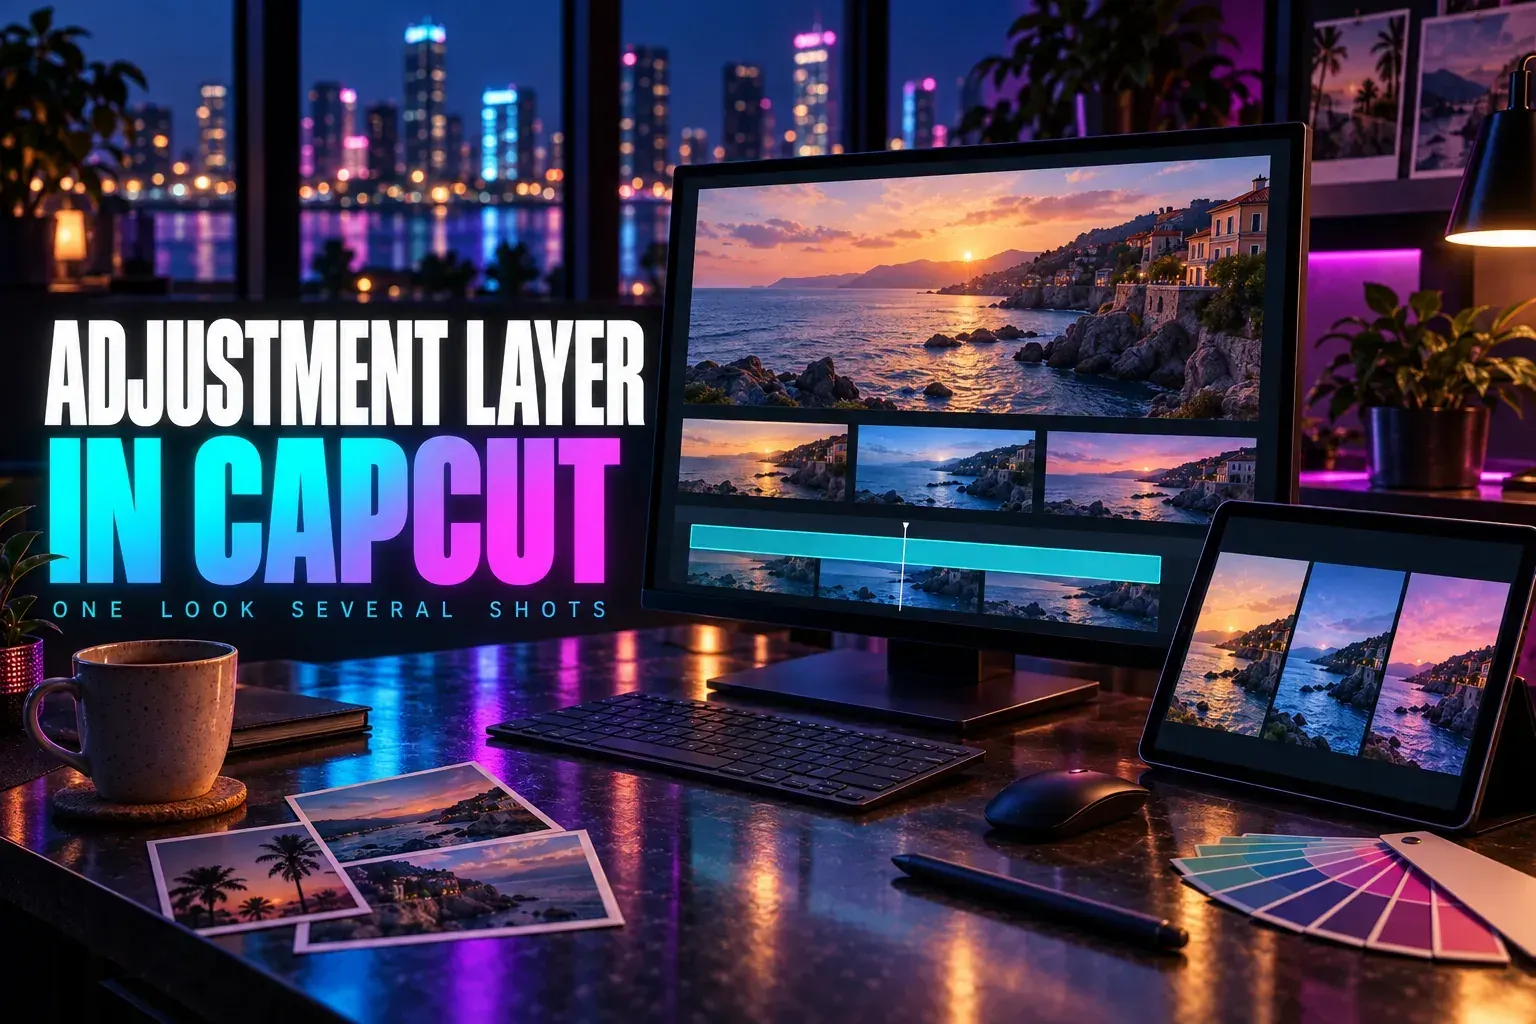
In CapCut Desktop, open Adjustment, drag Custom adjustment onto a track above the video, trim it to the section you want and select that layer to change its color settings. This library-to-timeline route appears in the Desktop color lesson of Justin Brown’s CapCut course. If the label differs in your current build, follow the equivalent entry.
CapCut’s batch color-grading instructions confirm the purpose: one layer can apply brightness, contrast, saturation, HSL and curves to the video beneath it for its timeline duration. You can revise that shared look in one place.
I’d use a short, representative run first: one bright shot, one darker shot and a normal shot between them. A look that suits only the prettiest frame is a poor starting point for the whole montage.
Use a shared layer when the section needs one editable look
An adjustment layer gives a color treatment its own timeline item. Where you place that item and how long you make it matter as much as the values you pick. Move or trim the layer and you change where the treatment applies. Edit its grade and you change the shared treatment across the covered section.
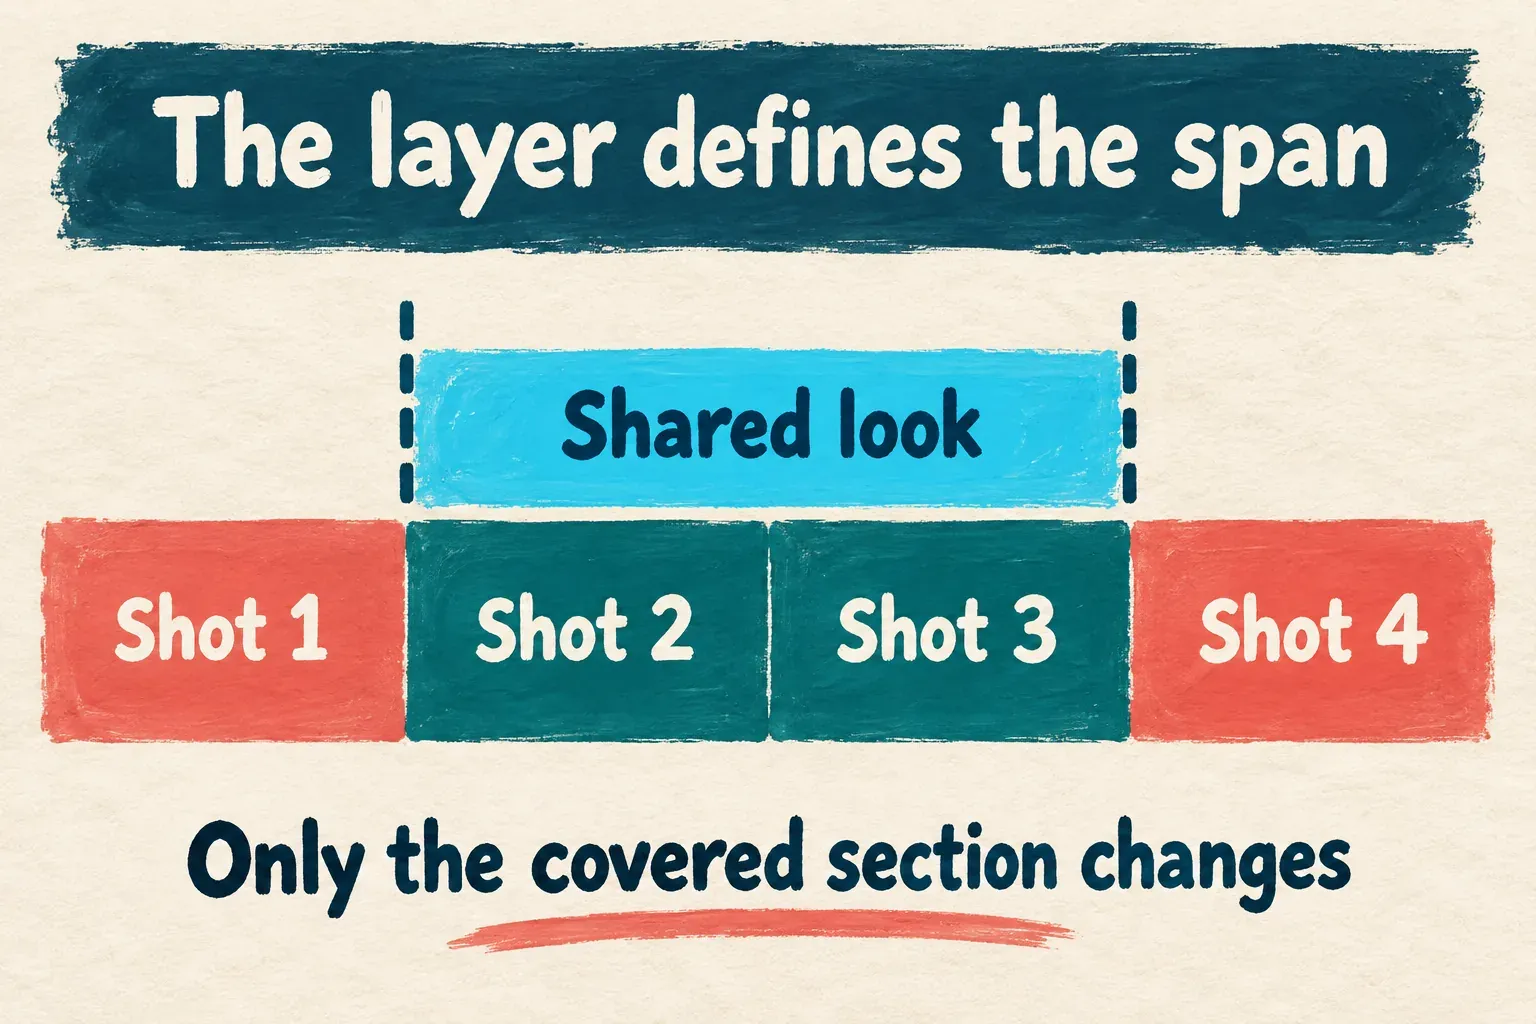
A shared layer suits a continuous montage, a distinct scene or a run of related B-roll. It’s less convenient when scattered shots need different corrections. Those differences belong on their individual clips.
The layer also differs from two other editing choices:
| Choice | What you are controlling | Use it when |
|---|---|---|
| Adjustment layer | One treatment across the layer’s covered section | You expect to revise the shared look together. |
| Direct clip adjustment | The selected shot’s own correction | One shot has a different exposure or color cast. |
| Copied attributes | Settings applied to selected destination clips | The treatment needs to live on those separate clips. |
A shared look doesn’t automatically correct unequal lighting. Bring the source shots closer together first, then decide whether one creative grade suits them. The color-correction guide covers exposure, neutral references and matching neighboring shots.
Add the layer and choose its exact coverage
Begin with a saved working copy of the edit. Lay out the video clips and settle where this look should start and end before you add the shared item.
- Open Adjustment in the Desktop asset area and find Custom adjustment, or the equivalent entry your build displays.
- Drag it onto a separate track above the video clips you intend to grade.
- Drag its left and right edges to cover the required section. Do not extend it over an unrelated scene merely to fill the whole timeline.
- Select the adjustment-layer block itself, rather than the underlying video.
- Use its available color controls to build the look. Begin with restrained changes, then inspect the covered clips in motion.
Change a source clip while the layer is selected elsewhere, and you can end up with two separate corrections and lose track of which one is responsible. Before you move a slider, check which timeline item is selected.
For a LUT-based layer, SparkleStock’s Desktop instructions describe clicking the + on a LUT thumbnail to add it as a layer, then extending the Adjustment track. That’s a documented LUT route, not a universal double-click rule for every asset. The LUT guide covers file import, profile matching and intensity.
An adjustment layer stays editable inside the project. Exporting the finished video doesn’t create a portable adjustment preset with all its settings. If you expect to revise the look later, keep the project.
Correct difficult shots before strengthening the shared grade
Picture two shots of the same white cup. One was filmed under cool light, the other under a warmer lamp with lower exposure. Give both the same warm creative treatment and the difference between them can become more obvious.
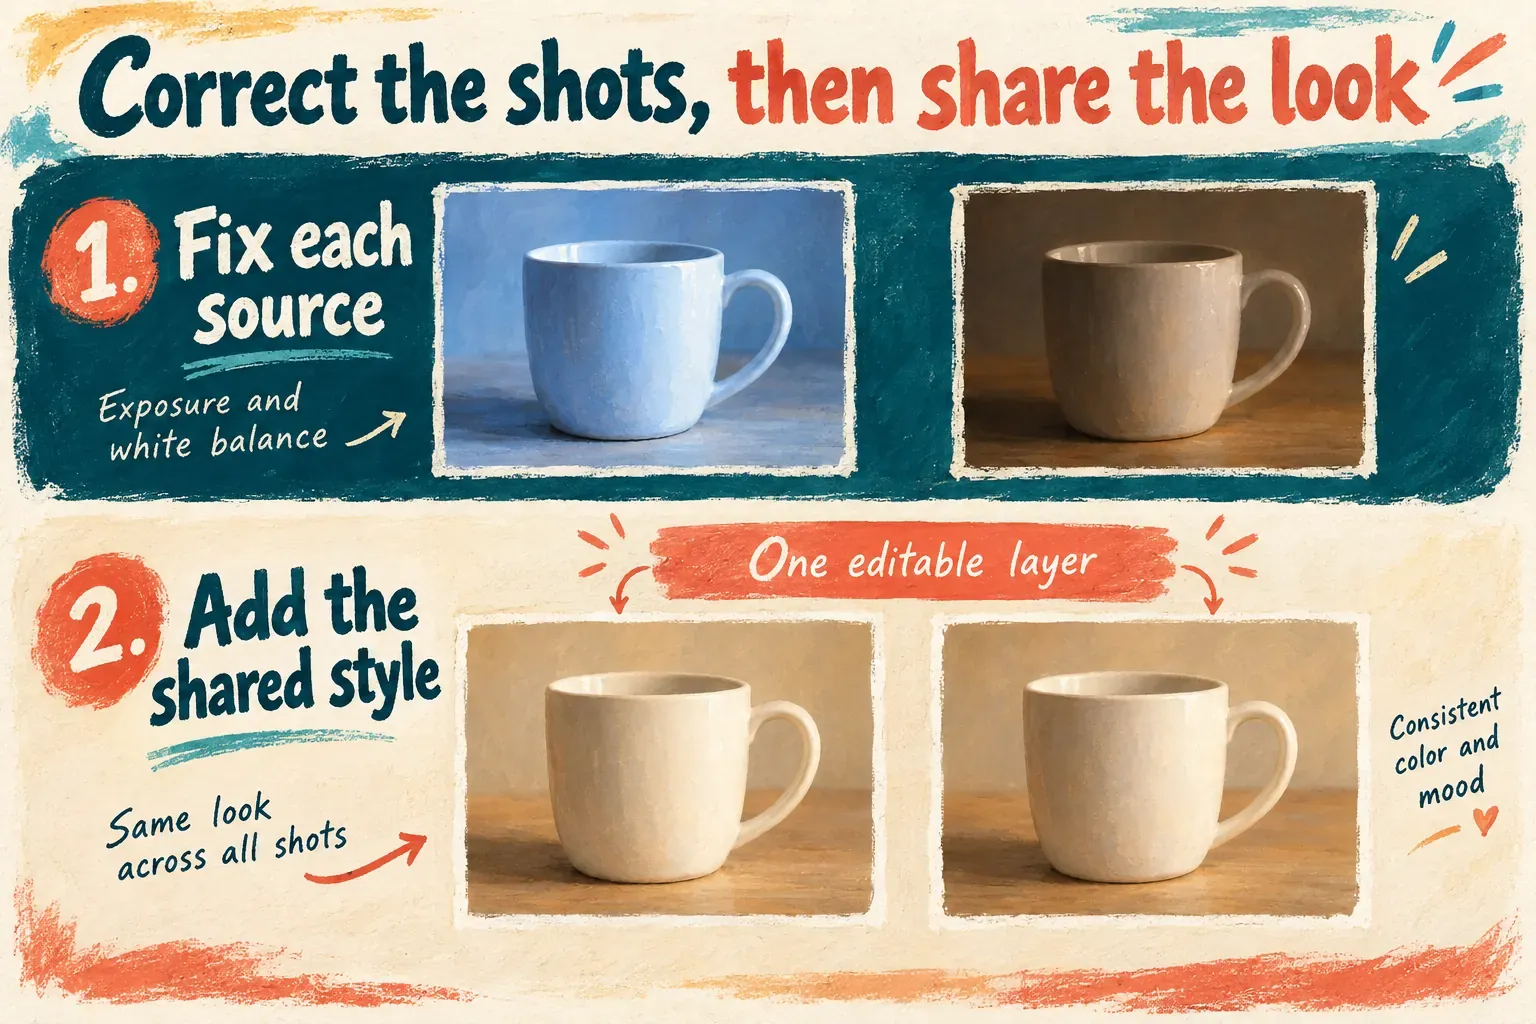
Pick a reference shot and compare each source against it. Fix unwanted casts and distracting brightness jumps on those individual clips, then refine the shared layer while you check the whole section.
Look for important detail instead of a dramatic slider change. White clothing, windows and lamps should keep useful texture where the source has it, and dark hair and clothing should stay distinguishable. Skin and product colors should fit the scene. A shared grade can’t restore detail that the recording never retained.
If one shot needs a different look, give that shot a separate treatment or split the shared coverage around it. Don’t push the whole layer brighter just because one underlying clip is underexposed. That can damage every other shot in the run.
With several nonadjacent shots, copied settings may fit better than a long layer that reaches into unrelated footage. Check the destination’s existing correction before you paste. Identical values still need a visual review.
Check the boundaries, cuts and other layers
The treatment can start or stop in the middle of a shot. That may be on purpose, but an abrupt color change is easy to miss when you only inspect one paused frame.
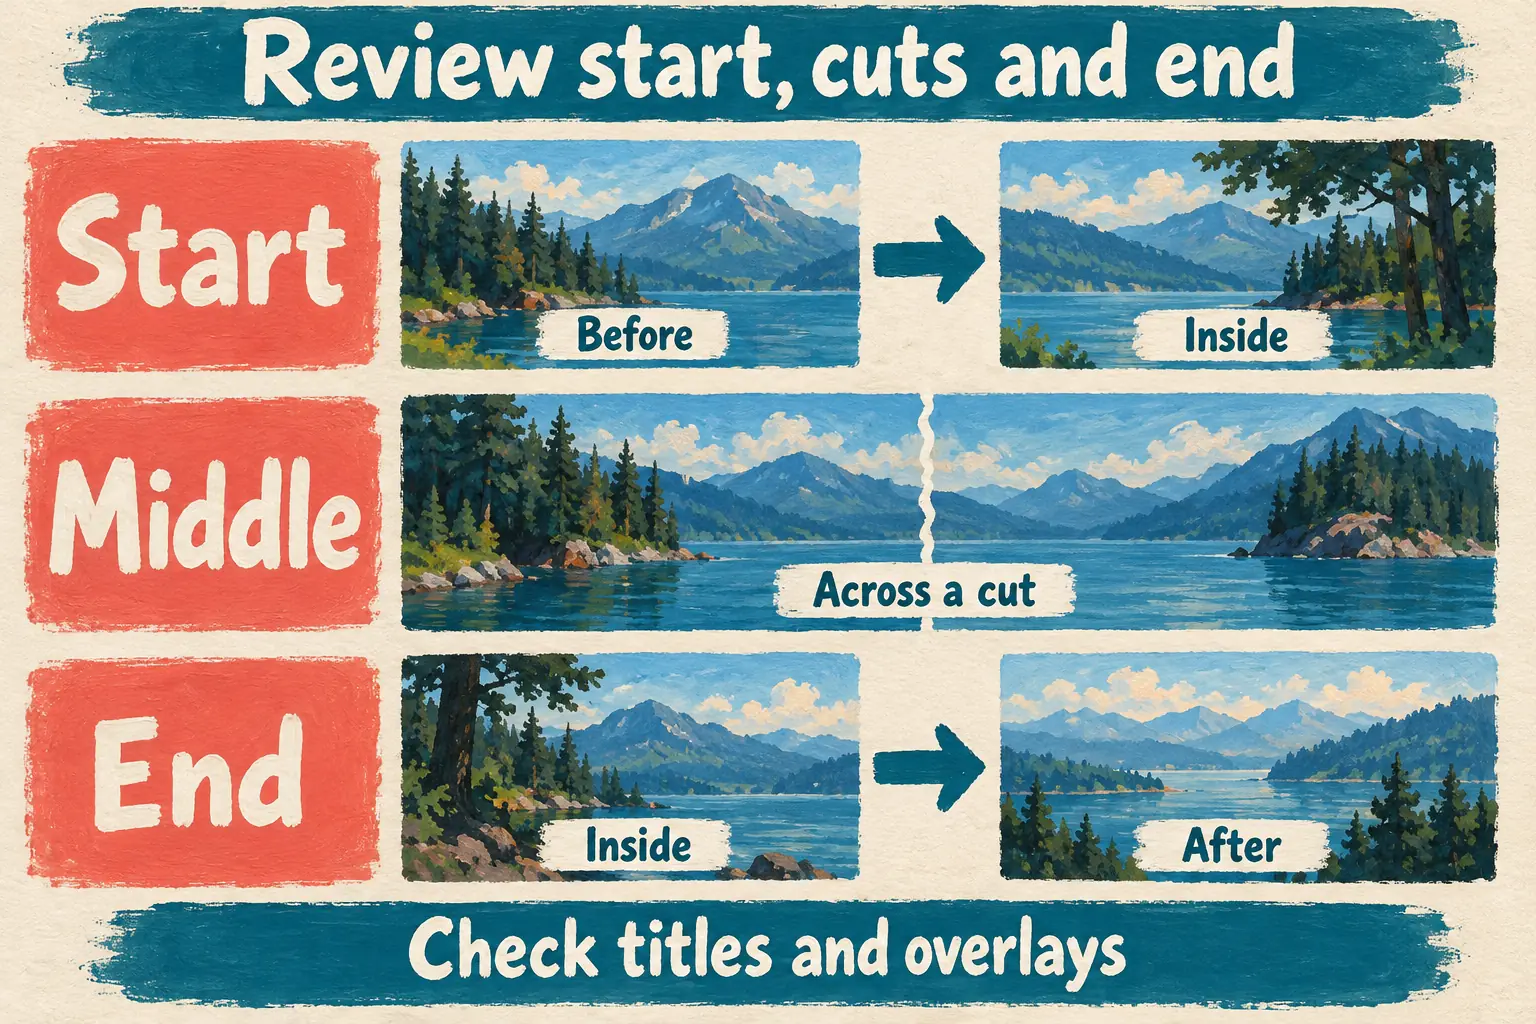
Play from just before the layer begins to just after it ends. Pause inside the first and last covered shots, then check the cuts in between. If the shared look drops out too early, extend the layer to the boundary you intended. If the layer runs into the next scene, trim it back.
Recheck those boundaries after timeline edits. If you insert a shot or change the montage length, inspect the layer again instead of assuming its coverage follows every revision correctly.
Look at titles, captions and video overlays too. Track position and the project’s layer behavior can change which visual items get a treatment. If a logo or title changes unexpectedly, check its relationship to the shared layer instead of recoloring the graphic to compensate.
A color adjustment layer isn’t a universal container for every effect another editor offers. CapCut’s separate adjustment-layer article about Premiere Pro explicitly uses Premiere controls and warns against carrying that workflow straight over to CapCut. Don’t go looking for File → New → Adjustment Layer, Lumetri Color or a Premiere Effect Controls panel here.
For a gradual change, stick to the animation controls your selected CapCut layer exposes. Don’t assume the layer has the same opacity or keyframe options as a normal video clip. If those controls aren’t there, keep the shared look steady and handle the changing treatment with a supported clip-level workflow.
If the layer is missing or seems to do nothing
Before starting over, check the selected item and the timeline:
- The layer exists but nothing changes: confirm that it is above the intended video, the playhead is within its duration and the color adjustment was applied to that layer.
- Only part of the section changes: inspect both edges and any gap between separate adjustment items.
- The wrong scene changes: trim or move the shared item to the intended range.
- The colors are too strong: compare with the shared treatment disabled where your panel offers that control, then inspect the underlying clip’s own correction.
- Custom adjustment is absent: confirm you are following Desktop instructions and looking in the asset area, rather than only at a selected clip’s properties.
Save your work before you update the official app. This Desktop method does not promise the same shared-layer entry on Mobile or Web. If the tool isn’t available, correct the clips with your platform’s supported controls instead of installing an unofficial build.
Once the section works, check the locally saved video outside CapCut. Watch the layer’s entrance, the brightest and darkest shots, the cuts and the exit. The export settings guide covers delivery choices; stronger saturation isn’t a general remedy for a file that looks different from the preview.
Keep the editable project and its source media, following the project safety hub. A useful shared layer makes later revisions simpler while leaving each shot’s necessary correction intact.