

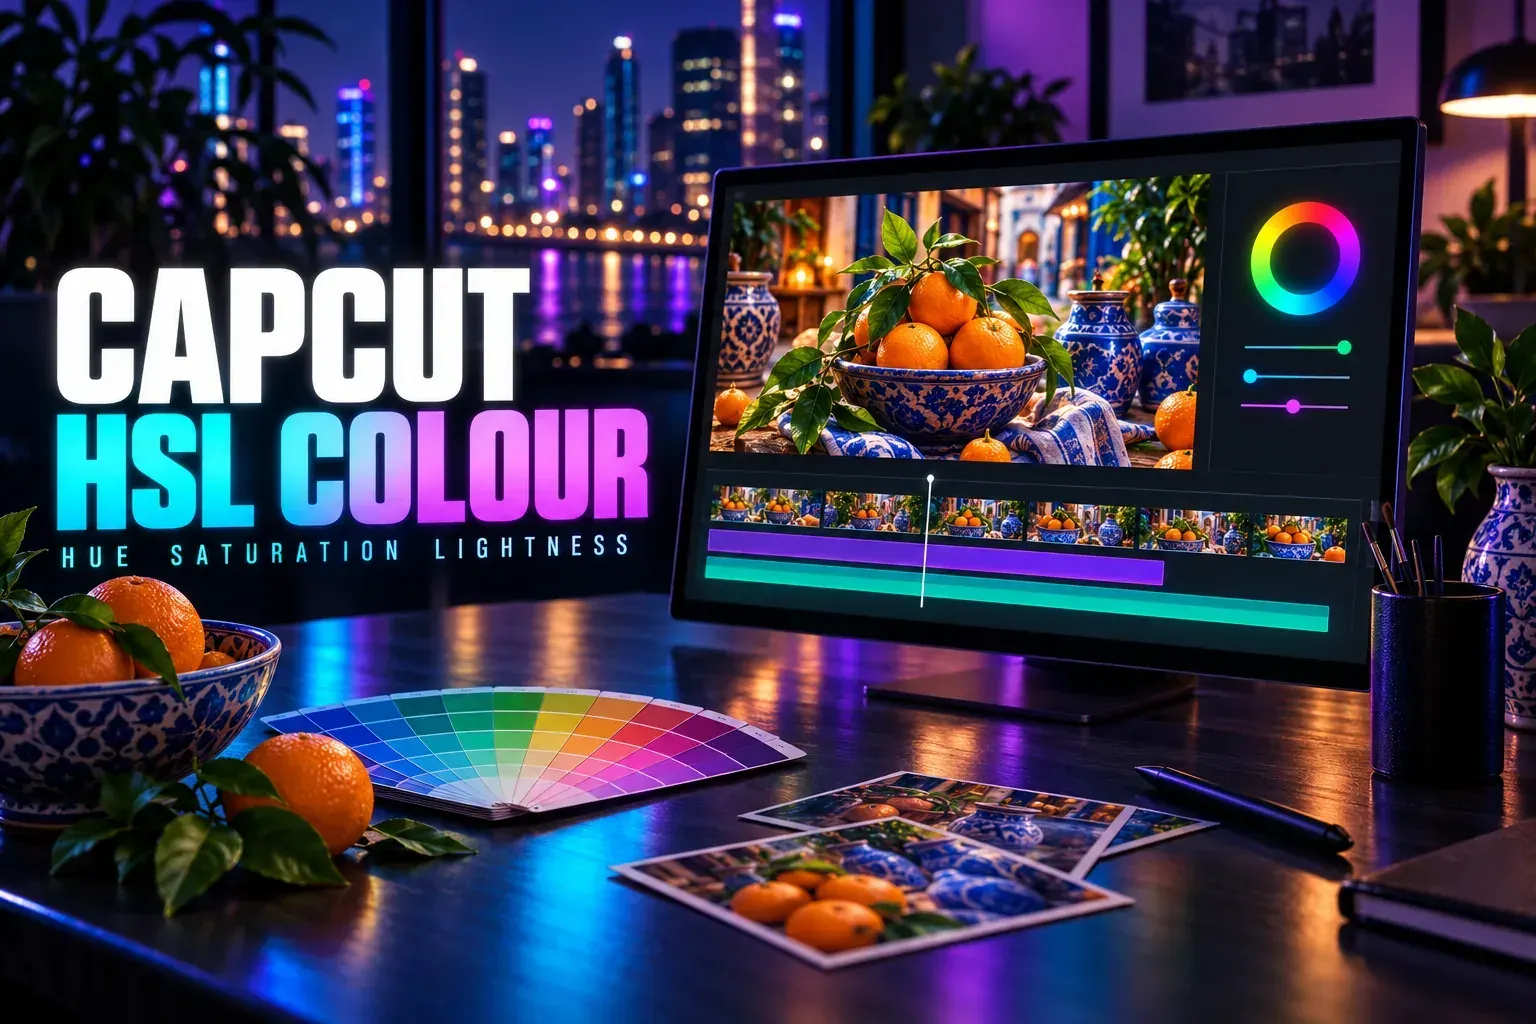
Select a video clip in CapCut Desktop, open Adjustment or Adjust in the right panel, then choose HSL. Pick a color range and change its hue, saturation or brightness while watching the whole image. CapCut’s HSL instructions document these separate controls for individual colors.
The catch is the word color. HSL works on a range of similar colors, not the identity of one object. A red mug and a red bag can both respond when you adjust reds, even if you only meant to change the mug.
I’d begin with one distracting color and one small change. That makes it easier to see what the control is doing before several adjustments start interacting.
Choose the property that needs to change
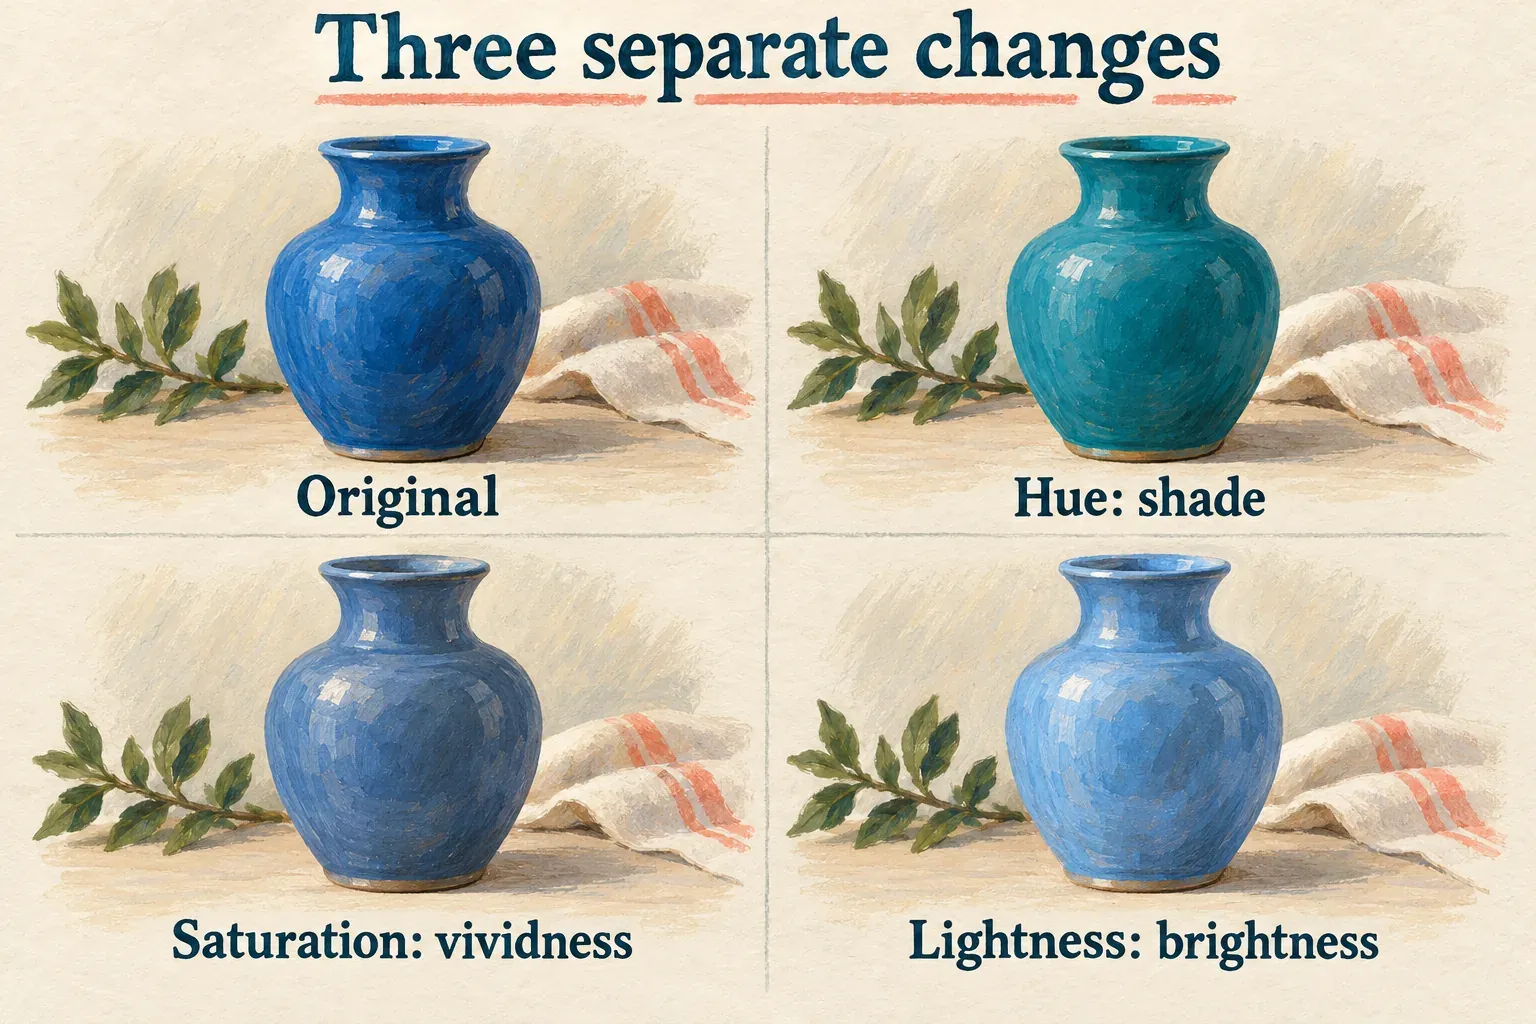
HSL stands for Hue, Saturation and Lightness. CapCut’s guides also call the third property luminance or brightness. Go by the label in your build; that control’s practical job is to make the chosen color range lighter or darker. The different terms don’t mean every editor uses identical color math.
| Control | What you are changing | A useful reason to adjust it |
|---|---|---|
| Hue | The shade within a color range | A blue area looks too cyan, or foliage leans toward an unwanted shade. |
| Saturation | How vivid the selected range appears | One colored object dominates an otherwise balanced scene. |
| Lightness, luminance or brightness | How light or dark that range appears | The selected color needs a brightness adjustment without lifting the whole image. |
Global saturation changes the image more broadly. HSL lets you narrow the change to one color family, although other objects in that family can still move along with your target. Neither control fixes every color problem.
When the entire shot is too dark or carries a strong lighting cast, start with basic color correction. Trying to fix the whole picture one HSL channel at a time can leave skin, backgrounds and shadows looking inconsistent.
Find HSL on the selected video clip
CapCut’s Desktop editing guide puts HSL in the right-hand Adjustment panel once you select a timeline clip. That’s not the same as opening a named HSL template or picking a general filter.
- Open the project and select the video clip on the timeline.
- Open Adjustment or Adjust in the right panel, then HSL.
- Choose the color range closest to the area you want to change.
- Move one control a little and watch which parts of the frame respond.
- Compare with the previous setting before changing another property.
One surface can hold more than one hue, since its highlights, shadows and reflections differ. When a range gives you only a partial change, check those areas instead of assuming the selected object has one uniform color. Don’t compensate by pushing every neighboring channel to an extreme.
If your build has a color picker, you can sample the footage to help choose a color. The manufacturer advertises this option, but sampling doesn’t turn HSL into object isolation or guarantee an exact replacement color. Work with the controls your panel shows. A picker button, HEX field or custom range in another editor doesn’t prove CapCut has the same feature.
This route focuses on Desktop. Mobile and Web layouts can differ. If HSL is missing, first check that you selected a video clip instead of text, audio or a template item. Save the project before you update through the official app route. A tutorial for another platform can’t prove your current panel has the same tools.
Make one selective change, then inspect the other colors
Say a red mug pulls too much attention next to a blue bowl. Lowering red saturation may be a sensible fix. But a red bag behind the mug can turn duller too.
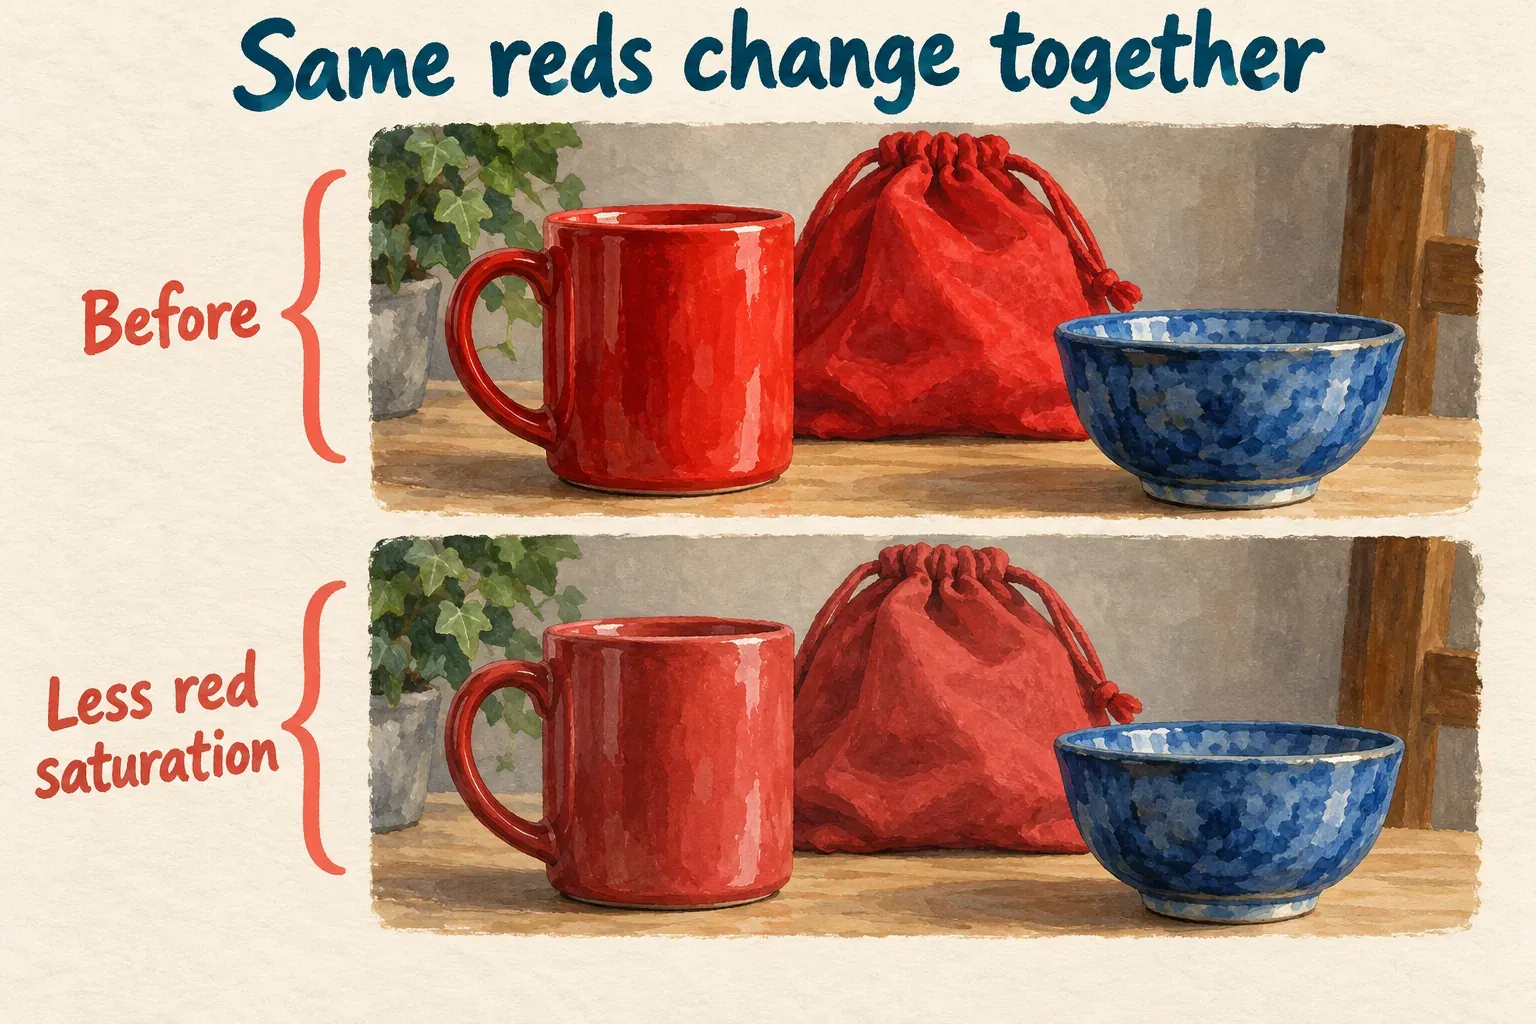
That’s a color-range principle, not a CapCut-only quirk. Adobe’s Color Mixer explanation gives the same warning about similar reds across an image. Lightroom’s menu paths and Point Color tools are separate from the CapCut steps here.
A useful adjustment has a clear purpose: quieter reds, a less cyan blue, or a brighter green area. Keep the rest of the shot in view while you work. Warm skin, wood, brick and fabric can sit in related ranges. A background change that looks pleasing can make a face or product less believable.
Change one property first. If the color is just too strong, lower saturation before you decide whether the hue needs to move. If the shade is wrong, refine hue, then look at vividness again. There’s no universal set of slider values for orange-and-teal footage, natural skin or greener foliage. The source light and the existing grade change what those values do.
When a filter or LUT is already active, look at the combined result. A strong look may be what’s causing the troublesome color. Turn that treatment down if its supported controls let you, before you stack several HSL corrections against the look.
When HSL changes the wrong area or cannot reach the color
The background changes with the subject. The two may share the selected range. Changing the slider value won’t create a spatial boundary. If one object has to change while similar colors elsewhere stay untouched, the job needs a separately supported selective-editing method. Don’t keep pushing HSL harder and expect the objects to separate.
The requested replacement color is out of reach. A hue-range adjustment is not a promise to replace any yellow with any purple, or to match an arbitrary brand color exactly. If the available movement can’t reach the target cleanly, stop there. A bold title such as “change any object’s color” doesn’t prove what the real controls can do.
The changed area has uneven patches. A glossy surface or a moving shadow can hold colors outside the chosen range. Check the original and ease off the adjustment if the differences start to distract. Push the values harder and the edge between affected and unaffected areas can become easier to spot.
The image loses texture. Restore the recent value and check the original detail. A brightness slider can’t recover information missing from the recording, and intense color changes can hide subtle shading you wanted to keep.
White, gray or black will not become the intended color. Nearly neutral areas give a hue-range adjustment little useful color to work with. Treat recoloring them as a different task rather than assuming one of the colored channels selects all neutral surfaces.
The whole video looks washed out after saving. Check the source and delivery settings. HSL isn’t HDR-to-SDR conversion or color-space management. Follow the color-space guide before adding saturation to disguise a broader mismatch.
Review the range throughout the moving shot
A paused frame can hide the side effect. The red bag may enter later, a warm reflection may appear as a cup turns, or a change in light may reveal patchy color on fabric.
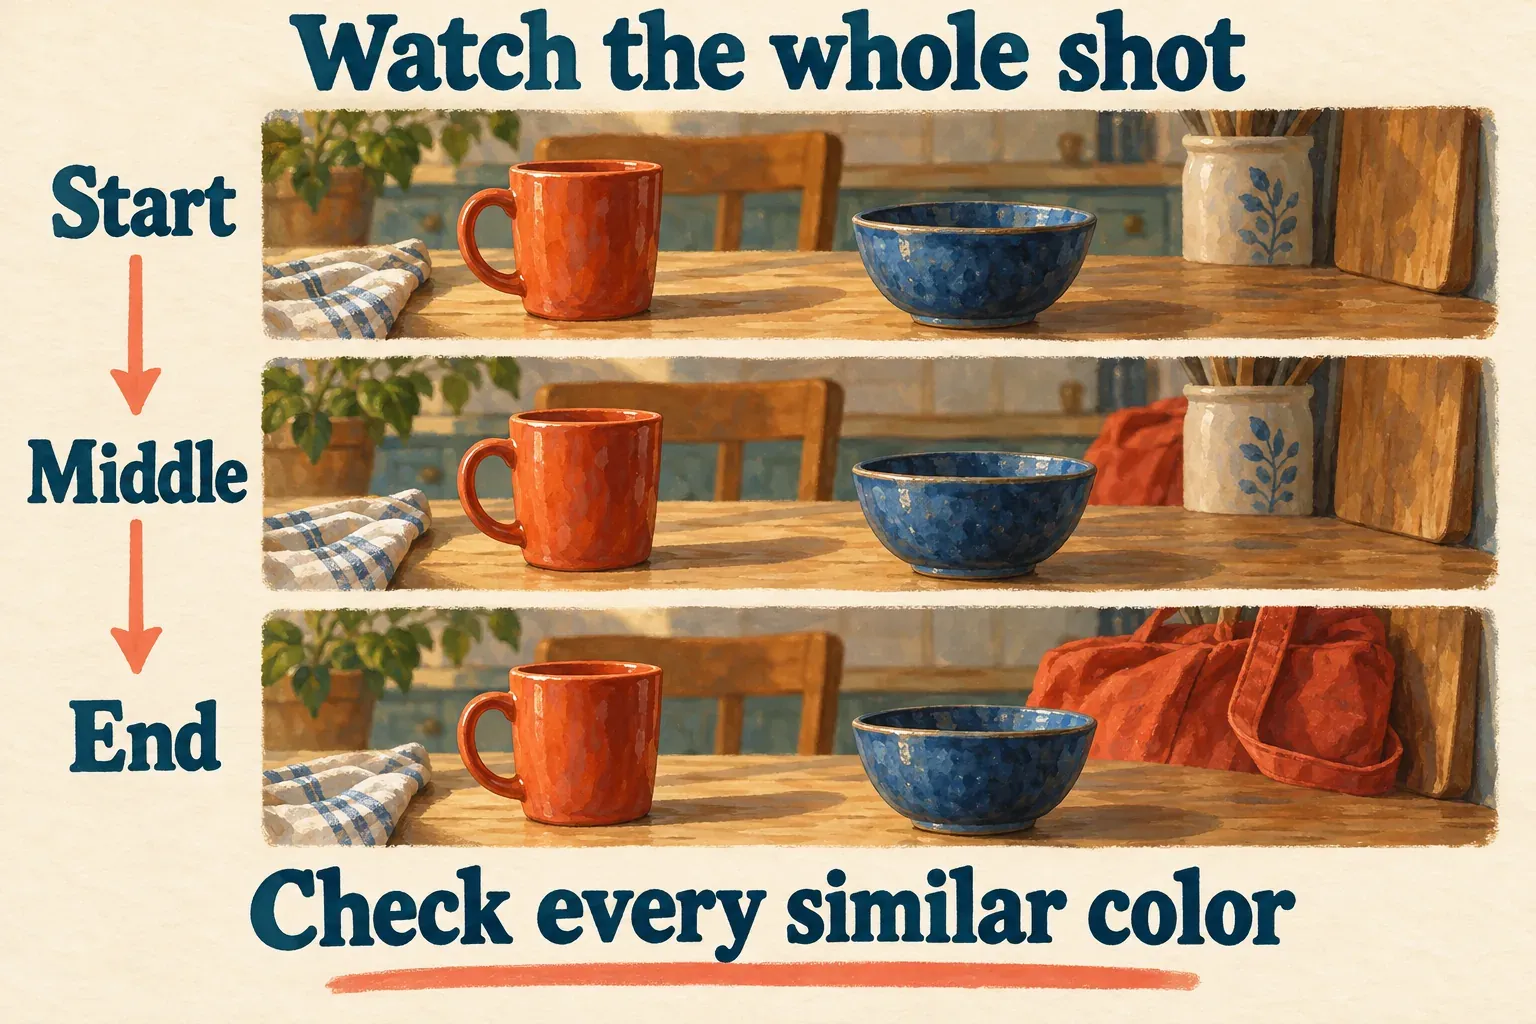
Play the whole clip. Watch the main subject, other surfaces in the same color family and the edge around the changed area. Compare a bright moment with a darker one. If the effect only holds up while the subject stays still, dial it back or try a different approach.
Then check the cut into the next shot. Identical HSL values don’t guarantee matching color when the light, camera or source treatment changes. Keep a reference shot and decide shot by shot instead of treating copied settings as a finished grade.
Save the project and watch the exported file outside the editor. Check the same moving sections and neighboring shots; the export settings guide covers the delivery choices. Hold on to the original media and the editable project so you can revise a selective change later.
For another editing task, use the CapCut tutorial hub. HSL earns its place when it fixes one specific color problem while leaving the rest of the scene convincing.