

To fade out audio in CapCut, select the audio clip on the timeline and increase its Fade out duration. On Mobile, look for Fade in the selected audio tools. On Desktop, the fade controls sit in the audio Basic panel. Play the ending to check that the sound reaches silence at the intended moment.
Choose the audio layer first. A video fade-to-black changes the picture; it does not tell every music, voice and sound-effect track to become quiet. This guide covers the beginning and end of an audio clip. For lowering music during speech, use the separate CapCut audio-mixing and ducking guide.
Fade out music or voiceover on iPhone and Android
CapCut's mobile audio-layer instructions describe fade tools on a selected separate audio layer. Its iPhone music walkthrough also documents adjusting music length and applying fades. Start with the music or voiceover already on the timeline:
- Decide where that audio should end. Trim or position the clip so its right edge matches the intended ending.
- Tap the audio waveform strip, rather than the video, a text layer or an empty part of the timeline.
- Find Fade in the selected audio toolbar. Swipe through the tools if your layout does not show it immediately; some builds group audio settings differently.
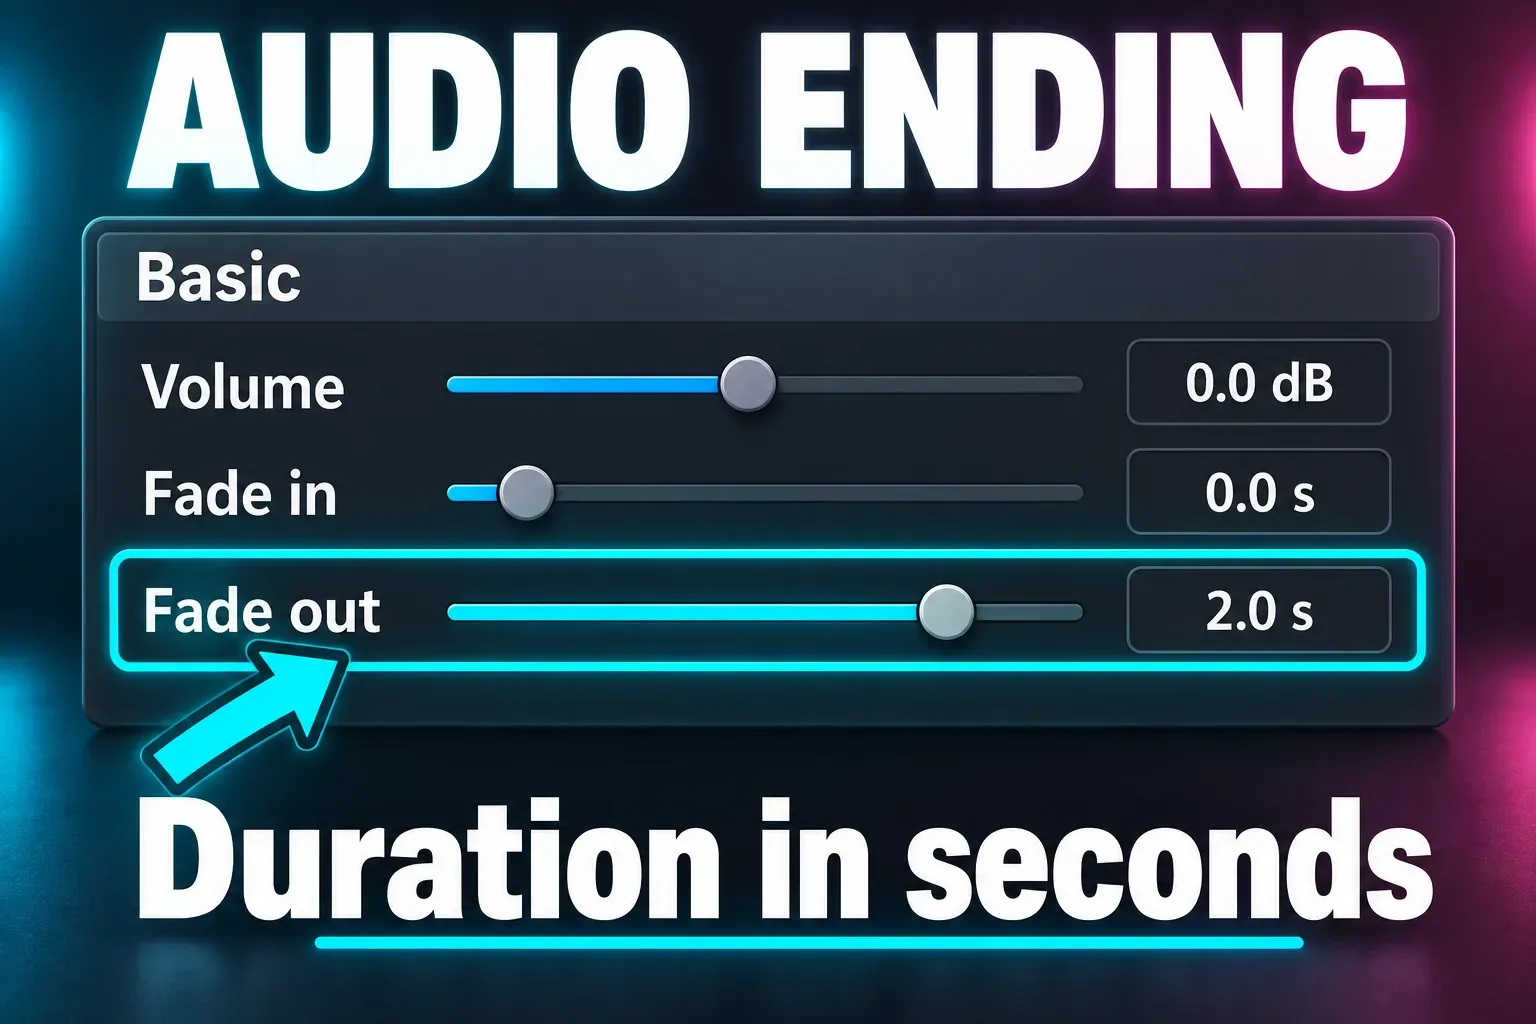
- Increase Fade out to make the ending gradual. The value describes the length of the fade, rather than a new endpoint for the clip.
- Confirm the setting if your version shows a checkmark or apply control.
- Start playback before the fade begins and listen through the end. Check that the final word, musical accent or useful sound effect remains audible.
To make the same track enter gradually, adjust Fade in. Keep the two jobs separate: an entrance can need a brief softening while the ending needs more room, or the other way around. You do not have to give them matching durations.
Fade out audio on CapCut PC or Mac
CapCut's Desktop audio-fade walkthrough places the fade-in and fade-out controls in Basic for a selected audio clip. The relevant instructions are its CapCut section, rather than the Final Cut Pro menus elsewhere on that page.
- Click the intended audio clip in the timeline.
- Open its Basic audio controls in the property panel. Depending on the build and selected media, an Audio tab may appear before Basic.
- Find Fade out, then change the duration with the displayed slider or value field.
- Leave the clip's ordinary volume at the level you want before the fade. Lowering that volume alone turns down the whole clip.
- Play across the ending with the other tracks audible, then listen to the selected track alone if the result is unclear.
If you trim the audio again later, recheck the fade. Its relationship to the new ending matters more than the value you entered earlier.
Set the fade length around the actual ending
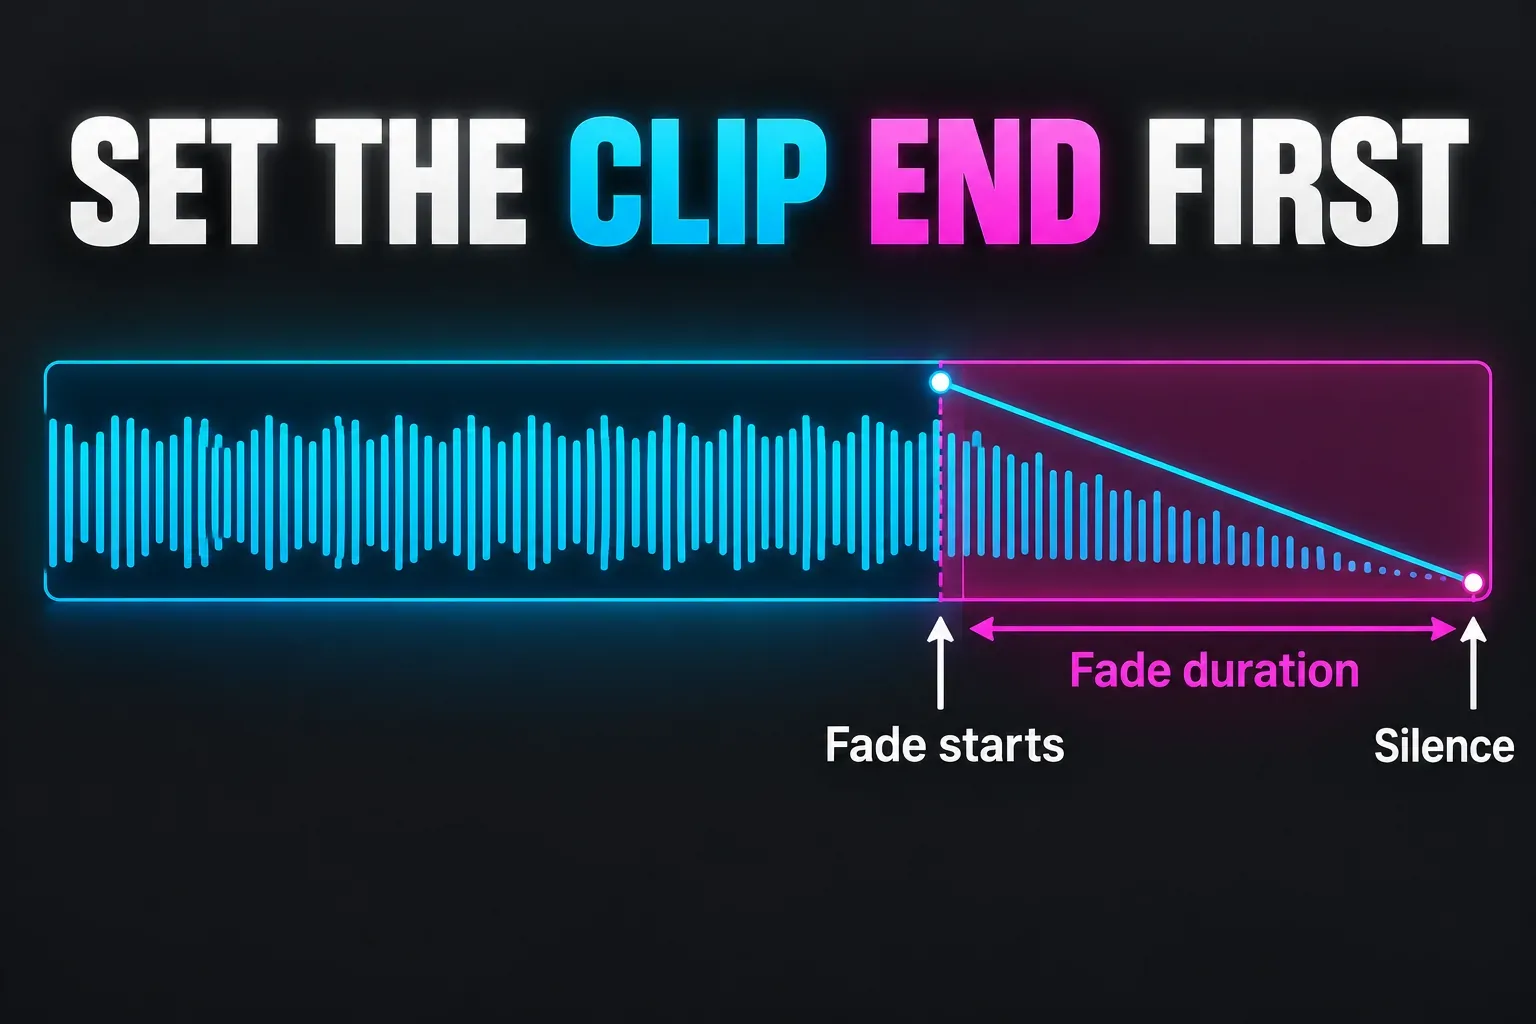
A fade-out occupies the tail of the selected audio clip. For an instructional example, a clip ending at 12 seconds with a 2-second fade starts becoming quieter around 10 seconds. If you need silence at 10 seconds, first arrange the clip to end there; increasing fade duration is not the same as moving its endpoint.
I would choose the ending before choosing the number. Listen for the last important word or musical beat, then leave the fade enough room to finish without swallowing it. A long fade on a short voice line can hide most of the sentence. A very short fade on sustained music can still sound like a sudden stop.
There is no single duration that works for every Reel, tutorial or song. Start with a modest fade, listen, and adjust. If the clip already contains a natural musical ending, a small edge treatment or no added fade may sound better than fading it twice.
Fade at a specific point with volume keyframes
Use volume keyframes when you need a change inside a longer clip or a timing pattern the edge controls cannot give you. CapCut's audio-keyframe explanation describes changing sound properties over time.
Where your selected audio exposes a volume keyframe control, set one point at the desired starting level, then a later point at silence. Use the control's zero or mute-equivalent endpoint; 0 dB is not silence on a gain scale, as the unity-gain definition in Adobe's audio documentation makes clear. Listen between the points and adjust their spacing. If your layout does not offer audio keyframes, use the available Fade control or prepare the needed ending in an audio editor.
Avoid stacking an unintended edge fade over a manual volume ramp. Check both treatments before blaming the sound file.
Fade is missing, or the original video sound stays loud
You selected the video instead of a separate audio clip. Return to the waveform layer and inspect its controls. Original camera audio can expose different options from imported music or a recorded voiceover.
You need separate controls for camera audio. If your current build offers Extract audio or a comparable separation command, that can give the soundtrack its own layer. Inspect the resulting tracks so the same sound is not playing twice. Extraction access can depend on your current plan or build; if it asks for payment, review CapCut Pro feature limits before changing subscriptions or replacing the edit. An available volume-keyframe route may avoid needing a separate layer.
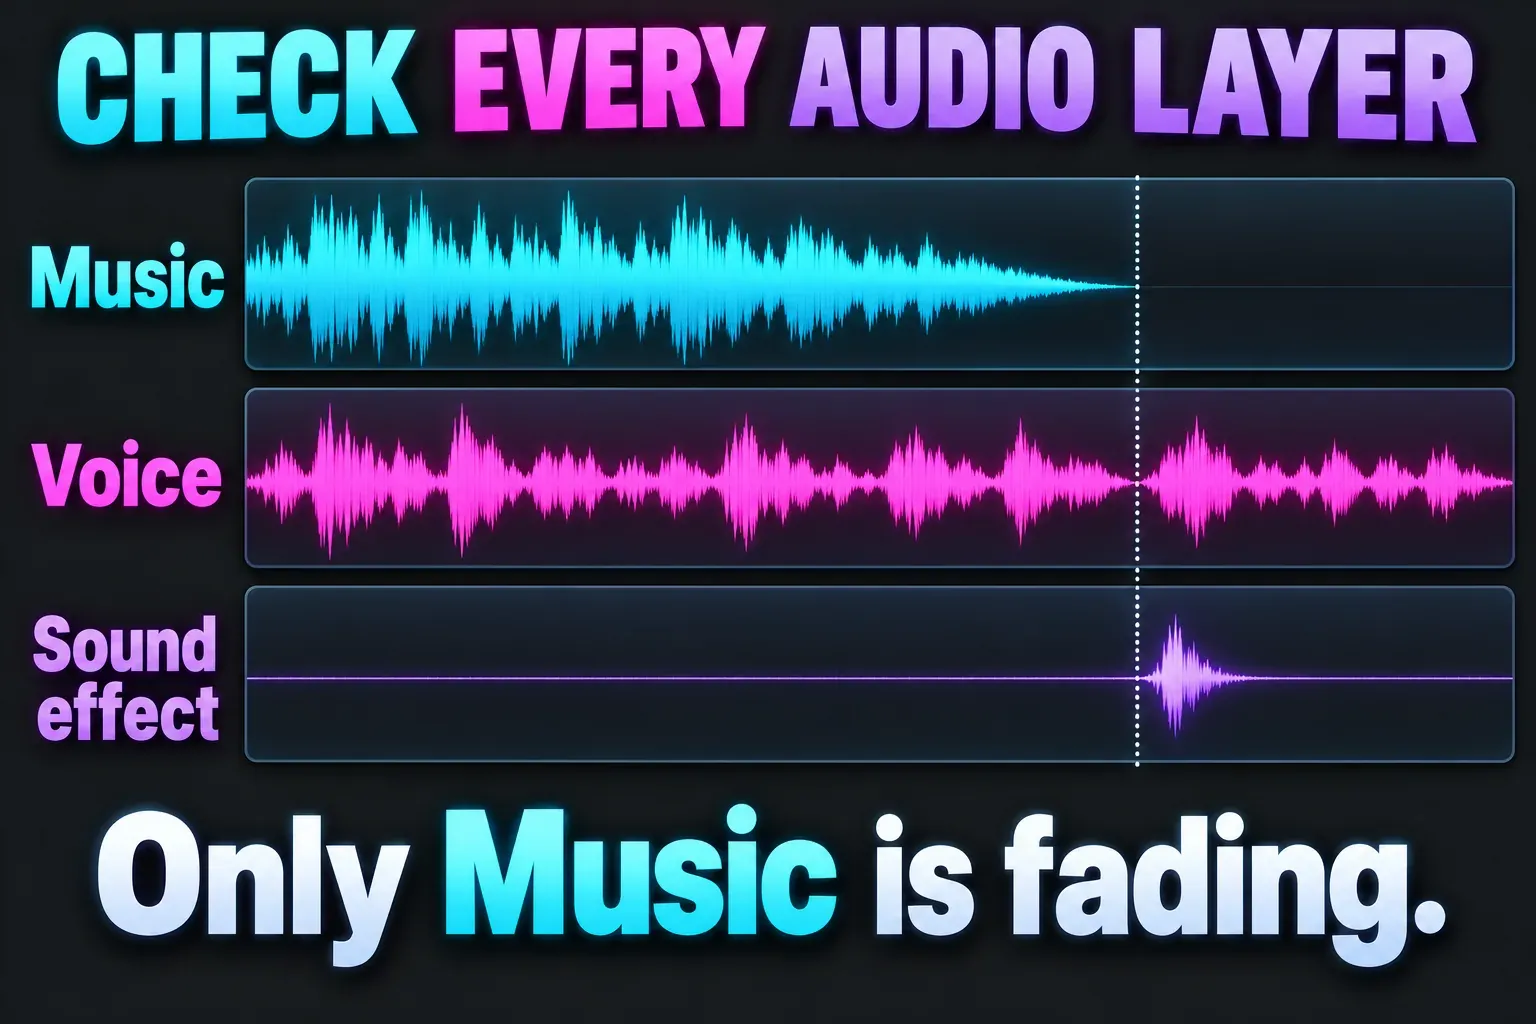
The music fades, but the project does not become silent. Check camera sound, duplicate music, voiceover and effects individually. Fading one selected clip does not create a master fade for all of them.
The fade happens after the video has already ended. Compare the audio clip's right edge with the actual final picture. Trim or move the audio to the intended ending, then set the fade again.
The last word becomes hard to hear. Shorten the fade, move the ending after the word, or use keyframes to keep the level steady until the phrase finishes. The listener needs the sentence more than a long decorative ramp.
Nothing is audible even before the fade. Check mute, track volume and playback output first. The CapCut no-sound checklist covers silence that is broader than a clip ending.
Check the exported ending
Export a short section containing the beginning of the fade and the final picture. Listen to that saved video outside CapCut, once on headphones and once through the device speaker. Confirm that the final words survive, no second track continues unexpectedly, and silence arrives where the edit needs it.
An audio fade does not require the picture to fade at the same time. Let the sound finish under a held image, or end it before the last shot, when that serves the edit. For the wider process of assembling and exporting the project, continue with our CapCut tutorial.