


You can bring the finished result of an After Effects effect into CapCut as rendered video. An AE preset does not become an editable CapCut effect. If you want to change the original effect settings, keep the After Effects project and make those revisions there.
The practical choice is between rendering the look and rebuilding it with CapCut tools. I would render a complicated title, tracked graphic or plugin effect that already looks right in AE. For a simple zoom, slide or fade that still needs timing changes, rebuilding the motion in CapCut can save a round trip.
First, identify what the download contains
“After Effects effect” can mean several different files. Their names matter more than the pack's promotional label.
| What you have | What it contains | What to do for CapCut |
|---|---|---|
.aep, .aepx or .aet |
An After Effects project or project template | Open and finish it in AE, then render the composition. |
.ffx |
An AE animation preset with property settings, potentially including effects, keyframes and expressions | Apply it in AE, render the result, or recreate the relevant motion in CapCut. |
| An AE plugin installer | Software that supplies an effect to its supported host | Use the compatible host and required license; importing the installer as media will not produce the effect. |
A rendered .mp4 or .mov |
Video frames, possibly with audio or an alpha channel | Import the media if CapCut supports its actual encoding; check transparency separately. |
Adobe's project documentation describes an AE project as compositions and references to source files. Its animation-preset documentation defines .ffx presets and explains the plugin system. These are instructions and dependencies for After Effects, rather than finished video clips.
A template advertised as “AE-style” inside CapCut is a different thing. Similar transitions, glows or text movement do not prove that it can open an Adobe project. Choose by the delivered file type and the editing controls you need.
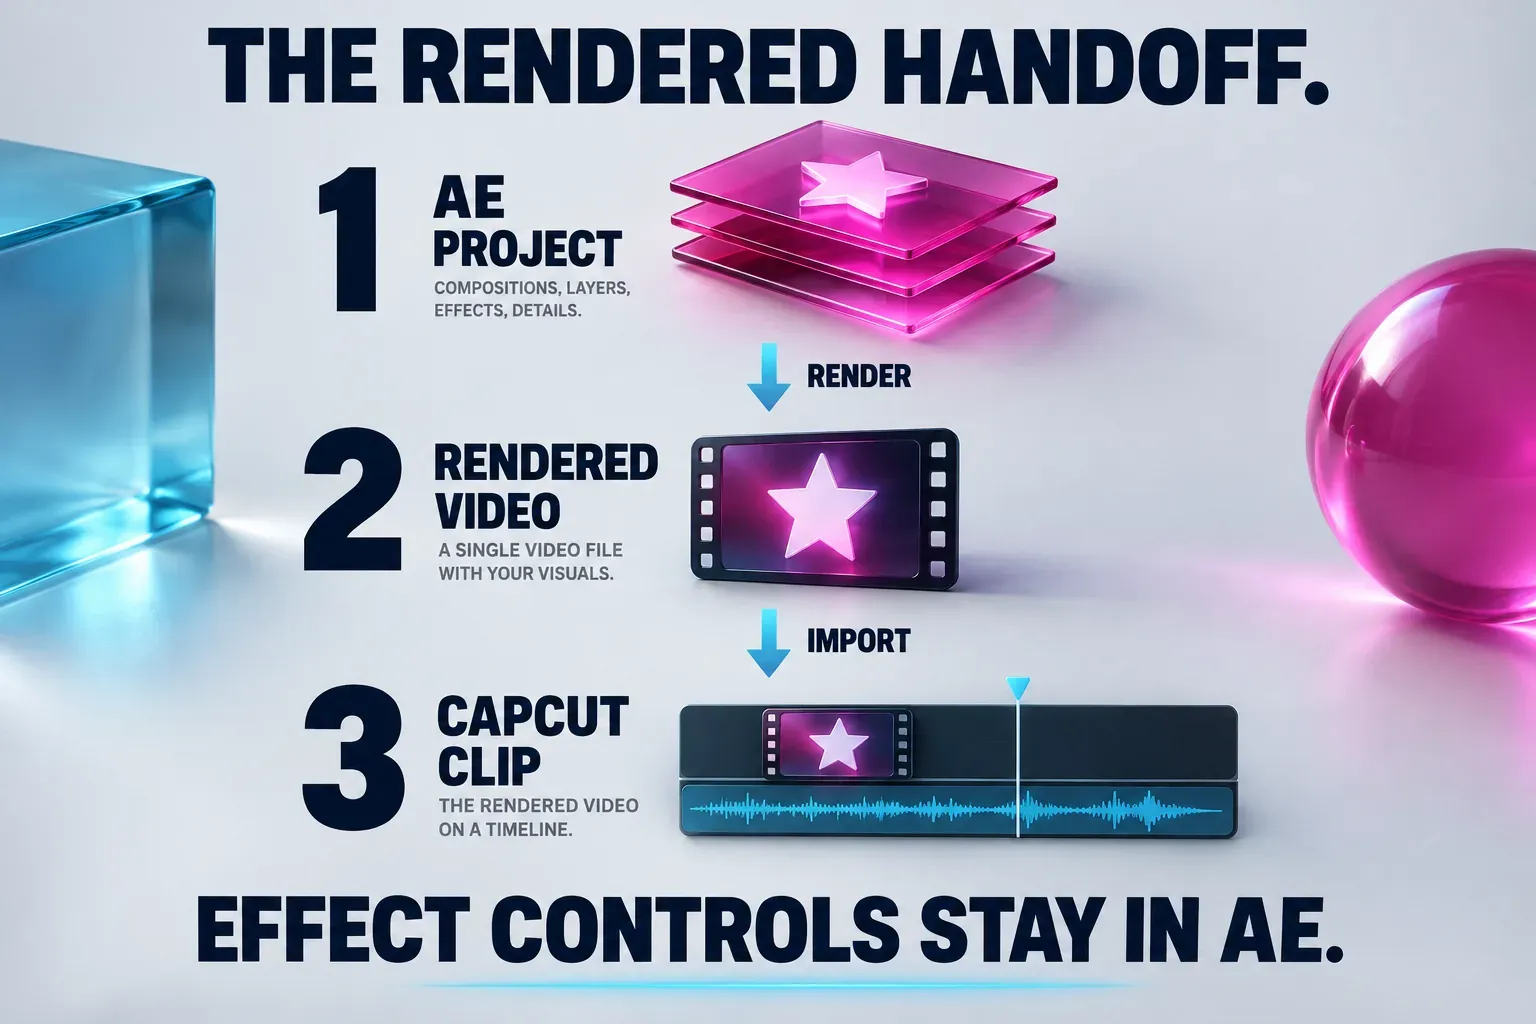
Render the result when the effect is already finished
Adobe explains that rendering creates frames from the composition's layers and settings. That is the useful bridge between the editors. CapCut receives the rendered frames, not the individual expressions, effect sliders or text layers that made them.
For an ordinary video segment that includes its background, this is a documented route:
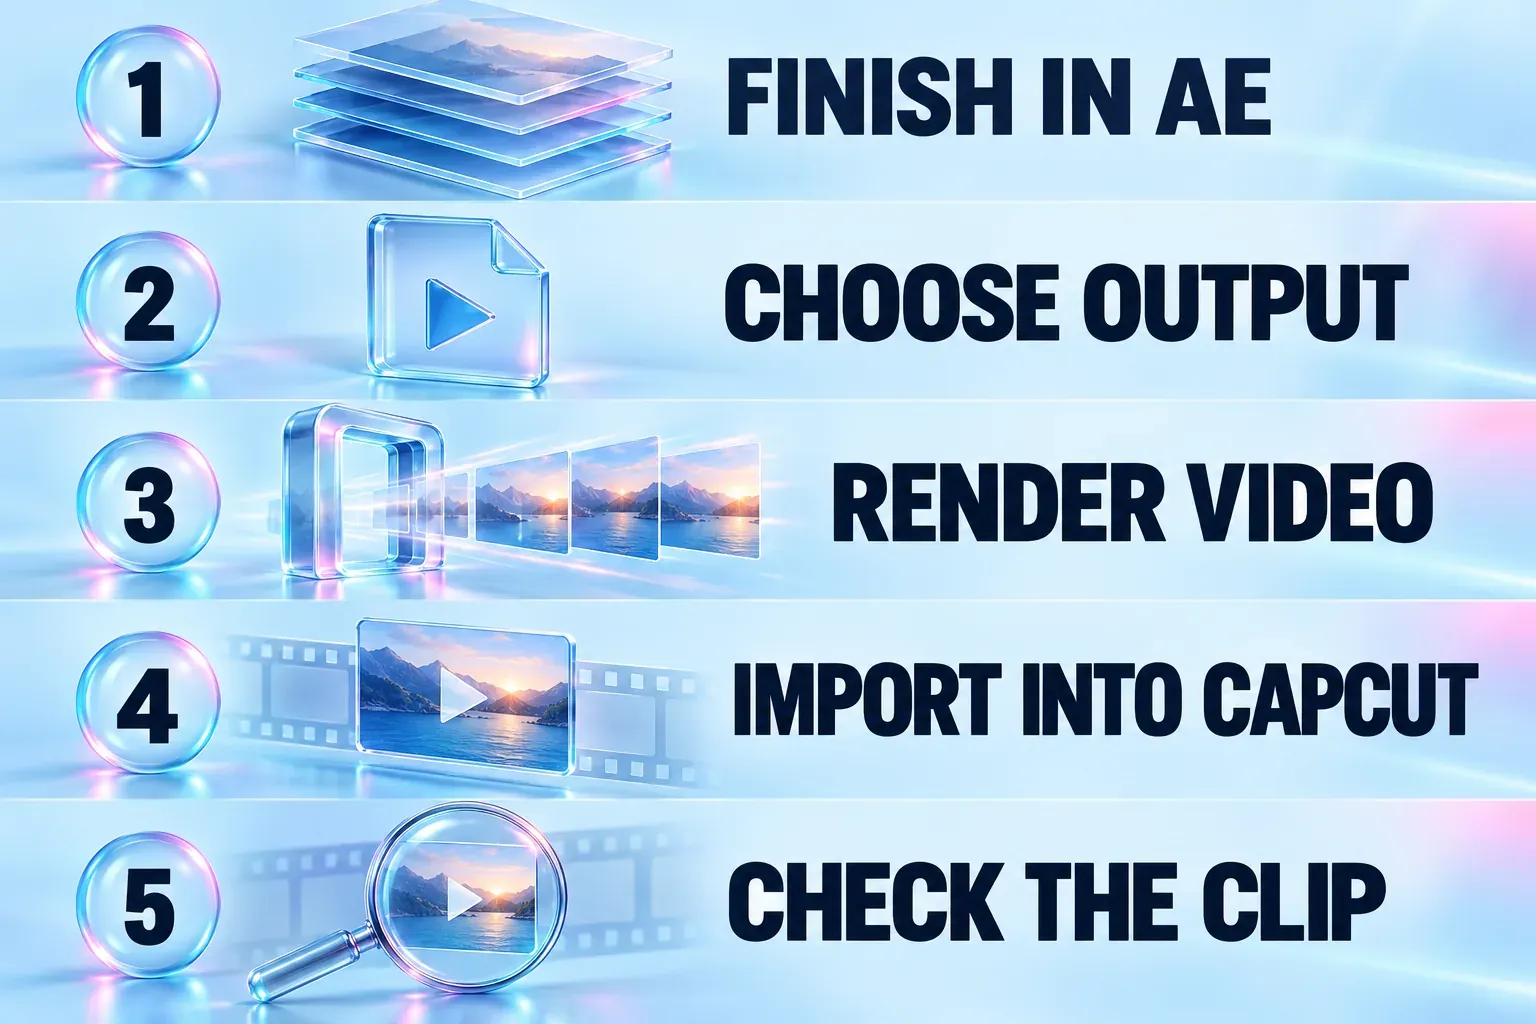
- Finish the AE composition. Set the intended frame size, frame rate and duration. Resolve missing footage, fonts or effects before rendering; a render cannot restore a missing ingredient.
- Send the composition to Media Encoder. In After Effects, choose Composition → Add to Adobe Media Encoder Queue. Adobe also documents a File → Export route to the same queue.
- Choose compatible output. For a normal opaque clip, H.264/MP4 is a practical starting point. Match the composition's frame size and frame rate, select an output location, then start the queue. Adobe's Media Encoder output-format list includes H.264; the available formats depend on the installed Adobe applications and encoders.
- Import the rendered file into CapCut. Put it on the main timeline if it is a complete shot. For a separate foreground element, use the overlay route described below.
- Check the handoff. Compare duration, motion, audio sync, cropping and the first and last frames. Keep the original AE project and source media for revisions.
The Media Encoder encoding guide documents selecting a format, preset and destination before starting the queue. Exact presets can change; the useful requirement is a file that the receiving CapCut build can decode. Our CapCut supported-formats guide explains why the extension alone cannot settle that.
You can still trim, move, resize or apply CapCut treatment to the imported clip. You cannot change a baked-in AE title by editing a CapCut text layer, or turn off one rendered plugin effect while keeping the others. Return to AE and render a replacement when the original design changes.
For an overlay, decide how the background will be handled
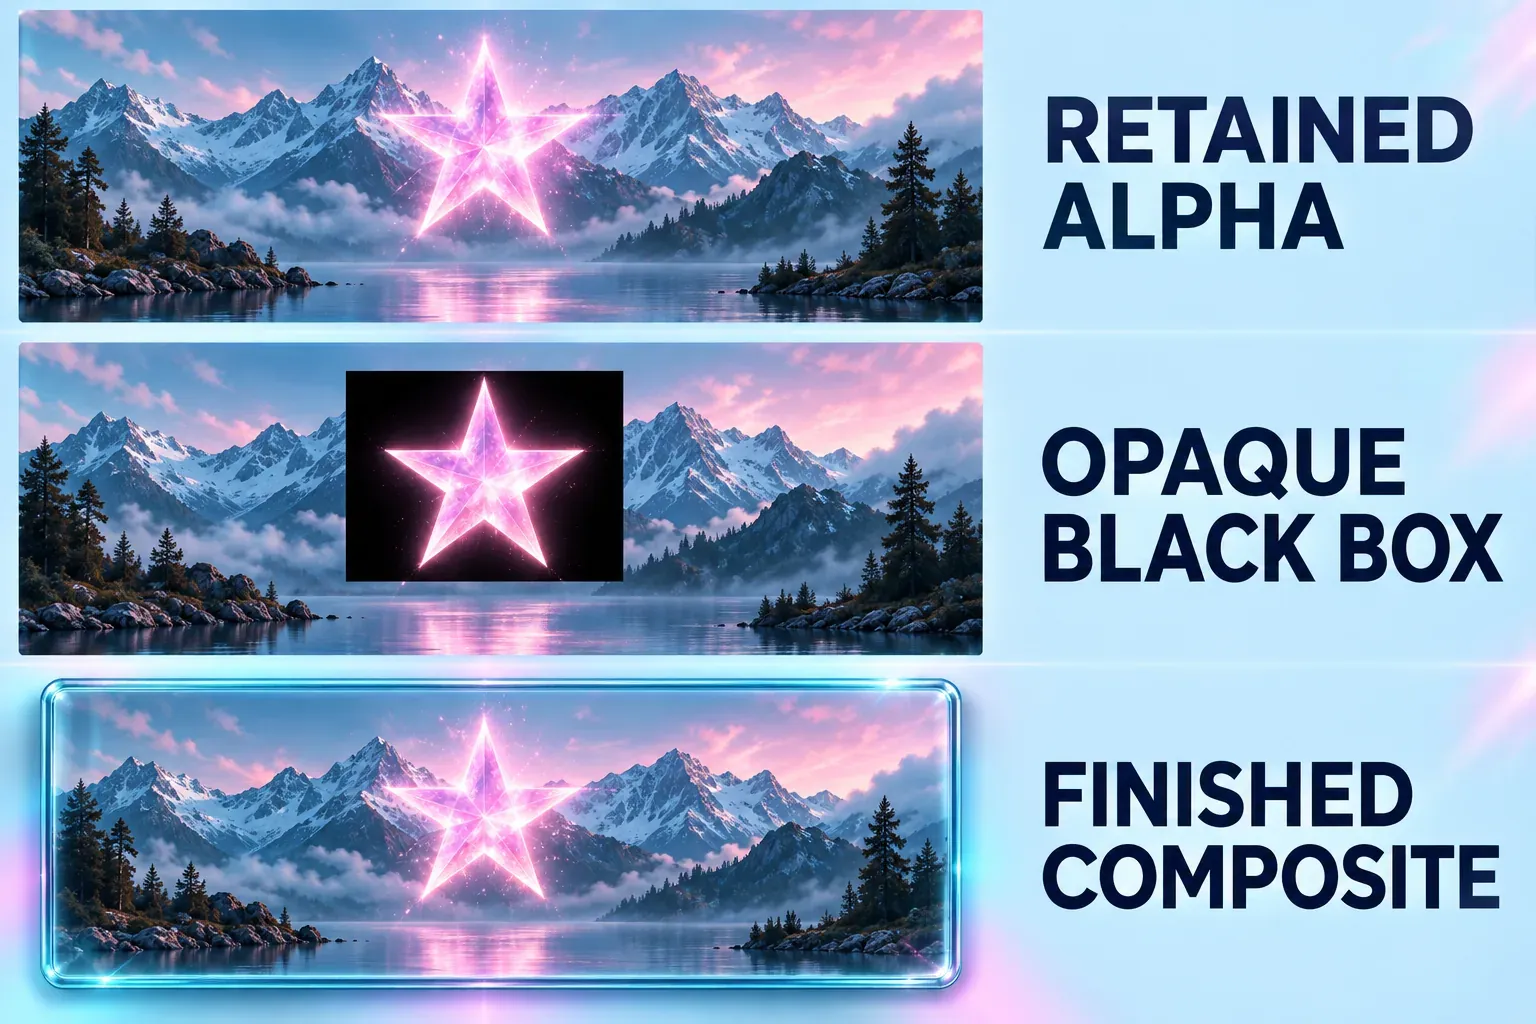
A full-screen effect shot and a floating title are different deliveries. A rendered title with a black background will cover the footage beneath it unless you composite or remove that background. Black pixels are not transparency.
CapCut's desktop and mobile overlay instructions describe adding imported video or images above the main footage. On desktop, place the imported element on a higher video track. On mobile, the documented path is Overlay → Add overlay. Position the element and align its timing; menu availability can differ by build.
An alpha-channel file
For genuine transparency, the exported file needs an alpha channel and the receiving editor must preserve it. Adobe's output-module guidance specifies RGB+Alpha for that output and warns that not every codec supports alpha. In the AE Render Queue, review the output module's format, codec and channels together.
A QuickTime/MOV file using Apple ProRes 4444 is an alpha-capable candidate. Apple's ProRes documentation distinguishes 4444 and 4444 XQ from the 422 family: only the two 4444 variants support alpha. A .mov suffix or a generic “ProRes” label therefore does not guarantee transparency.
That establishes what the codec can store. It does not establish that every CapCut mobile, desktop or web build will import that file and retain its alpha. Put a short sample over both a light and a dark background in the intended CapCut build before committing to the full animation. Check the imported result and a CapCut export, especially around soft edges and motion blur.
If alpha is lost, finish the compositing against the actual background in After Effects and send CapCut the complete opaque shot. You lose the ability to replace the background independently, but the handoff no longer depends on transparent-video decoding.
A colored background for keying
A green-screen render can be another route when the element can be keyed cleanly. It carries a colored background that CapCut must remove; it is not an alpha-channel file. CapCut identifies similar subject/background colors and compression as common keying problems. Avoid a key color that also appears in the design, and review thin lines, glow, shadows and translucent areas.
Our CapCut green-screen guide covers the keying controls and cleanup. I would use this route for an uncomplicated graphic before choosing it for soft smoke, glass or detailed motion blur. Those elements often need their partial transparency, not a rough removal of one color.
Rebuild simple motion when you need CapCut controls
Rendering is a poor trade when the only requirement is an editable title slide or a small zoom. CapCut documents position, scale, rotation and opacity keyframes, with availability depending on the element and build. Describe the starting state, ending state, duration and easing between them. Our CapCut keyframes tutorial covers that approach.
Separate the visible ingredients before rebuilding:
- Movement: position, scale, rotation and timing.
- Appearance: text, opacity, color, masking or the available native effect.
- Rhythm: where the change lands against the cut, narration or music.
Recreate the parts CapCut exposes. Do not expect an AE expression, custom plugin or preset's numeric values to map directly onto differently named CapCut controls. A similar look is a fresh edit, with its own limitations and settings.
If the file will not import or looks wrong
Start with the file you rendered. Does it play outside the editor, contain the intended duration and show the correct design? An .aep project renamed to .mp4 is still a project. CapCut's import troubleshooting guidance explicitly says that changing an extension does not change the underlying format and that support varies by device, operating system and version.
For a rejected ordinary clip, render or transcode a compatible media copy. Keep the original. For a black rectangle, revisit the alpha/background choice before changing every export setting. For a wrong title or missing effect, correct the source AE composition and render again. If the clip imports but looks softened, check frame size, crop, compression and whether you are judging a preview or the exported file.
Keep the music, font, stock and template permissions with the project. Rendering flattens the artwork; it does not create new commercial rights. Our commercial-use rights guide explains the asset checks for CapCut delivery. A separate Premiere Pro project handoff has its own editable-project limits.
My recommendation: render the AE result when its design is settled, and rebuild simple motion when CapCut needs to remain the editing home. For a reusable overlay, settle transparency before the long render. Keep AE responsible for its original effects and CapCut responsible for the imported clip and final edit.