

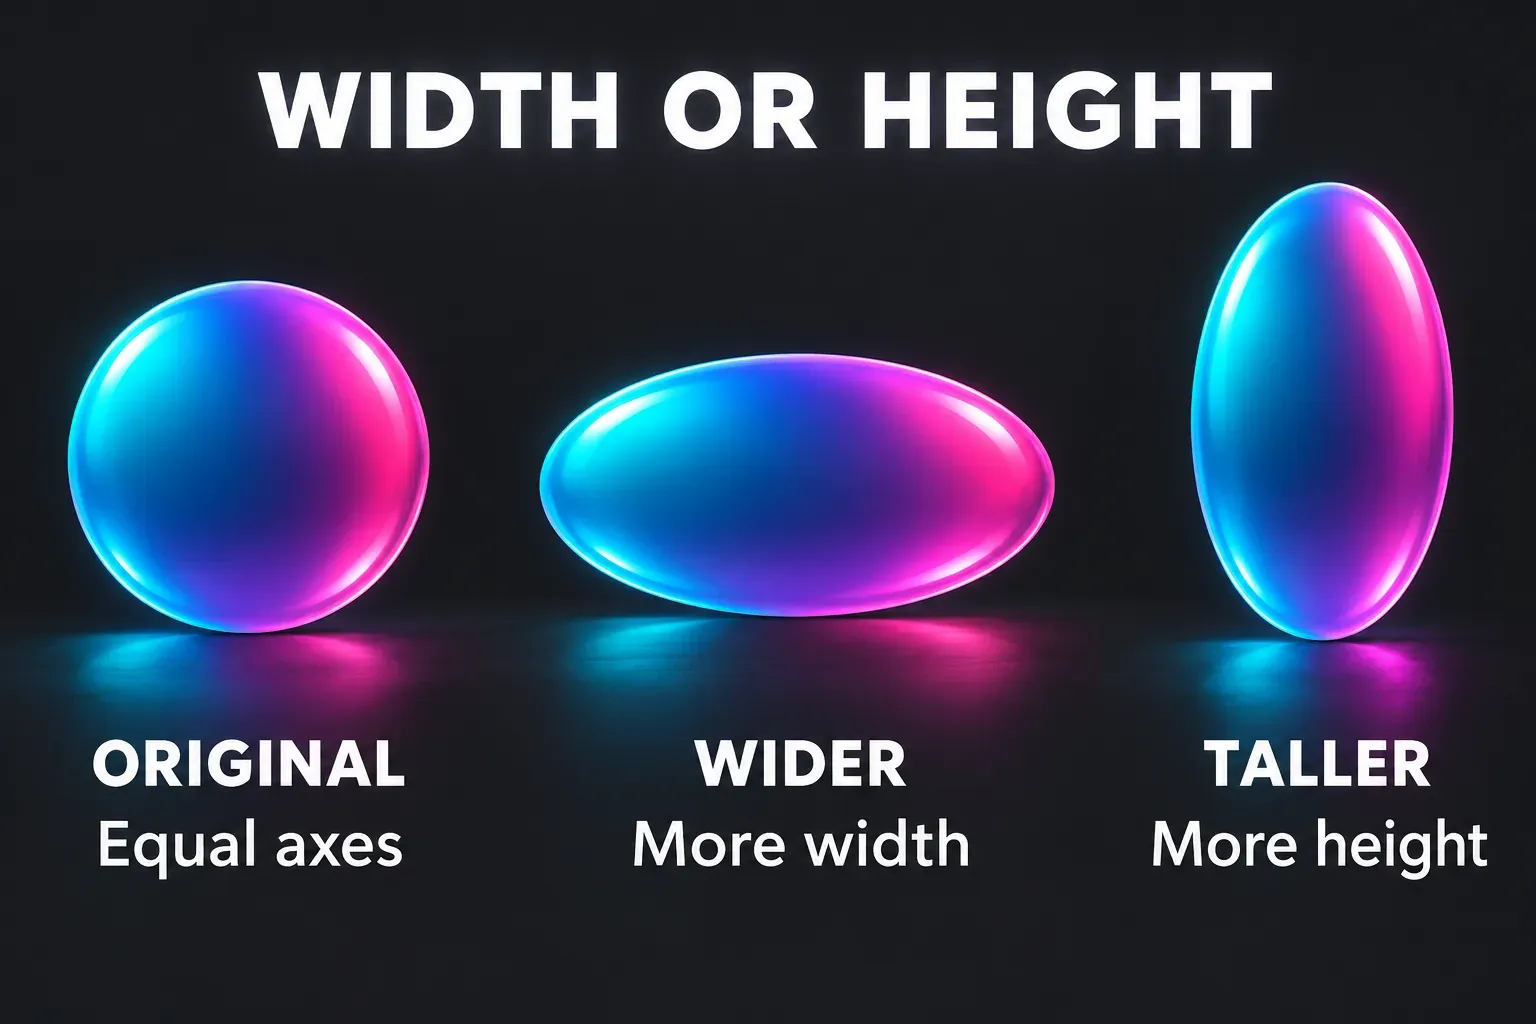
To stretch a video in CapCut Desktop, select the clip, open Video → Basic → Transform, turn Uniform scale off, then change Scale width or Scale height independently. Increase width for a wider picture; increase height for a taller one. The exact panel grouping can differ between builds, but the important control is the link between the two axes.
Stretching deliberately changes proportions. A round object becomes an oval. If you only want a clip to fill a vertical or widescreen project while keeping people and objects their normal shape, use crop, repositioning or a background instead. Changing the project ratio alone does not stretch the picture.
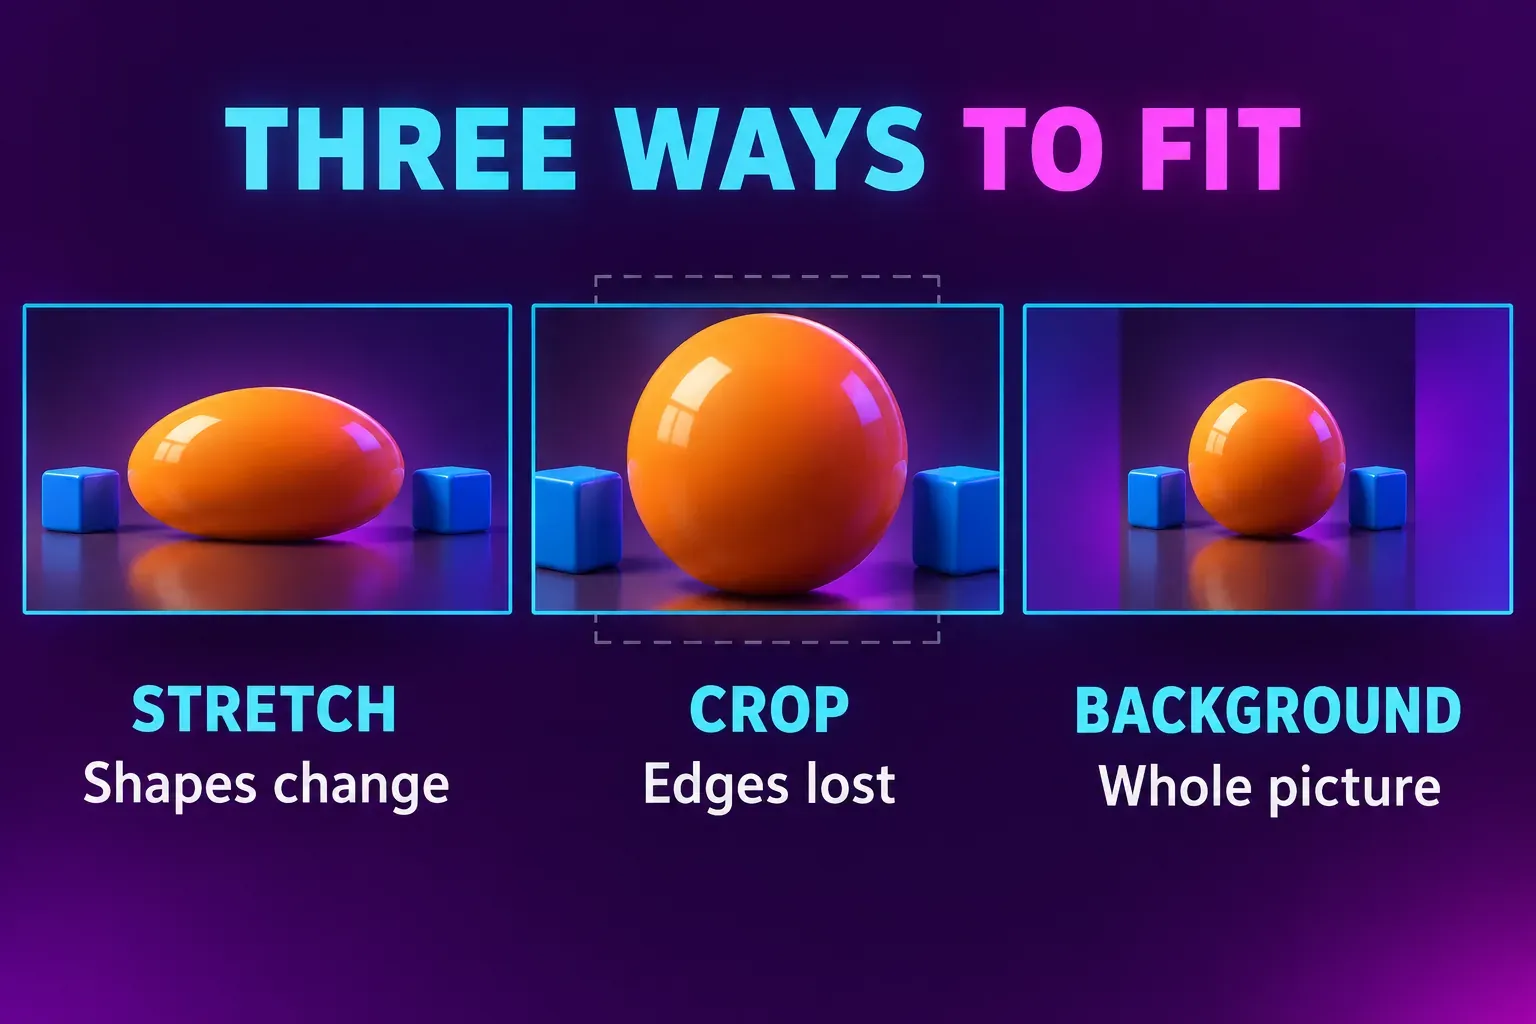
Choose stretch, crop or a different canvas
The word “stretch” gets used for several edits. Decide which result you want before adjusting anything:
| Your goal | The appropriate change | What to expect |
|---|---|---|
| Make the picture wider or taller without keeping its original proportions | Independent width or height scaling | Subjects become wider, taller or squashed. |
| Fill a different frame while preserving proportions | Uniform scaling and crop/repositioning | Some outer content may disappear. |
| Keep the complete picture in a different frame | Fit it over a background | Spare space surrounds the unchanged picture. |
| Make the video last longer | A speed change or a timed hold | Duration changes; picture shape need not change. |
For a normal social-video conversion, I recommend keeping proportions intact. A slight intentional squeeze can suit an edit; stretched faces, circular logos and product packaging are harder to overlook in an explanatory video. The separate CapCut aspect-ratio guide covers the whole project frame.
Stretch a video horizontally or vertically on PC
CapCut's desktop resizing instructions document the Basic/Transform controls and disabling Uniform scale to adjust width and height separately. Use this route for the selected video clip:
- Place the video on the timeline and click that clip. Make sure you have selected the picture, rather than an audio track, caption or empty timeline space.
- Open Video, then Basic, and find Transform or the position-and-size section in your layout.
- Note the existing scale values. A clip may already have been enlarged or reframed, so treating every starting value as 100% can change more than you intended.
- Switch Uniform scale off. Look for separate width and height controls.
- For a horizontal stretch, increase Scale width while leaving height unchanged. For a vertical stretch, increase Scale height while leaving width unchanged. Reducing one axis squashes the picture in that direction.
- Reposition the clip if its edges extend beyond the canvas. Independent scaling changes the picture's shape; it does not expand the project frame to keep every edge visible.
- Play through the entire selected clip. Watch faces, lettering and moving subjects, then check captions and overlays separately.
For a simple demonstration, compare width 130% with height 100% against width 100% with height 130%, starting from a neutral transform. The first makes the picture wider; the second makes it taller. These are teaching values, not a recommended preset or a guarantee that your existing clip starts at 100%.
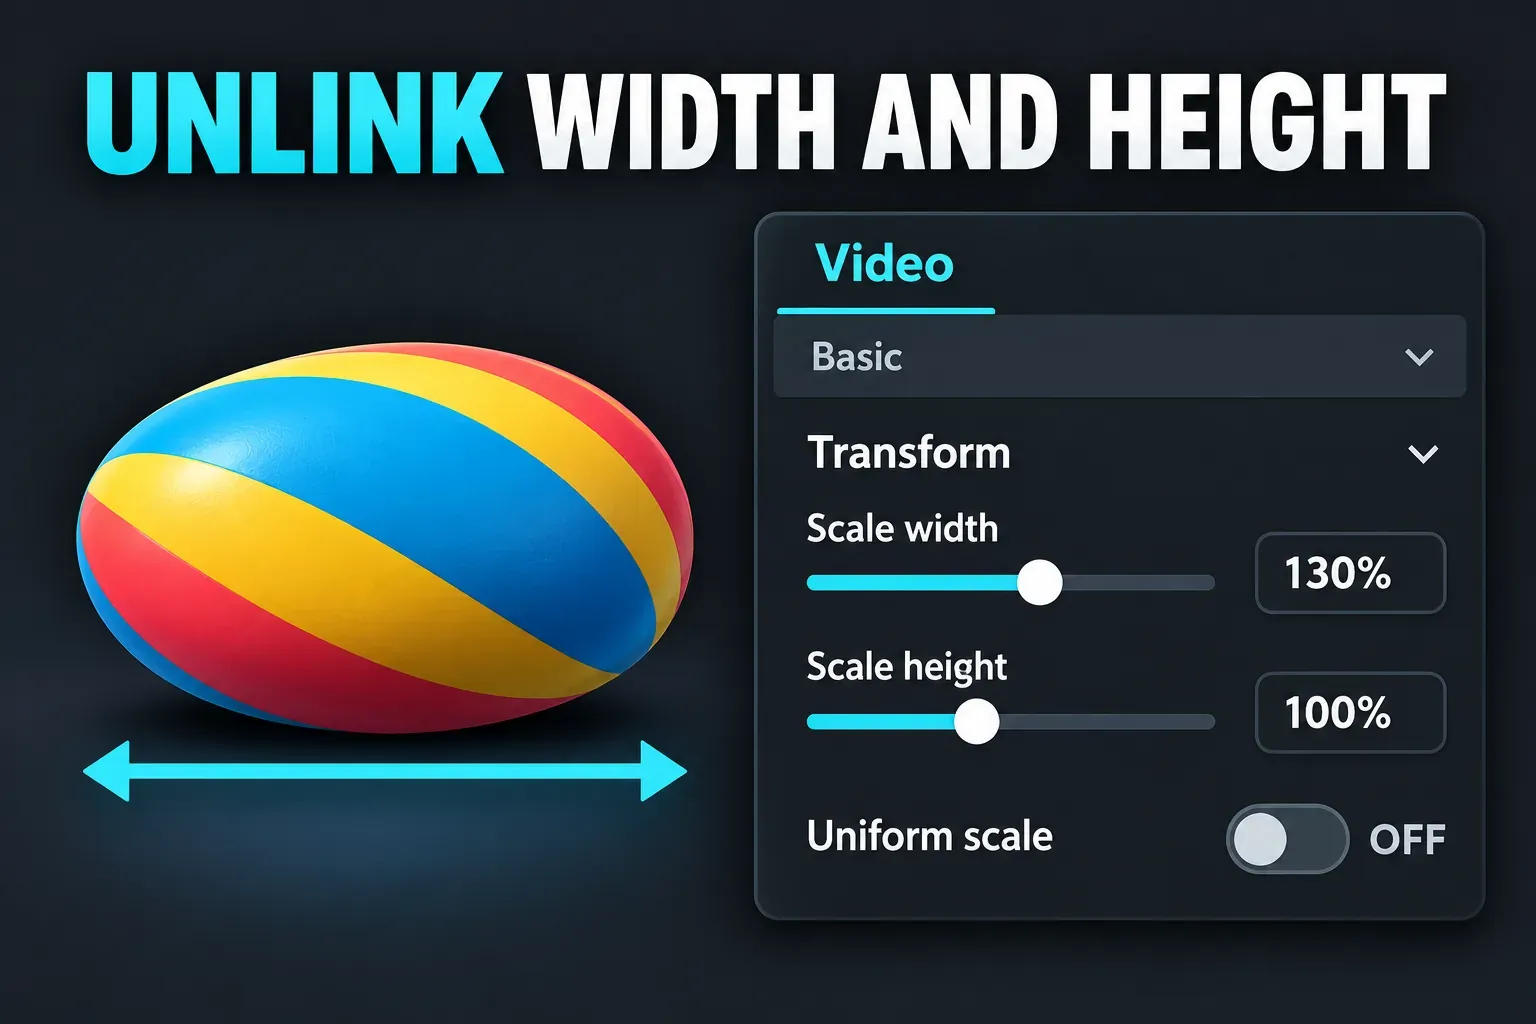
If both dimensions still change together, check that Uniform scale is off and that you are editing the intended clip. CapCut also describes independent dimensions in its PC resizing walkthrough. A single Scale slider or an ordinary pinch-to-zoom gesture is not the same control.
Stretch only part of a clip
If the distortion belongs to one moment, split at the beginning and end of that interval, then apply the scale change to the middle segment. Keep the neighboring segments at their intended proportions. Preview both joins: a sudden change in shape can look like a mistake unless the cut is deliberate.
The cut, trim and split lesson covers isolating that section. Avoid reshaping the whole clip just to create a brief accent.
How much stretch fills a different ratio?
With height held constant, the relative width multiplier is:
Target picture ratio ÷ original picture ratio.
For a 4:3 picture stretched to 16:9, that is (16 ÷ 9) ÷ (4 ÷ 3) = 1.333…. The picture needs about 33.3% more width relative to its starting width, with height unchanged. At a neutral 100% starting transform, that corresponds to roughly 133.3% width and 100% height.
That calculation describes the active picture, not a universal CapCut setting. If the clip is already scaled, multiply its existing width value by the relative factor rather than replacing it blindly. If the file contains black borders inside the recorded image, the file ratio and the active picture ratio are different; crop those recorded borders before judging the fit.
The cost of this method is distortion. A circle becomes wider, and text becomes broader. If that is unacceptable, use manual crop and repositioning or keep the whole picture over a background. You cannot preserve every edge, preserve every proportion and fill every mismatched canvas without adding or changing something.
Can you stretch a video in CapCut Mobile?
Use Desktop when you need the documented independent width/height controls. CapCut's mobile resizing instructions describe reframing and Crop; the documentation does not establish one dependable full-frame stretch procedure for every iPhone or Android build.
On your phone, inspect the selected clip's controls. If your current layout offers separate width and height values with a way to unlink them, those are the controls relevant to this task. If it offers only pinch scaling or Crop, you can enlarge or cut the picture, but those actions do not provide the same independent-axis adjustment.
A tutorial for body reshaping can also be answering a different question: changing a selected area of a person rather than changing the proportions of the whole clip. Judge the result it produces before treating it as a full-picture stretch method.
If your goal is simply to remove black bars, choose the project ratio, keep the source proportions, then fill by cropping or keep it over a background. If your goal is deliberate whole-frame distortion and the phone controls do not expose independent axes, continue that edit in Desktop. Preserve the source file and project; changing devices does not justify deleting the working edit.
Fix the result before exporting
The picture still has empty bands. Check the project canvas, clip position and whether the black pixels belong to the source file. Increasing the wrong axis may make distortion stronger without filling the actual gap.
The subject looks too wide or too tall. Undo the axis change or restore the values you noted at the start. Equal relative changes on both axes preserve proportions; unequal changes alter them. Re-enabling a link is not a substitute for checking the current picture and values.
The stretched section looks soft. You are enlarging existing pixels in one direction. Stretching cannot guarantee new detail, and a higher export resolution does not repair an already blurred face or unreadable label. Reduce the distortion and inspect the CapCut export settings if the finished file is softer than the composed preview.
You meant to extend time. Leave width and height alone. Use a speed change for longer motion, or the freeze-frame guide for a held moment.
I would finish with a short export containing the strongest stretch and both neighboring cuts. Watch the saved file outside the editor, checking shapes, edge coverage and text placement. Once those look right, export the complete edit. This lesson belongs to the CapCut tutorials hub, where the next step depends on whether you need composition, timing or animation.