

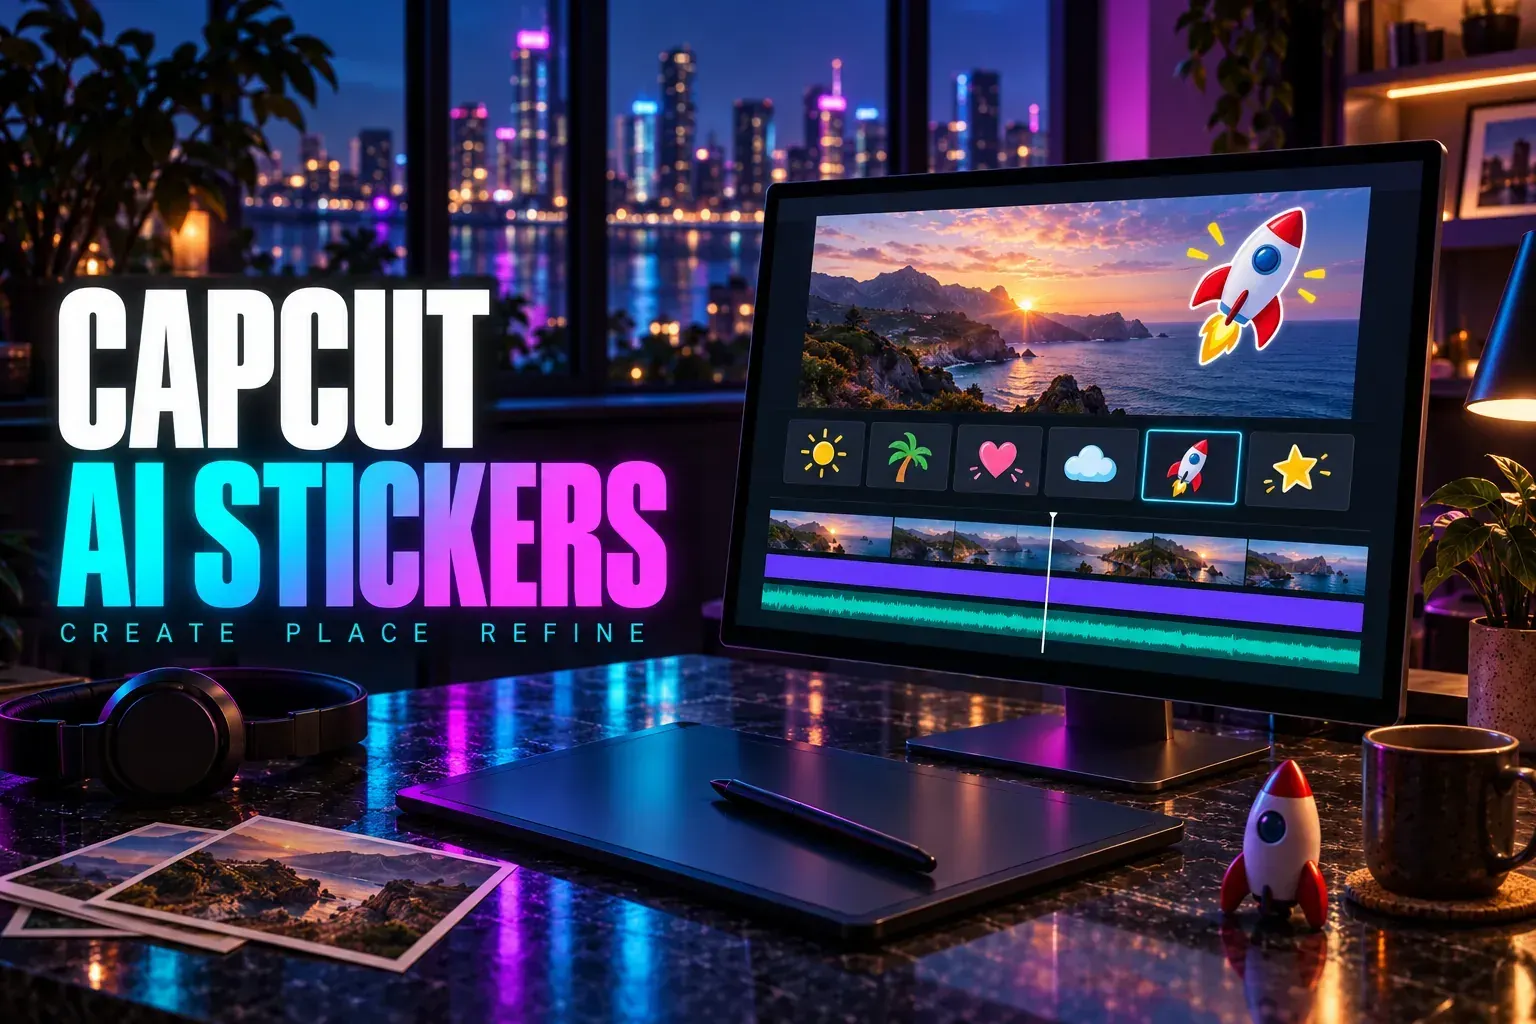
To create an AI sticker in CapCut Desktop, open a project, choose Stickers in the left panel, then look for AI generated. Describe the graphic, choose a style if offered, generate it and add the result to your video. That’s the sticker route in CapCut’s Desktop editing guide. The feature is region-limited, and the exact panel may differ in your build.
The job is small but specific: make a graphic that reads clearly over moving footage. A full picture with scenery, tiny lettering and five competing objects may look interesting in the results panel and become an unreadable blob in a Reel.
I’d start with one object and one purpose. A small mug beside a coffee tip, for instance, can reinforce the subject without making the viewer decode another scene. Our AI tools hub covers the other generation workflows.
Find the sticker tool before writing the prompt
Start from the Desktop Stickers → AI generated route. Other CapCut pages describe a Text-tab entry or put the option under media, so the company’s own instructions don’t line up. Follow the sticker controls you see in your current editor instead of expecting every platform to match one screenshot.
Keep three things separate:
- A library sticker is an existing graphic you select.
- An AI sticker is a graphic requested with a prompt.
- A template can combine effects, footage and graphics into an existing edit. Opening a template catalog does not establish where the native sticker generator lives.
For a standalone picture, background or campaign design, use the AI image generator guide. That’s a broader still-image workflow. This page stays with a graphic you can place and time inside a video.
Generate a sticker with a clear subject and shape
CapCut’s AI sticker tool page lists text descriptions and styles such as 3D, Pixel and Cartoon, plus size, position and animation adjustments after generation. The same page also says the feature is available only in certain regions. Treat the options in your own panel as the available set; a marketing example doesn’t guarantee a particular style or number of results for your account.
- Describe one subject. Name the object and the detail that makes it recognizable.
- Give it a visual treatment. Choose a supported style or describe the material and color you want.
- Keep the silhouette simple. Broad shapes survive a small screen better than a busy scene.
- Add useful exclusions. Ask for no lettering, brand marks or extra objects when those would spoil the asset.
- Generate and inspect the returned choices. Keep a result that fits the job; simplify the request when none does.
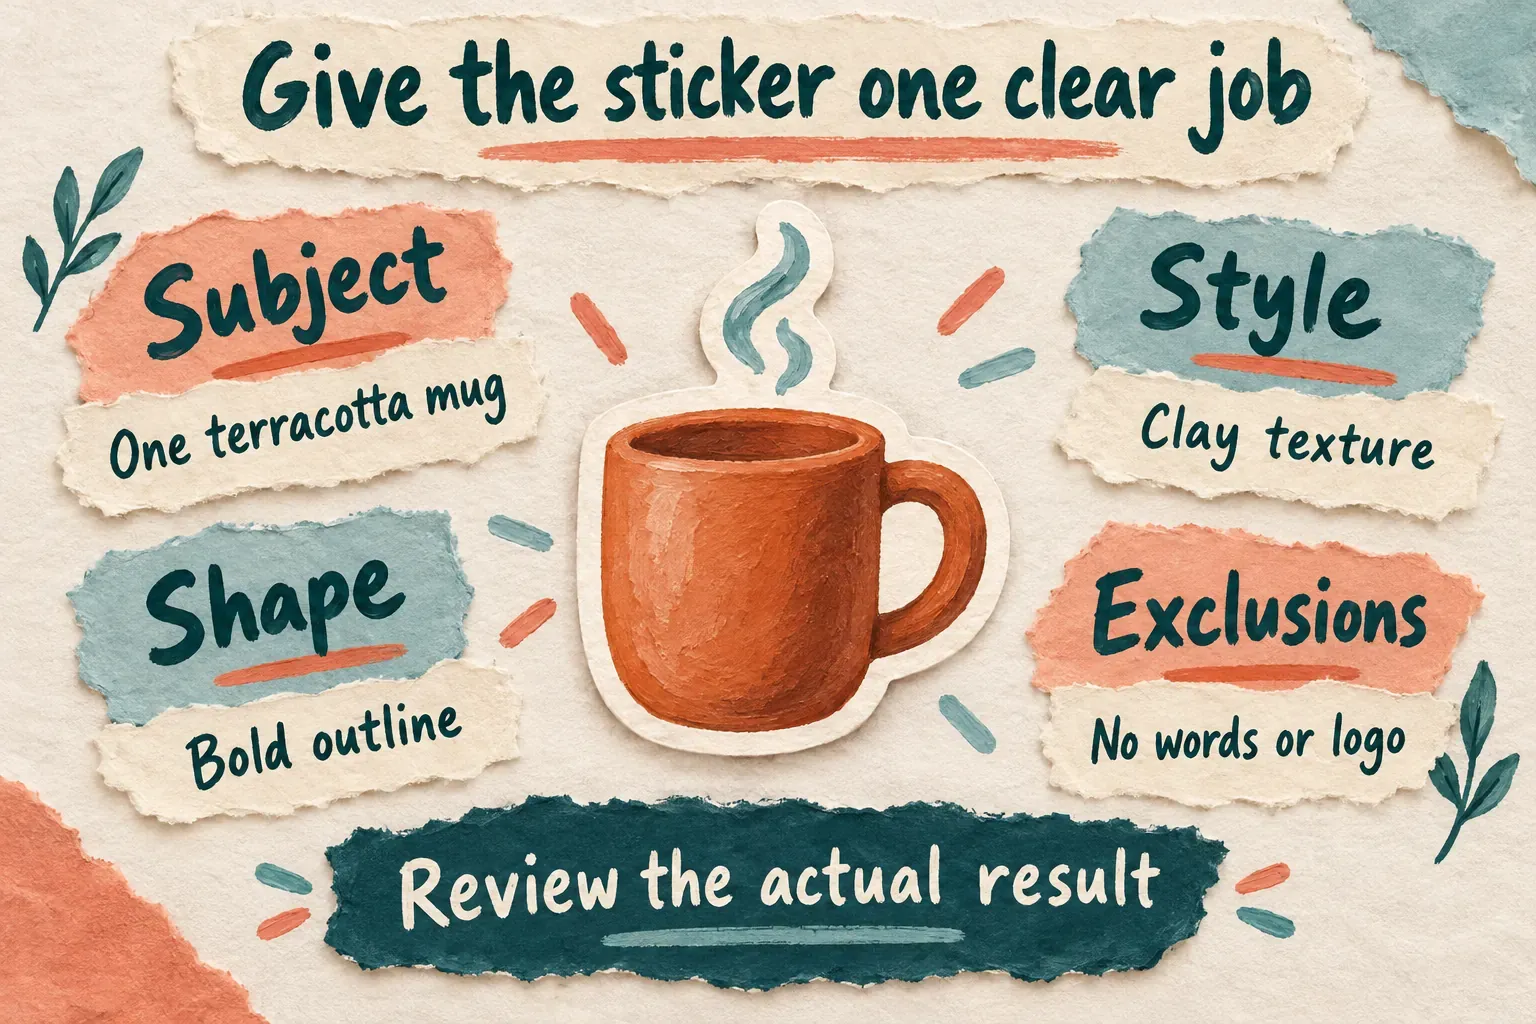
Here’s an example brief, rather than a promise about the output:
One terracotta coffee mug, clay texture, a simple steam curl, bold cream outline, compact sticker shape, no lettering, no logo, no extra objects.
If the mug gains two handles or the steam hides the shape, trim the brief and change one instruction at a time. Piling on adjectives rarely fixes a confused subject. Pick a simple result you can use at its intended size.
Put essential wording in a separate editable layer. Generated lettering can be wrong even when the graphic looks convincing. The text guide explains how to keep the message readable and under your control.
Check the result against the video background
Look closely at the graphic before you commit to it. Watch for stray fragments, doubled contours, unexpected words and shapes that could resemble a brand. Then judge it at the size it’ll take up in the video.
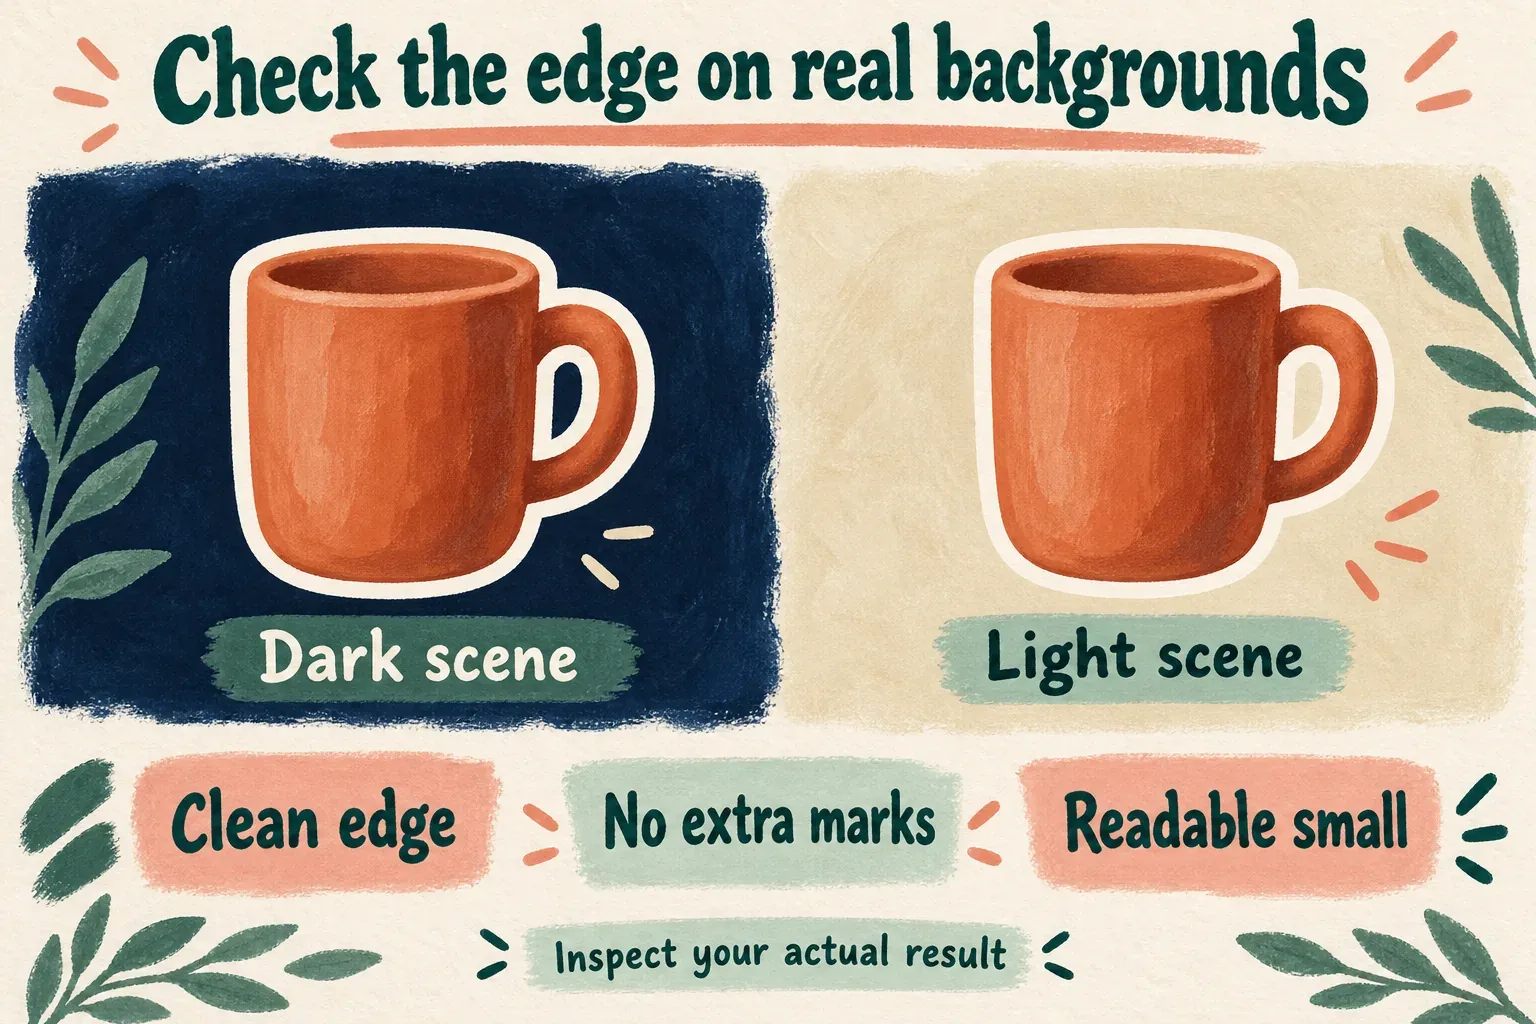
A pale outline can disappear over a bright wall. A dark graphic can merge into a shadow. Moving footage makes this harder: the opening frame might be clear while the next pan places the sticker over a similar color.
Check the start, middle and end of the interval you plan to use. If the outline turns muddy, pick another result, move the sticker somewhere quieter or simplify the surrounding design. Scaling up a flawed asset can expose more of the defect while covering the subject underneath.
If a downloaded file has a solid rectangle behind the graphic, check the file and export options before you treat the result as a cutout. A white background or a checkerboard drawn into the image isn’t transparency. The native sticker route doesn’t prove that every downloaded result has an alpha channel.
Set placement, duration and movement
Add the result you chose to the video with the add or plus control your panel offers. Select the new sticker element and set its size and position. Set the sticker’s timeline interval to decide when it appears and disappears, and keep the entrance and exit tied to the point it explains. Move the sticker item to shift its entrance, and trim its ends to change its screen time.
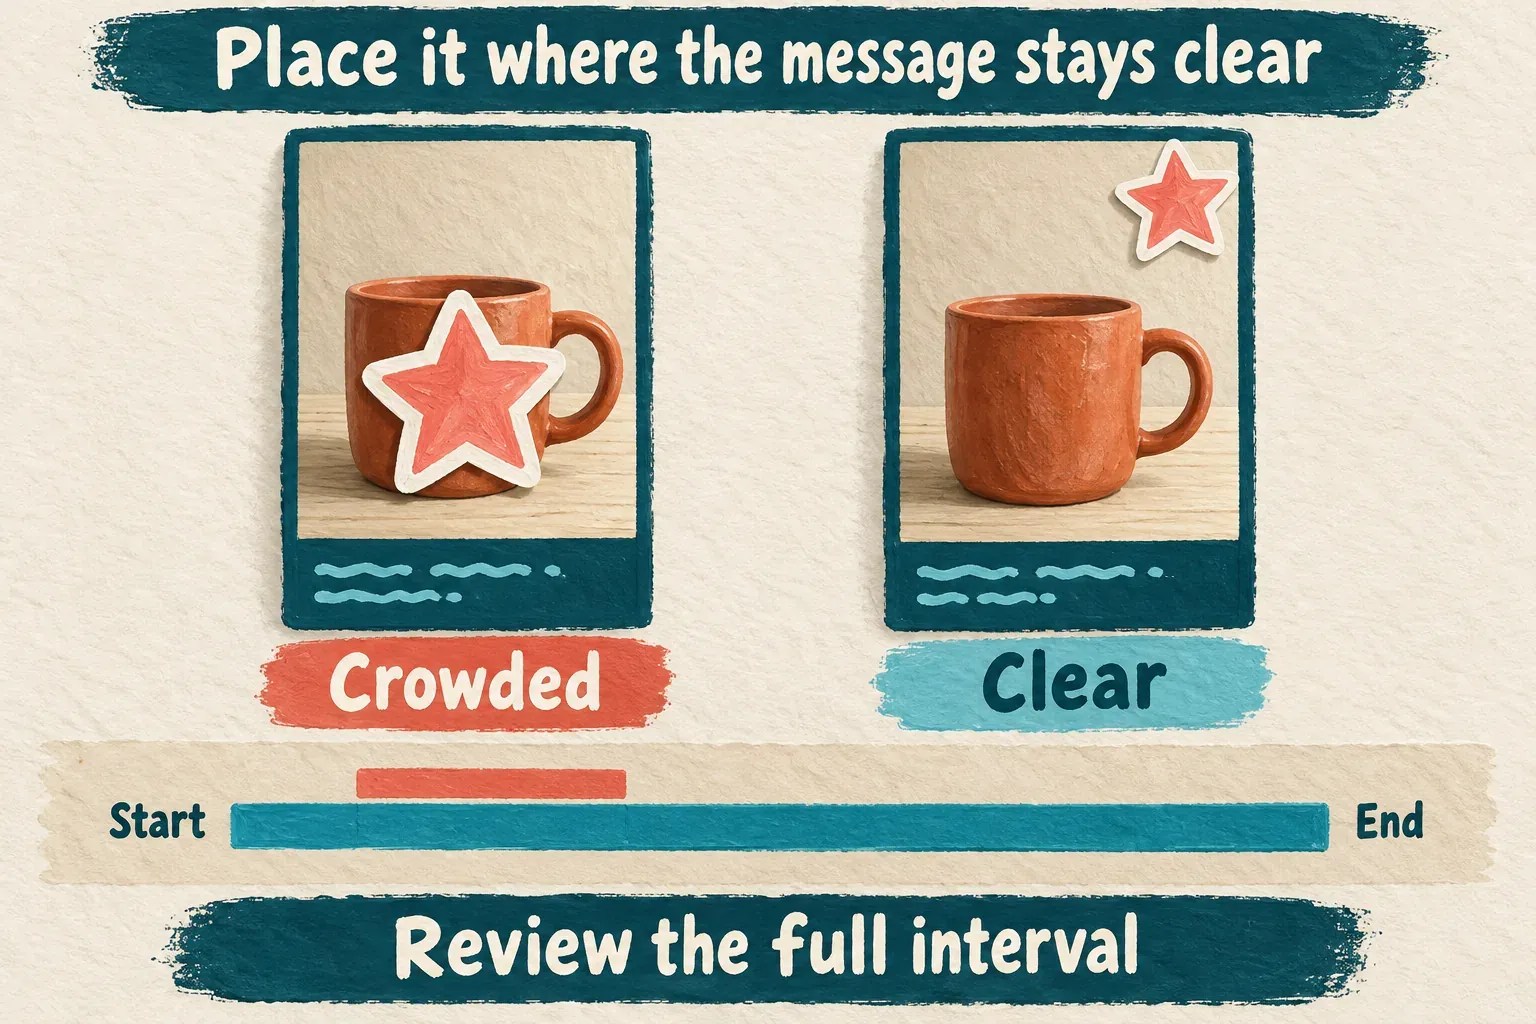
Get the still placement working before you add animation. In the destination preview, check the subject underneath, the captions and the platform controls. No single fixed margin protects every video placement on every social platform.
An entrance can draw attention to a new point. A constant loop can compete with that point. I’d keep motion brief for an explanatory sticker and leave it still while the viewer reads. Watch the whole interval, including any animation that pushes the sticker toward an edge.
When the graphic needs to follow an object, use the object-tracking guide for the separate attachment task. Tracking can need fixing when the subject leaves the frame, changes direction or gets blocked from view. A decorative sticker is also a poor way to protect someone’s identity unless every relevant frame stays covered.
Watch the exported video as well as the editor preview. Look for clipped edges, a sticker that shows up one beat too late, movement over captions or a small detail that vanishes after compression. Keep the editable project in case you need to change the sticker’s timing later.
Missing AI Stickers, access limits and costs
If AI generated is missing, check the platform, selected workspace and current Desktop build first. The documented Desktop route doesn’t prove the same panel exists on Mobile or Web. Don’t install an unofficial build or buy a plan just because an old tutorial shows the button.
CapCut’s AI access checklist lists sign-in, connection, region, credits, plan requirements and app version as possible limits for AI tools. Those are general conditions, not a sticker-specific price list. Read any message your editor shows. Back up the project before updating, and if the problem persists, give support your platform, version and the exact command that’s missing or blocked.
For cost, go by the quote the action itself shows. CapCut’s credit help says credit-consuming actions deduct credits when you confirm them and describes a confirmation quote on Desktop. If the sticker action shows a charge or plan requirement, check it before you generate again. A page calling a tool free is not a dependable promise of unlimited use.
If you need the graphic right away and the generator isn’t available, use an existing asset you’re allowed to use or import your own licensed cutout. You can still solve the visual task without that particular AI panel.
Downloading, messaging packs and commercial use
Downloading a graphic, rendering it inside a video and installing a messaging sticker pack are different jobs. Check the download control for the real file format, dimensions and transparency. A video export contains the sticker as part of the picture; it isn’t a separately editable sticker pack for WhatsApp or Instagram.
For an advertisement or product label, check the design itself and its inputs. CapCut’s terms require the necessary input rights, prohibit outputs that violate others’ rights and allow additional third-party AI terms to apply. They also treat submitted User Content as nonconfidential. Leave out confidential references, and avoid recognizable protected characters or marks you can’t use.
The commercial-use rights guide covers the wider asset and licensing checks. A generated graphic doesn’t give you rights to other music, fonts or templates in the finished video.
Keep the sticker that makes the message easier to follow. If it needs a paragraph of explanation, covers the useful part of the shot or loses its shape on a phone, simplify it before you add another effect.