

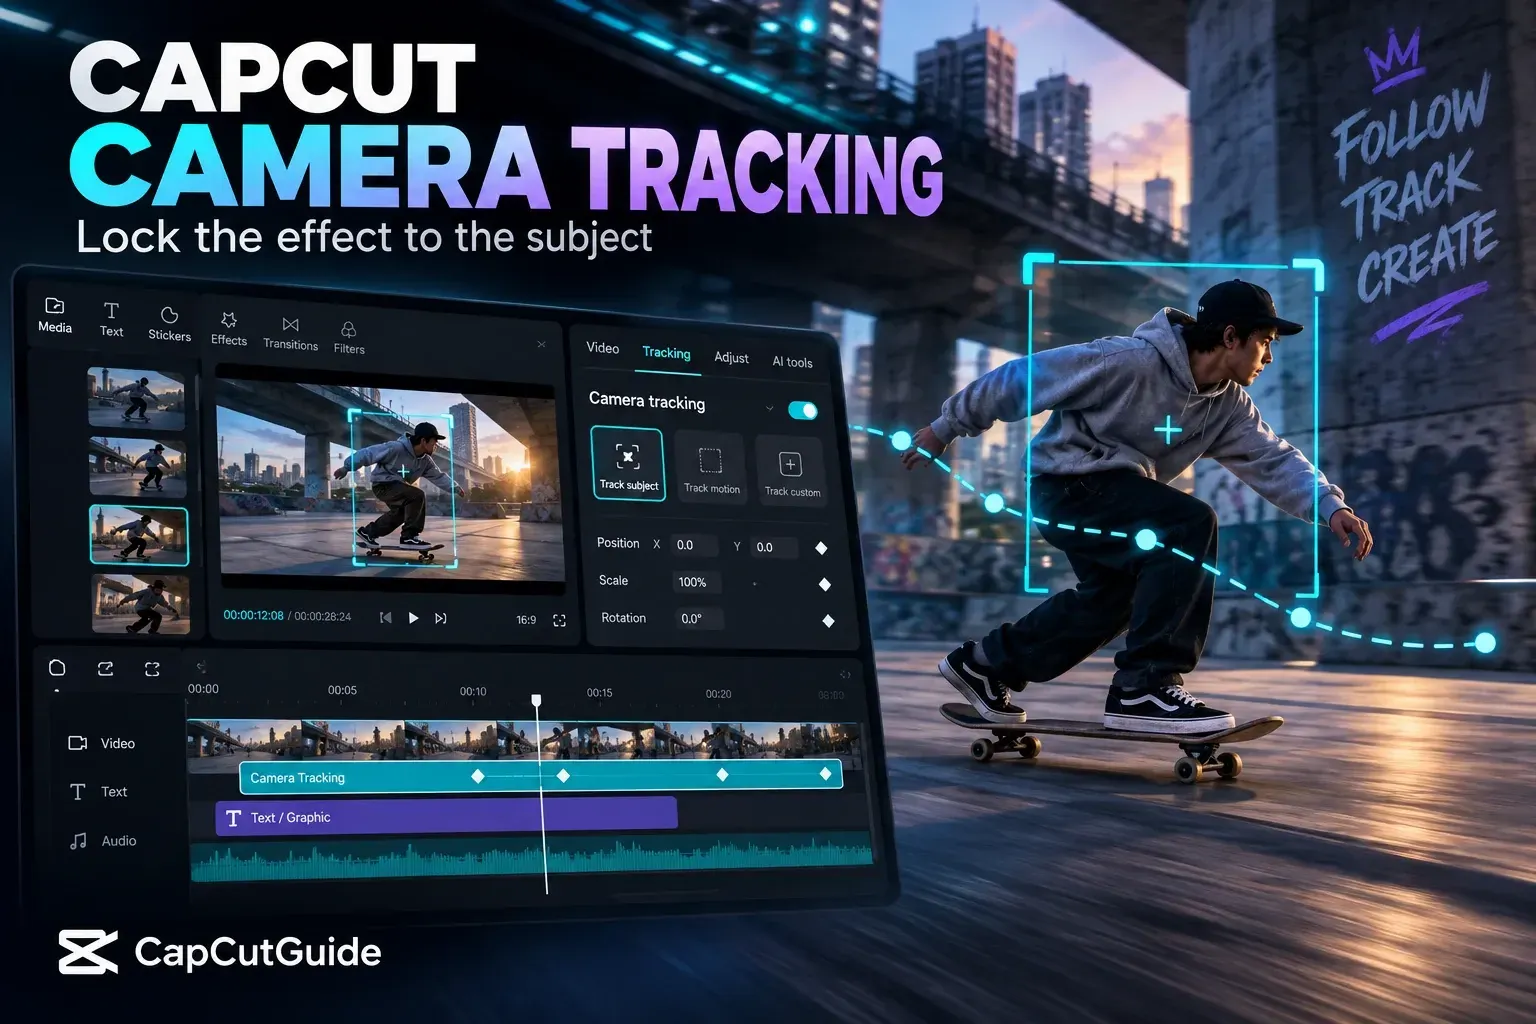
Reviewed 2026-09-17 against current official CapCut feature and resource pages. I did not run a track, attach an overlay or export a result. Controls can vary by Desktop version, account, region and rollout.
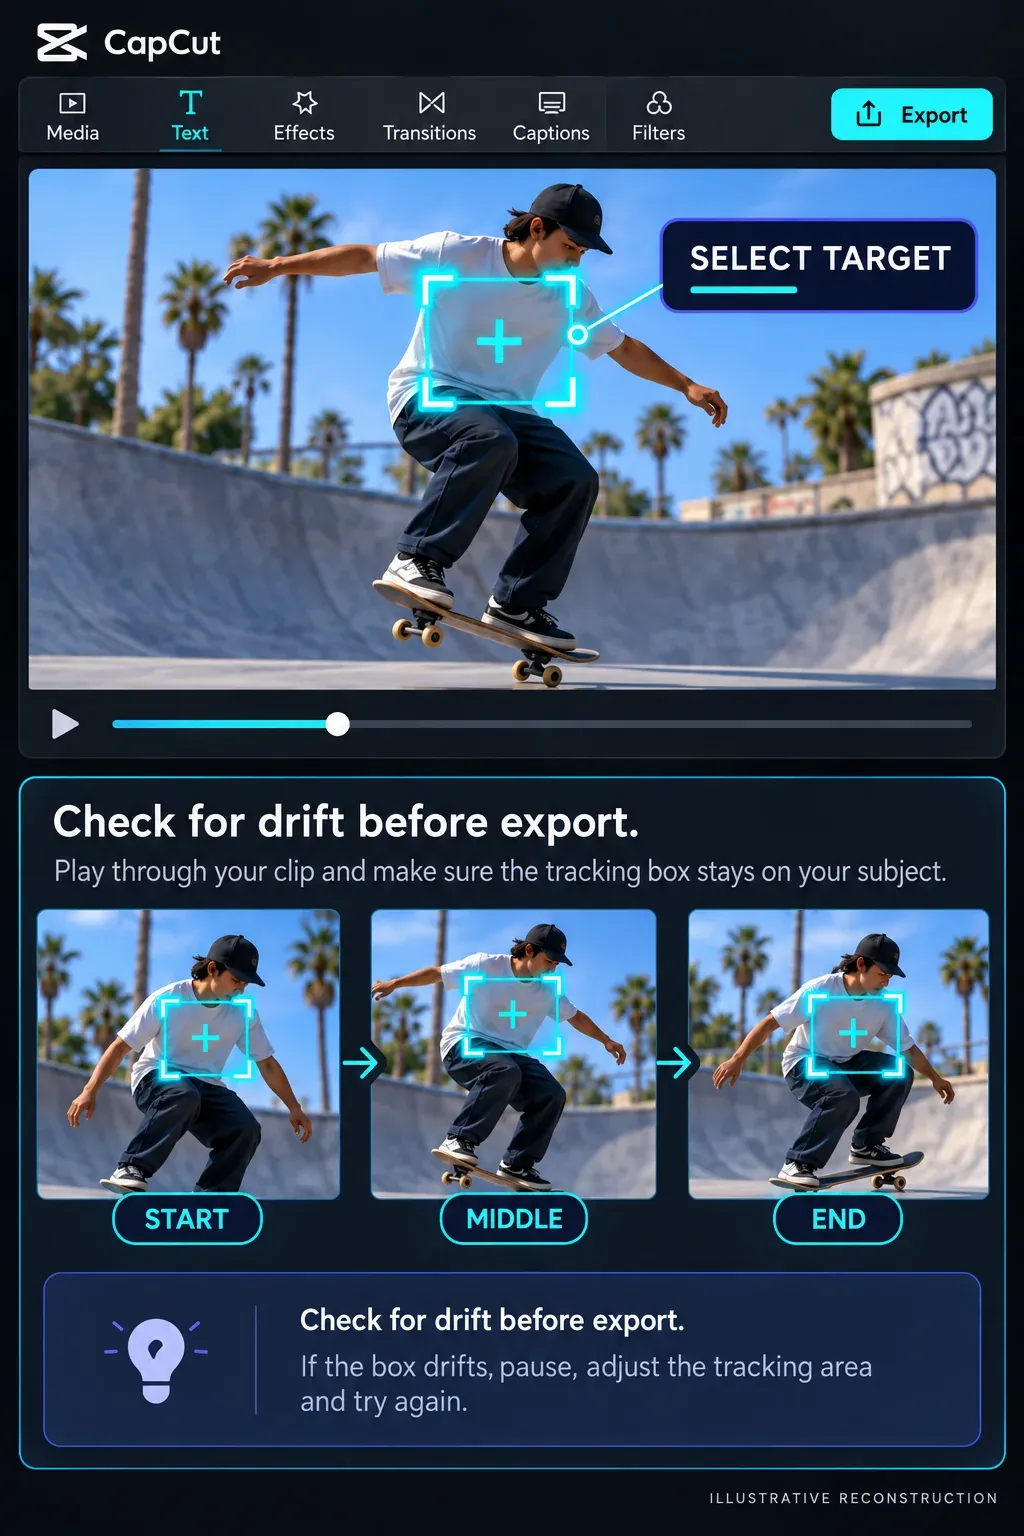
Camera Tracking sits inside the wider CapCut editing workflow, but it can create a subject-following framing effect: Apple’s CapCut guide describes keeping the subject centered in the mobile app. CapCut’s Desktop resource documents face, body, hand and custom-area targets, but mixes that guidance with attaching graphics. Check the controls in your build before assuming the mobile route or framing behavior also applies to Desktop.
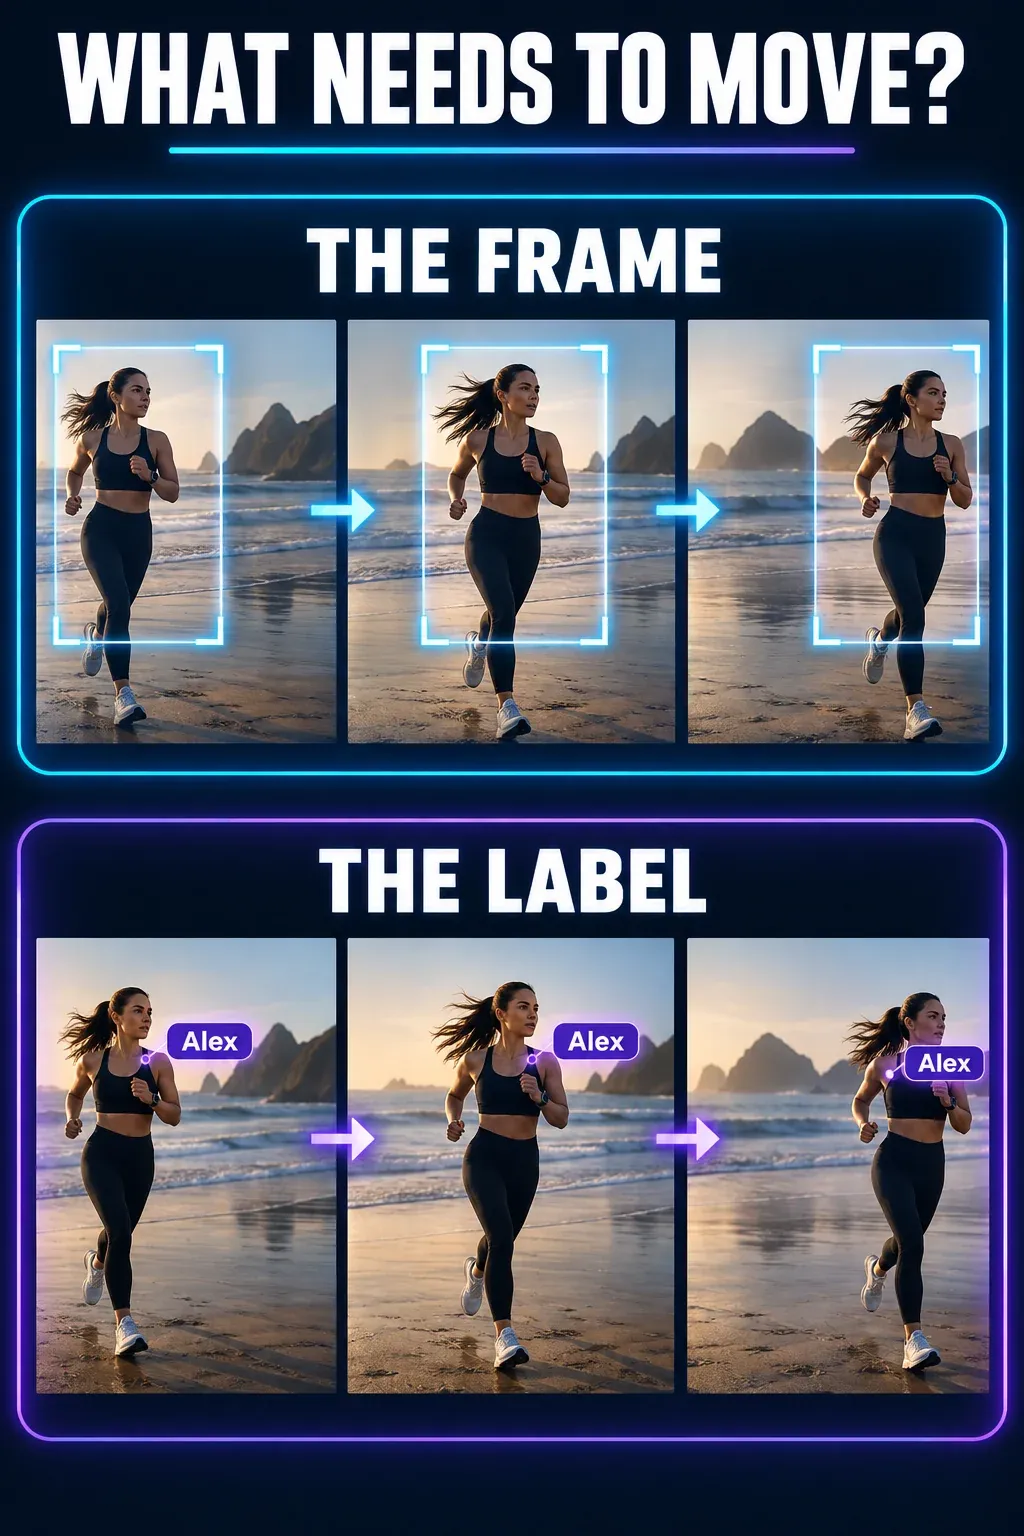
Choose the tool by the result: For an attached label, consult Motion Tracking. For designed camera-style motion, consult AI Movement. For a subject-following crop, verify the available reframing controls. The Camera Tracking name alone does not prove which of these results your build supports.
Check the result behind the tracking names
CapCut's own pages use overlapping language, so the names can look interchangeable. The official Desktop Camera Tracking guide places the tool under Video → Basic and offers Face, Body, Hand and Custom targets. The same resource describes camera tracking through attached text and graphics. By contrast, Apple’s App Store guide describes subject-centered framing and gives the mobile route Edit → Camera tracking. It lists Auto reframe separately for changing aspect ratio. These are documented intended uses, not evidence of identical controls or results on every platform.
CapCut describes Motion Tracking as keeping an added element synchronized with a moving subject. Use it when a label, sticker, graphic or effect should travel with the object. AI Movement is a separate effect-oriented tool for applying motion styles such as Dynamic, Zoom, Shake or Soft. Decide whether the subject, an attached overlay or the virtual camera should move before opening a panel.
Prepare a shot that can be tracked
My shot-selection advice is to prioritize a reference that stays visible and distinguishable. A face that stays in view is a more practical starting point than a hand that repeatedly disappears. Treat contrast, blur and target size as things to inspect, not as measured CapCut accuracy thresholds.
- Trim to the shot that needs tracking instead of analyzing a long timeline.
- Choose a target that remains visible through most of the shot.
- Avoid starting on a frame where the subject is hidden or blurred.
- Use the duplicate/copy option where available before applying a follow-up edit.
- Decide how much reframing is acceptable near the edges.
If the desired effect depends on isolating part of the frame, review the CapCut masking guide first. Tracking and masking solve different problems, but a weak mask can make a good track look wrong.
A safe Camera Tracking workflow
- Select the video clip on the Desktop timeline.
- Look for Camera Tracking under Video → Basic, the route documented in CapCut’s Desktop guide; your installed build may place it elsewhere.
- Choose the documented face, body, hand or custom-area target that matches the subject you need to track; confirm the labels in your build.
- For Custom, place the target over a high-contrast area that belongs to the subject.
- Start the analysis and leave the project unchanged until it finishes.
- Play the full tracked range, then inspect difficult frames one by one.
I would start with the intended result: an attached label, a moving crop or a stylized camera effect. The official tracking resource mixes these terms, so I would not choose a feature on its name alone. The visible menu is the real boundary for your installation. If Camera Tracking is absent, confirm the clip is selected and check the current version and feature availability for your account. An update may change availability, but it is not a guaranteed fix. Promotional pages are not a guarantee that every build exposes the same control.
Review the frames most likely to fail
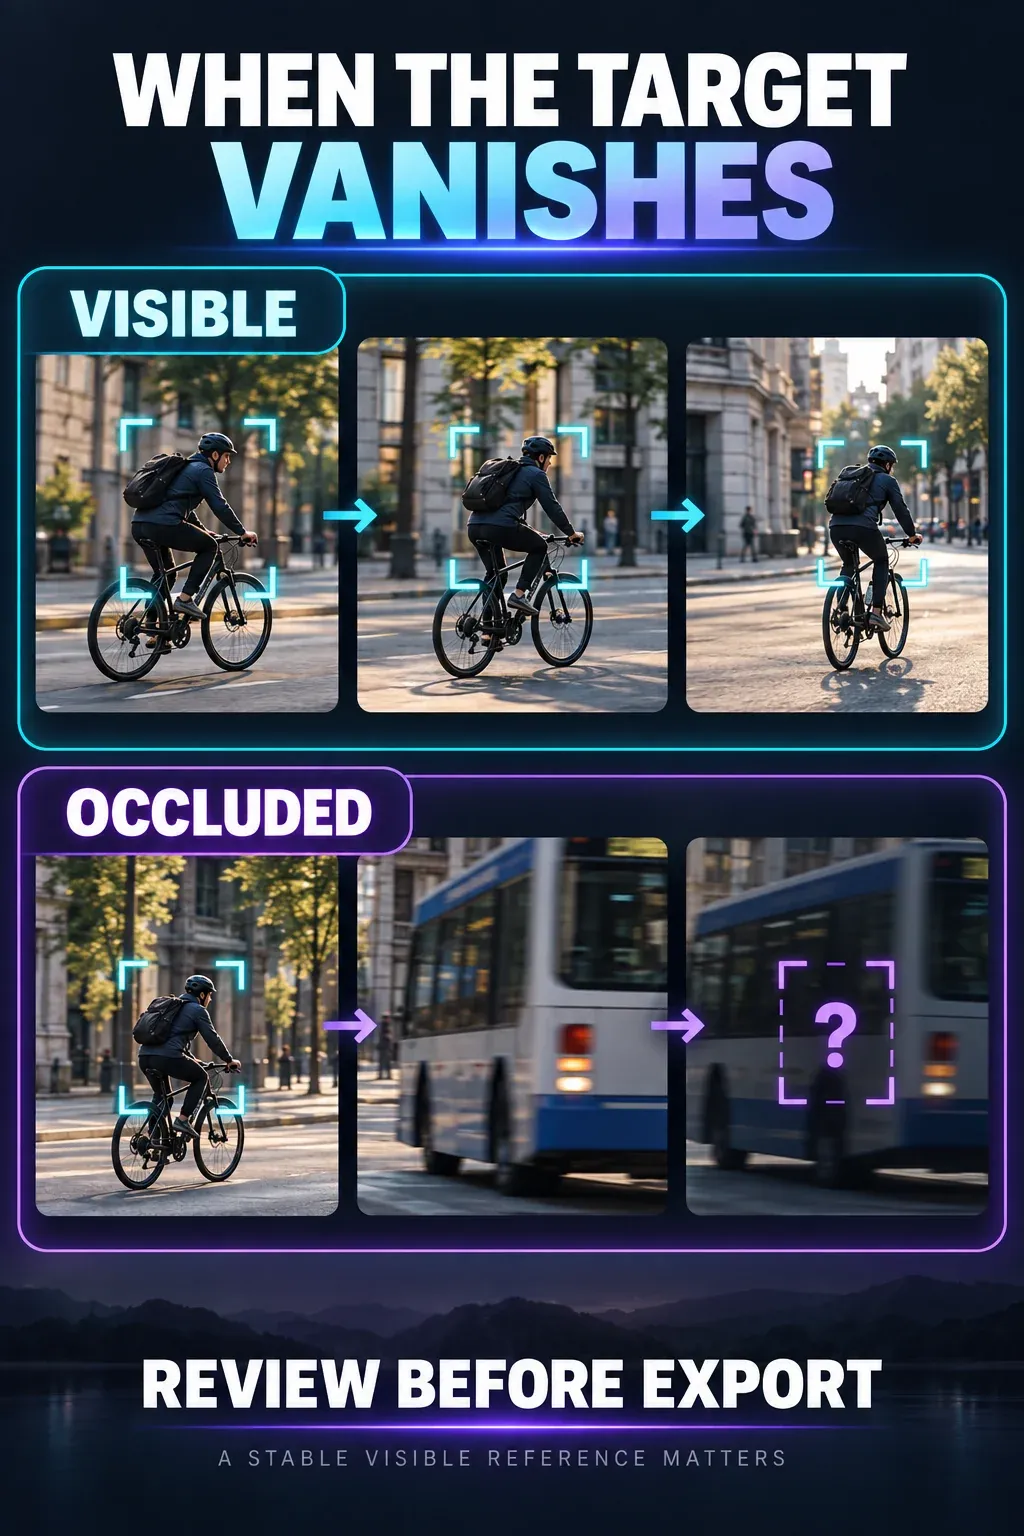
A track can look convincing in the middle and still break at the exact moment viewers notice. CapCut’s attached-text tracking guide discusses lost references when a subject is covered; use that as an overlay-specific example, not proof of identical Camera Tracking behavior. Check the start and end, fast motion, subject overlap, a face turning away, a hand crossing the body, sudden zoom, lighting change and any frame where the subject touches an edge.
The following are editorial troubleshooting suggestions. They are not verified causes or guaranteed fixes; use only the controls your build exposes.
| Symptom | What to inspect | Better next move |
|---|---|---|
| Frame jumps to another person | Target is not distinctive | Try a clearer face or custom-area reference if the panel permits it |
| Track drifts after an obstruction | Reference disappears | Split the shot and track visible sections separately |
| Subject is cropped near the edge | Reframing has no room | Reduce the tracked range or adjust framing manually |
| Scale feels unnatural | Depth change exceeds the chosen behavior | Use a different target or add manual keyframes |
| Panel is missing | Version, selection, account or rollout | Reselect the clip and check build/account availability; an update may help but is not a guaranteed fix |
Repair a weak section without rebuilding everything
For a local failure, my fallback would be to work on a duplicate and see whether the build permits splitting and analyzing a shorter visible section. If tracking and transforms cannot be combined cleanly, rebuild the short effect with manual position and scale keyframes instead. The keyframe guide explains that correction route.
Do not stack a second automatic track over an unexplained first one. Keep the repaired sections clearly organized so the timeline still makes sense later. These are editorial fallback options, not a guarantee that automatic tracking and manual transforms can be combined in every build. Work on a duplicate and check the controls your version exposes.
Check the result before export
Play the sequence at normal speed and once frame by frame through the difficult area. If your effect includes reframing, inspect the canvas edges; if it includes an attached label, inspect its readability and position. Choose resolution and frame rate to match the intended delivery and source footage; a higher export setting cannot restore detail lost through a heavy crop.
The official pages describe the controls and intended behavior but do not establish a universal plan, build or tracking-accuracy guarantee. This article therefore treats the visible local menu and a full visual review as the final checks.