

Checked September 24, 2026. CapCut's interface, enhancement levels, credit requirements and availability can differ by platform, app build, account, plan and region.
CapCut Video Upscaler can increase the output resolution of a clip and make some footage look cleaner. It can be useful when a low-resolution source needs to sit more comfortably in a 1080p or 4K project, when mild compression has softened edges, or when an older clip looks noticeably weaker beside newer footage.
It cannot recover a face that was never in focus, restore clipped highlights, remove severe motion blur or turn a heavily compressed download into true camera detail. A 4K export describes the size of the output frame. It does not prove that the source now contains native 4K information.
My rule is simple: diagnose the damage before choosing the resolution. Then preview the result at 100%, inspect the parts viewers actually notice and export only after the enhancement survives that check.
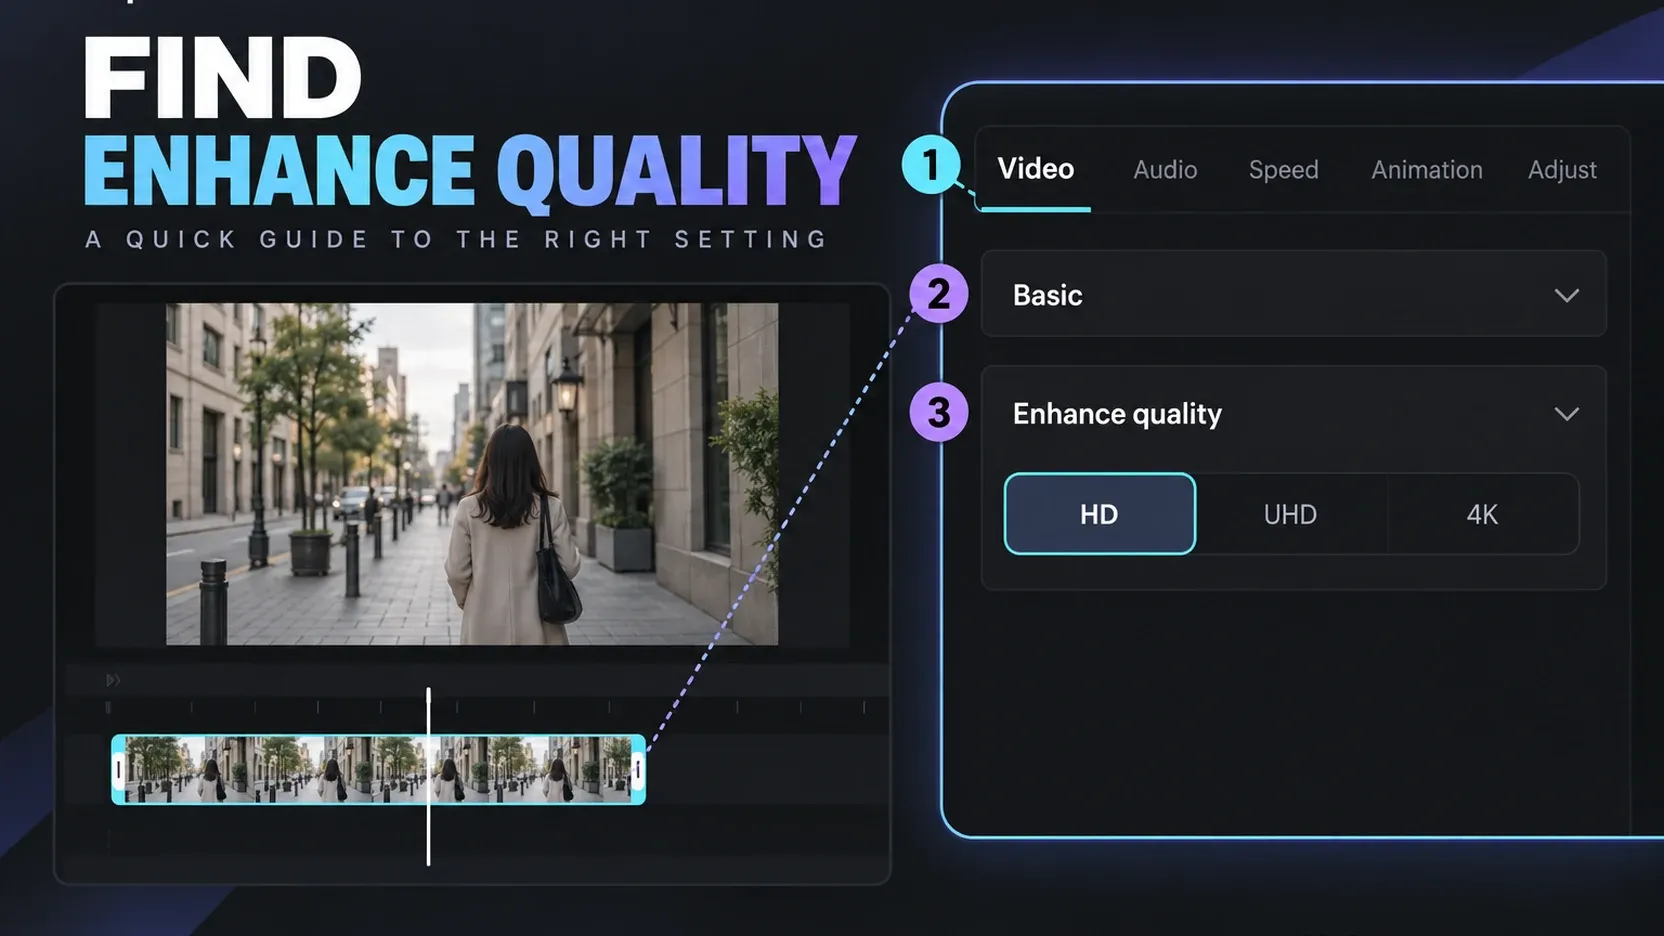
Fast answer: in the current desktop workflow documented by CapCut, select the clip and open Video → Basic → Enhance quality, choose HD, UHD or 4K, preview the result, then export. Start with the lowest level that solves the visible problem. If the enhanced version creates halos, waxy faces, crawling texture or strange lettering, step down or keep the original.
What CapCut Video Upscaler actually does
The current CapCut AI Video Upscaler page describes a desktop workflow that raises video resolution through the Enhance quality control. CapCut presents HD, UHD and 4K choices and instructs the editor to preview before exporting.
That last step matters more than the resolution label. Upscaling adds pixels to create a larger frame. An AI model can estimate edges, textures and local contrast so the new pixels look plausible, but it does not have access to the lost original information. The result may look sharper while also becoming less faithful.
Think of the tool as a presentation repair, not a time machine. It can help a usable clip fit a higher-resolution edit. It is much less reliable when the source problem is focus, motion, exposure or aggressive compression.
The difference is easiest to see in text and faces. A soft edge can often be made cleaner. A tiny sign with unreadable letters may acquire letter-like shapes that look convincing at a glance but are still wrong. A face can gain apparent detail while skin texture becomes artificial. That is why a full-frame preview alone is not enough.
How to use CapCut Video Upscaler on desktop
The current official route is short:
- Open the project in CapCut Desktop and place the source clip on the timeline.
- Select the clip that needs enhancement.
- In the right properties panel, open Video, then Basic.
- Find Enhance quality.
- Choose HD, UHD or 4K if those levels are available in your build and account.
- Preview a representative section before committing to the export.
- Export with settings that fit the destination and the source frame rate.
Do not assume every CapCut screen will match the official page pixel for pixel. Controls can move between releases, and some features can depend on the platform, account, plan, region or available CapCut AI credits. If Enhance quality is missing, first confirm that you are looking at the selected video clip in the desktop properties panel. Then check the current app version, account offer and CapCut Free versus Pro differences.
The practical mistake is choosing 4K before watching the clip. Run the preview on a short section with the hardest material: a moving face, small text, hair, foliage, fabric, a fence or another fine pattern. Those areas reveal false detail faster than a clean sky or a static wall.
Pick the enhancement level by source, not ambition
A larger number is not automatically a better result. The correct setting depends on what you start with and where the video will be watched.
| Source situation | Sensible first attempt | What to inspect |
|---|---|---|
| Clean 720p clip in a 1080p edit | HD | Edge clarity, text, fine texture and noise |
| Good 1080p clip needed in a 4K timeline | UHD or 4K | Faces, hair, texture stability and sharpening halos |
| Old compressed social download | HD before 4K | Blocking, ringing, smeared detail and false texture |
| Mildly soft footage | HD | Whether the subject looks clearer without crunchy edges |
| Missed focus or strong motion blur | Keep expectations low | Double edges, invented detail and unstable faces |
| Noisy low-light footage | Treat noise first or use restraint | Crawling grain, plastic skin and pulsing texture |
| Tiny text or interface recording | Compare original and enhanced at 100% | Letter shapes, cursor edges and thin lines |
If a 720p source looks acceptable at HD, jumping straight to 4K can expose its weaknesses without adding useful information. If a clean 1080p source must fill a 4K project, a 4K output may be practical, but the viewer should still judge the result as enhanced 1080p material rather than native 4K capture.
CapCut's own 4K versus 1080p explanation describes the resolution difference. Use that distinction correctly: resolution is frame size. Detail depends on capture quality, focus, light, lens, motion, compression and every previous export in the chain.
What the upscaler can improve
A low-resolution clip inside a higher-resolution project
This is the cleanest use case. A 720p insert in a 1080p timeline or a 1080p insert in a 4K timeline must be scaled somehow. CapCut can make that enlargement look more deliberate than a basic resize, especially when the source is reasonably sharp and has not been compressed several times.
Mild softness from resizing or compression
Upscaling can strengthen local contrast and edges. A clip that feels slightly softer than the surrounding footage may blend more naturally after restrained enhancement. The key word is restrained. If every edge gains a bright rim, the clip may look sharper in a paused frame and worse in motion.
Older footage used briefly
Archive clips, screen recordings and old phone video sometimes need enough cleanup to survive a short cutaway. The goal is not to make them indistinguishable from new camera footage. The goal is to stop the resolution mismatch from distracting the viewer.
Cleaner delivery after a sensible edit
Enhancement can be one part of a good export workflow. It cannot compensate for an export that uses the wrong frame rate, an unnecessarily low bitrate or repeated compression. Our CapCut export quality guide explains the wider quality chain, while the CapCut export settings guide helps match resolution, frame rate and bitrate to the destination.
What it usually cannot fix
Missed focus
When the camera focused on the background instead of the subject, the subject detail was never recorded clearly. Upscaling can sharpen the blur boundary, but it cannot know the exact eyelashes, fabric weave or lettering that should have been there.
A mildly soft face may look better. A clearly out-of-focus face can become an overprocessed face. If focus is the problem, judge the eyes and hair at 100%, not the overall frame at fit-to-screen size.
Severe motion blur
Motion blur combines information across movement. A hand, face or object may occupy several positions inside one frame. Enhancement can emphasize those trails or invent hard edges between them. It does not recover the missing instant that a faster shutter might have captured.
Clipped highlights and crushed shadows
Pure white highlights and solid black shadows contain little or no recoverable tonal information. Upscaling changes pixel structure, not the exposure that was captured. Adjusting tone may make the image more watchable, but a blown window does not regain the scene outside it.
Heavy compression
Compression artifacts are often mistaken for low resolution. Block boundaries, mosquito noise around text, banding in gradients and smeared texture may become more visible when the frame grows. If the source was downloaded from a social platform and re-exported several times, find the earliest available file before using an upscaler.
Low-light noise
Noise gives the enhancement model a field of random detail to interpret. The result can shimmer from frame to frame or turn skin into a smooth mask surrounded by crunchy hair. If noise is the main issue, treat it as noise first. For audio problems, use the separate CapCut background-noise guide; video noise and audio noise need different tools.
Unreadable text
Small captions, signs and interface labels deserve special suspicion. A model can create shapes that resemble letters without reproducing the original words. Never use enhanced text as evidence. Compare it with the source and, when accuracy matters, replace the text with a clean title or obtain a higher-quality recording.
The 100% quality check that prevents bad exports
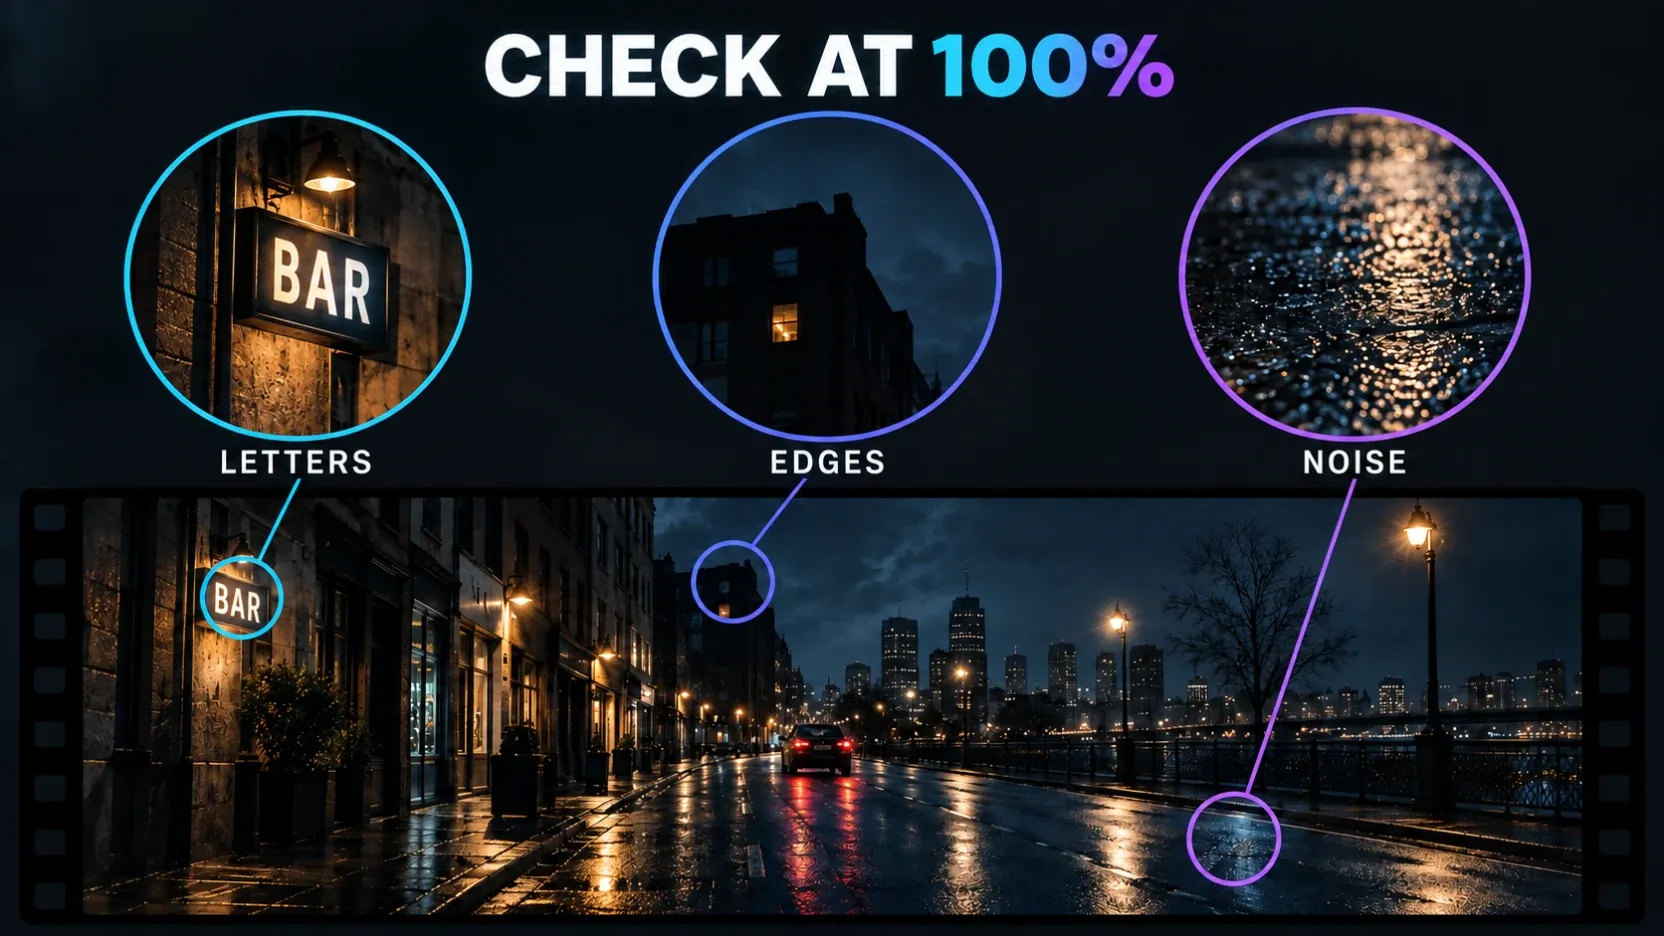
A preview window scaled to fit hides problems. Before exporting, pause on several representative frames and inspect at 100% scale.
Use this order:
- Faces: check eyes, teeth, hairlines, ears and skin texture. Watch for waxy skin, mismatched eyes or detail that changes between frames.
- Text: check every letter, number and logo. Thin strokes should remain consistent and readable.
- Edges: inspect shoulders, buildings, product outlines and high-contrast borders. Look for bright halos, dark ringing and stair-step patterns.
- Fine texture: check hair, grass, fabric, brick, foliage and fences. Texture should remain stable rather than boil or crawl.
- Noise and gradients: check shadows, skies and walls. Upscaling can turn quiet noise into moving texture or reveal banding.
- Motion: play the difficult section at normal speed and frame by frame. A still frame can look good while the detail flickers in motion.
- Comparison: toggle back to the source. The enhanced version should solve a visible problem, not merely look different.
If the result fails one of those checks, try the lower enhancement level. If the lower level still fails, keep the original or replace the clip. A consistent slightly soft shot is often less distracting than a sharp shot whose face and texture change every frame.
Export settings after upscaling
Upscaling and exporting are separate decisions. Selecting 4K in Enhance quality does not remove the need to choose sensible delivery settings.
Start with these defaults:
- export at the resolution you actually need;
- preserve the source or project frame rate unless you deliberately retimed the footage;
- use a bitrate suitable for the resolution and destination;
- avoid repeated export-and-reimport cycles;
- keep the earliest practical source file and the final master;
- watch the exported file, not only the editor preview.
For YouTube, the current recommended upload encoding settings specify H.264 video, progressive scan and the same frame rate as the recording, with bitrate ranges that rise with resolution and frame rate. Treat those numbers as destination guidance, not proof that a high bitrate can create missing source detail.
YouTube's current 4K creation guidance also makes the capture limit clear: recording and exporting in 4K is recommended for a true 4K workflow, while enabling 4K cannot repair footage shot in poor lighting. That principle applies beyond YouTube. The best upscaler result still begins with the best available original.
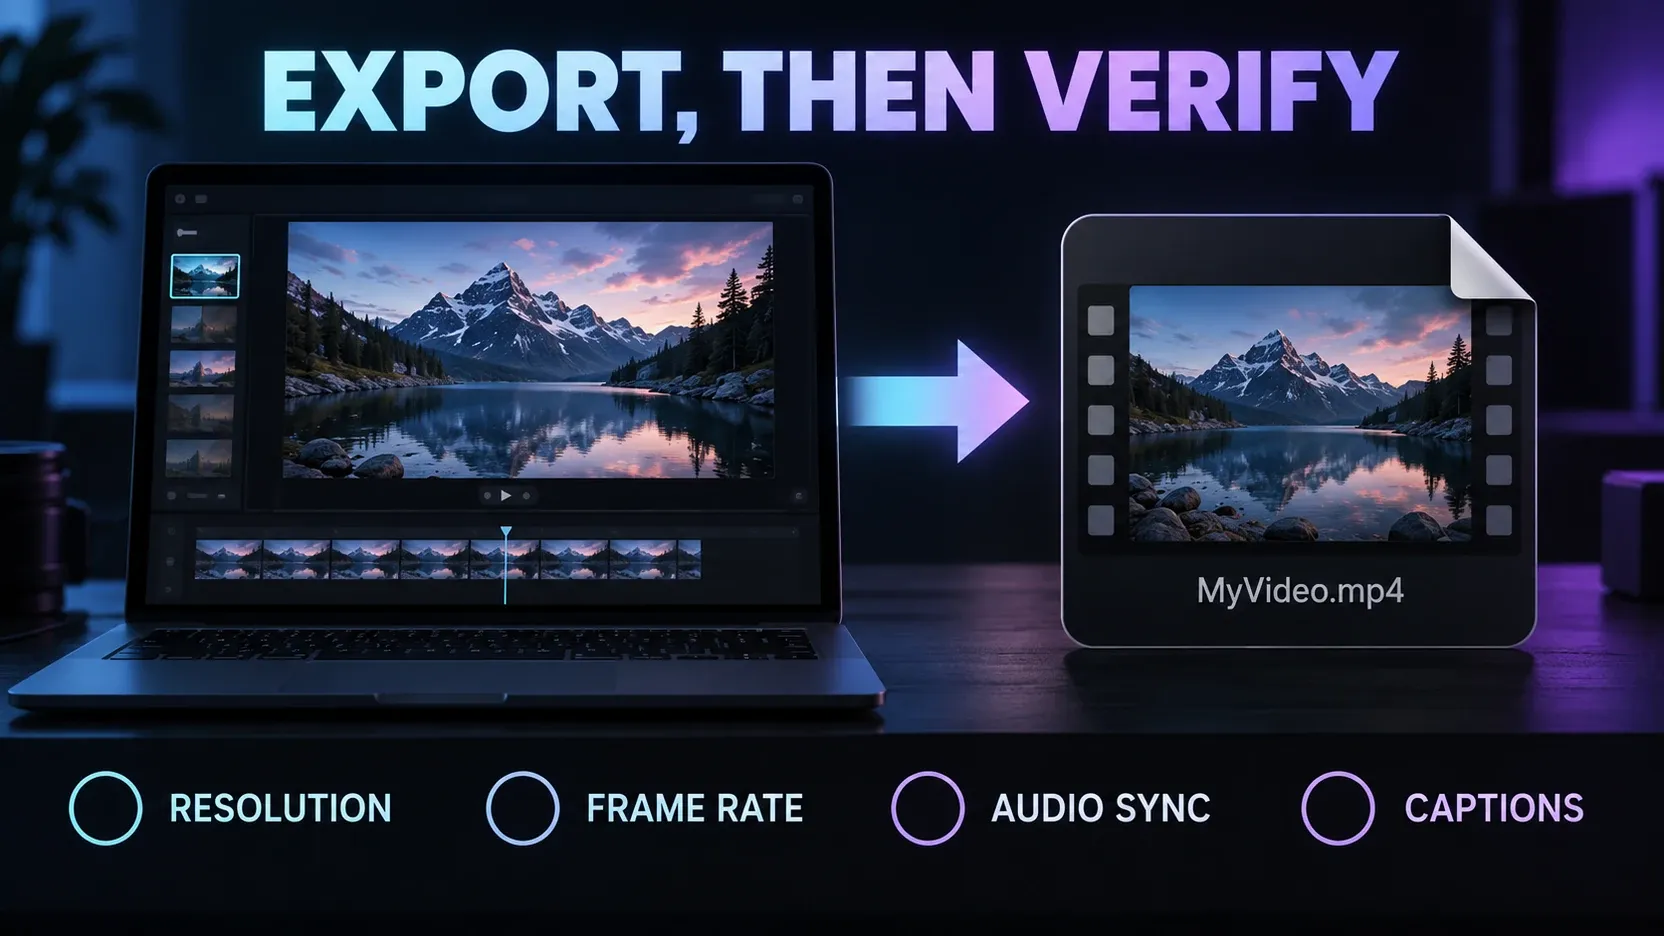
After export, open the file outside CapCut and inspect the same difficult sections. Check resolution, duration, frame rate, audio sync, captions and the visual artifacts you watched during preview. If the file looks soft only after export, work through the blurry-after-export checklist. If it already looks wrong after import, use the blurry-after-import guide before applying more enhancement.
When a dedicated upscaler makes more sense
CapCut is attractive because the enhancement control sits inside an editor that many creators already use. It is a good fit when you need a fast, understandable improvement and the source is already usable.
A dedicated tool becomes more reasonable when:
- restoration is the main task rather than one step in an edit;
- you need to compare several enhancement models or settings;
- frame interpolation is part of the job;
- a long archive project requires repeatable controls;
- difficult faces, animation, interlaced footage or heavy noise need specialized treatment;
- the result justifies more processing time and a separate application.
For example, the current Topaz Video AI product page documents model selection, previews, upscaling, denoising, restoration and frame interpolation controls. That does not make it automatically better for every clip. It makes it more configurable. CapCut remains the more direct route when the source needs modest improvement inside an existing edit.
Do not add another tool because one paused frame looks imperfect. Add it when the quality requirement, volume of footage and need for control justify the added cost and workflow.
A practical decision workflow
Use this sequence before spending time on multiple exports:
- Find the earliest and highest-quality source available.
- Identify the actual problem: resolution, focus, motion blur, exposure, compression or noise.
- Decide the delivery resolution and viewing context.
- Apply the lowest enhancement level that could solve the problem.
- Preview the hardest five to ten seconds at 100%.
- Check faces, text, edges, texture, noise and motion.
- Compare with the original at the same scale.
- Export once with appropriate resolution, frame rate and bitrate.
- Inspect the final file outside the editor.
- Keep the enhanced version only if it is visibly cleaner and remains stable in motion.
This workflow prevents a common waste of time: exporting HD, UHD and 4K versions of a clip whose main problem was never resolution.
CapCut Video Upscaler FAQ
Is CapCut Video Upscaler free?
CapCut promotes free access on parts of its current upscaler experience, but feature access, credits, plans and account offers can vary. Check the option shown in your app and region before building a workflow around unlimited use. Our AI credits guide explains why an AI feature may appear available but still have usage conditions.
Can CapCut upscale 1080p video to 4K?
CapCut currently documents a 4K enhancement option. A 1080p source can therefore be exported at 4K dimensions when that option is available. The output is still based on the 1080p source; it does not become equivalent to video captured with true 4K detail.
Does upscaling improve a blurry video?
It depends on why the video is blurry. Upscaling can help mild softness caused by low resolution or resizing. It is much less able to fix missed focus, severe motion blur, clipped exposure or heavy compression. Diagnose the cause before choosing Enhance quality.
Should I choose HD, UHD or 4K?
Start with the lowest level that fits the destination. HD is a sensible first comparison for 720p or compressed footage. UHD or 4K may suit a good 1080p source in a 4K project. Compare the options at 100% and reject any version that creates unstable faces, text or texture.
Why does the enhanced video look artificial?
The tool may be estimating detail from too little or too damaged source information. Strong enhancement can create halos, plastic skin, crawling texture and incorrect text. Step down one level, find a better source or keep the original if the artifacts remain.
Why is my exported video still blurry?
The editor preview and the exported file pass through different scaling and compression stages. Check the source, project resolution, export resolution, frame rate and bitrate, then inspect the local exported file before judging a platform upload. Repeated compression can also soften a clip even when the resolution number is high.
Final recommendation
Use CapCut Video Upscaler when a usable low-resolution clip needs to fit a higher-resolution edit or when mild softness and compression make one shot stand out. Begin with HD or the lowest suitable level, then move upward only when the full-size comparison supports it.
Do not use the 4K label as a quality verdict. Focus, exposure, motion and compression set limits that extra pixels cannot erase. The safest result comes from the best source, a restrained enhancement level, a 100% inspection and one deliberate export.
For the wider editing workflow, continue with the CapCut tutorial hub or the current CapCut for PC guide.