

Reviewed 2026-09-17 against current CapCut Help pages. I did not start an export, render a project or measure output quality. Available controls can vary by platform, device, app version, region, account and project.
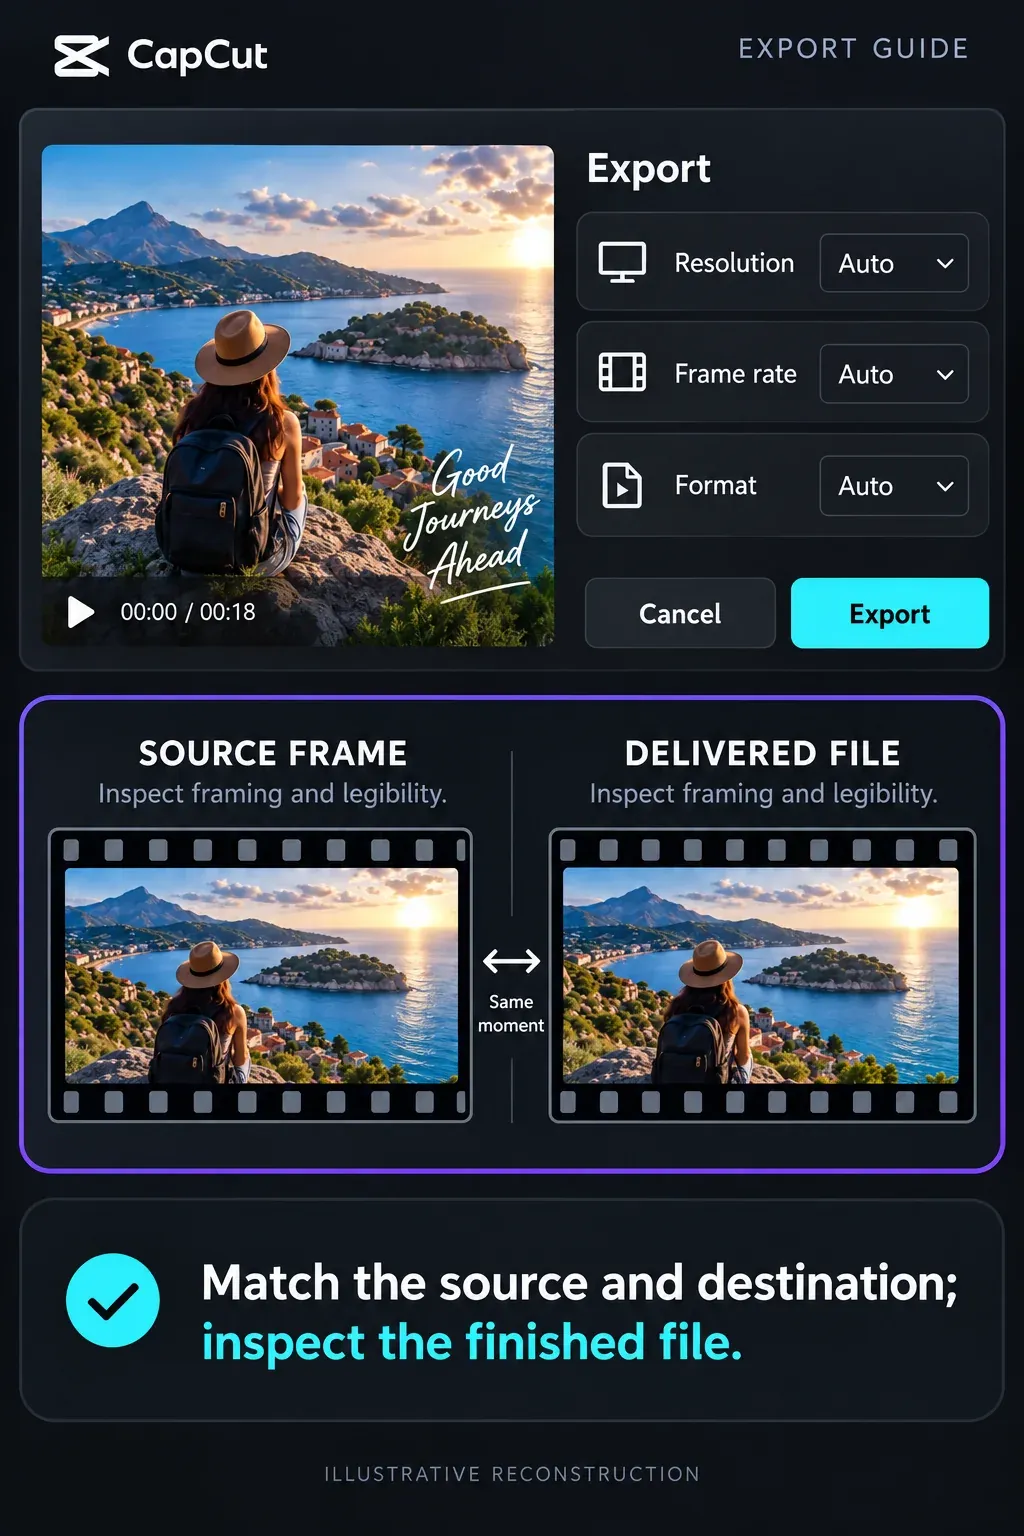
CapCut export questions become easier when you separate three decisions: what the deliverable is, which settings the source can support, and what symptom appears after you press Export. This hub sends each job to the focused guide instead of repeating eight long tutorials.
Choose your route: output type → platform → quality settings → failed or stuck → blurry → lagging → find the file.
1. Choose the deliverable before choosing quality
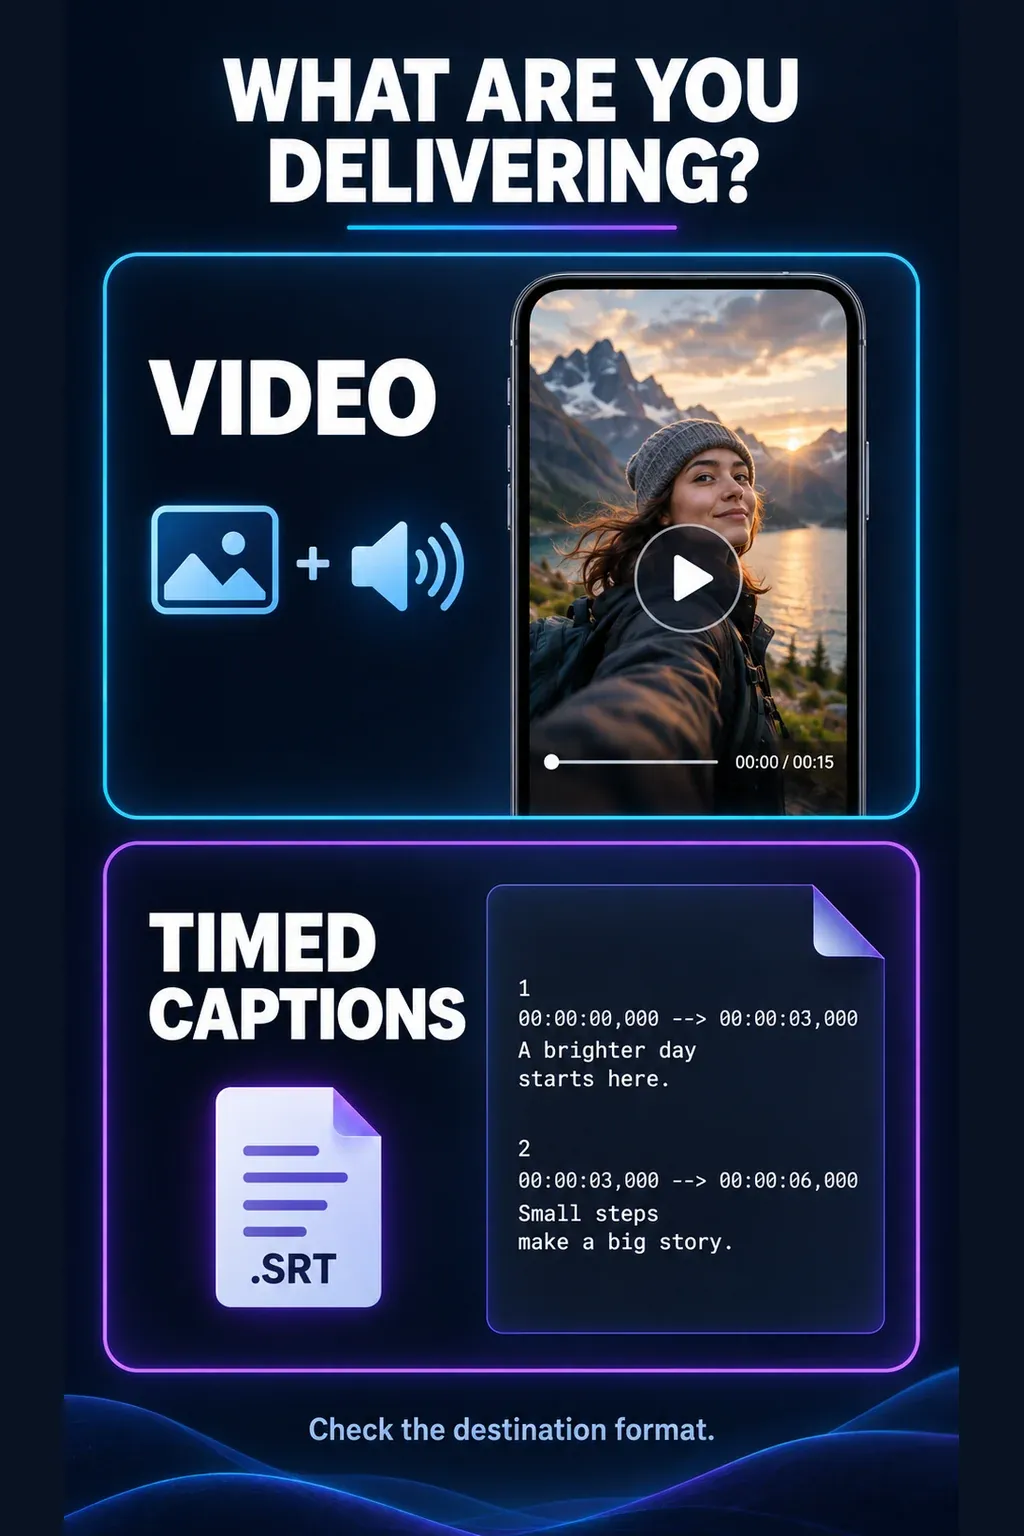
“Export” does not always mean a finished video. Decide what must leave CapCut first, because the correct workflow changes with the deliverable.
| Deliverable | Use this route | What to confirm |
|---|---|---|
| Finished video | CapCut export settings | Frame size, frame rate, format, destination and intended platform |
| Only part of the timeline | Export a selected clip | In and Out range and whether the rest of the timeline is excluded |
| One still image | Export a frame as an image | Exact playhead position and image format |
| Audio without video | Export audio only | Track mix, muted layers and required audio format |
| Timed captions | Export captions as SRT or TXT | Caption source, file encoding and supported platform workflow |
For Desktop range export, CapCut’s current keyboard-based help describes In and Out markers for defining that section. Confirm that your build exposes range export; do not assume the shortcuts apply to Mobile or Web. That is cleaner than deleting the rest of a finished timeline. Caption export is a different path again: visible text in the video and a separate subtitle file are not interchangeable deliverables.
2. Start from the platform that will finish the project
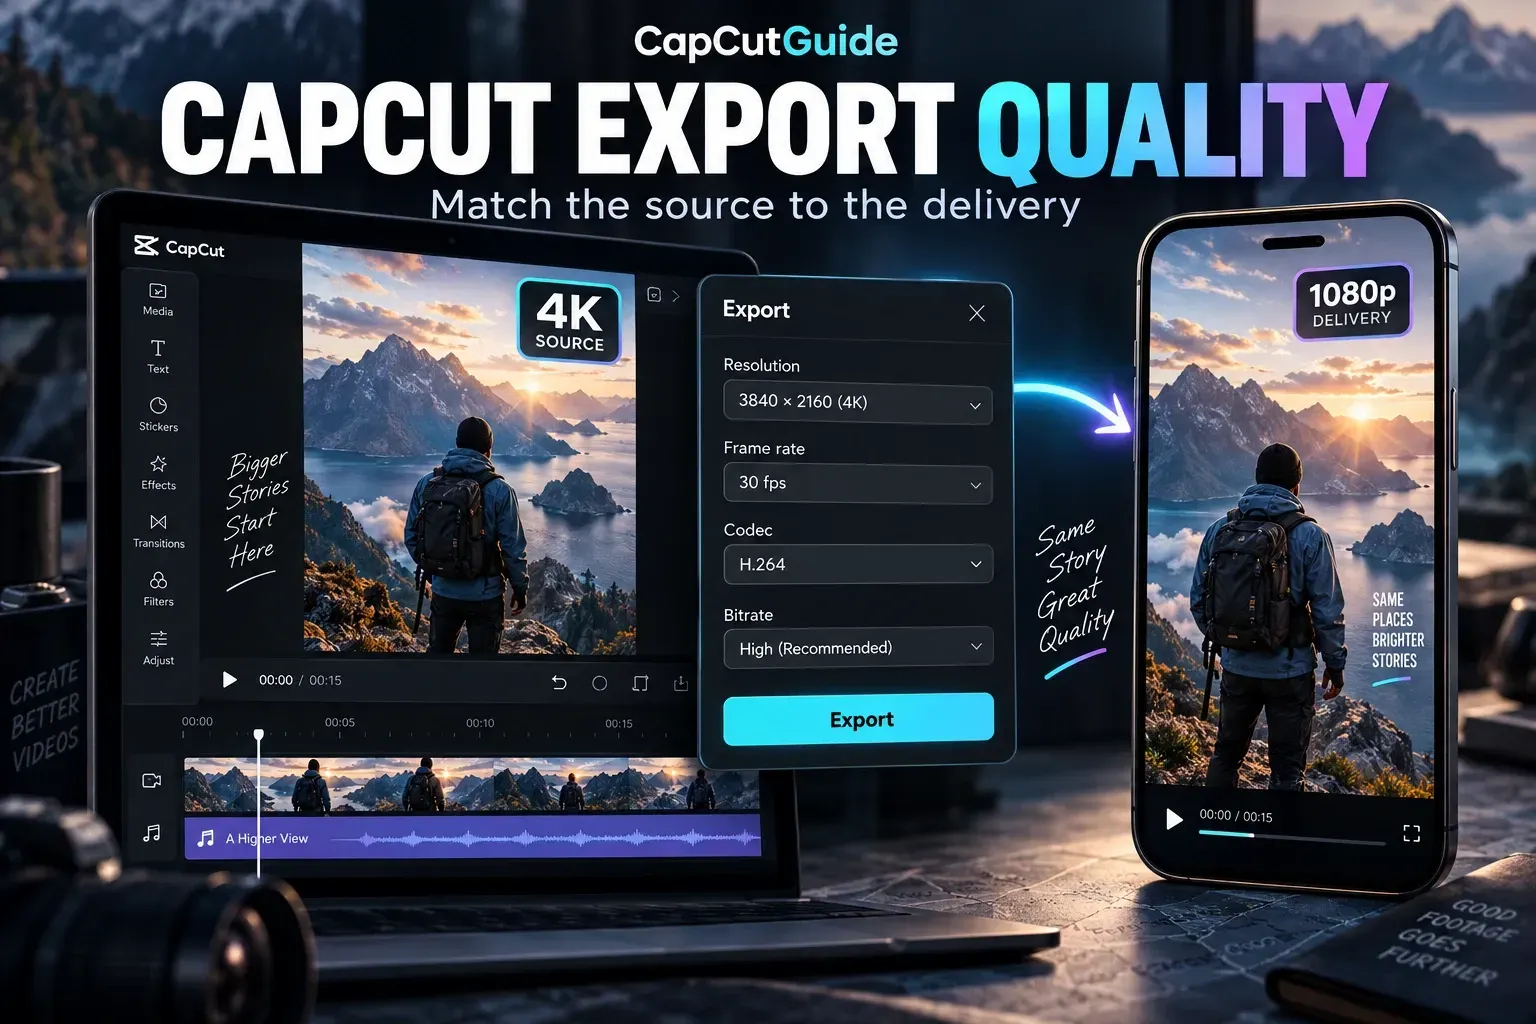
Web, Desktop and Mobile share the export idea, but they do not promise identical controls. CapCut’s Desktop instructions name resolution, frame rate and bitrate controls. Its Web instructions qualify high-resolution export by browser capability and cloud processing; Mobile options depend on the device and project. Check account restrictions in the export panel as well.
Open the export panel on the device that will create the final file and record the options you can actually see. If a 2K, 4K, frame-rate or format choice is absent, treat the visible menu as the real boundary for that project. CapCut’s help says high-resolution availability depends on platform, hardware, operating system, app version and project conditions; it is not universal.
Practical rule: do not move a project between platforms solely because a help page lists a setting. Confirm that the destination platform opens the media, preserves the timeline and exposes the required output before making it the final handoff point.
3. Match resolution, frame rate and bitrate to the source
Begin with the source and delivery target, not the largest number in the menu. I would not choose 4K solely to rescue soft 1080p footage: inspect the source and crop before raising the output dimensions. A higher frame-rate label alone is also a poor reason to change cadence. As a general encoding distinction, FFmpeg documents frame duplication or dropping separately from motion interpolation; those descriptions do not establish which conversion a particular CapCut build uses. Match the frame rate to the footage or to a deliberate delivery requirement, and change it only when you understand the conversion.
- Resolution: choose the frame dimensions required by the destination, within the options CapCut exposes for the project.
- Frame rate: preserve the source cadence unless the delivery specification calls for another rate.
- Bitrate: use the recommended quality preset, where offered, as a starting point, then raise it only when compression damage remains visible and the larger file is acceptable.
- Format and codec: choose for playback compatibility and the next tool in the workflow. A file can export successfully and still fail on an older player.
There is no single bitrate that is best for every video. MDN’s video codec guide explains why motion and noise make compression harder. That is why I would compare a demanding moving section before accepting a setting chosen from a mostly static shot. The export settings recommender is useful for narrowing the choice, while the detailed settings guide explains each control.
A soft editor preview is not proof that the source or final file is soft. CapCut documents lower preview quality and proxy behavior as performance aids. Judge the output in a separate player at 100% scale before changing the timeline. If the exported file itself is blurry, follow the diagnostic below.
4. If export fails or stops, use the percentage as a clue
First preserve the project: use a duplicate or editable copy where available before removing clips, effects or text. Keep the original media separately. Confirm saving before a reload, restart or closing the last accessible session. Then note whether the export never starts, stalls near the beginning, stops at a repeatable point, or reaches the final saving stage. Those patterns point to different checks.
- Confirm free storage at the export destination and space for temporary work.
- Close heavy background apps or unused browser tabs, then retry once.
- Lower one demand at a time: resolution, frame rate or bitrate.
- If the stop repeats at the same percentage, use short range exports from a copy, where supported, to locate a troublesome section. Do not assume the progress percentage equals the same position on the timeline.
- Where section export is supported, compare a short section from a duplicate project to help distinguish a project-content problem from a broader device or app problem.
CapCut’s help associates a stall near 1% with early timeline elements, resources, storage or temporary app state. A stall near 99% can indicate final writing, destination permission, storage or damaged media. These are troubleshooting categories, not a guarantee that the percentage identifies one exact cause. Use the full CapCut export stuck guide for the platform-specific sequence.
A subscription prompt is another branch. Check the timeline for assets, effects, fonts, music or tools marked as premium before changing quality settings. A Pro prompt can be caused by project content rather than resolution alone.
5. If the exported video is blurry
Open the saved file outside CapCut and compare it at its native size. If only the editor preview looked soft, the project may have been using a lower preview or proxy quality. If the exported file is also soft, inspect the chain in this order:
- source resolution and whether the clip was already compressed;
- timeline or canvas dimensions and any crop that enlarges the source;
- export resolution and frame rate;
- bitrate or quality control;
- the player, upload service or messaging app used after export.
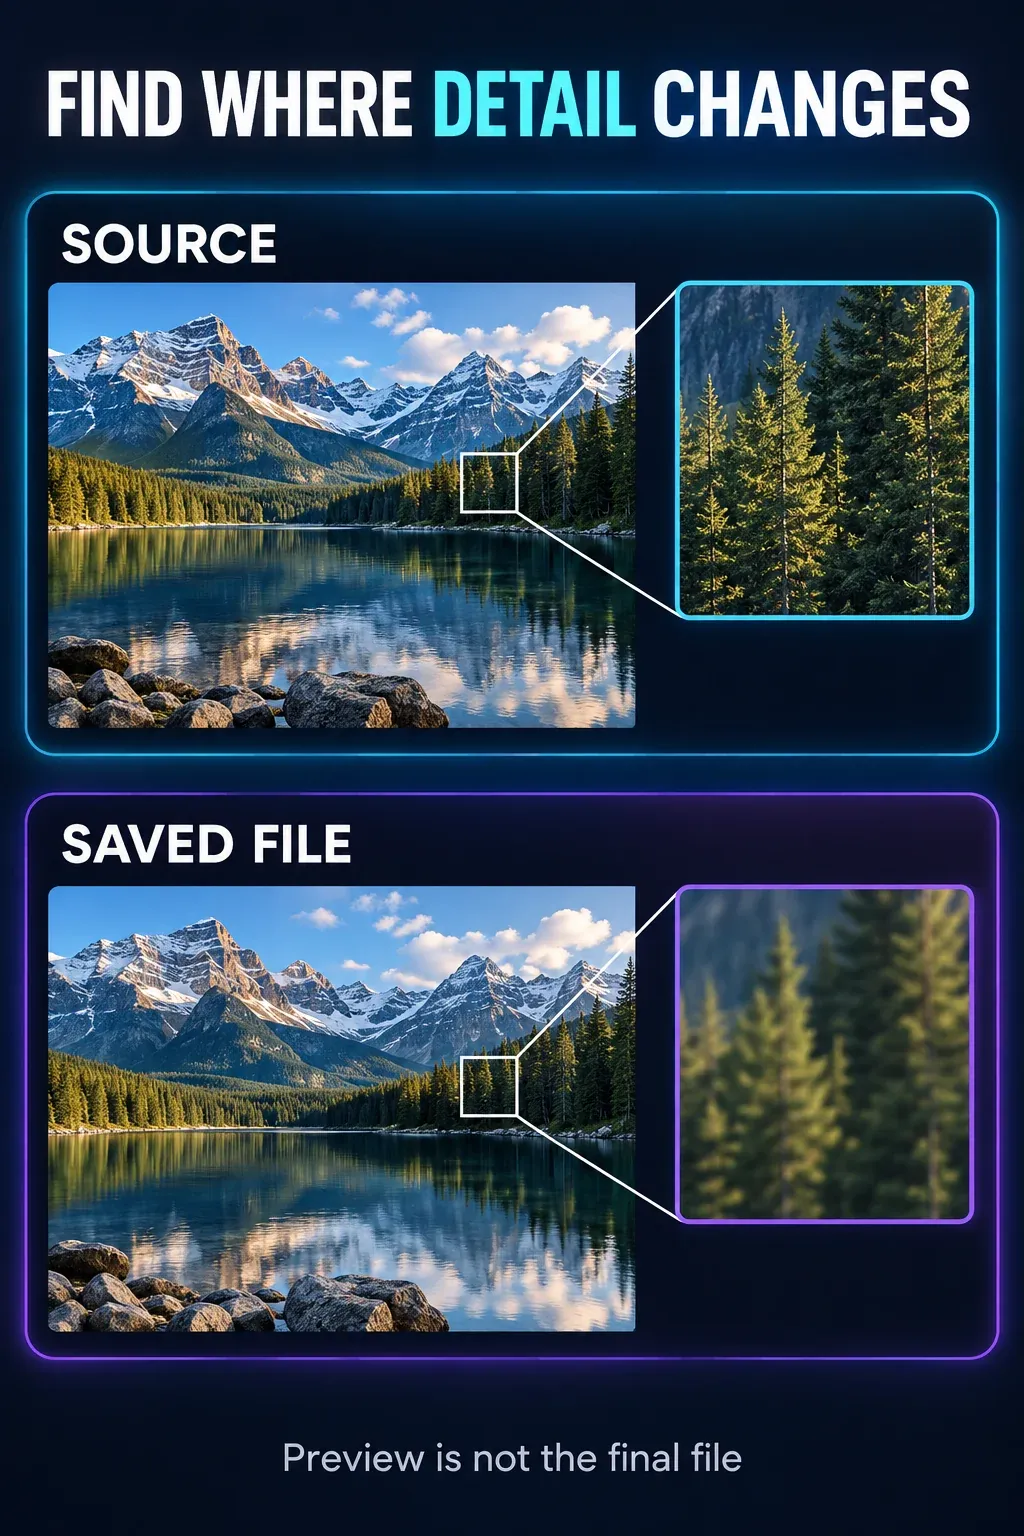
Changing several variables together hides the cause. Make one controlled change in a duplicate project and compare the resulting file in the same player. The blurry export guide walks through that chain without assuming that 4K is the cure.
6. If playback stutters after export
CapCut’s platform-specific lagging guidance lists device and export-setting checks. My first diagnostic step is to compare the same saved file in a second reputable player before re-editing. If playback differs between players, I would investigate the player and codec support before changing the timeline; the comparison alone does not identify a decoding fault.
If every player stutters at the same moment, inspect the source and timeline around that point. If the whole file struggles, try a more widely supported format or codec, preserve a sensible source frame rate and reduce output demands one step. The lagging after export guide separates browser, desktop and mobile checks.
7. Find and verify the saved result
Before starting, give the file a distinctive name and note the destination. After completion, keep the result screen open long enough to use any visible Open folder control. CapCut’s current help identifies that button as the direct way to confirm the desktop save location. If it is unavailable, search the chosen name and file extension rather than relying on a remembered default folder.
Finding a file is not the final quality check. Open it, confirm duration, dimensions, audio, captions and the first and last frames. For a selected range, verify that the start and end are correct. For a subtitle file, open the text and inspect timestamps and character encoding.
Delivery check: keep the project file and the verified export separate. A successful progress bar proves only that CapCut completed its process; the saved artifact still needs a short playback and metadata check.
A compact export checklist
- Name the deliverable: video, range, frame, audio or captions.
- Confirm the final platform and the controls it actually exposes.
- Match resolution and frame rate to the source and destination.
- Choose bitrate for the content and acceptable file size, not from a universal number.
- Note the save destination and remove accidental premium assets if a subscription prompt appears.
- After export, open the saved file outside CapCut and check the beginning, a demanding middle section and the ending.
For the broader editing order, return to the CapCut tutorial hub. Export belongs after the timeline, audio, captions and delivery format are settled.
Public help cannot reproduce every signed-in state or rollout. Use the controls visible in your current project to confirm availability before committing to a delivery setting.