

Checked September 22, 2026. CapCut’s color and export options can vary by platform, version and account. This guide identifies the point where a color shift appears; it does not assume that every editor has the same HDR switch.
If the video looks right in CapCut but pale after export, compare the original, the editor preview and the locally saved file on the same screen before changing the grade. If the local file is right and only the upload is wrong, investigate the platform and player. If the source already looks pale inside CapCut, investigate the source format or how it is interpreted. Changing saturation before locating the mismatch can hide the symptom and spoil a version that already looks good.
HDR footage from a phone can carry brightness and color information that an ordinary SDR delivery cannot display in the same way. CapCut describes importing smartphone HDR and HDR10 footage on desktop, while its color-space guide recommends Rec.709 for ordinary SDR video. Those pages do not establish one universal current menu path for switching an existing CapCut project between HDR and SDR.
Find the first place the color changes
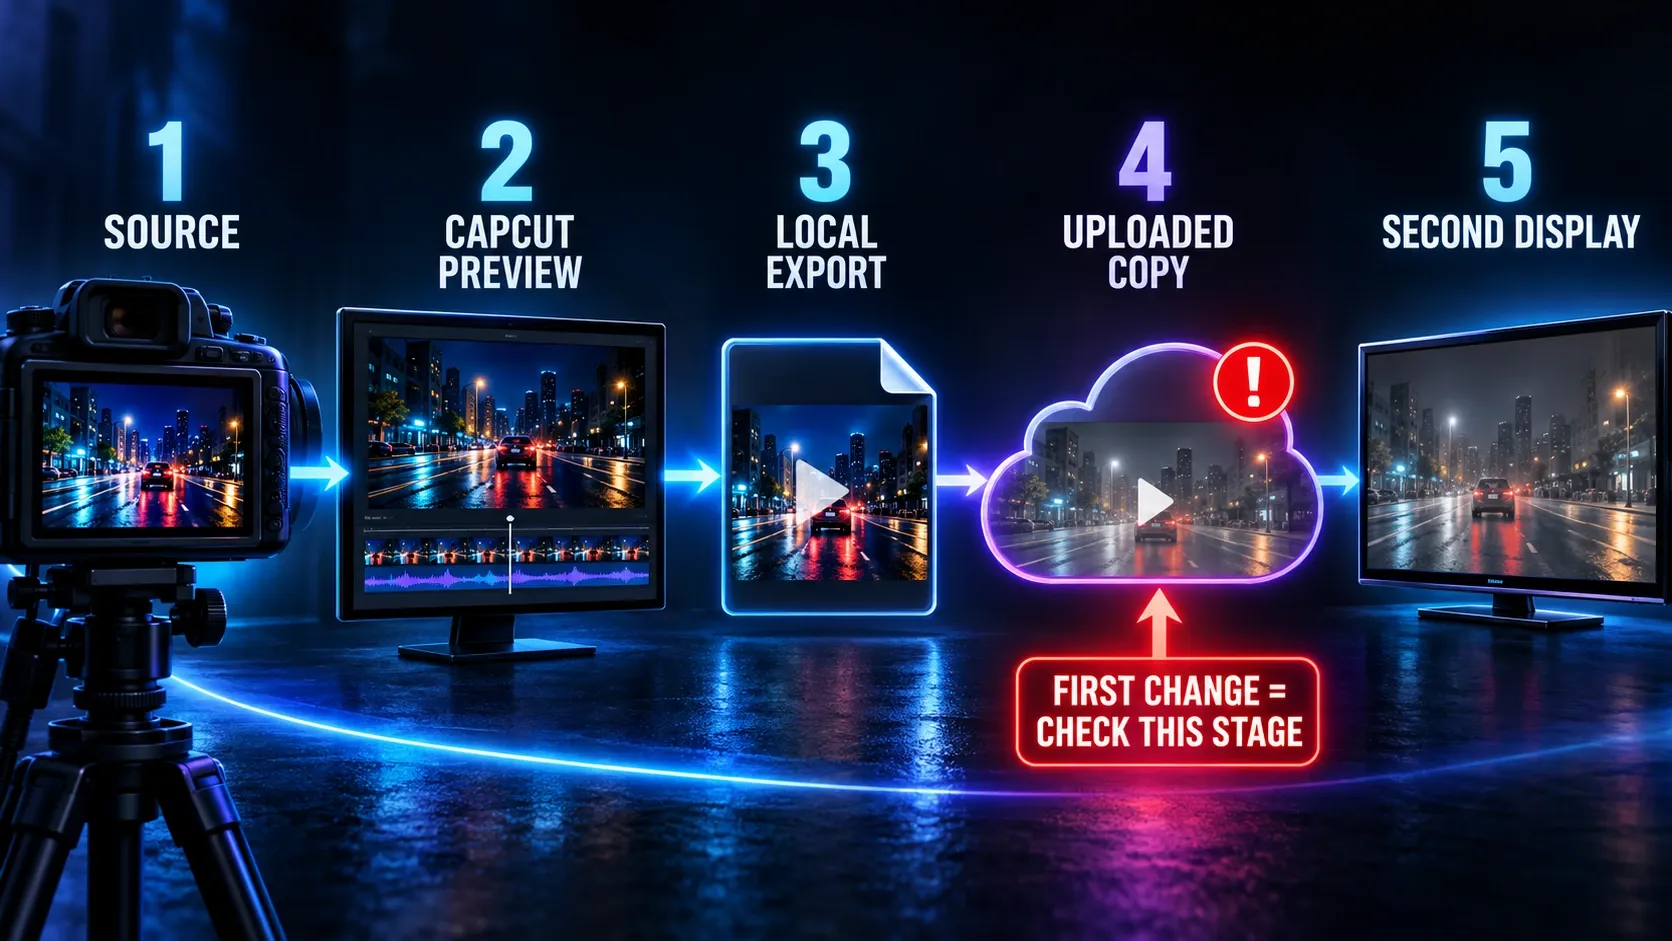
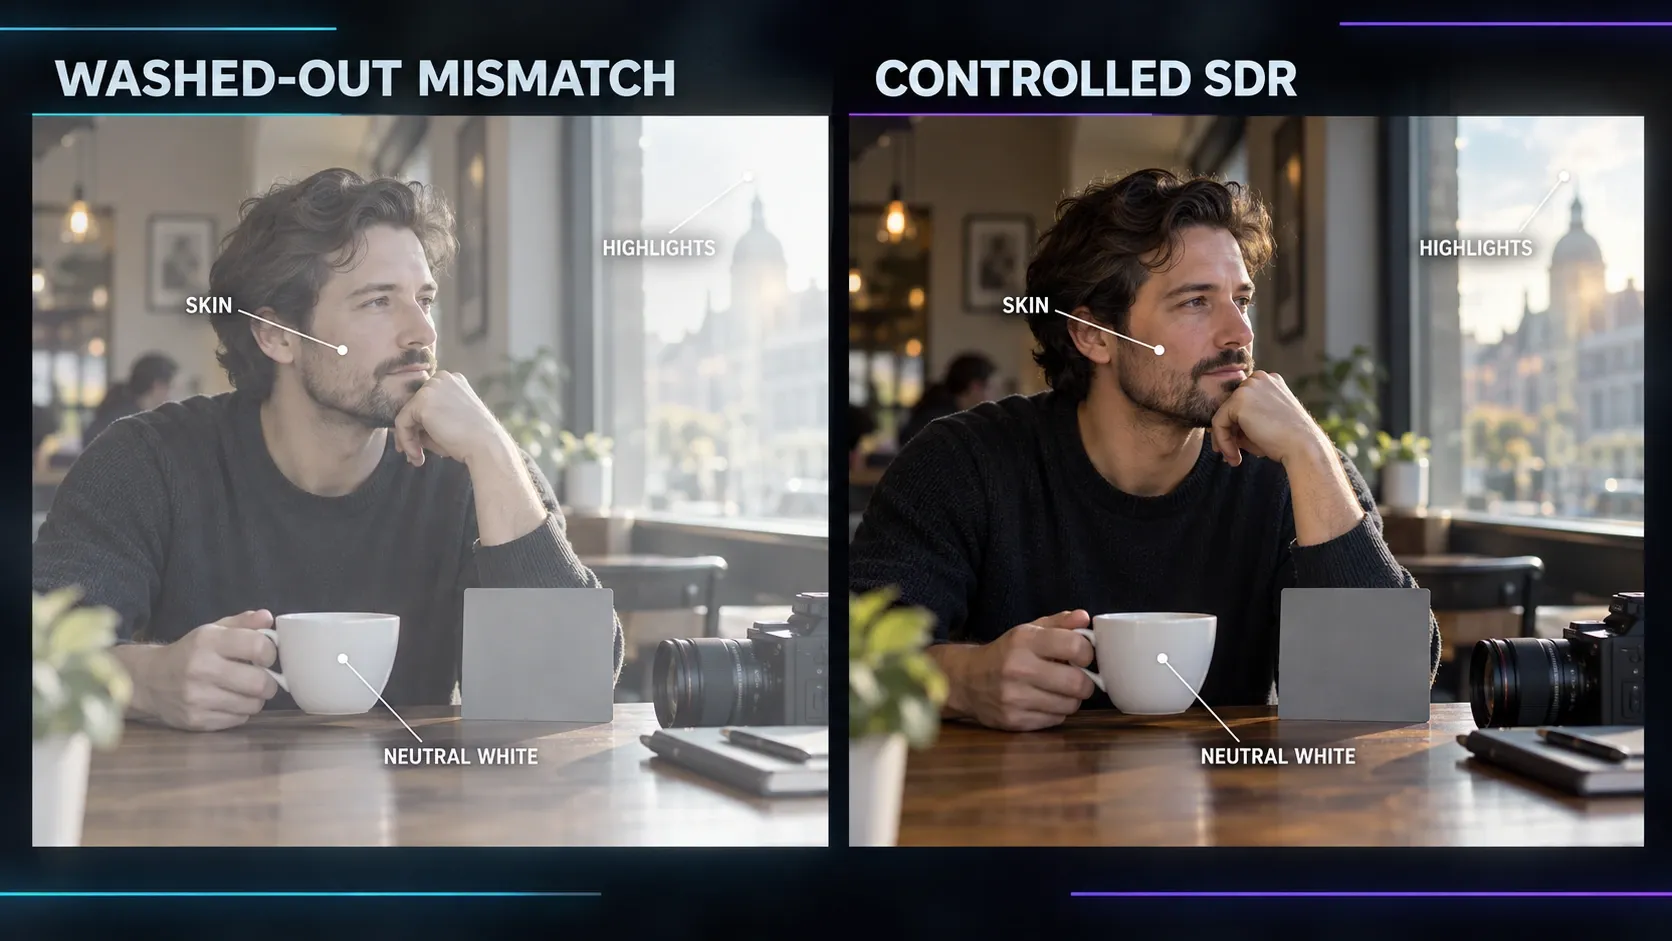
Use a frame with a face, a bright window or sky, and one neutral object. Keep the display and its brightness settings steady for the first comparison. Then check these stages in order:
- Source file. Play the original clip outside the editor. If it is a phone recording, check whether HDR capture was enabled. On supported iPhone models, Apple locates HDR Video under Settings → Camera → Record Video in its camera settings guide. The setting tells you about capture configuration; it does not by itself prove the format of an older clip.
- CapCut preview. Pause on the same frame after import, before adding a filter or adjustment. If the source and preview already differ, work on source interpretation and project color handling first. A saved export cannot repair a mismatch that is already visible on the timeline.
- Local export. Open the finished file outside CapCut and compare it with the editor preview on the same display. A difference here points toward export, file signaling or player handling. Keep the original project and file so you can compare again.
- Uploaded copy. Compare the local export with the platform version after processing. A difference that starts only here belongs to the upload/playback stage. YouTube, for example, processes properly marked HDR uploads for HDR viewing and SDR playback; do not generalize that exact behavior to every social app.
- Second display. Once the same-screen comparison makes sense, check another device. A difference seen only on one screen or player may be a display or playback issue, not a faulty CapCut grade.
If you cannot tell which stage changed, export a short representative segment and compare it with the source and preview. That is a diagnostic suggestion for your own project, not a guarantee that one export preset fits every device.
Choose an SDR or HDR delivery path
For a broad audience without a deliberate HDR master, I would aim for a controlled SDR result. Rec.709 is the practical SDR video target in CapCut’s color-space explanation, and YouTube’s encoding recommendations identify BT.709 for SDR uploads. Check the color-space choices actually offered in your CapCut version and inspect a local test file. If you imported HDR footage, a proper SDR conversion needs appropriate tone mapping; merely changing a label is not the same operation. If the current editor does not expose a trustworthy conversion route, use a documented color-managed workflow for that conversion rather than pretending an unknown CapCut toggle exists.
A genuine HDR deliverable needs more than bright highlights or an “HDR look.” YouTube’s HDR upload requirements specify suitable HDR signaling, including Rec.2020 primaries and a PQ or HLG transfer function. The same guidance warns that adding HDR metadata to footage that was not actually graded as HDR can badly distort it. CapCut’s article mixes discussion of HDR imports with an HDR-inspired look made through adjustment tools; the latter is not proof that an exported file is a valid HDR master.
| Your aim | Safer decision | What to verify in the saved file |
|---|---|---|
| Ordinary social or web SDR | Keep the source-to-delivery conversion consistent with an SDR/Rec.709 target. | Faces, highlights and neutral objects look sensible in the local file. |
| Intentional HDR delivery | Confirm a genuinely supported HDR workflow from import through export and platform playback. | Transfer function, primaries, bit depth and playback are appropriate for the target. |
| Unsure what the original contains | Preserve the original and identify its format before choosing an export path. | Compare a short local export with the source on the same display. |
If the preview is fine but the file is pale
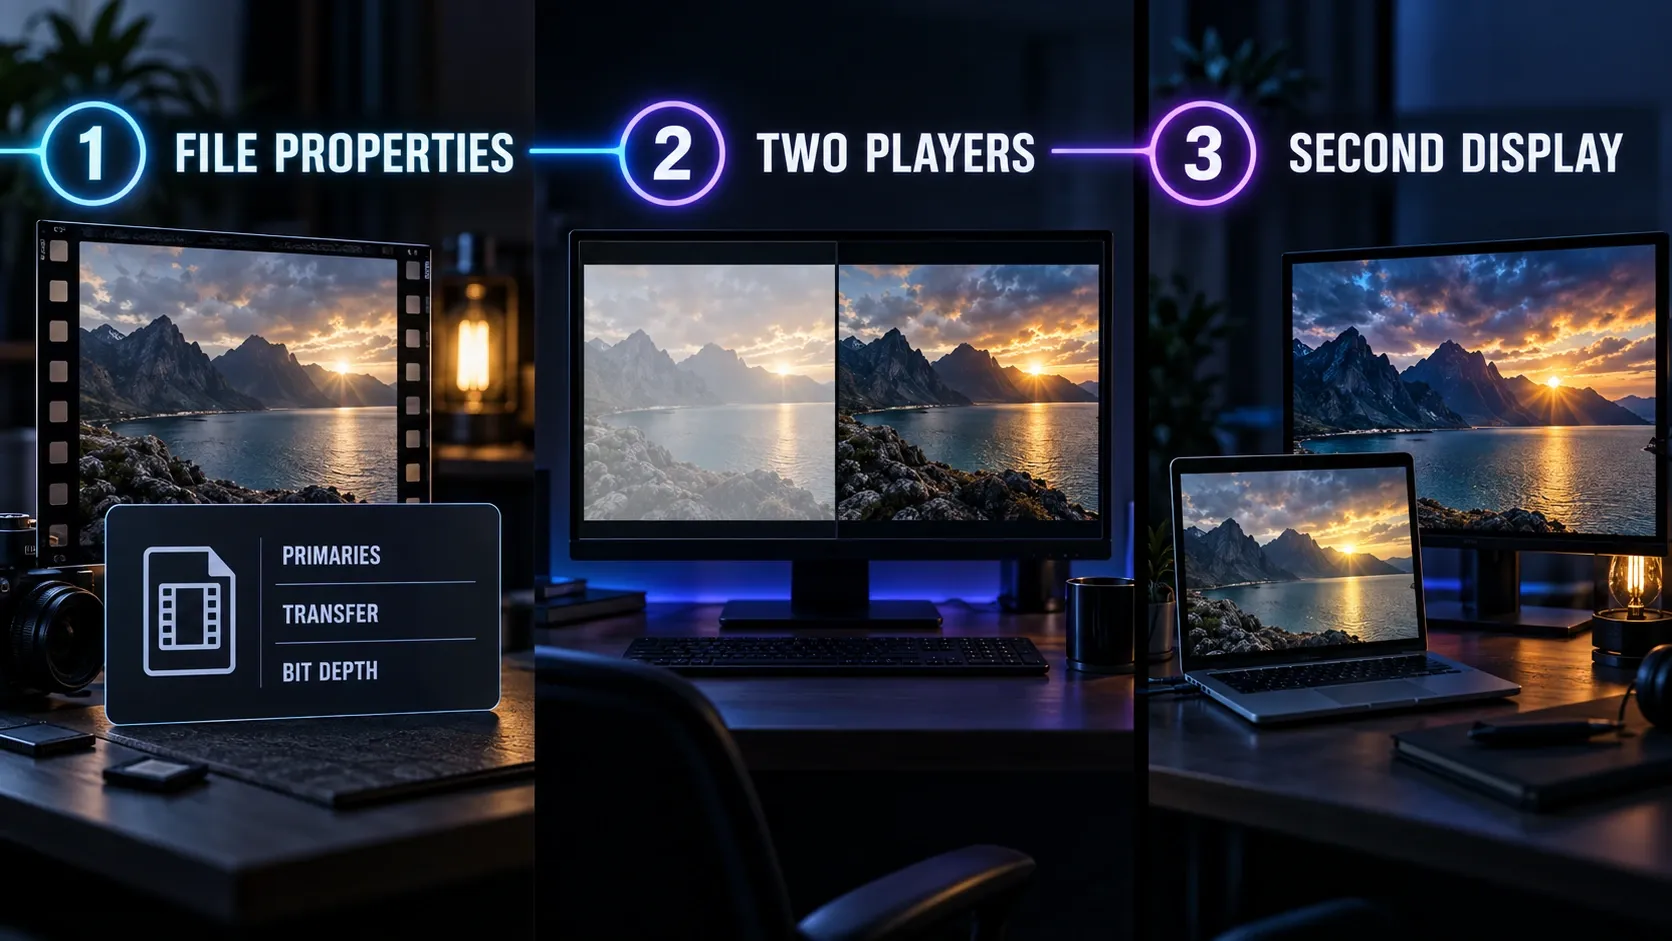
First compare the local file in more than one player on the same display. If one player alone shows the shift, avoid rebuilding the grade solely around that view. Then inspect the exported file’s reported video properties with a trusted media-information utility or your operating system’s file inspector: codec, bit depth, color primaries and transfer characteristics where available. “HEVC” by itself does not prove HDR, and a filename or resolution does not tell you whether an HDR transfer function survived. YouTube lists supported HDR codecs and the signaling it reads, which explains why an export’s underlying color information matters more than the word HDR on a button.
If you find a color-space or transfer mismatch, return to the project or conversion workflow and make a new short export with a known destination. Compare the new local file before uploading. Do not add an HDR metadata tag to make an SDR file “look HDR”: YouTube explicitly warns against that shortcut.
Raising bitrate can help compression artifacts, but it cannot by itself change an incorrectly interpreted HDR signal into correctly tone-mapped SDR. If your actual complaint is softness, blockiness or a low-resolution upload, use the separate CapCut blurry-export diagnosis and export settings guide. This page is about a color or brightness shift.
If only the uploaded copy changes
Keep the local file as the reference. Give the service time to process the upload, then compare the same frame using the same device and player settings. For YouTube, an HDR file and its SDR downconversion can legitimately appear different on different viewing devices, as YouTube’s HDR help explains. If the platform shows a visibly wrong SDR rendering, check whether you supplied a properly prepared HDR file or whether a separately controlled SDR export is more suitable for that audience.
Do not assume TikTok or Instagram follows YouTube’s exact HDR rules. For framing, captions and platform-specific delivery, see our TikTok guide, Instagram Reels guide and YouTube Shorts guide. These links are for their publishing tasks; the local-file comparison still comes first.
If the source already looks washed out in CapCut
Ask whether the original is HDR, a flat/log recording, or ordinary SDR. CapCut’s color-space guide notes that untreated log footage can look washed out; that symptom is different from a correct preview turning pale only after export. Check the camera format and any color transformation already applied before adding another LUT or filter. Applying a second conversion to a clip that is already normalized can create a new color error.
For ordinary SDR footage that just needs a better exposure or white balance, work through our CapCut color-correction guide and return to a local export comparison. Keep the original clip and a natural baseline. An aggressive saturation fix may make one paused frame pop, but it does not tell you which stage broke.
The decisive question is simple: what is the first copy of the video that looks wrong? Fix that transition, then check the delivered file on the screen your audience will actually use.