

Checked September 23, 2026. CapCut's own pages describe different GIF workflows for Online, Desktop and Mobile, so the correct route depends on the export panel available in your current version.
To export a GIF from CapCut Online, finish the edit, choose Export, open the additional download options, and select Download GIF. Set the loop duration and resolution, then download the file. If your Desktop or Mobile export panel does not show GIF, export a short MP4 and convert that file to GIF. This fallback is predictable and gives you a clean video master if the GIF needs to be rebuilt.
Fast rule: use direct GIF export when the button is visible and the loop is simple. Use MP4 → GIF when the button is missing, when you need tighter control over frame rate or colors, or when you want to keep a reusable master file.
Pick the right route first
| Your situation | Best route | Reason |
|---|---|---|
| CapCut Online shows Download GIF | Direct GIF export | Fewest steps |
| Desktop shows GIF in Export | Direct GIF export | Keeps the workflow inside CapCut |
| Mobile shows a GIF or Convert to GIF control | Direct mobile route | Convenient for a short shareable loop |
| No GIF option appears | Export MP4, then convert | Works around version and account differences |
| The final destination accepts video | Keep MP4 or WebM | Better color and compression, with audio support |
| A web page accepts animated WebP | Consider animated WebP | Better color and transparency than GIF |
The current CapCut online GIF editor describes a direct download route and provides duration and resolution controls. Other official CapCut pages still describe exporting video first and converting it later. That is not a reason to hunt for a hidden setting indefinitely. Check the current Export panel once, then choose the route it actually offers.
Check whether your CapCut version can export GIF directly
Open the project and inspect the final export screen. The wording can differ, but look for one of these controls:
- GIF in a format menu;
- Export as GIF;
- Download GIF inside an extra-options or three-dot menu;
- Convert to GIF after a video export.
Do not assume a missing button means the project is broken. CapCut changes features across Online, Desktop and Mobile, and availability can also differ by release, region or account. The useful decision is binary: if GIF is present, use it; if it is absent, export MP4.
Before either route, trim the timeline to the exact loop. A GIF includes every frame you give it, so one unnecessary second can increase the file significantly. If the loop comes from only part of a longer edit, isolate that section first with the workflow for exporting a selected clip from CapCut.
Prepare the loop before export
A good GIF begins and ends deliberately. Move the playhead across the cut between the last and first frame. If the subject jumps, either choose a cut where the motion naturally repeats or add a short transition that hides the discontinuity.
Remove audio-specific editing decisions from the loop. GIF cannot carry sound, so a cut that works only because of a beat, spoken cue or sound effect may feel abrupt when silent. Use visible action as the timing guide.
Keep text on screen long enough to read at the final display size. A fast preview on a large editing canvas can look clear while the same loop becomes unreadable in a message or article card.
Export a GIF from CapCut Online
CapCut's current Online workflow is the clearest documented direct route:
- Open the finished project in CapCut Online.
- Trim the timeline to the section that should loop.
- Select Export.
- Open the additional download options, shown by a more or three-dot control when present.
- Choose Download GIF.
- Set the duration around the exact action you need.
- Choose a resolution from the available range.
- Download the GIF and play it through at least two complete loops.
The official page currently lists resolution choices from 240P to 640P. That range is suitable for reactions, demonstrations, stickers and compact embedded motion. It is not designed to preserve the same detail as a full-resolution video export.
Start at 480P or 640P when small text or interface details matter, then reduce the size only if the destination rejects the file. For a simple reaction or object motion with no fine detail, a lower resolution can be enough.
What to check after download
Open the actual GIF rather than trusting the export preview. Confirm that:
- the first and last frames form an acceptable loop;
- text remains readable;
- gradients have not broken into distracting bands;
- the file stays under the destination's upload limit;
- the animation repeats where it will be used;
- no important content sits against a transparent edge that renders poorly.
If it looks soft, raise the resolution before changing frame rate. If it is too large, shorten the duration before crushing the image dimensions. Removing frames and seconds usually preserves clarity better than making the whole loop tiny.
Export a GIF from CapCut Desktop
Official CapCut guidance is inconsistent here. The capture GIF guide describes an Export as GIF action on Desktop, and CapCut's GIF maker overview also presents direct Desktop export. An older official video-to-GIF guide says the editor exports MP4 or MOV and requires a converter.
Treat the current app as the source for the control that exists in your build:
- Finish and trim the project.
- Open Export.
- Inspect the format list and any additional export menu.
- If GIF appears, select it and set the available quality controls.
- If GIF does not appear, choose MP4 and continue with the fallback workflow below.
There is no benefit in reinstalling the app or rebuilding the edit solely to reveal a format control that your release does not expose. The MP4 fallback reaches the same delivery goal and preserves a higher-quality source file.
When exporting the MP4 master, use the normal CapCut export quality controls. Match the project frame rate where possible and keep enough resolution for the converter to downsize cleanly. Avoid repeated MP4 exports before conversion, because each lossy generation can soften text and edges.
What to do on CapCut Mobile
Mobile is the least safe place to promise an exact universal button. CapCut's capture guide mentions a Convert to GIF path, but its mobile example also relies on an external screen-recording app. That makes it poor evidence that every CapCut Mobile build contains the same control.
Use this decision sequence:
- Update only if you already planned to use the current CapCut release.
- Open the project and inspect the export format choices.
- Look for GIF or Convert to GIF once.
- If neither appears, export a short MP4 to the device.
- Convert the MP4 with a trusted local or web tool that exposes duration, dimensions and frame rate.
Do not upload private footage to an unknown converter simply because it appears first in search. For sensitive clips, prefer an established tool with clear retention terms or an offline converter. The CapCut MP4-to-GIF resource is one documented route, but you should still judge any online service by the footage and privacy requirements involved.
Use the reliable MP4 → GIF fallback
The fallback is straightforward and works whether the original edit came from Online, Desktop or Mobile.
- Duplicate the project or mark the exact loop range.
- Remove unnecessary lead-in and tail frames.
- Export an MP4 with clean text and enough resolution.
- Open a GIF converter.
- Select the exact start and end points again if needed.
- Choose output width or resolution.
- Set a moderate frame rate.
- Reduce colors only when the file remains too large.
- Enable looping.
- Convert and review the result through several repetitions.
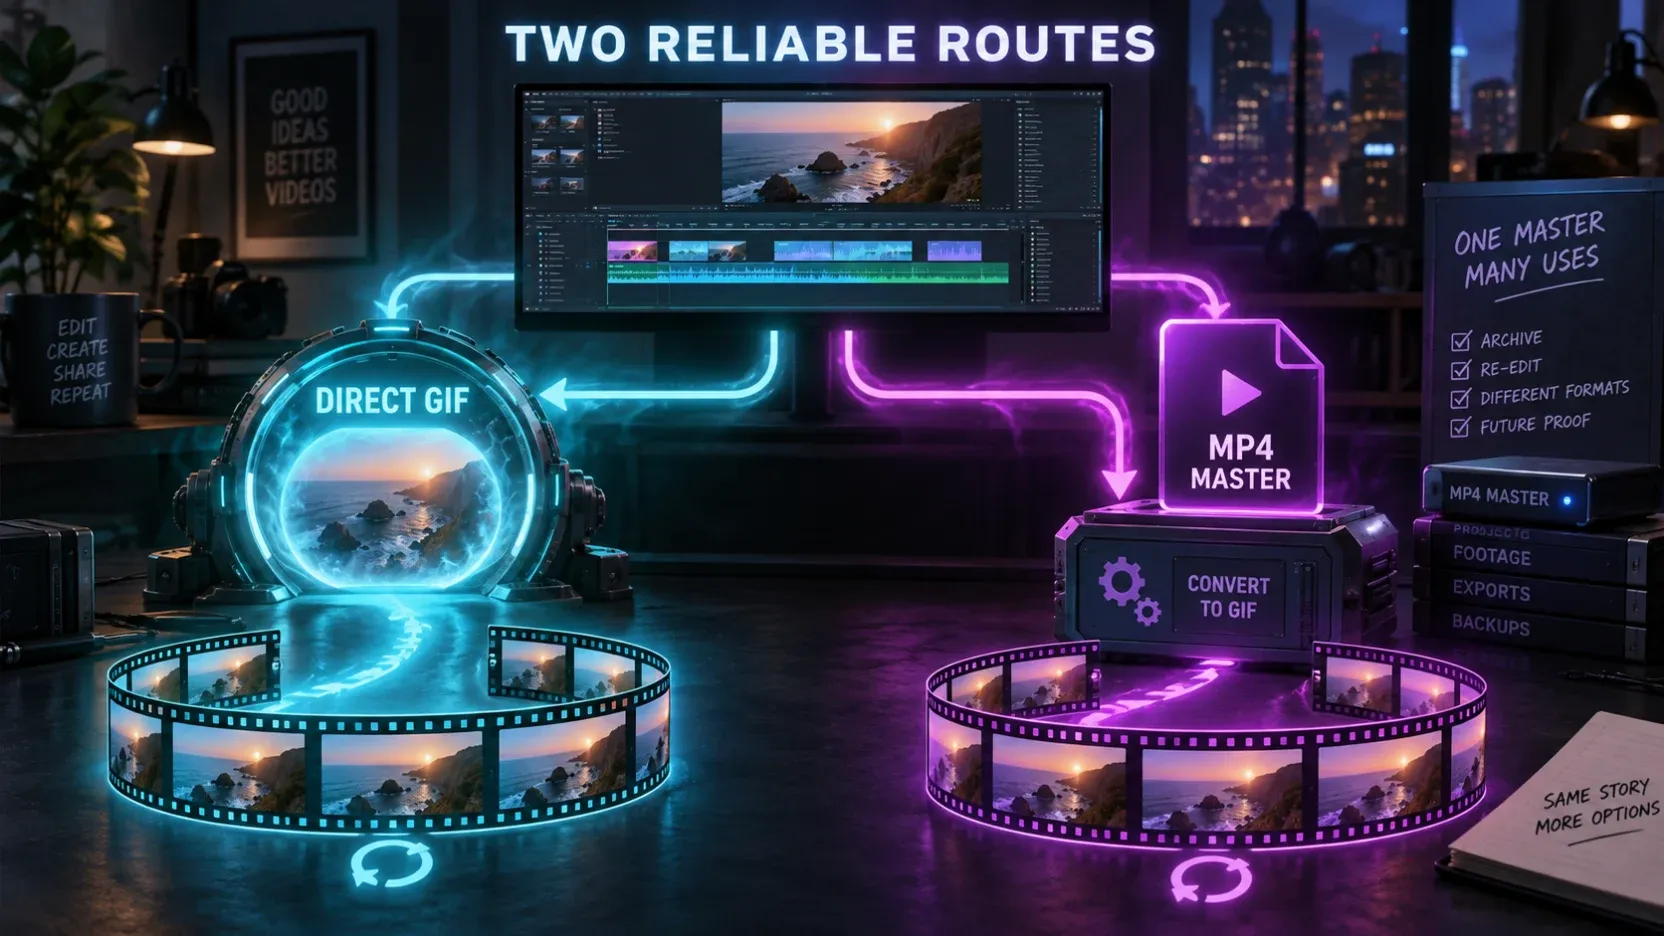
Keep the MP4 master after conversion. If the destination changes its file-size limit or you need a different crop, rebuild the GIF from the master rather than converting an already compressed GIF again.
Avoid a double crop
Set the final aspect ratio in CapCut before export. If you crop again in the converter, titles and interface labels can move too close to the edge. For social destinations, begin with the framing guidance in the CapCut social media guide.
If the source contains transparency, verify the destination before choosing GIF. The workflow for transparent video and alpha export in CapCut explains why a transparent editing result does not guarantee that every output format or platform will preserve soft edges.
Balance duration, resolution, frame rate and colors
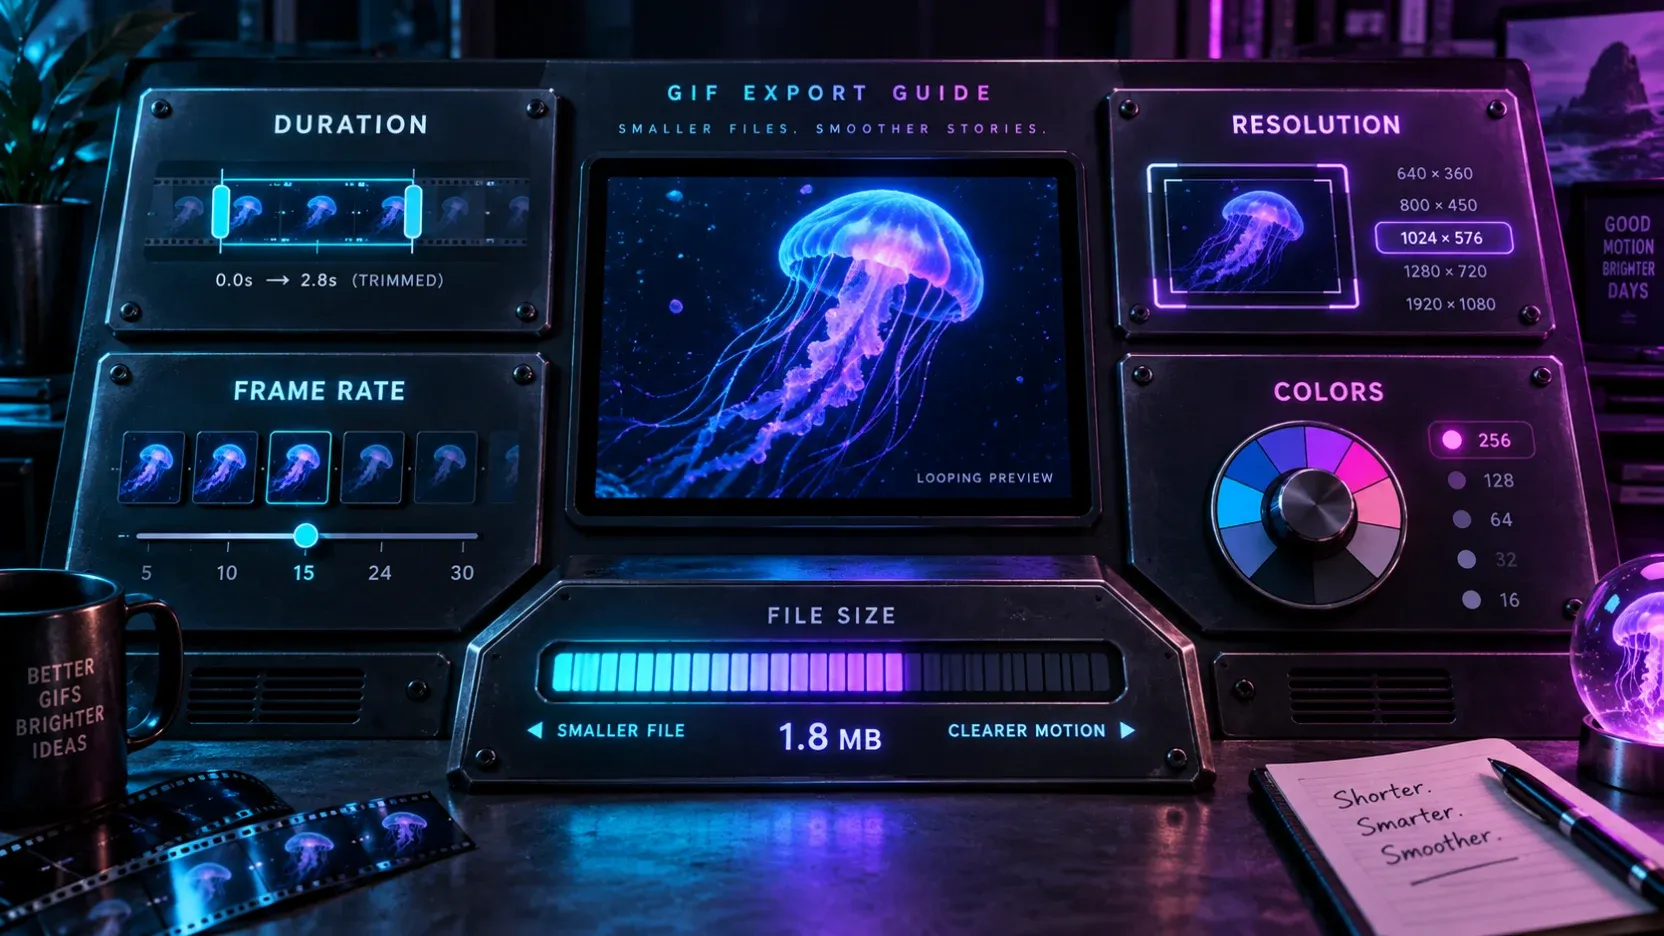
A GIF's file size is driven mainly by how many frames it stores, how large those frames are and how complex the colors are. The practical controls interact:
| Control | Raise it when | Lower it when | Main risk |
|---|---|---|---|
| Duration | The action or message is incomplete | The file is too large or the loop drags | Cutting away useful context |
| Resolution | Text and interface details look soft | The destination needs a smaller file | Losing readability |
| Frame rate | Motion looks stepped | The file is too large | Jerky movement |
| Color count | Gradients or brand colors break apart | Size remains high after trimming | Banding and color shifts |
Duration
Make the loop only as long as the viewer needs to understand the action. For a reaction, that may be a brief gesture. For an interface demonstration, allow enough time for the pointer movement and result to register.
Resolution
Resolution should follow the display size. A GIF shown at 400 pixels wide does not need a 1920-pixel frame, but text must remain legible after the final downscale. Export one representative loop before processing a long batch.
Frame rate
More frames make motion smoother and increase file size. A moderate frame rate usually works for tutorials, reactions and simple motion. Fast camera moves, particles and fine scrolling are poor GIF subjects because they require more frames and colors to look clean.
Colors
According to the MDN GIF format guide, GIF is limited to a palette of up to 256 colors. Flat graphics, bold captions and simple backgrounds survive that limit better than footage with gradients, shadows, skin tones or changing light.
If a gradient becomes striped, do not assume the CapCut edit failed. The delivery format may be the limiting step. Use MP4, WebM or animated WebP when the destination supports them.
Understand transparency and audio limits
GIF has no audio track. If the message depends on speech, music or sound effects, choose a video format instead. WebM is a media container designed to carry video and audio, as explained in MDN's media container guide.
GIF transparency is also limited. A pixel is effectively transparent or opaque; it does not provide the smooth partial alpha used for soft shadows, hair edges and glow. That can create halos when a loop is placed over a different background.
Test transparent GIFs on the real page or app background. If the edge looks rough, use a solid background color that matches the destination, or choose a format with full alpha support.
GIF vs MP4, WebM and animated WebP
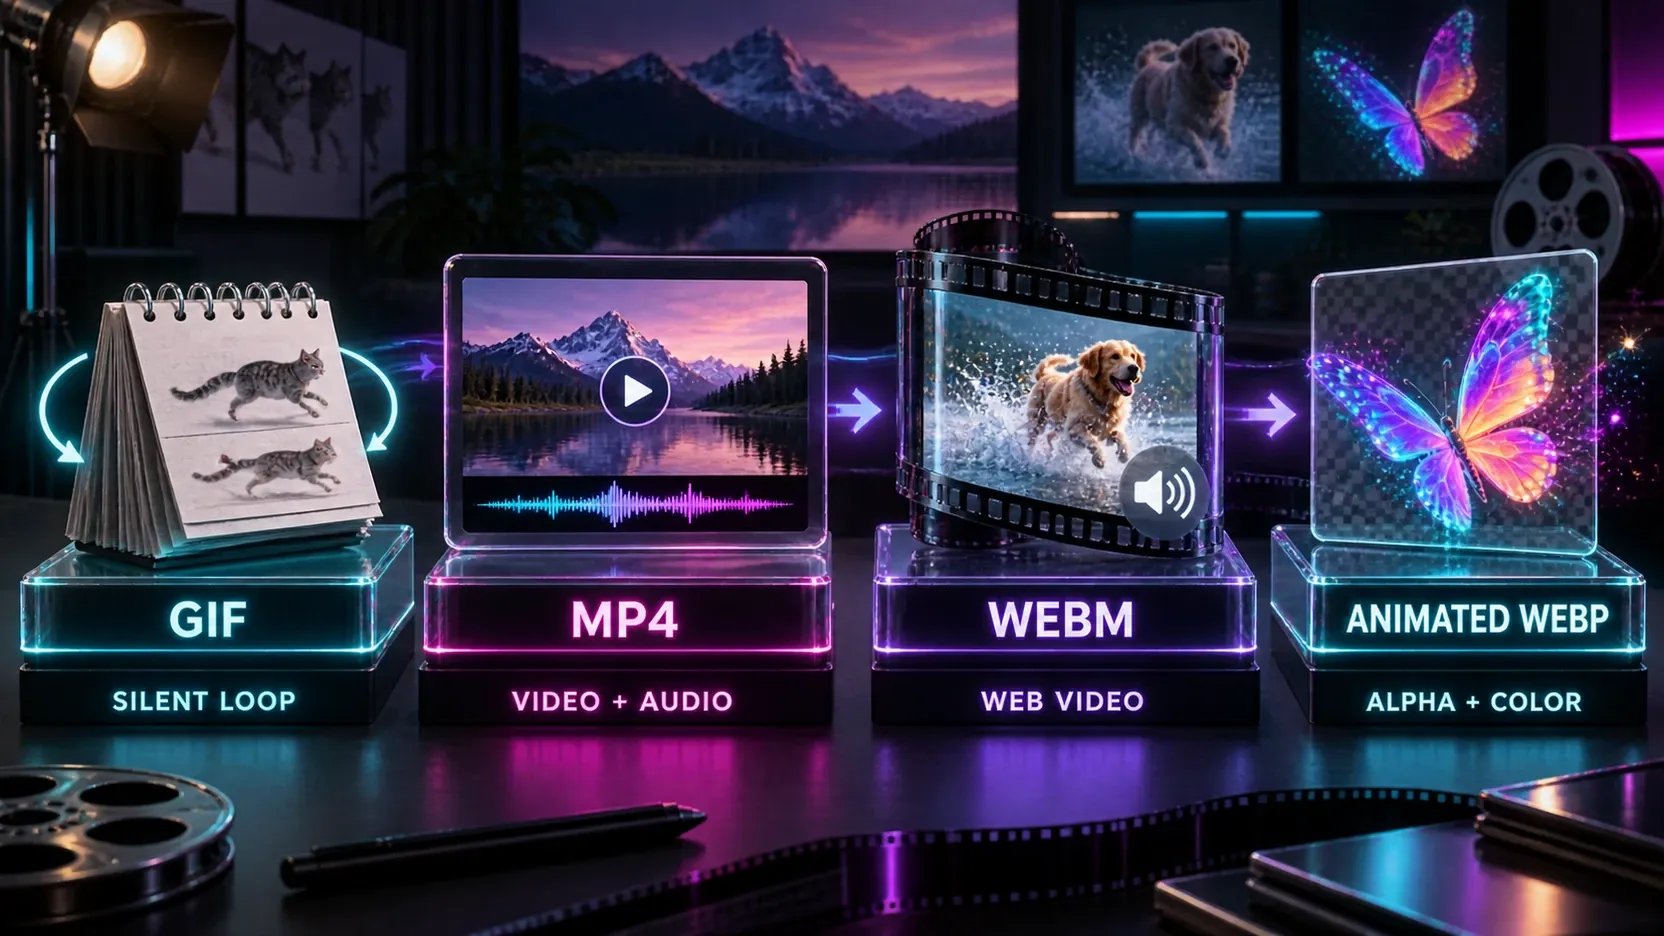
| Format | Best for | Audio | Transparency | Typical advantage |
|---|---|---|---|---|
| GIF | Silent loops with broad compatibility | No | Basic binary transparency | Easy embedding and autoplay-like looping |
| MP4 | Social video, tutorials and detailed footage | Yes | Usually no alpha in common delivery | Efficient compression and broad platform support |
| WebM | Web video and motion with sound | Yes | Codec-dependent alpha workflows | Strong web delivery options |
| Animated WebP | Web animation and transparent loops | No audio track | Full alpha support | More colors and better compression than GIF |
MDN's WebP guide documents animation and alpha transparency. Animated WebP is often the better technical format for a website, but the publishing system, email client or social platform must accept it.
Use the CapCut supported formats guide to separate what CapCut can import or export from what the final destination accepts. These are different checks.
If you are unsure which final file fits the job, the CapCut export recommender gives a quicker format decision based on destination and quality needs.
Troubleshoot common CapCut GIF problems
The GIF option is missing
Confirm that you are looking at the final Export or Download menu, including any extra-options button. If the option is still absent, stop searching and export MP4. The missing format can reflect the current surface, release or account rather than a damaged project.
The GIF is too large
Trim unused time first. Then reduce output dimensions. Lower frame rate next, and reduce colors only after those changes. Complex moving backgrounds can dominate file size, so crop away irrelevant areas or simplify the scene in CapCut.
The GIF looks blurry
Increase resolution, keep important text larger and avoid converting an already compressed GIF. Start again from the MP4 master. Thin fonts and fine interface labels need more pixels than a reaction clip.
Colors look wrong or banded
The 256-color palette is the likely cause. Simplify gradients, use flatter backgrounds, or deliver MP4, WebM or animated WebP. Raising resolution does not restore missing color depth.
The loop jumps
Move the start and end points to matching stages of the action. A repeated walk cycle, rotation or hand movement loops more naturally when both ends share a similar pose and direction. When that is impossible, a brief dissolve can hide the cut, though it adds frames.
The GIF plays once or does not animate
Check that looping is enabled in the converter and open the file in another compatible viewer. Some preview tools show only the first frame or handle animation differently. Verify the file in its real destination before rebuilding it.
The transparent edge has a halo
The GIF's binary transparency is colliding with antialiased edges. Place the subject over the intended solid background before export, or use animated WebP where supported.
CapCut GIF export FAQ
Can CapCut export GIF files directly?
CapCut Online currently documents a direct Download GIF option. Some official pages also describe direct Desktop export, but availability can differ by version, surface and account. If the option is not in your export panel, export MP4 and convert it.
Where is Download GIF in CapCut Online?
Finish the edit, choose Export, open the additional download options or three-dot menu, and select Download GIF. The official Online editor currently offers duration and resolution controls.
Why does my CapCut app show only MP4?
Your current CapCut surface or release may not expose GIF. That does not prevent the workflow: export a short MP4 and convert the master file to GIF.
Does a GIF keep CapCut audio?
No. GIF does not carry audio. Use MP4 or WebM when the exported motion needs music, speech or sound effects.
What resolution should I use for a CapCut GIF?
Use the smallest resolution that keeps the subject and text clear at the final display size. CapCut Online currently documents 240P–640P choices. Start higher for interface details and reduce only if the file is too large.
How do I make a CapCut GIF smaller?
Shorten the duration first, reduce dimensions second, then lower frame rate. Reduce the color count only if necessary because it can create banding and shifts.
Can a CapCut GIF have a transparent background?
GIF can store basic transparency, but it cannot preserve smooth partial alpha. Soft edges and shadows may show halos. Test on the real background or use animated WebP where supported.
Final recommendation
Check the Export panel once. If GIF is available, use the direct route and review the downloaded loop. If it is missing, export a clean MP4 and convert it with deliberate duration, dimensions, frame rate and color settings.
Keep the MP4 master. GIF is a delivery copy, not the best archive. When the destination accepts video or animated WebP, choose the format that preserves the detail, color, transparency and sound the viewer actually needs. For a broader editing and export path, continue with the complete CapCut tutorial.