


Start with the completed file, not CapCut’s preview. Play the completed local file outside CapCut, then try that same file in a second player or on another device. Note whether it stutters throughout or freezes at one timestamp. If it plays smoothly elsewhere, investigate playback before changing the edit. If the fault repeats in both tests, export a short section from a duplicate project and change one thing at a time. Start with the source and the exact moment that stutters; leave encoding experiments until later.
This guide starts after CapCut has created a playable file. For a stalled progress bar, an unresponsive Export button or no valid file, use the export-stuck diagnostic. For a soft or blocky picture with smooth motion, use the blurry-export guide. Browse other symptoms in the CapCut Fixes hub.
CapCut’s lag-after-export help separates Web, PC and Mobile and lists rendering, device resources and playback compatibility as possible factors. Those are starting points, not a diagnosis of your file. The tests below help narrow down what to change.
Checked against current documentation on September 13, 2026. Controls can differ by device and app version.
Compare the Same Moment in Each Version
Choose a short section with obvious movement: a hand crossing the frame, a camera pan, scrolling text, a skateboard landing or somebody walking past a fixed background. A static talking head can hide repeated frames.
- CapCut preview: play the section in the editor and note the timestamp of every hitch.
- Local file: play the completed file outside CapCut at the same moment. Make a short test export only if you need to investigate a fault.
- Second player or device: copy the same file, without re-encoding it, and play it somewhere else.
- Uploaded copy: check the processed social or YouTube version only after the local file is known-good.
Replay the same movement and write down the timestamp. A freeze that returns at 00:07.4 in different players makes that range worth inspecting, but does not by itself prove a damaged timeline. Random hitches on just one device suggest a playback problem. Test the exported file even when the preview lags: preview performance and export quality are separate, and more than one problem can coexist.
Name the Failure Before Changing Settings
“Lag” can hide several different motion problems:
- Uneven cadence: motion advances, pauses slightly, then catches up across most of the clip.
- Unwanted repeated frames: motion briefly holds the same pose, then jumps ahead. Repetition is not always a fault; judge the movement rather than the frame count alone.
- Section freeze: the picture stops at the same timeline point while audio may continue.
- Speed artifact: a slowed or ramped section warps, duplicates or jumps around moving objects.
- Playback overload: one device or player struggles, but another plays the identical file smoothly.
- Audio drift: picture and sound gradually separate even when neither visibly freezes.
Raising bitrate can preserve picture detail, but it cannot restore motion already missing from the source. Likewise, exporting 30 fps footage at 60 fps does not recover another 30 camera-recorded frames each second. Some repetition is expected when frame rates change or a freeze-frame effect is intentional; investigate the unwanted hitch you can see during normal playback.
Repair a File That Stutters in Both Players
Before changing the timeline, make a separate editable project copy and preserve its source media. Keep the faulty export for comparison; an MP4 is not a backup of the editable project. If your version offers range export, use it. Otherwise, trim only a verified duplicate to the problem section, keeping a few seconds on either side for transitions and effects. The selected-clip export guide explains the available routes. Never shorten your only project copy for a test.
1. Isolate the Exact Timestamp
First play the original source clip outside CapCut at the corresponding moment. If the hitch is already there, preserve the source and try another original recording if you have one. Otherwise, export the problem range from the duplicate project. Temporarily bypass one item there: an effect, transition, speed change, stabilization, optical flow or compound clip.
Keep the test small. Restore each item if removing it makes no difference. If one change removes the hitch, repeat that export to check the result before rebuilding that layer. A successful short test still needs a full-length export check.
A discussion of compound-clip stutter, started in November 2024, has conflicting reports about lowering resolution. A June 2026 reply reports improvement after undoing clip pre-processing. If your suspect clip was pre-processed and your version offers an undo option, compare it in the duplicate project. This is an individual report, not a confirmed cause for every stuttering export.
2. Check the Source and Export Frame Rates
Compare the source frame rate with the rate chosen for the edit and export. Avoid an unnecessary conversion: Adobe’s frame-rate reference explains why changing the rate can introduce motion artifacts. That principle does not mean every clip in a mixed-rate edit must have the same recorded rate.
Mixed-rate projects are not automatically broken. A 30 fps edit may deliberately use 60 fps footage for slow motion. Choose the output rate for that edit, then watch the converted sections. Check actual file information where possible: labels such as 24 or 30 in an interface may not tell you whether the source is 23.976 or 29.97 fps. Do not increase the export rate simply because a higher option exists.
3. Check for Variable Frame Rate
Phone recordings and screen captures can use variable frame rate, but the device name does not establish that. Open the source in a local media-inspection tool such as MediaInfo and check the video stream’s Frame rate mode and frame-rate values. A reported VFR mode is a clue worth testing; a missing field is not proof of constant timing. Do not upload private footage to an unknown file-analysis website.
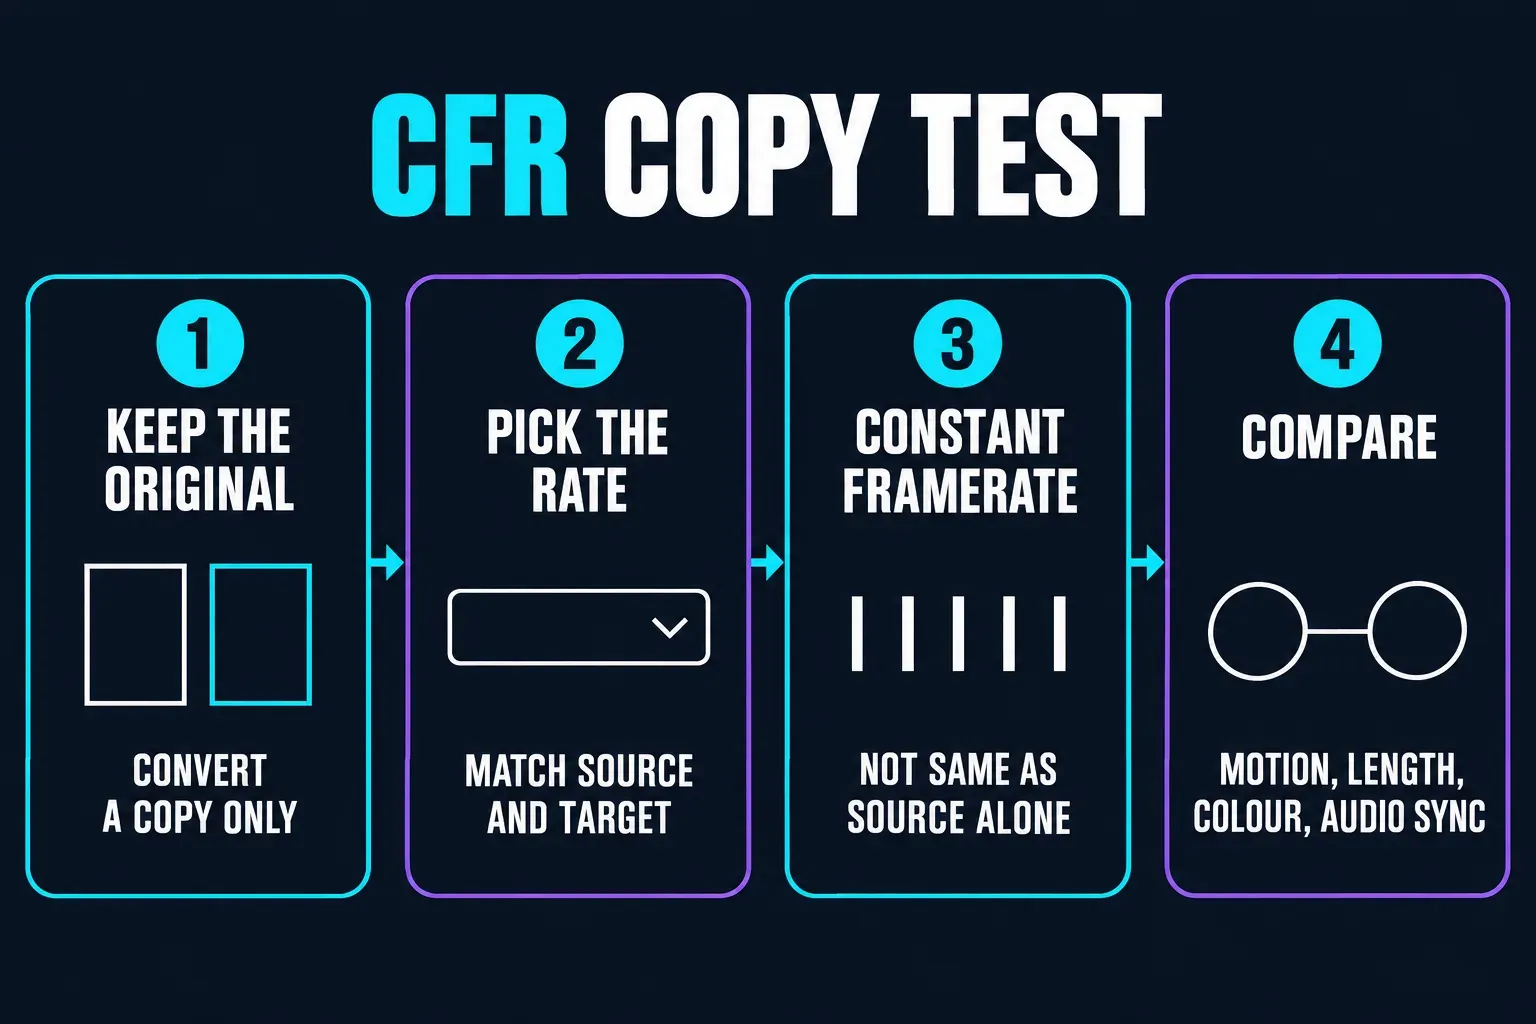
HandBrake’s frame-rate documentation distinguishes variable, constant and peak frame rate. For a targeted editing-compatibility test, convert one source copy using Constant Frame Rate at the intended rate. Same as Source alone does not select CFR. Conversion can repeat or drop frames; compare motion, duration, colour and audio sync before replacing the clip in a duplicate project. Keep the original and undo the replacement if it does not help.
4. Retest Speed, Optical Flow and Interpolation
Optical flow estimates intermediate frames; it does not recover footage the camera never captured. Adobe’s explanation of time interpolation describes the general trade-off: added frames can smooth motion but introduce artifacts. That is background on the technique, not a claim that CapCut uses Adobe’s controls. Watch moving hands, wheels, hair and objects crossing one another for warping.
If your version offers optical flow or a smoothing control, compare the same slow section with that option off and on. Skip this test if the control is unavailable; do not buy an upgrade just to diagnose a hitch. For an intentional speed ramp, the velocity-edit guide and slow-motion template walkthrough cover the creative setup.
5. Compare a Clean Project, Then Test Encoding
Put the untouched source clip in a new empty project and export the same section with comparable settings. If it plays smoothly, compare the original project’s edits and settings; the test narrows the differences but does not identify the culprit on its own. If both exports stutter, revisit source playback and try one lower-demand output. For ordinary SDR footage, H.264 video in an MP4 container is a useful compatibility sample when available. Do not apply an SDR recipe blindly to an HDR project.
Test hardware encoding only if your Desktop version exposes the control. CapCut’s output-troubleshooting guidance points to Settings → Performance for a hardware-encoding test. Record the existing setting, change that one control, save and restart if required, then export the same section. Encoding makes the output file; decoding and proxy controls affect a different part of the workflow. Software encoding may be slower. Restore the original setting if the completed file does not improve.
Mobile: Test One Export Control
On CapCut Mobile, the quality label beside Export opens controls for Resolution, Frame rate, Optical flow and Bitrate. On your phone, look for that label or the export-settings panel your version provides. Options and access can differ, and not every device has every setting.
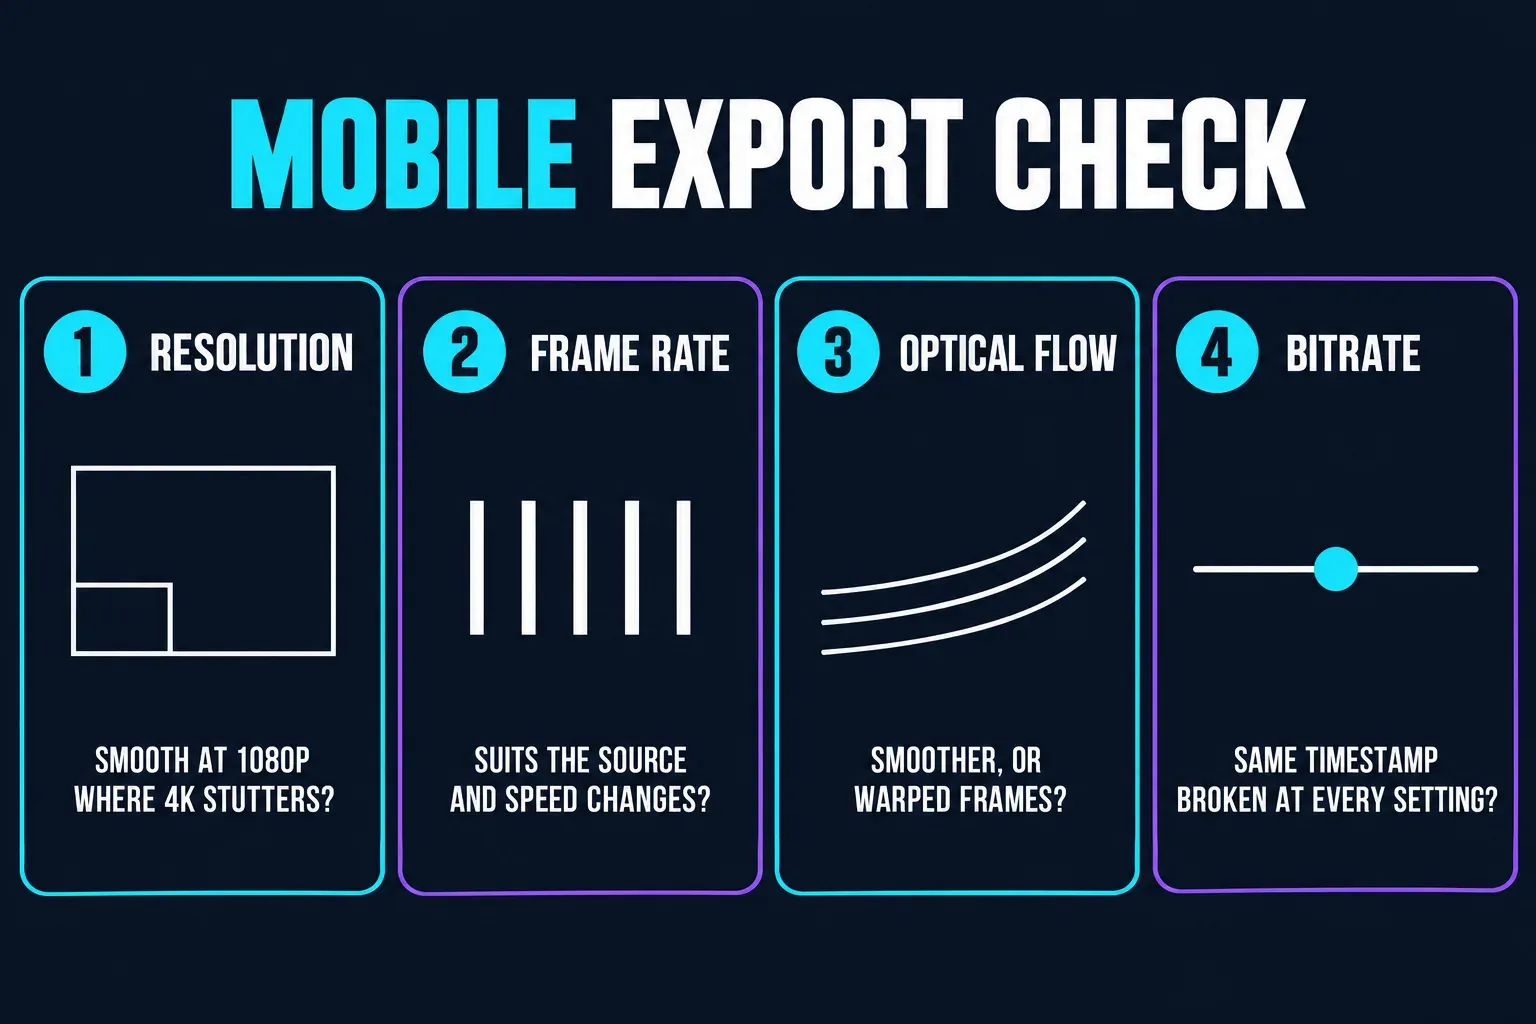
Use each control for one question:
- Resolution: does the same short section play smoothly at 1080p when its 4K export stutters? Keep the other choices unchanged.
- Frame rate: does the output rate suit the source and any deliberate speed changes?
- Optical flow: does the processed slow section improve or create a repeated/warped frame?
- Bitrate: does the player struggle only with a very demanding file, or is the same timestamp broken at every setting?
Lower settings are a comparison, not automatically the final delivery choice. If the 4K file is smooth on a capable computer but not on your phone, investigate that phone’s player and compatibility. A smooth 1080p copy helps narrow the problem; it does not prove which decoder or hardware component caused it.
Desktop: Keep the Control Test Small
CapCut's current 2K/4K export help shows that resolution and frame-rate availability varies with the platform, device and source. The documented Desktop panel also groups Resolution, Bit rate, Codec, Format and Frame rate, which makes it tempting to change everything at once.
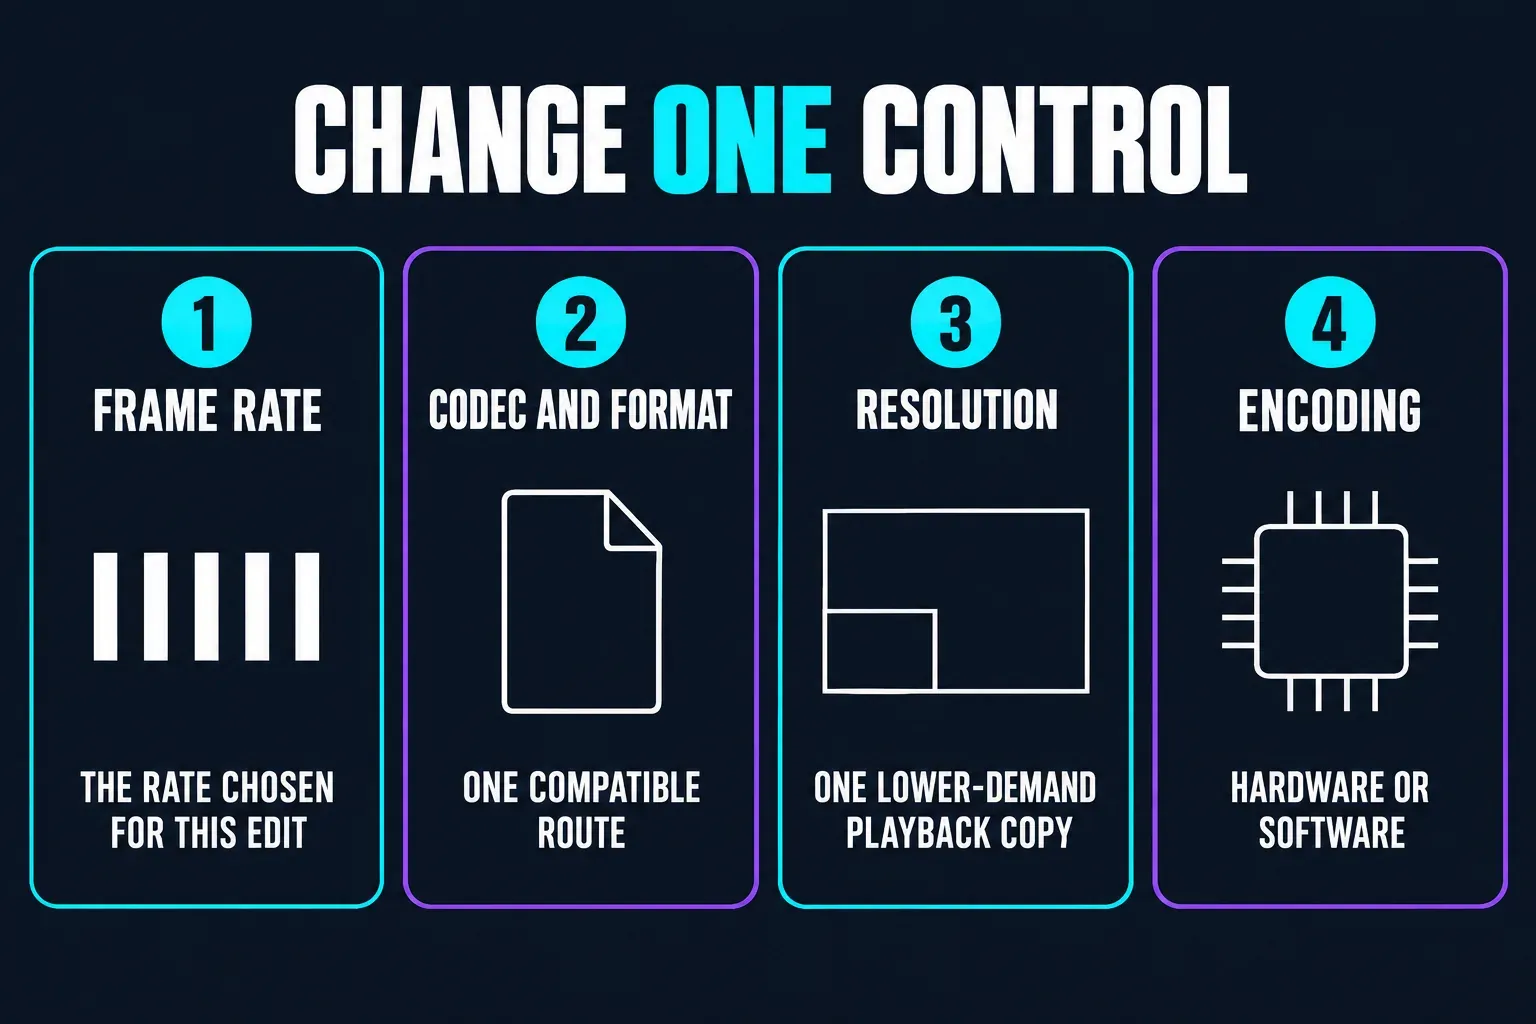
Start with the same isolated range and the current settings. Then change only one of these:
- the frame rate chosen for this edit;
- one compatible codec/format route;
- one lower-demand resolution for playback comparison;
- hardware versus software encoding when available.
If Sync exported videos to space is selected, uncheck it when offered if you want a local-only test, and review any upload prompt before sharing private media.
If Only the CapCut Preview Lags
If the local export plays correctly, you do not need to re-export it just because the editor stutters. CapCut’s transition-lag help explicitly distinguishes preview hitches from a smooth finished export. A slower render can still produce correctly timed video.
Lower preview quality or use a proxy option if your version provides one, and close competing heavy apps. These are editing-playback tests, not repairs to a completed video. Keep source files and export settings unchanged until a local export shows a problem. For broader app freezes and performance checks, use CapCut Not Working.
Web: Check the Download, Not Just the Browser Preview
Wait for export to finish and download the actual file. Play it from local storage outside the browser editor. A stuttering editor or an embedded cloud preview is not enough to judge that file. If the download has not completed, return to the export or connection problem first. Save and protect your project before reloading or changing browser settings; clearing site data is not a first step. Only upload footage you are allowed to process online. Use a local workflow for private media that must not leave the device.
If the Same File Stutters in Only One Player or Device
The file may be demanding, or that player may handle its codec/timing differently. Copy the file to normal local storage, rather than streaming it from a cloud preview, and test it in another maintained player or device. Do not screen-record the first player; that creates a new file and destroys the comparison.
If the second device is smooth, try one compatibility export for the device you need to deliver to. H.264 in MP4 is worth testing when available, but it is not guaranteed to suit every device or HDR workflow. A lower-resolution sample can help distinguish a demanding file from a repeatable motion fault. Keep the original export and compare at normal playback speed.
If the Local File Is Smooth but the Upload Stutters
Keep the smooth local master unchanged while you investigate the upload. Transfer that original file directly rather than downloading a recompressed copy from a chat or another social post. A cloud service can preserve originals, but its streaming preview is not the file to use for this comparison.
For YouTube, check the watch-page quality options while higher-quality processing completes. Then test the same post on another device or connection. Processing is one possibility, not a guaranteed explanation for persistent stutter. For TikTok and Instagram too, compare the local master with the processed post before trying a new delivery copy. Avoid changing frame rate, bitrate and resolution together; otherwise you cannot tell which change helped.
If you need a different delivery copy, our CapCut export settings breakdown covers that next step. Keep the editable master intact. A problem that appears only after upload does not yet tell you whether processing, playback or the connection is responsible.
If Audio Continues While the Picture Freezes
Record the freeze timestamp and check whether it repeats in every player. If it does, isolate that visual range first: source clip, transition, compound section, speed treatment and effects. Do not move the whole audio track because one picture section froze.
If picture and sound gradually drift instead of one fixed freeze, inspect source timing and any speed changes. A constant audio offset, growing drift and one frozen frame are different faults. Captions that only appear out of sync may belong in the CapCut caption-timing guide after the underlying audio/video timing is stable.
Keep the Working Project Safe
Do not clear app data, reinstall, flatten every compound clip or trim the only project copy as a first move. Keep the source media, the editable project and the faulty export. One reversible test is more useful than changing several settings and losing track of what helped.
Final Smoothness Check
Play the repaired local file from beginning to end outside CapCut. Recheck the exact timestamp that failed, one pan, one fast action, every speed-treated section and the ending. Listen for audio drift and confirm the file plays on the device that matters.
Keep the known-good local file as the delivery master and check the processed upload separately. If the fault remains, send CapCut support the app version, device and operating system, source frame-rate information, export choices and exact failing timestamp. Share a short anonymized sample you have permission to disclose, not a private project or a screenshot containing file paths.
CapCut Laggy Export FAQ
Why is my CapCut video smooth in the editor but laggy after export?
Play the completed local file in a second player or on another device. If the same fault repeats, inspect the original source and test that range in a duplicate project, changing one item at a time. If only one player stutters, investigate compatibility before rebuilding the edit.
Should I export CapCut at 60 fps to stop stutter?
No. Choose the frame rate for your source footage and intended edit, including any deliberate slow motion. A 60 fps file made from 30 fps footage does not contain another 30 camera-recorded frames each second. Test the affected movement instead of raising the setting by habit.
Why does one part of my CapCut export freeze while audio continues?
Check the original source at that moment, then export a short range from a duplicate project. Test one source clip, transition, compound section, speed treatment or effect at a time. The timestamp narrows the investigation; it does not prove one specific cause.
Can variable frame rate make a CapCut export stutter?
It can be a compatibility factor, but being recorded on a phone does not prove variable timing. Inspect the source frame-rate mode, then compare a constant-frame-rate copy only if the evidence points there. Preserve the original and recheck motion, duration, colour and audio sync.
Why does my CapCut export lag on my phone but play smoothly on a computer?
That suggests a playback or compatibility difference, not automatically a broken render. Copy the original file locally, try another maintained player and compare one lower-demand export. Use H.264/MP4 only when available and suitable for the intended delivery.
Why is the local CapCut file smooth but the YouTube or social upload choppy?
Keep the smooth local master unchanged. Check that the original file was uploaded, allow processing to complete and try the processed post on another device or connection. Upload-only stutter is not proof that compression alone caused it.
Is hardware acceleration always the cause of a laggy CapCut export?
No. If your version offers the control, compare hardware and software encoding as one reversible test on the same short range. Record the original state, save and restart if required, and restore it if the completed file does not improve. Preview-only improvement does not prove the export is fixed.