

Checked September 23, 2026. CapCut controls and labels can differ across Mobile, Desktop and Web, and they can move between versions.
When text disappears in CapCut, select the existing text clip and check five things in this order: active timeline range, canvas position and size, opacity and color, entry animation, then layer order. If those checks pass, identify whether the problem affects manual text, auto captions, one font, the exported file, one project or every project. That split prevents a simple invisible-layer problem from turning into an unnecessary reinstall.
My rule for this issue is simple: preserve the original project, change one variable at a time, and make a short test export before touching the whole edit.
Find your exact symptom first
| What you see | Likely branch | First useful check |
|---|---|---|
| The text clip is on the timeline, but nothing appears in the preview | Visibility, timing or layer order | Move the playhead inside the text clip, then check position, size and opacity |
| The text appears for only part of the clip | Duration or animation | Compare the playhead with the clip boundaries and remove the entry animation temporarily |
| Manual titles work, but auto captions are absent or incomplete | Caption-generation problem | Check the caption track and diagnose speech recognition separately |
| One font makes text disappear or fall back | Font availability or rendering | Duplicate the text and apply a built-in font |
| Text appears in the editor, but the exported video has no text | Export-only problem | Export a five- to ten-second range with one plain text layer |
| Only one project is affected | Project or layer corruption | Duplicate the project and rebuild one text layer in the copy |
| Every project is affected | App, browser, account or device problem | Create a tiny blank project with one plain title |
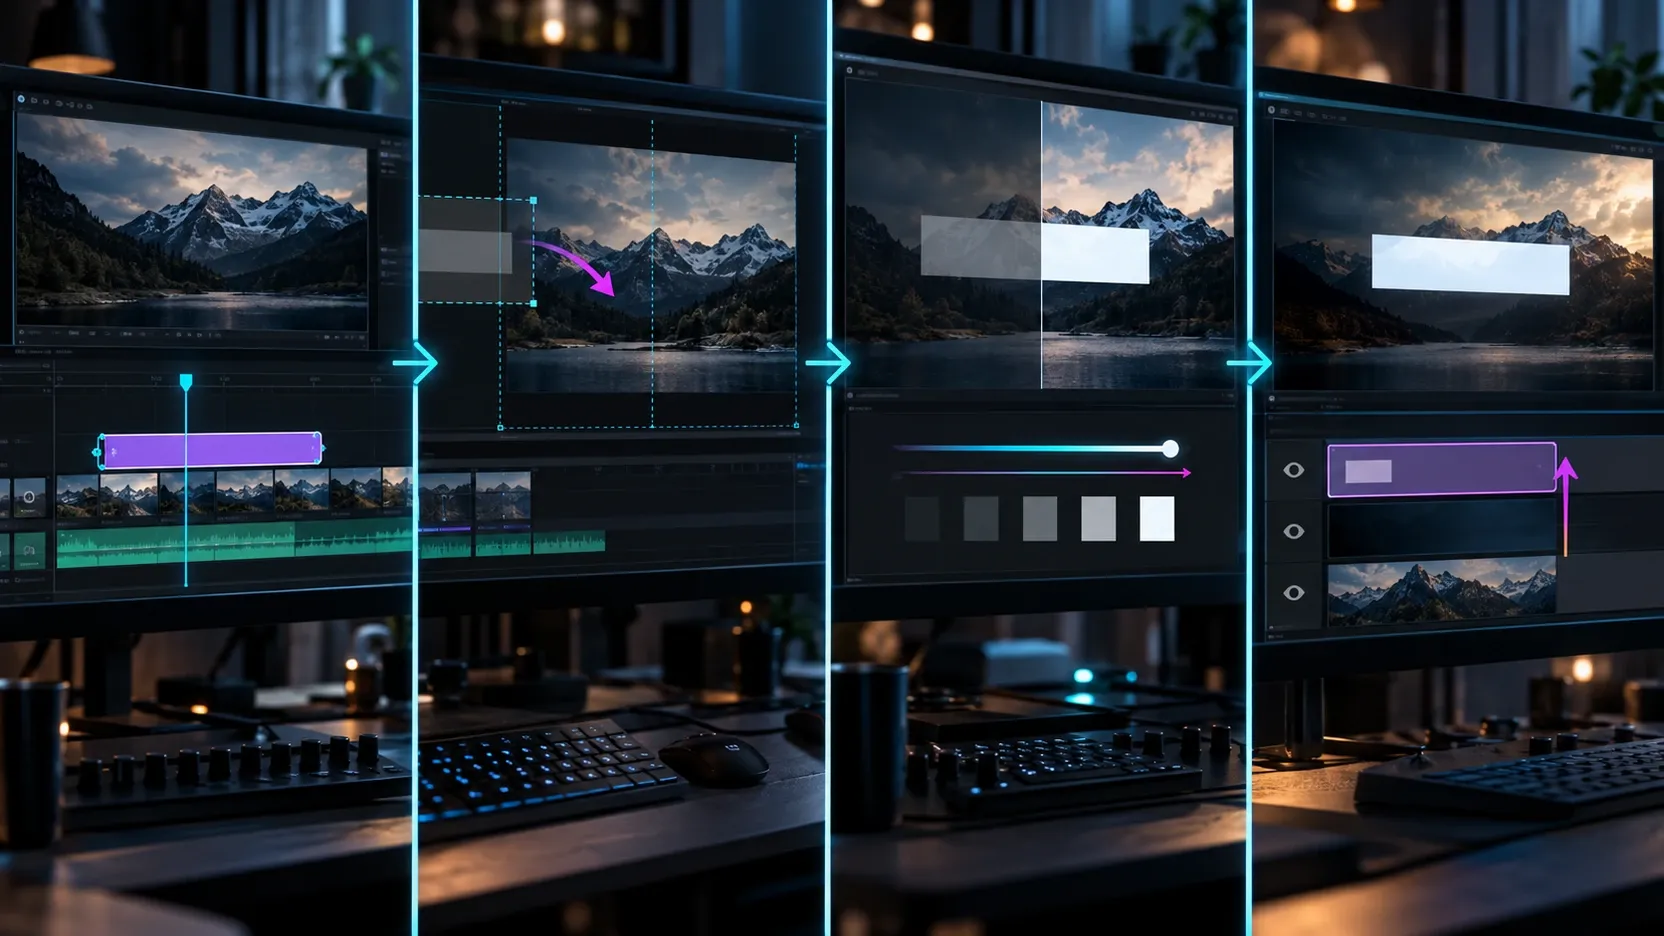
CapCut's own text-not-appearing guidance lists covered layers, playhead position, background color, low opacity and temporary rendering problems among the common causes. A second official page adds position, size and entry animation to the checklist in its text display instructions. Those checks are the fastest place to start because they work on the text layer that already exists.
Protect the project before changing anything
Missing text rarely calls for destructive troubleshooting. Take a minute to create a safe test environment:
- Duplicate the project and give the copy a clear name such as
Text visibility test. - Keep the original source media and fonts where they are. Moving files while diagnosing can add offline-media errors to the same project.
- Record the platform and full CapCut version. “Latest” is not specific enough when different devices receive builds at different times.
- Save one reference frame or short preview if the correct text appears anywhere. It gives you a visual target for position, style and timing.
- Avoid clearing app data or uninstalling CapCut until local projects and required assets are protected.
A project duplicate is useful for experiments, but it still lives inside the same app environment. If the edit matters, follow the site's CapCut project backup guide before a reset or reinstall.
1. Put the playhead inside the text clip
A text layer can exist and still be inactive at the frame you are viewing. Zoom into the timeline, select the text clip and compare three positions:
- the clip's start edge;
- the current playhead;
- the clip's end edge.
The playhead must sit between the two clip edges. If it is before the start or after the end, the preview is correctly showing no text. Drag the text clip to the intended moment or extend its handles so it covers the full section where the title should remain visible.
Look for accidental trimming. A long sentence can be attached to a text clip that lasts only a few frames. At normal timeline zoom, the layer may look like a thin line and be easy to miss. Zooming in often reveals that the text was shortened rather than deleted.
Entry and exit animations also consume part of the active duration. A long fade or slide can keep the title nearly invisible near the clip boundary. Move the playhead to the middle of the clip. If the text appears there, shorten or remove the animation while you set the timing. For caption timing problems that affect many segments, use the caption timing guide rather than dragging every block at random.
2. Bring the text back onto the canvas
Select the text clip, then inspect the preview for its bounding box or transform controls. The layer may be above the timeline and fully opaque while its box sits outside the visible frame.
Use these recovery checks:
- center the text temporarily;
- increase the size enough to make it obvious;
- reset excessive scale, rotation or position values where your version offers a reset;
- inspect keyframes that may move the text off-screen;
- check whether a mask or crop affects a compound or grouped element.
Do not perfect the final placement yet. First prove that the layer can appear. A large white title in the center is a good diagnostic state. Once it is visible, restore the intended position, size and color one setting at a time.
Vertical and square projects deserve an extra check. Text placed safely inside a 16:9 landscape canvas can end up beyond the visible area after the project ratio changes to 9:16 or 1:1. Reposition the text for the current canvas instead of relying on the previous coordinates.
3. Reset opacity, color, style and animation
A selected text box can look missing when its glyphs are transparent or blend into the footage. Inspect the text's visual settings and temporarily choose a deliberately obvious style:
- opacity at a clearly visible value;
- white or bright fill over a dark frame, or black fill over a light frame;
- a simple outline or background box;
- normal blend behavior if that control is available;
- no entry, exit or loop animation;
- no effect that distorts, masks or fades the letters.
CapCut's editorial text display checklist specifically recommends checking position, layer order, opacity, size and entry animation. The exact panel name may differ by platform, so follow the property rather than a memorized path from an older tutorial.
If only part of a word is visible, widen the text box and review line spacing, letter spacing and any template frame. A narrow box can clip letters or force an unexpected line break. With stylized text templates, create a separate plain text layer for diagnosis. That keeps a template-specific style failure from looking like a project-wide text failure.
4. Check layer order and anything covering the text
Text may sit behind a full-frame image, overlay, sticker, picture-in-picture clip or another visual element. Place the text above the covering element in the timeline or layer stack. Then preview the same frame again.
Layer order is easiest to diagnose with a controlled change:
- Select the missing text layer.
- Move it to the highest visible track temporarily.
- Hide or disable the suspected covering element in the duplicate project.
- Check the preview at the same timestamp.
- Restore the correct stack once the covering layer is identified.
Avoid deleting several overlays at once. If the text returns, you will not know which change fixed it. The official CapCut text visibility page identifies clips, stickers and overlays as elements that can cover text.
5. Confirm that you selected the text layer itself
CapCut changes the available controls according to the selected timeline item. A video clip, sticker, caption group and manual text layer can expose different panels. Before changing font or opacity, confirm that the actual text clip is selected.
If the text came from a template, inspect whether the template created a group, compound clip or separate editable text item. A visible template shell with an empty text field needs a different fix from a complete text layer hidden behind footage.
When the layer no longer exists, add a temporary plain title. The site's guide to adding text in CapCut covers the current Mobile, Desktop and Web workflows. If the new title appears, the canvas and basic text renderer still work; the fault is narrowed to the old layer, style or project state.
Manual text and auto captions are different branches
Manual text starts with a title or text box you create and place. Auto captions start with speech recognition and produce a caption track. The final letters may look similar, but the failure can happen at different stages.
If manual titles are missing
Use the five checks above on the existing clip. Then create one new plain title in the duplicate project. Keep it short, use a built-in font, place it in the center and leave animations off.
- If the new title appears, rebuild or simplify the original text layer.
- If the new title also disappears, test a blank project to separate project trouble from an app-wide problem.
- If the text appears in preview and fails only after export, move to the export branch below.
If auto captions are missing
First look for a caption track. If no caption segments were created, the issue begins before text styling. Check the source audio, selected language, selected audio range and whether speech is present and clear enough to process. The CapCut captions troubleshooting guide separates “no speech detected,” a stuck percentage, missing segments and captions that exist but are invisible.
If caption segments exist, select one and apply the same visibility checks used for manual text: active range, position, opacity, size, animation and layer order. A caption-generation problem does not require moving layers that were never created, while an invisible caption track does not improve by regenerating speech repeatedly.
For edits that need a reusable transcript or subtitle file, preserve the caption data before deleting or rebuilding the track. The SRT and TXT export guide explains the platform limits and the difference between burned-in captions and a separate subtitle file.
Test the font without sacrificing the design
A font problem is likely when the text box and timeline clip exist, another font works, or the problem began after moving the project to another device. Custom, downloaded and account-delivered fonts may not be available in every CapCut environment.
Use a duplicate text layer for the test:
- Copy the missing text layer.
- Apply a basic built-in font to the copy.
- Remove font-specific effects and animations.
- Place the copy in the center with high contrast.
- Reopen the duplicate project and make a short export.
If the built-in font appears, keep the original layer untouched while you verify the intended font's availability and download state on that device. A working fallback narrows the problem; it does not prove whether the original font file, account asset, project reference or renderer caused it.
If the font contains unsupported characters, only some letters may disappear or turn into empty boxes. Test the same words with a font that includes the required writing system. When the text is multilingual, check each script rather than assuming that a font supporting English also contains every needed glyph.
Text appears in preview but disappears after export
This branch begins only when the editor preview is correct. Do not repeat canvas-position fixes that already passed. Create a controlled export from the duplicate project:
- Choose a five- to ten-second section where the text should be visible.
- Add one plain text layer with a built-in font above the footage.
- Remove text animations and effects for the test.
- Export that short range using a normal local video export.
- Play the actual exported file in a separate video player.
If the plain text exports correctly, the original style, font, template, effect or layer combination is the useful next target. Restore one feature at a time until the failure returns. If the plain layer also disappears, create the same small test in a blank project. That separates one damaged timeline from a broader export problem.
Check the exported local file before judging an upload to TikTok, Instagram, YouTube or a messaging app. A platform preview, recompressed upload or wrong file selection can create a second problem after CapCut finishes exporting. The CapCut export quality guide explains how to compare source, editor preview, local export and posted result as separate stages.

One project fails, or every project fails?
This scope check determines how wide the fix should be.
Only one project fails
Duplicate it and rebuild one affected text layer. If a new plain title works, the installation still renders text. Inspect the original layer's style, font, keyframes, group, template and stacking. If failures start at one timestamp, note the nearby effect, transition, overlay or compound clip.
Keep the original project unchanged. Replacing a bad text layer in a copy is safer than resetting the whole application around one damaged element.
Every project fails
Create a blank project with a color background and one plain title. If text is absent there too, record the platform, version and account, restart CapCut or the browser, and use the official update channel for that platform when an update is available. Web users can refresh the project after saving and check the same account in a supported browser.
If the failure began immediately after an interface or version change, the CapCut after-update guide helps distinguish a moved control, gated feature, account problem and project damage before any rollback decision.
Platform notes for Mobile, Desktop and Web
The diagnostic order stays the same, while the interface changes.
Mobile: Select the text segment in the timeline before looking for style, animation or duration controls. Check that the text is inside the vertical or square frame and that the clip lasts through the intended moment. Avoid clearing app data while local drafts are unprotected.
Desktop: Use the expanded timeline to compare tracks and clip boundaries. Check the text inspector, transform values, keyframes and font availability. A short local export is especially useful because it separates preview behavior from the final rendered file.
Web: Confirm that the project has finished saving before refreshing. Check browser zoom only as a workspace issue; it should not change the exported text itself. If the selected layer is correct and visibility checks pass, reopen the project in the same account before changing browsers or clearing site data.
What to send CapCut support
CapCut's two official text pages direct users to support when the basic checks fail. A useful report gives support a reproducible boundary:
- Mobile, Desktop or Web;
- operating system and device;
- full CapCut version;
- project aspect ratio;
- manual text, text template or auto captions;
- built-in or custom/downloaded font;
- whether the layer appears in the editor preview;
- whether it appears in a short local export;
- whether a blank project shows the same failure;
- the timestamp where the text should appear;
- a screenshot showing the selected text clip, playhead and preview without exposing private material.
That evidence is much more useful than “my text is gone.” It also tells you whether a workaround fixed visibility while the underlying issue remains.
Safe order of operations
Use this sequence from least disruptive to most disruptive:
- Duplicate the project.
- Select the existing text clip and move the playhead into its active range.
- Center and enlarge the text; set clear opacity and contrast.
- Remove the text animation temporarily.
- Move the text above covering layers.
- Add a new plain title with a built-in font.
- Separate manual text from auto-caption generation.
- Make a short local export and inspect the actual file.
- Test one blank project to measure the scope.
- Restart or update through the official platform channel after protecting local work.
- Send CapCut support the exact project, version and export evidence if the failure persists.
For other editor failures, use the CapCut fixes hub and choose the symptom that matches what you can observe. The fastest repair comes from narrowing the failure to one stage: timeline, canvas, caption generation, font, project or export.