

A CapCut slow motion template is useful when you already like the edit's music, cuts and timing. You replace its media slots and keep the structure. If you need the slowdown to begin on one exact step, jump or product reveal, start a normal project and use Speed or Curve instead.
Quick answer: Open Templates, search for slow motion, preview the clip count and duration, then choose Use template. Replace every placeholder, check the crop and export a short test. CapCut's current instructions cover this workflow on Web, PC and Mobile, although the catalog can still vary by region, account and rollout.
If you came here for live template links rather than editing technique, start with our current CapCut trending templates page. This guide focuses on choosing a workable template, fixing choppy motion and knowing when manual speed control will give you a better result.
CapCut Slow Motion Template vs Manual Slow Motion
The choice is about control, not quality. Either route can look smooth or choppy. The result still depends on the footage, the amount of slowdown and any frame interpolation CapCut applies.
| Choose | Best when | Main limit |
|---|---|---|
| Slow-motion template | The beat, transitions, clip count and pacing already fit the post | You work inside a prebuilt structure |
| Normal or uniform Speed | An entire clip or split section needs one consistent playback rate | The change can feel abrupt at the cut |
| Speed Curve | The edit should enter slow motion, hold on one moment and return to normal speed | The curve needs careful previewing and a test export |
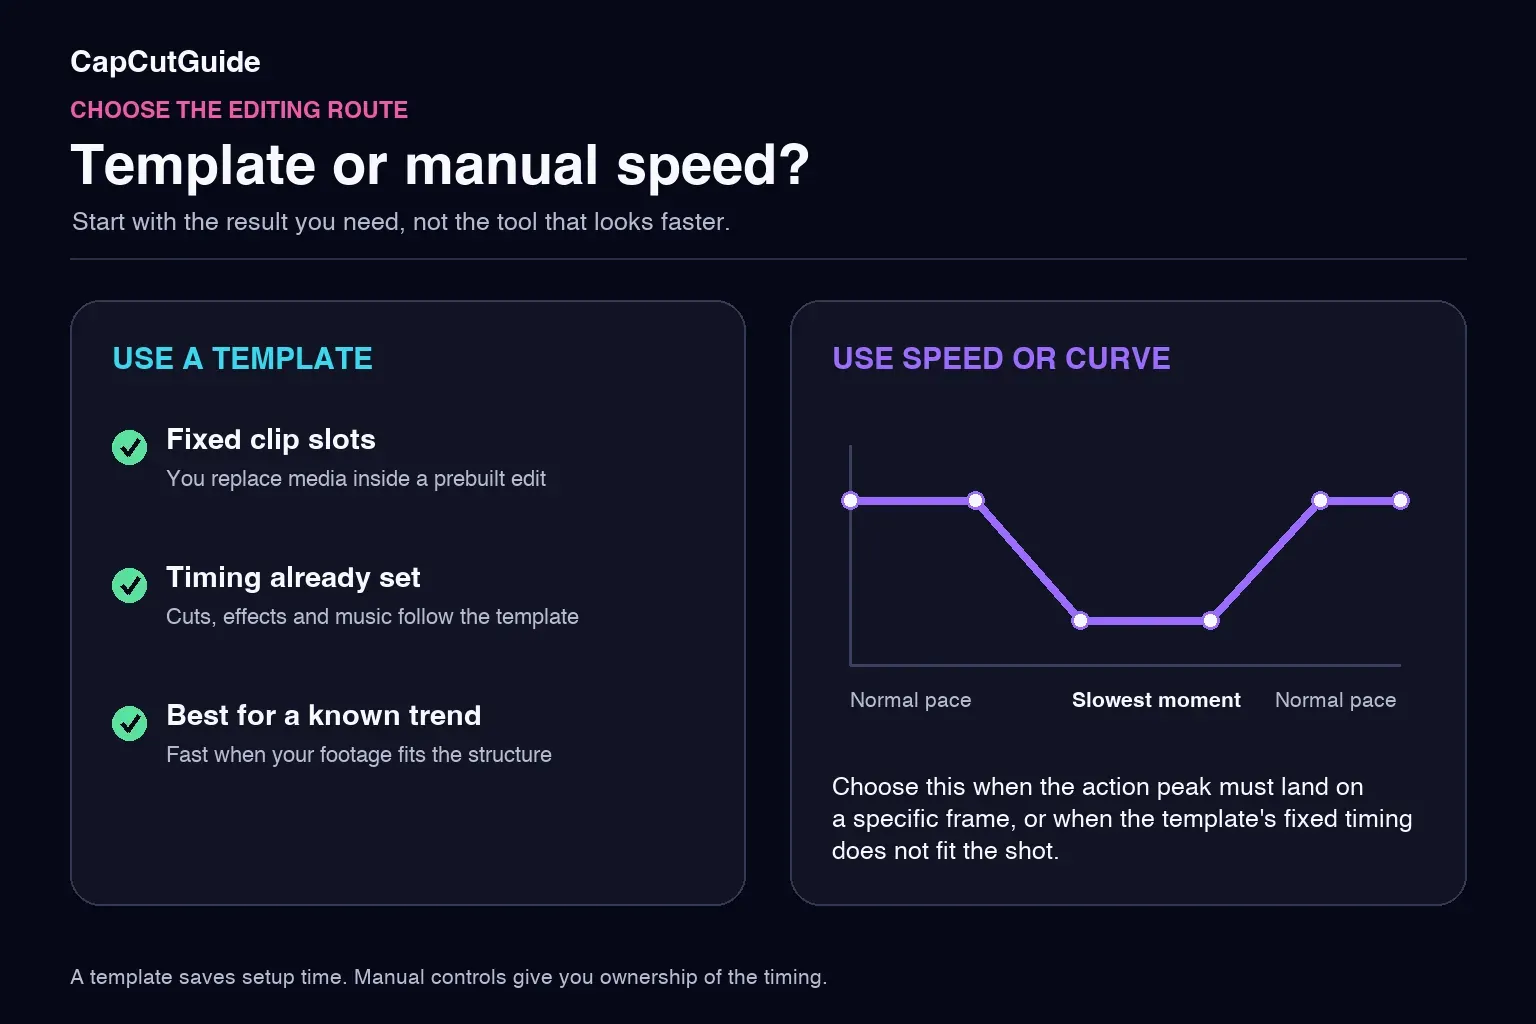
A walking edit, dance montage or familiar audio trend often suits a template. A trick, hand movement or action peak usually benefits from a manual curve because you can place the slowest moment deliberately. For a complete ramping workflow, continue with the CapCut velocity edit guide.
How to Find a CapCut Slow Motion Template
CapCut's help page says templates are available on Mobile, PC and Web. The steps are similar: open Templates, search or browse, choose a result and select Use template. On Mobile, a template shared through TikTok can also open directly in CapCut.
We checked CapCut Desktop 9.2.0 on August 14, 2026 while signed out. Searching slow motion returned a working results grid and a Use template button. That confirms the feature in this build; it doesn't guarantee that every account, region or older installation receives the same catalog.
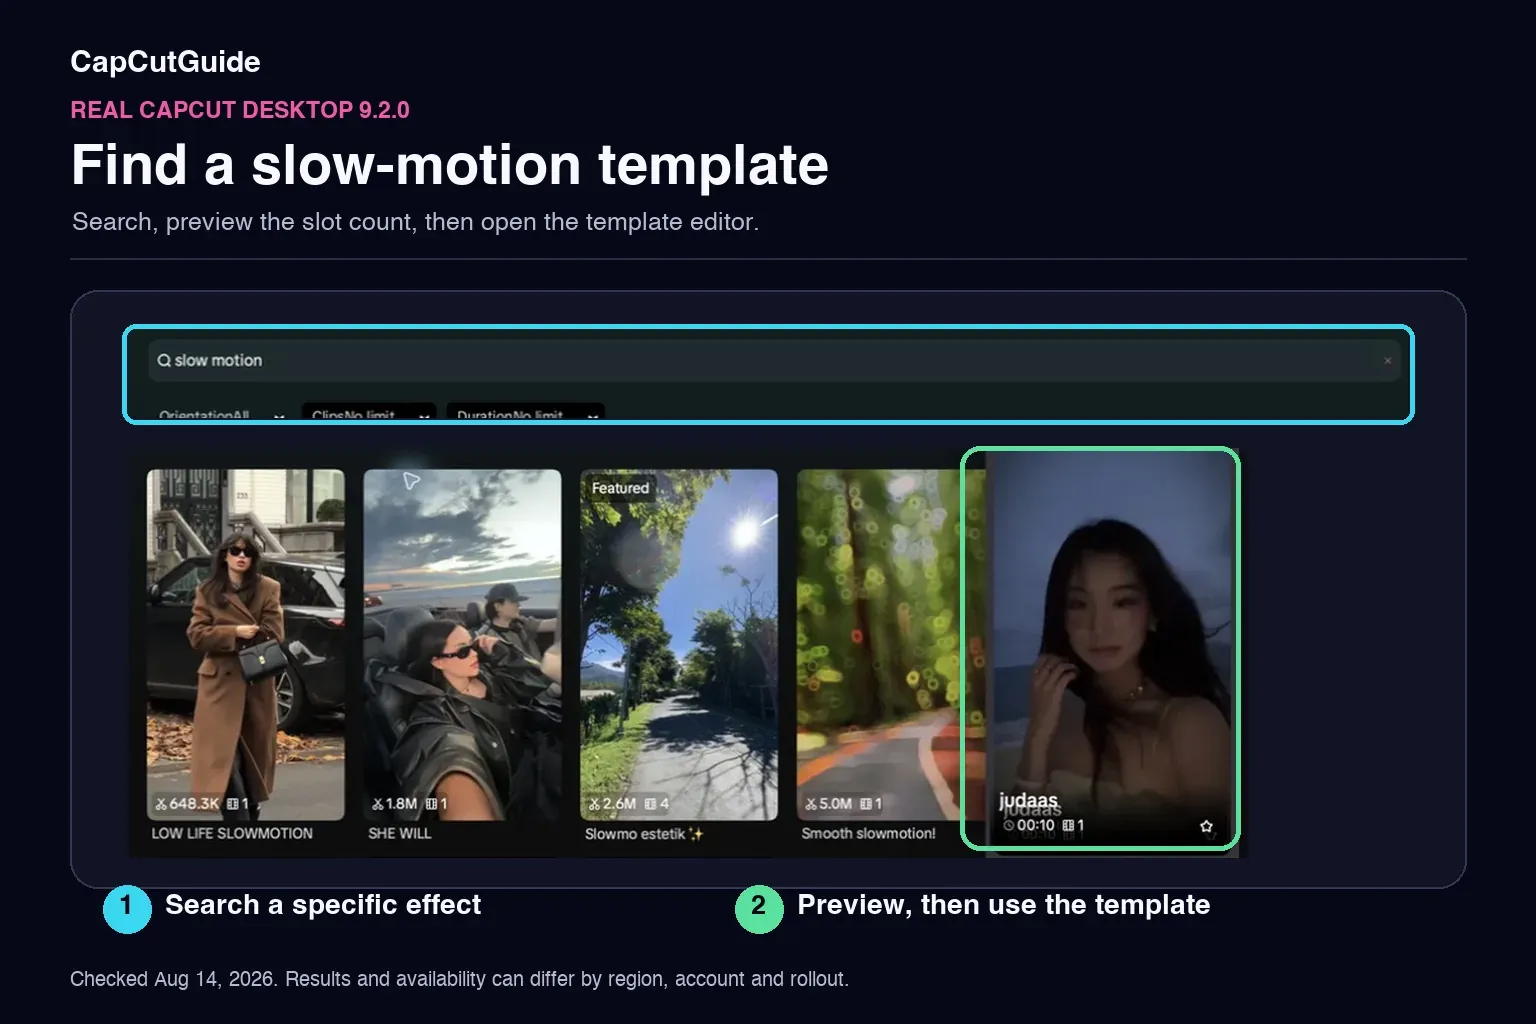
- Search narrowly. Try slow motion, slowmo walk or velocity. A specific action or style produces a more useful shortlist than scrolling the entire catalog.
- Preview the structure. Check the number of clips, total duration, aspect ratio, cuts and audio. A seven-slot template is a poor choice when you have only three usable shots.
- Choose Use template. CapCut opens the template editor or a clip-selection flow, depending on the platform and template.
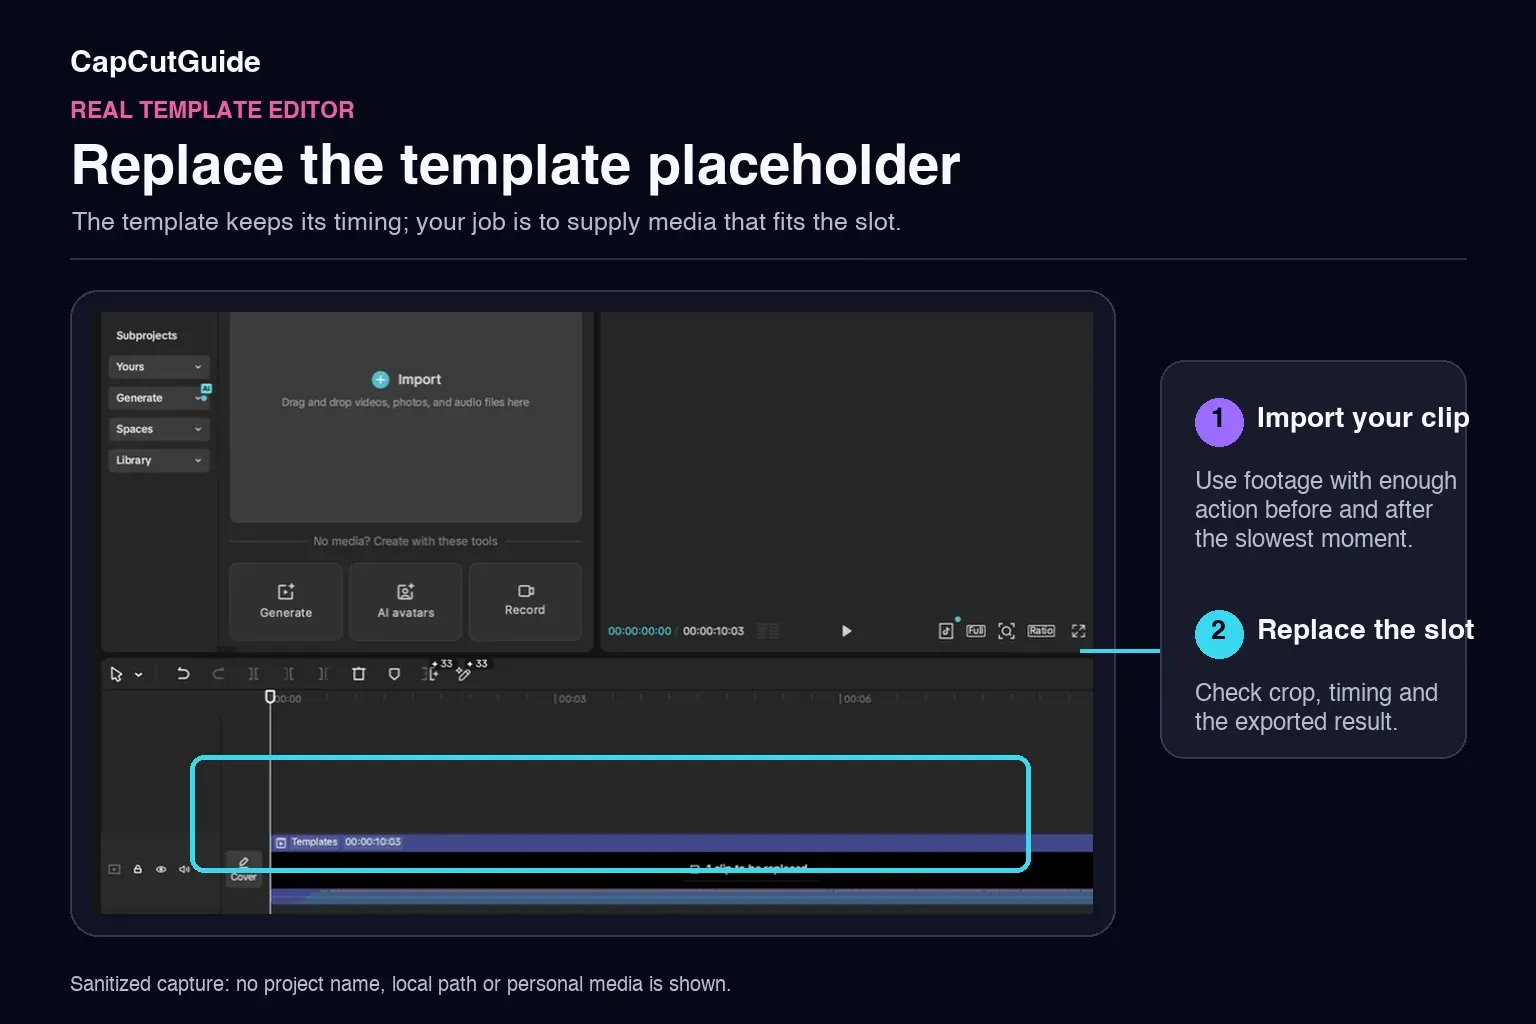
- Replace every placeholder. Pick footage with enough action before and after the moment that slows down. Reframe landscape footage carefully inside a vertical template.
- Test the exported file. Playback inside the editor can lag even when the finished export is fine. Watch a short export outside CapCut before finishing the full post.
If Templates or a Specific Slowmo Template Is Missing
Template availability is dynamic. CapCut lists region restrictions, an outdated app, connection problems and navigation differences among the reasons templates may not appear. A shared result can also stop opening even while the rest of the template library works.
- Confirm the correct section. Look for Templates on the home screen, not inside an ordinary timeline project.
- Update from the official store or desktop installer. Reopen CapCut after the update and search again.
- Check the connection. The catalog loads online. Try a stable connection and restart the app before changing project settings.
- Use the original link on Mobile. If the template came from TikTok, reopen the active Use template in CapCut link.
- Accept catalog differences. Another person may see a template that is not available to your region, account or rollout group. Don't install an unofficial build to chase one result.
CapCut's template troubleshooting page covers the supported recovery steps. If one template remains unavailable, choose a similar current result or rebuild the timing manually rather than risking an existing project.
Why a Slow Motion Template Looks Choppy
“Choppy” can mean four different things: the source contains too few distinct frames, interpolation has created visible artifacts, the editor can't render the preview in real time, or the exported frame rate doesn't suit the timeline. CapCut's current template playback help also points to device load, built-in speed changes and frame-rate mismatch.
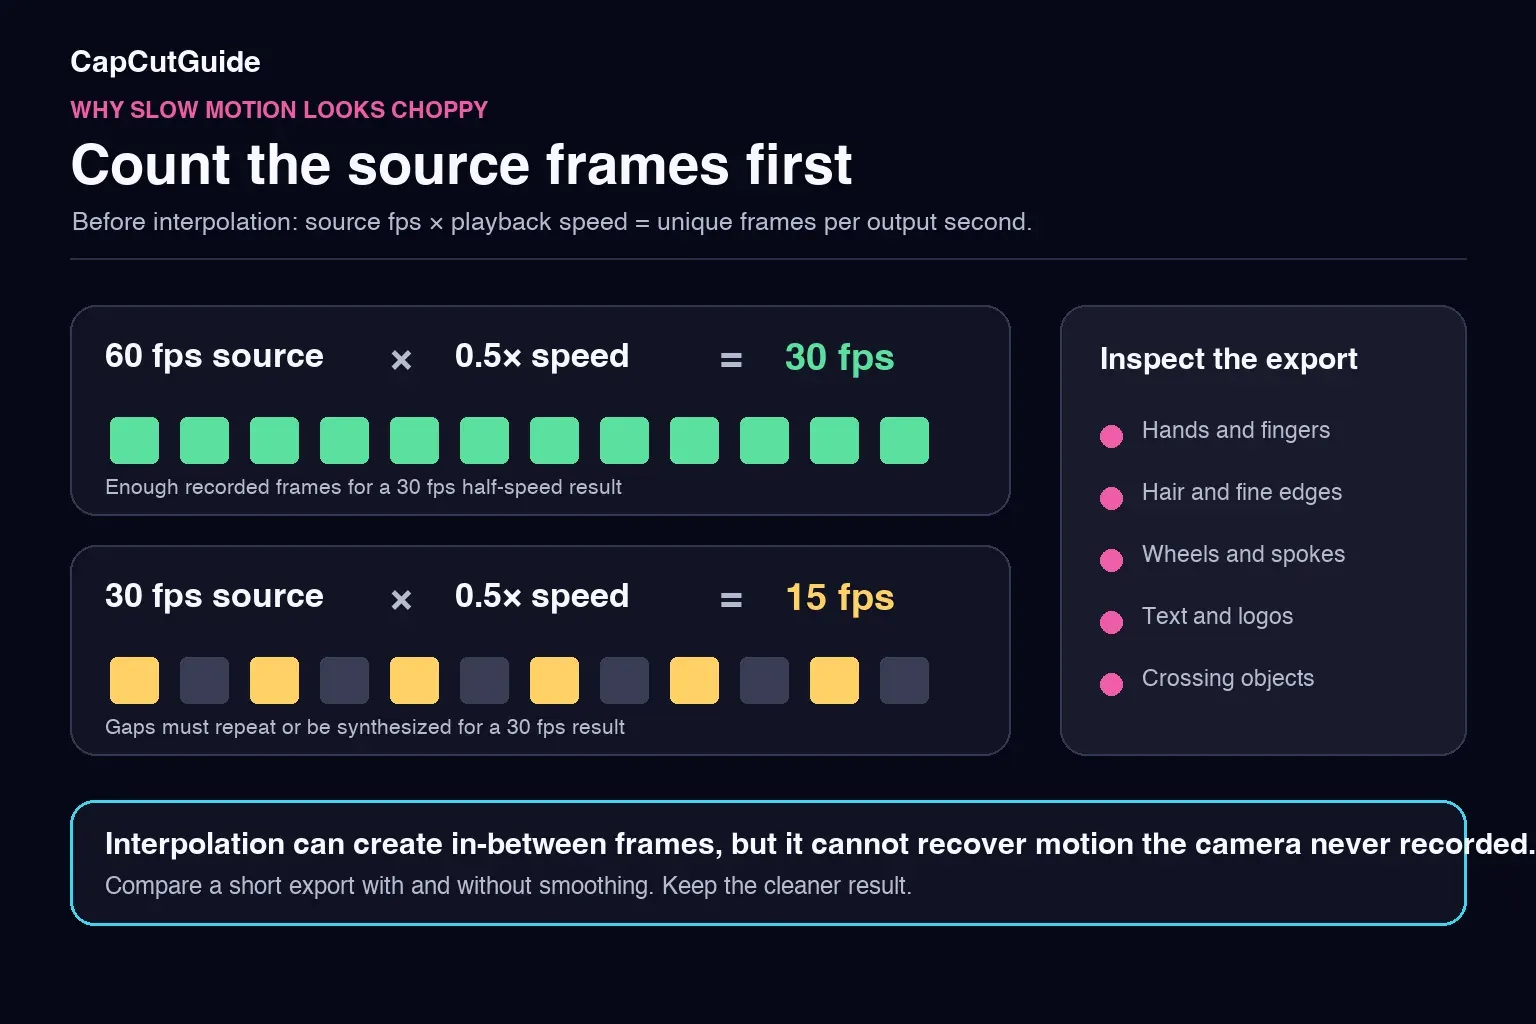
Before interpolation, the rough count of unique frames available for each second of slowed playback is:
source frame rate × playback speed
A 60 fps source at 0.5× provides about 30 distinct source frames for each second of slowed playback. A 30 fps source at the same speed provides about 15. Exporting the second example at 60 fps can repeat or synthesize frames, but it can't recover motion the camera never recorded.
Higher capture frame rates help when slow motion is planned, but they are not a universal camera setting. Light, shutter speed, storage and the intended look still matter. CapCut's frame-rate guide presents 60 and 120 fps as useful choices for action and slow-down work, not mandatory delivery formats.
Use Smooth Slow-Mo or Optical Flow Carefully
Frame interpolation estimates images between recorded frames. CapCut's desktop guide places Smooth slow-mo under Speed after the playback rate is reduced, while a separate optical-flow guide describes generated in-between frames. Exact labels and available modes can change by version.
Interpolation works best when movement is trackable and subjects stay visually separate. It can smear fingers, bend a wheel, duplicate hair, distort text or create halos where objects cross. Inspect the exported file at normal size and then zoom in on those difficult edges.
Don't enable smoothing automatically. If high-frame-rate footage already supports the slowdown, the untreated result may look cleaner. When gaps are obvious, export one short section with smoothing and one without it. Keep the version with fewer visible defects.
Create Manual Slow Motion with Speed and Curve
Move to a normal project when the template slows the wrong moment:
- Import the clip and place it on the timeline.
- Split around the action if only one section should slow down.
- Open Speed. Choose Normal or the uniform control for one rate, or Curve for a rate that changes over time.
- For a curve, keep the beginning near normal speed, lower the curve around the action peak, then bring it back gradually. Use only the control points the shot needs.
- Review audio separately. Dialogue, music and impact sounds often need different treatment after a speed change.
- Export a short range and inspect it outside the editor before repeating the treatment across the project.
CapCut's official slow-motion instructions confirm the Normal, Curve and Smooth slow-mo route on Desktop. Preset names are omitted here because the available set can change. The useful principle remains the same: lower speed around the important action and make the transition gradual enough for the shot.
Choose Export Settings from the Source and Destination
There's no single slow-motion export preset. Keep the resolution appropriate for the source and delivery platform, then choose frame rate from the actual timeline. A project built from 30 fps sources doesn't gain real recorded motion because the Export panel says 60 fps.
If a 60 fps source is played at half speed, a 30 fps timeline can use those recorded frames without needing new in-between images. If the project genuinely targets 60 fps playback, test a 60 fps export and inspect the result rather than assuming the higher number is automatically better.
Use our maintained CapCut export settings guide for TikTok, Reels and Shorts. If rendering stalls, follow the CapCut export failure checklist instead of lowering every setting at once.
Slow Motion Template Quality Checklist
- The clip count, orientation and duration fit the available footage.
- The action peak lands on the intended beat or slowest moment.
- The exported file plays smoothly outside the editor.
- Hands, hair, wheels, text and crossing edges show no obvious interpolation damage.
- Audio still feels intentional after the timing change.
- The output frame rate suits the source, timeline and destination.
- Any Pro badge or export prompt has been reviewed before you commit to the edit.
For the broader discovery and editing workflow, use the CapCut Templates hub. This page stays focused on slow-motion timing and quality rather than duplicating the full template library.
CapCut Slow Motion Template FAQ
How do I find a slow motion template in CapCut?
Open Templates on Mobile, PC or Web and search for slow motion, slowmo walk or velocity. On Mobile, you can also open an active template link shared from TikTok. Results vary by region, account and rollout, so another person may see a different catalog.
Why is the Template tab missing in CapCut?
CapCut lists region restrictions, an outdated app, connection problems and navigation differences among the common causes. Update through an official source, reopen the app and try a stable connection. If Templates still doesn't appear, use manual Speed controls or an official template link available to your platform.
Why does my CapCut slow motion template look choppy?
The source may contain too few frames for the slowdown, the preview may be struggling with effects, the template may already change clip speed, or interpolation may be creating artifacts. Export a short test and inspect it outside CapCut before changing the whole project.
Can I use CapCut slow motion templates on desktop?
Yes, current CapCut help documents Templates and Use template on PC. We also verified working search results in CapCut Desktop 9.2.0 on August 14, 2026. Availability can still differ by region, account, version and individual template.
Is manual slow motion better than a template?
It is better when one exact moment must slow down or when you need to control the ramp. A template is faster when its pacing, clip slots, effects and music already match the intended post. Neither method repairs weak source footage automatically.
Should I export every slow motion video at 60 fps?
No. Choose output frame rate from the source, timeline and destination. A 60 fps source slowed to half speed contains enough distinct frames for a 30 fps result before interpolation; exporting at 60 fps doesn't create missing recorded motion.
Is Smooth Slow-Mo or optical flow always required?
No. Interpolation can help when slowing a clip creates visible gaps, but it can also distort hands, hair, wheels, text and crossing objects. Compare a short export with and without smoothing and keep the cleaner result.