

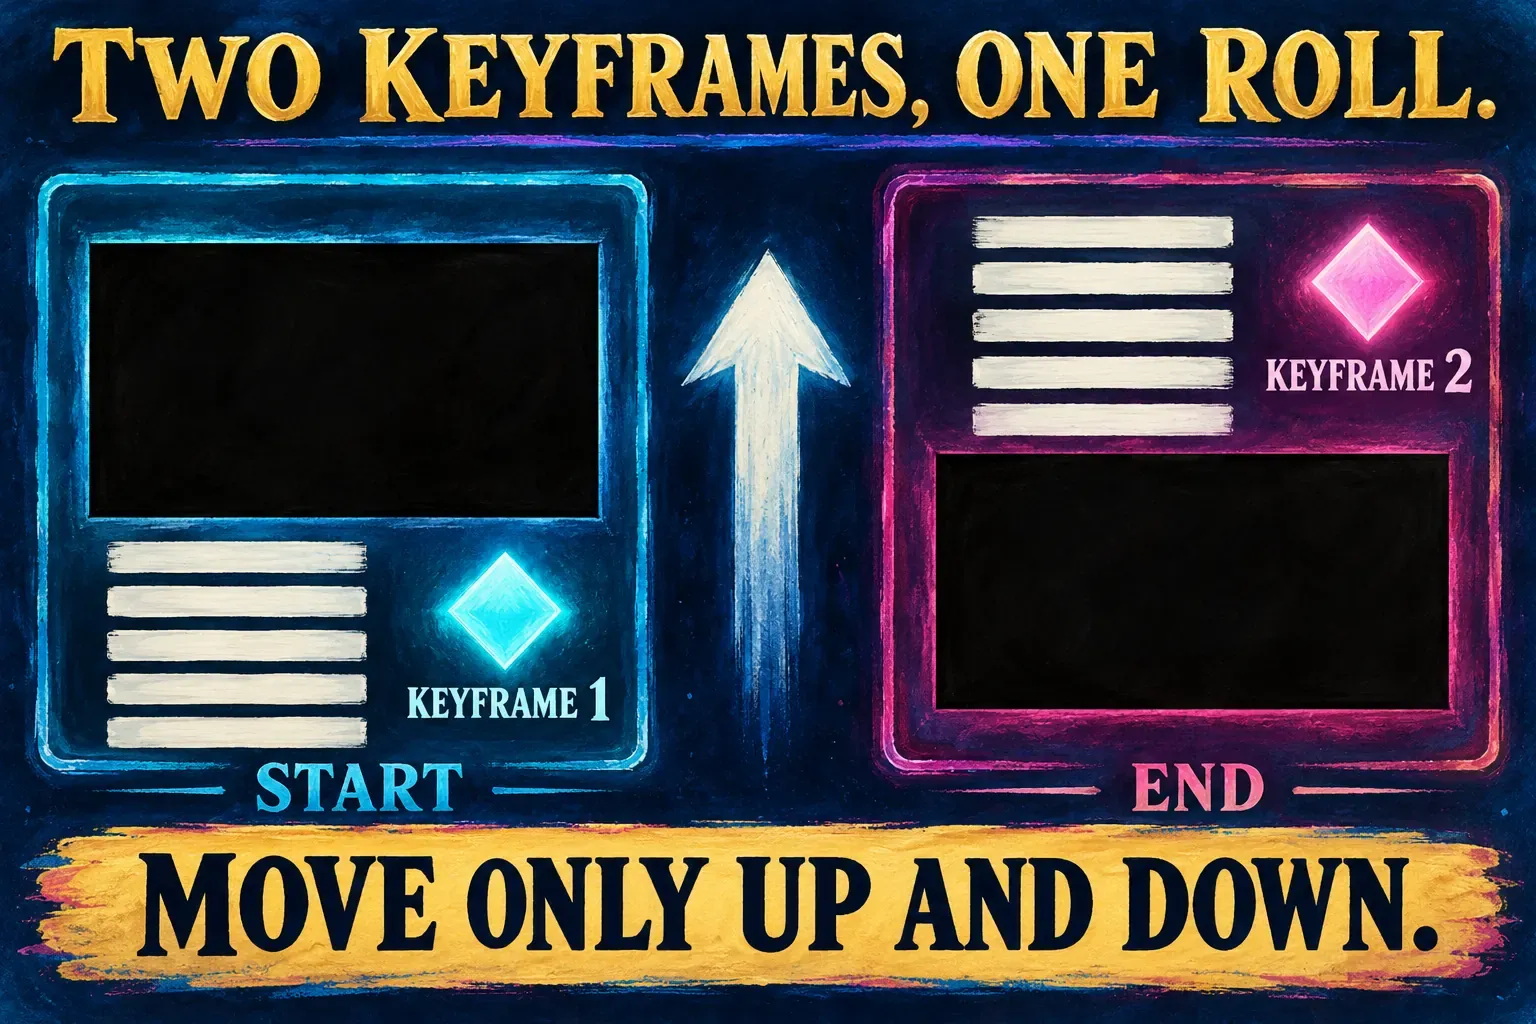
To make end credits in CapCut, put every credit in one text block, then set two Position keyframes: one at the start with the text below the frame, one at the end with the last line above the top. CapCut fills in the motion between them, so the block rolls up once like movie credits. Start with roughly one second for every three words, then check the saved roll at its intended viewing size and lengthen it until the names are readable. Run it over black or your final shot.
The steps are the same in CapCut for Windows and Mac, and the phone app works the same way with a keyframe button above the timeline. CapCut also offers a Loop text animation called Scrolling and ready-made credits templates. Both have their uses, and I'll show where each one fits.
Make rolling credits on Windows or Mac
- Place the playhead where the credits start. That's usually the end of your last shot, or a few seconds before it if the names should roll over the picture.
- Add one text block. Open Text in the top-left panel and add the default text, then drag it onto a track at the end of the timeline. Type each credit on its own line, role first, then the name. Our guide to adding text in CapCut covers the text panel if it looks different in your build.
- Style it before you animate it. Pick the font, size, color and alignment now, because changing the size later changes how far the block has to travel. Centered lines in a plain sans serif read best in motion, and the CapCut fonts I'd pick for captions work for credits too.
- Set the length of the roll. Drag the right edge of the text clip until it lasts as long as the credits should run. Use the speed section below for a starting estimate, then check the saved result.
- Set the first keyframe. Move the playhead to the first frame of the text clip. In the preview, drag the block straight down until the first line sits just below the bottom edge. Then click the diamond beside Position in the right-hand panel.
- Set the second keyframe. Move the playhead to the last frame of the text clip and drag the block straight up until the last line has cleared the top. CapCut adds the second keyframe as soon as you change the position, which its keyframe animation page describes, and fills in the motion between the two.
- Play it from the start. The names should rise at one steady pace, and the screen should be empty of text when the clip ends.
That's the same route WebPro Education's scrolling credits tutorial lists in its description: default text at the end, drag it down, add a Position keyframe at the start, then move the playhead and the text. CapCut's own credits maker page gives the same advice in its three steps: to make the scrolling effect, apply keyframes to the credits text.
If Position shows separate X and Y values, change only Y between the two keyframes. The block then can't drift sideways while it rolls. For the general mechanics, such as moving, copying or deleting a keyframe, see how keyframes work in CapCut.
How fast should credits roll?
Divide the number of words by 3 for an initial duration estimate in seconds. The BBC recommends 160 to 180 words per minute for subtitles, but that guidance does not establish a minimum readable speed for moving end credits. Font size, line spacing, travel distance and viewing size all change the result. I would try words divided by 2.5 as a slower starting point, then judge the saved roll rather than the formula.
| Your credits | Words (about 3 a line) | Initial estimate | My pick |
|---|---|---|---|
| YouTube outro, 8 lines | 24 | 8 seconds | 10 seconds |
| Short film, 40 lines | 120 | 40 seconds | 48 seconds |
| Long cast and crew list, 100 lines | 300 | 100 seconds | 120 seconds |
Count every word on screen, roles included. CapCut's credits maker gives the same instruction in words: match the speed of the animation to the length of your credits. Watch the exported video at the size your audience will see, without pausing. Read the first line, the longest line and the last line. If any passes too quickly, extend the text clip and move the ending keyframe later; recheck the saved result. Shorten the roll only while those lines remain comfortable to read.
Keep the speed constant. CapCut's guide to adding keyframes suggests Ease In and Ease Out to smooth transitions, and its keyframe animation page pairs keyframes with a speed curve for acceleration and deceleration. That suits a title that glides into place. On a credit roll it makes the first and last names crawl while the middle rushes past. If your build shows easing or a graph for the keyframes, I'd leave it on a straight, linear setting.
Loop > Scrolling: when the preset is enough
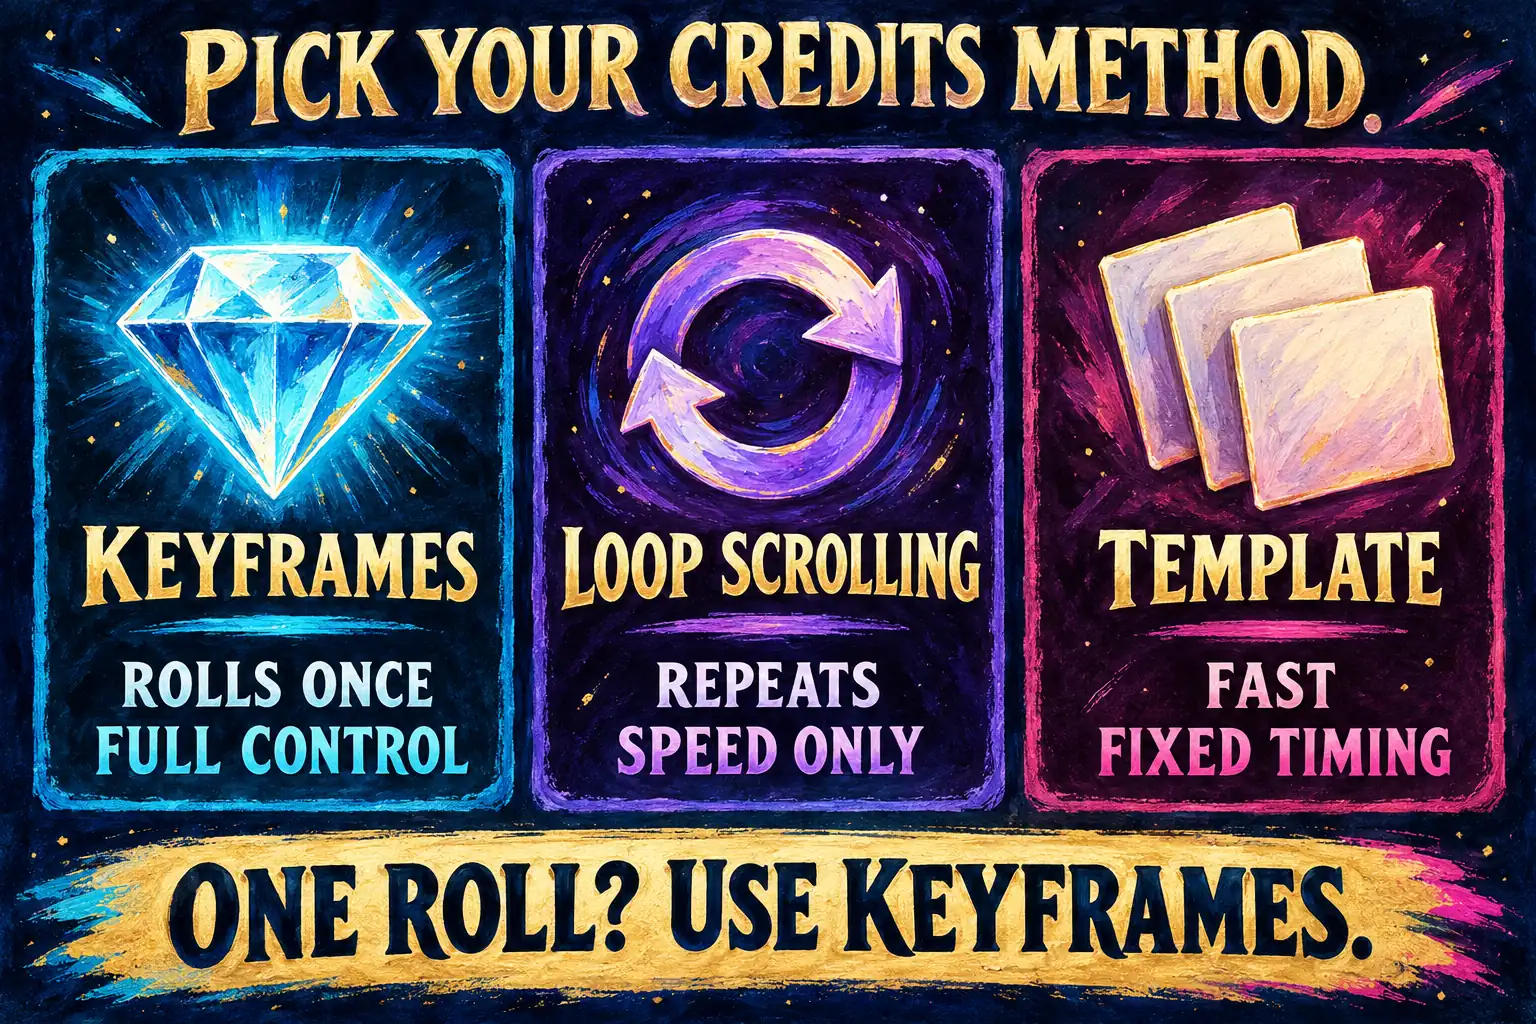
CapCut's guide to videos with scrolling text uses a different route. Select the text in the timeline, open Animations, choose Loop and pick Scrolling, then adjust the speed. On the phone it's the same: Animations, Loop, then the scrolling effect. The same guide suggests a slow speed for lyrics and a fast one for tickers.
CapCut's text animation overview lists Loop as its own group beside In and Out, and as our CapCut text animation guide explains, a Loop repeats while the layer stays visible. That's right for a ticker or one line that keeps moving. For credits that start below the frame and finish above it exactly once, I'd use keyframes, because you decide where the roll starts, where it ends and how long it takes.
| Method | Best for | What you control | Watch out for |
|---|---|---|---|
| Two Position keyframes | Credits that roll once | Start, end and duration | Setting the second keyframe at the clip's last frame |
| Loop > Scrolling | Tickers, a repeating line | Speed | It repeats while the clip is visible |
| Credits template | A quick styled outro | Text and media slots | Some template elements don't take keyframes |
Start from a credits template
CapCut's ending credits template gallery lists designs such as "The end credits", "theend Film" and "Outro Credits". To find them in the app, search for "end credits" in the template section. CapCut's template search help puts it under Template at the bottom of the phone app and under the Templates tab on PC and web, then Use Template, and notes that if the Template button is missing, the feature isn't available for your version or device yet. Our CapCut templates guide covers replacing media and text, and CapCut templates not working helps when the search comes up empty.
A template is quick when the design fits. If you need to change its timing, CapCut's keyframe help for PC warns that some template elements and grouped clips don't allow keyframe animation. In that case I'd rebuild the roll as plain text with two keyframes rather than fight the template. For the opening of the same video, CapCut intro templates are the matching set.
Make rolling credits on iPhone or Android
- Tap Text in the bottom toolbar, then Add text, type the credits with one line each, and confirm.
- With the text selected, move the playhead to the start of the text clip.
- Drag the text down with one finger until the first line sits below the frame, then tap the keyframe diamond above the timeline.
- Move the playhead to the end of the text clip and drag the text up until the last line clears the top. A second keyframe appears.
- Play it back and check the speed with the same divide-by-3 rule.
Drag with one finger only. Our keyframes guide points out that a pinch on the phone can change Scale and Position together, and a roll that grows as it moves looks like a mistake. On a vertical video for Shorts or TikTok, keep the names in the middle of the frame where the app buttons won't cover them; CapCut for YouTube Shorts has a section on the safe zone.
Background, music and the last seconds
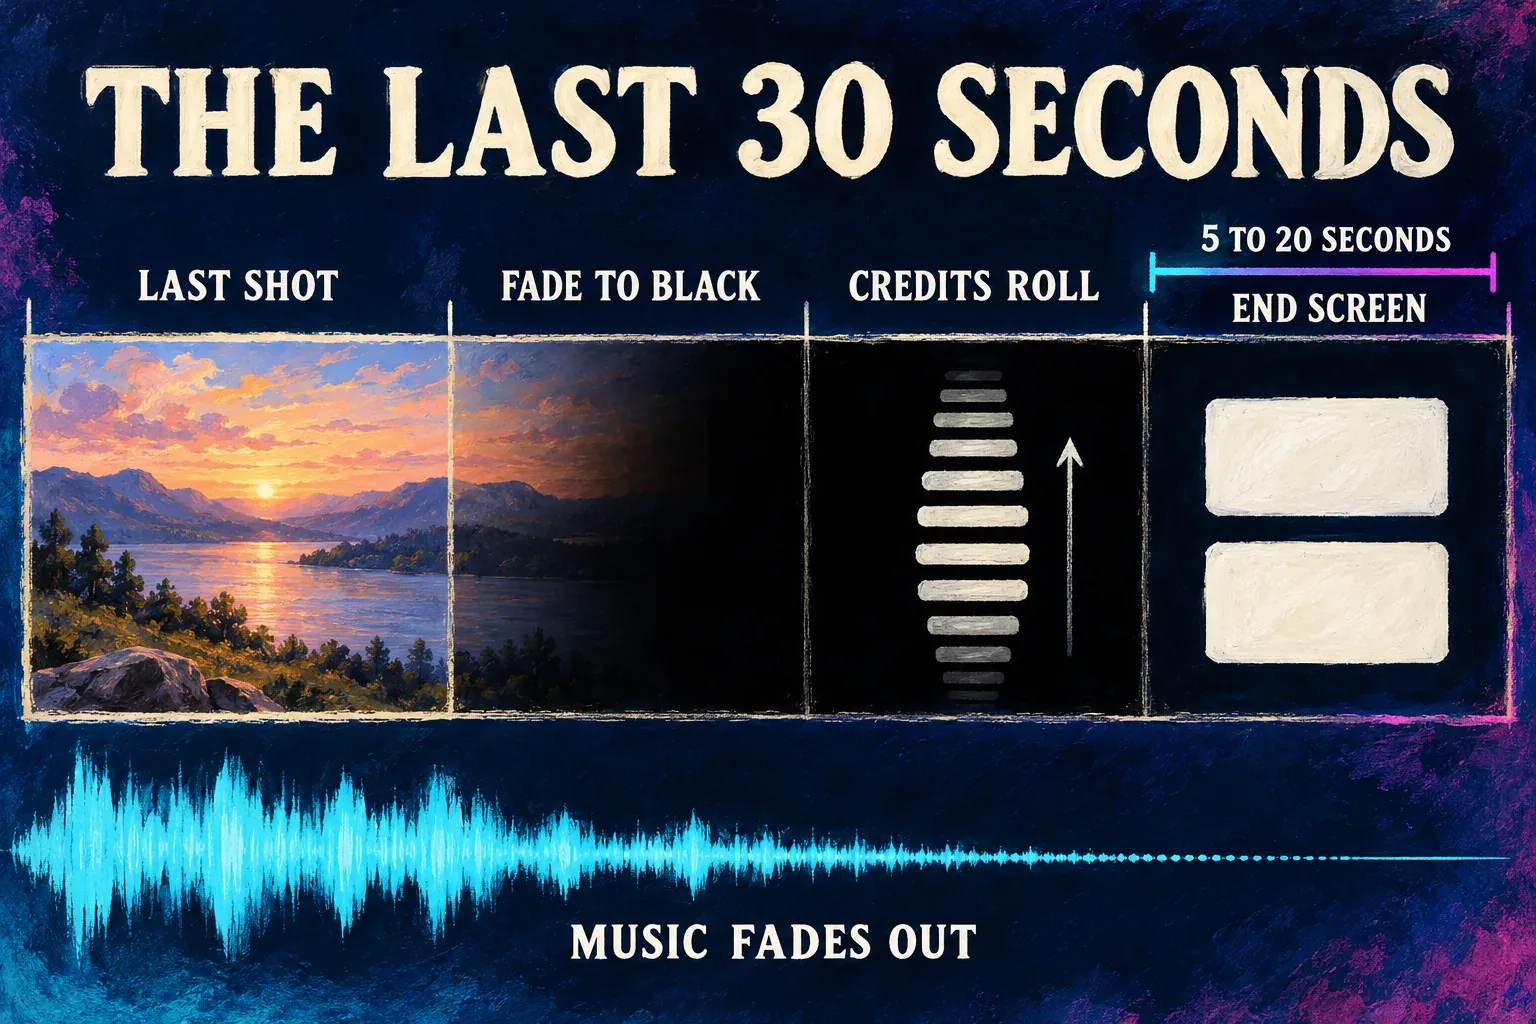
Black or picture? Movie-style credits usually run over black. Put a black image or clip on the main track under the text for the whole roll; our guide to fading video to black explains why a transparent end isn't the same as black. If the names roll over your final shot, put a dark full-frame layer between the shot and the text so the names stay readable; adding an overlay in CapCut explains how upper layers and opacity work.
Music. CapCut's credits maker points to the stock music library for a closing track, and adding music in CapCut walks through it. Before you publish anywhere commercial, check the track's rights with our CapCut commercial use checklist. Then fade the music out as the last line leaves the screen; fading out audio in CapCut shows both platforms.
YouTube end screens. YouTube's end screen help says end screens appear in the last 5 to 20 seconds, the video has to be at least 25 seconds long, and you should plan the last 20 seconds while editing. I'd let the roll finish first and hold a plain background for as long as the end screen runs, because subscribe and video cards placed over moving names cover them.
Keyframe diamond missing?
CapCut's keyframe help for PC names three causes: clip selection, unsupported elements and hidden editing panels. Here's how each one shows up with credits:
- Nothing is selected. The keyframe controls only appear when a video, image or text clip is selected in the timeline. Click the text clip itself, not the empty track.
- It's a template element or a group. Some template elements and grouped clips don't allow keyframes. Replace the text with a standard text clip.
- The panel is hidden or the app is old. Look for Position in the right-hand panel, and update CapCut and restart it if the diamond still isn't there. Our CapCut for PC and CapCut for Mac guides cover the official install and update routes.
If the credits play in the editor but vanish in the exported file, that's a different problem; CapCut text not showing works through timeline range, position, opacity, animation and layer order.
Export without blurry names
Thin text on a moving background is the first thing compression softens. Export at your project's resolution, 1080p or higher, rather than dropping to 720p to save space. CapCut's scrolling text guide goes further and suggests 2K or higher. Our CapCut export settings list frame rate and bitrate for each platform, CapCut export quality helps when the result looks worse than the preview, and YouTube video size gives the dimensions YouTube expects.
What 5 published answers say about rolling credits
The search results for end and rolling credits in CapCut are mostly video: nine YouTube tutorials, a Facebook video and a TikTok, plus a Reddit thread, a Facebook group question and CapCut's own pages. Seven of the nine videos state no method in their title or description. The most watched, Himel 356's rolling credits tutorial at close to 383,000 views, is one of them, and the TikTok sits behind a login. I counted the five sources that state a method in text.
| Method | Sources | Who |
|---|---|---|
| Keyframes that move the text up through the frame | 4 of 5 | WebPro Education, the r/CapCut thread, the CapCut Community group, CapCut's credits maker |
| Loop > Scrolling preset | 1 of 5 | CapCut's scrolling text guide |
| Start from a credits template | 1 of 5 | CapCut's credits maker |
| Smooth the motion with graphs | 1 of 5 | The r/CapCut thread |
Composite result: 4 of 5 move the text with keyframes, CapCut's own credits page among them.
The r/CapCut question on rolling movie credits got "Id use key frames" twice, then the full recipe: add a keyframe, move the text down, go to the end, add another keyframe and move the text all the way up. In the CapCut Community group on Facebook, a member stuck on scrolling credits was told the easiest and best way is keyframes, and after a follow-up video called the earlier attempt a rookie mistake. The one tip I'd skip is playing with graphs, for the speed reason above.
My verdict: one text block, two Position keyframes and linear motion. Use the word-count estimate to start, then set the duration by reading the saved roll at the intended viewing size. Use Loop > Scrolling only when the line should keep repeating, and a template only when its timing already fits.
End credits in CapCut: questions
How do I make credits scroll up in CapCut?
Put the credits in one text block. Set a Position keyframe at the start with the text below the frame, then move to the end of the clip and drag the text above the top. CapCut adds the second keyframe and moves the block between them.
How long should end credits be?
Use words divided by 3 as an initial estimate in seconds, or divide by 2.5 for a slower start. Neither is a readability guarantee for moving credits. Watch the saved roll at the target size without pausing, check its first, longest and last lines, and extend the duration if needed.
Can I make rolling credits on the CapCut phone app?
Yes. Add text, set a keyframe with the diamond above the timeline while the text sits below the frame, then move the playhead to the end and drag the text up. Use one finger so the size doesn't change.
Does CapCut have end credits templates?
Yes. Search "end credits" in the template section of the phone app, PC or web. Some template elements don't accept keyframes, so rebuild the roll as plain text if you need different timing.
Why can't I add a keyframe to my credits?
Select the text clip in the timeline first. Template elements and grouped clips may not allow keyframes, and an outdated app can hide the control, so replace the text or update CapCut.
Why do my credits speed up in the middle?
An ease setting or a speed curve is on the keyframes. Both slow the start and end of the motion, so the middle has to move faster. Set the motion back to a linear, constant speed.