
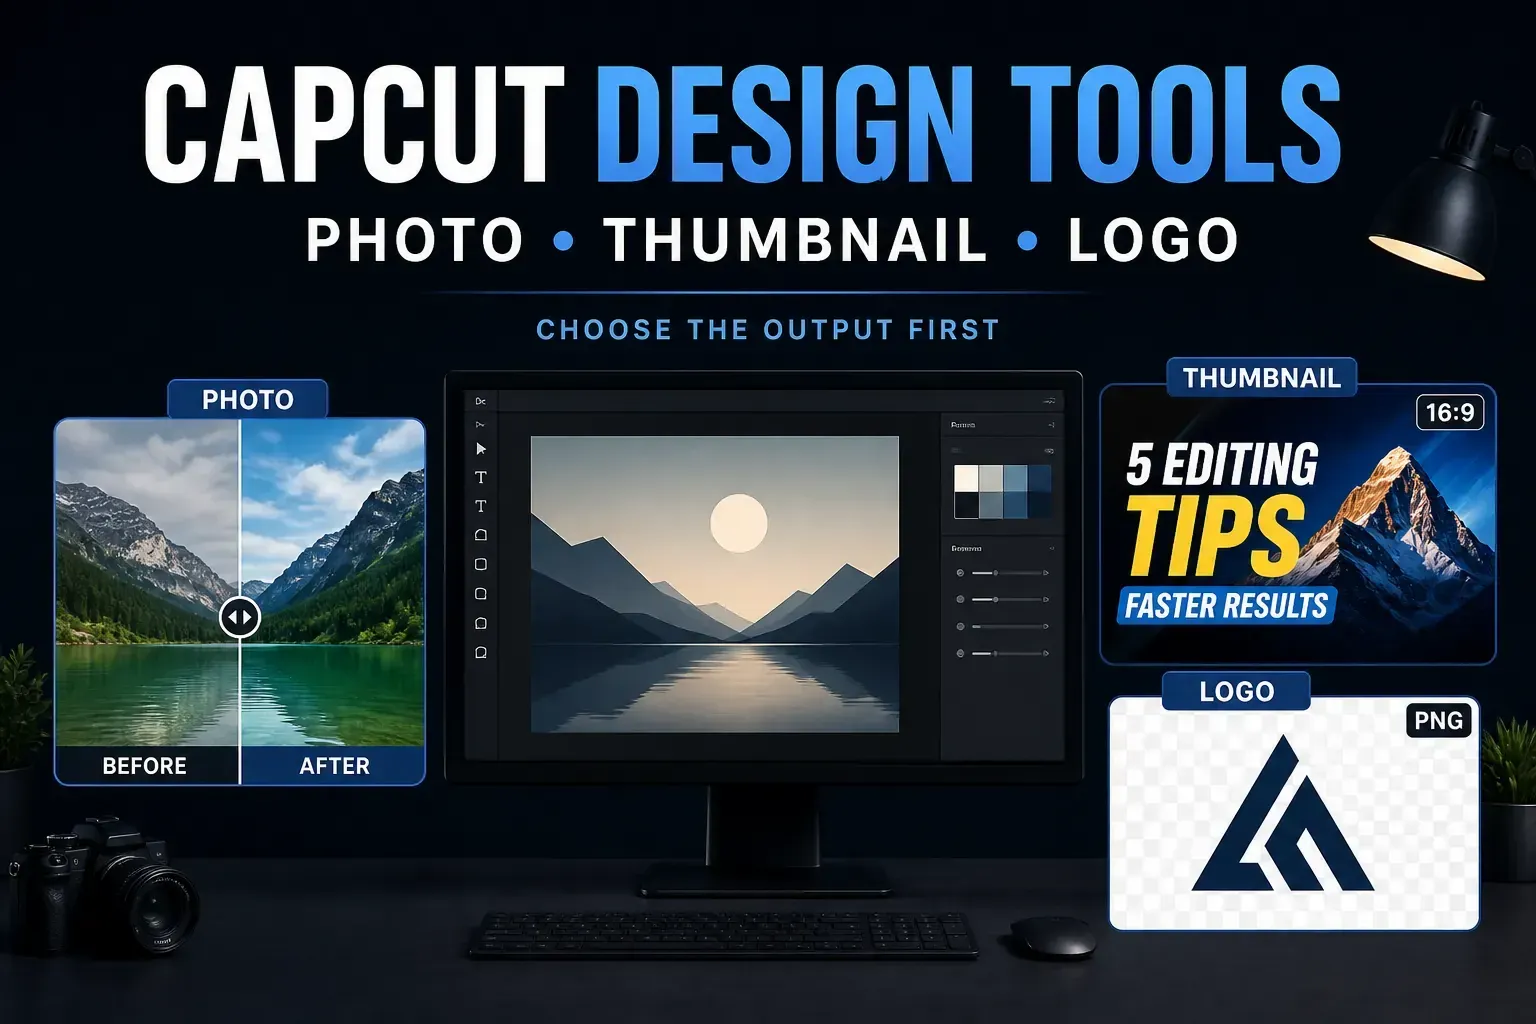
Checked August 29, 2026. CapCut can handle photo edits, social graphics, thumbnails and early logo work, but the fastest route depends on the file you need at the end. Choose the output first; then open the guide built for that job. Tool names, plan gates and regional availability can change, so treat the labels below as signposts rather than permanent menu promises.
Quick answer: start with the photo guide when an existing image is the main subject, the YouTube thumbnail guide when the design has to survive a small video-card preview, and the logo guide when you need a reusable mark with transparent-background and rights checks. Use AI Design or Design Agent to generate directions quickly; use a blank image canvas when exact text, spacing and placement matter.
Choose the output before the tool
CapCut now puts several design surfaces close together. A prompt box can generate artwork, a photo editor can repair or cut out an image, and the video timeline can hold still graphics. Those options overlap, but they don't produce the same working experience or final file.
The cleanest decision is practical: name the deliverable, write down its dimensions and decide whether it must remain editable. A thumbnail needs strong hierarchy at small size. A logo needs a simple silhouette and a transparent version. A photo edit usually needs restrained correction, a believable edge around the subject and the right crop for its destination.
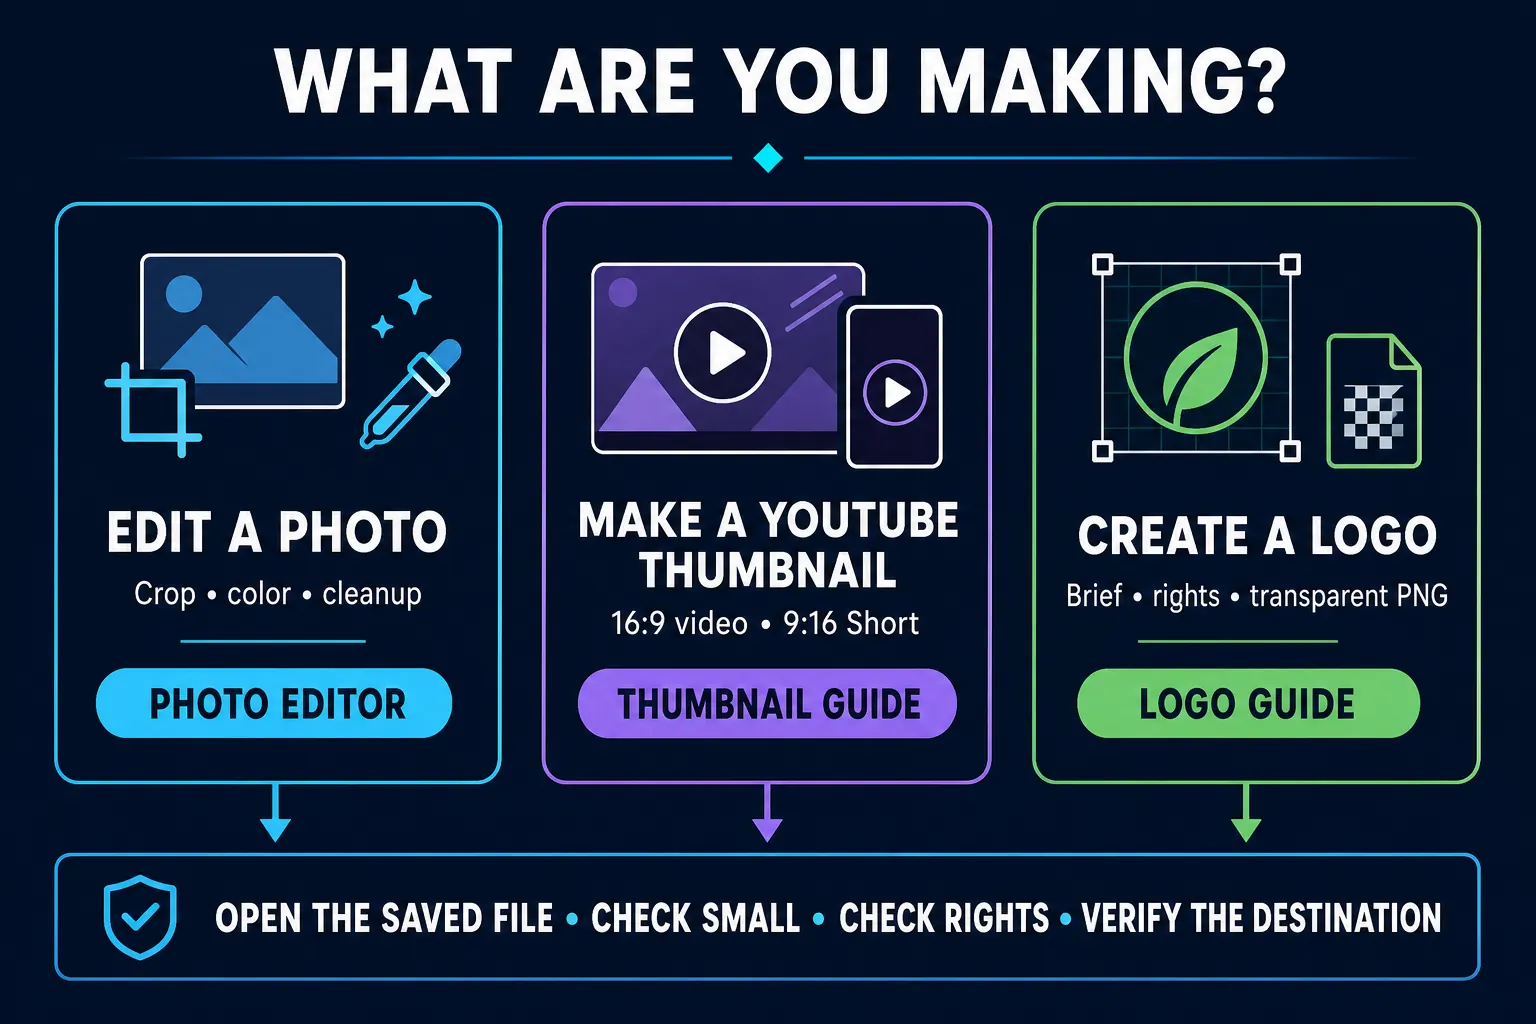
Photo
Use this route for exposure, color, crop, cleanup, cutout or a new background. The exported picture should still look intentional when viewed outside the editor.
YouTube thumbnail
Build for the video card, not the large canvas. Subject separation, short text and safe placement matter more than adding another effect.
Logo concept
Keep the form simple, test it small, create light and dark variants, check every asset's rights and know when a vector master is required.
Start with the guide that owns your task
These three cards are the core of this hub. Each leads to a complete, current workflow with its own research, visual instructions and export checks. There's no second table repeating the same links below them.
CapCut Photo Editor
Choose it for: crop, correction, cutout, background work and a finished image on Mobile, Web or Desktop.
Open the photo workflow →
Make a YouTube Thumbnail
Choose it for: a clickable 16:9 video cover, readable text, upload limits, Shorts caveats and final YouTube checks.
Build the thumbnail →
Make a Logo in CapCut
Choose it for: an AI or manual logo direction, transparent PNG, small-size testing, rights checks and the vector boundary.
Create the logo route →Use the right CapCut workspace
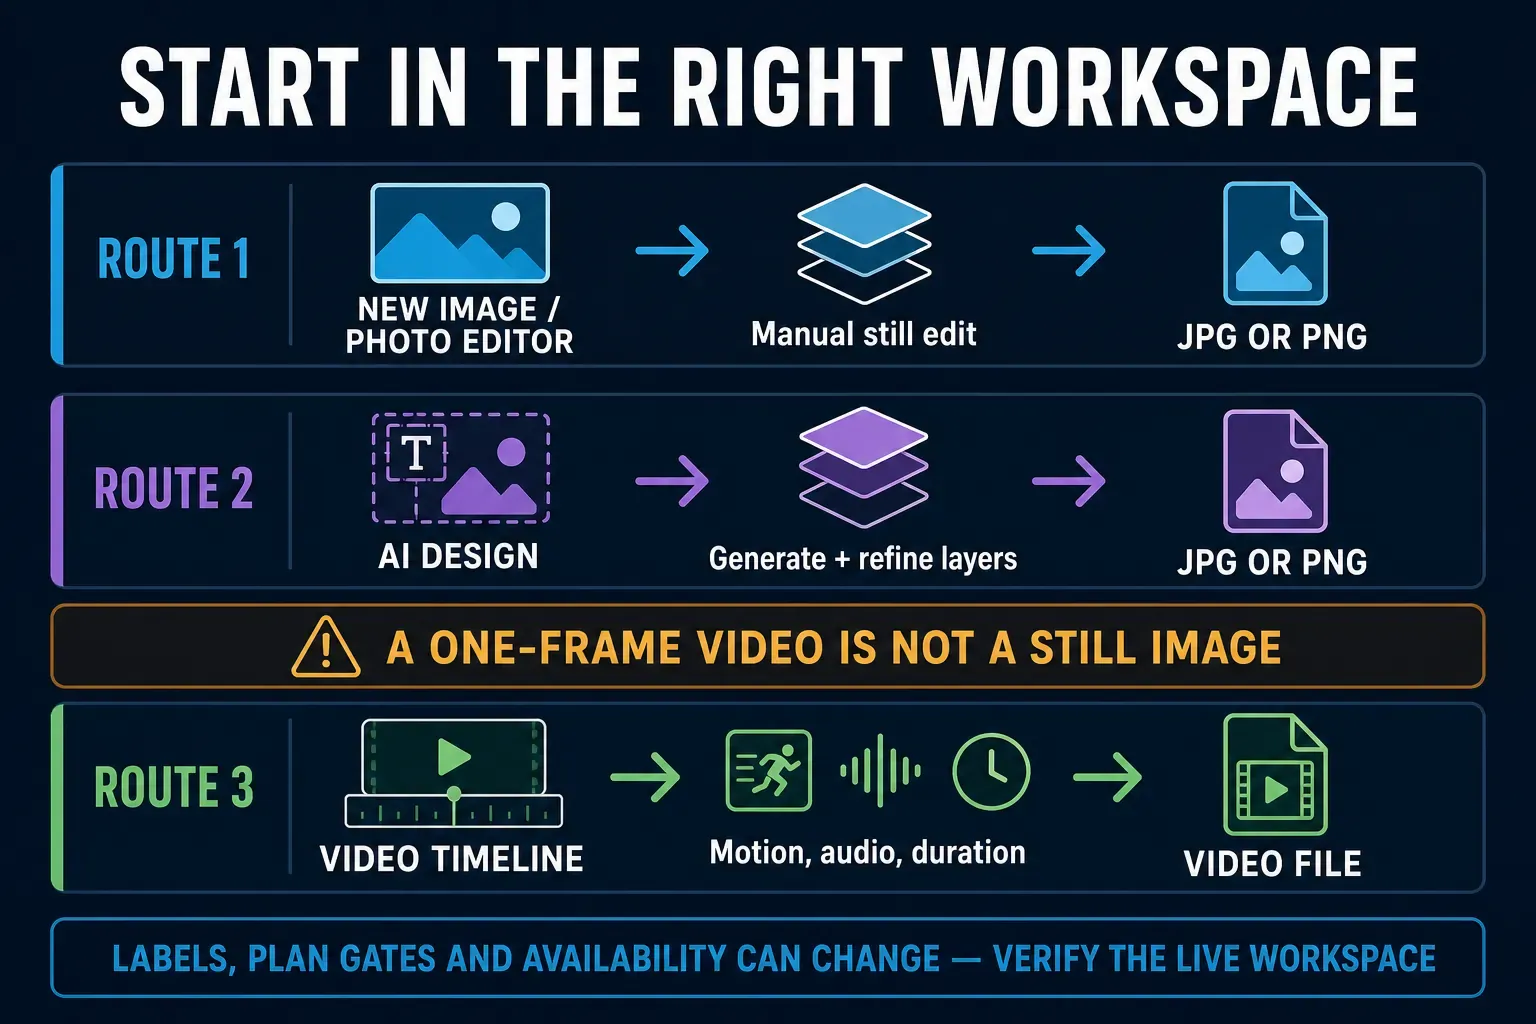
A still deliverable deserves a still-design surface. CapCut's official graphic-design instructions describe starting a new image, choosing its size and working on a blank canvas. Its current AI Design help documents Web and Desktop routes, with JPG and PNG downloads; Desktop may also offer a video file after motion is added.
That distinction matters. Exporting one frame through a video timeline can add unnecessary duration, compression and another crop decision. Use the timeline when the result genuinely moves. For a static post, thumbnail or logo file, start in New Image, Photo Editor, AI Design or Design Agent, depending on the interface your account currently exposes.
New Image or Photo Editor
Best when you already know the canvas size or have a source photo. Build the crop, text and layers manually, then export a still file.
AI Design or Design Agent
Best for generating directions from a prompt and reference image. The current official AI Design page describes prompt-led generation followed by color edits, cutout, element removal and text overlays.
Video timeline
Best for an animated logo reveal, moving poster or graphic sequence. It is the wrong default when the destination expects one JPG or PNG.
Choose AI for directions, manual tools for decisions
AI Design is useful when a blank page is the real problem. Give it the deliverable, audience, message, mood, colors and the space that must remain clear. If you have a product photo or style reference, upload it only when you have permission to use it. CapCut's AI Image Generator documentation also treats prompts and reference images as starting inputs, followed by editing rather than a finished approval.
Don't trust generated lettering, logos or tiny details merely because the full canvas looks polished. Replace important text with editable type. Check hands, product edges, repeated shapes and background objects at full size. If the design represents a business, compare it with existing marks and inspect the licence attached to every font, template, stock item or generated element.
Good for exploration
- Finding a visual direction quickly
- Generating background or source artwork
- Testing several compositions
- Creating a rough campaign family
Good for control
- Exact wording and line breaks
- Consistent margins and alignment
- Known brand colors and type
- Small-size and transparent variants
A shared workflow for any static design
- Write the destination first. Record where the image will appear, its aspect ratio, required file type and the smallest size at which it must work.
- Collect only cleared inputs. Use source photos, fonts, templates and graphics you're allowed to edit and publish. Don't assume an asset is cleared because it appears in a library. If the same logos, colors and fonts recur across projects, keep the approved set together with the CapCut Brand Kit workflow.
- Build one clear hierarchy. Give the viewer a first thing to notice, a second thing to understand and enough empty space to separate them.
- Replace fragile AI details. Re-type critical text, correct awkward edges and remove decorative clutter that stops working at small size.
- Export a real test file. Open the downloaded JPG or PNG outside CapCut. Don't approve the design from the canvas alone.
- Check the destination. Preview it in a phone feed, on a dark background and inside the platform that will publish it.
Check the file, not the canvas
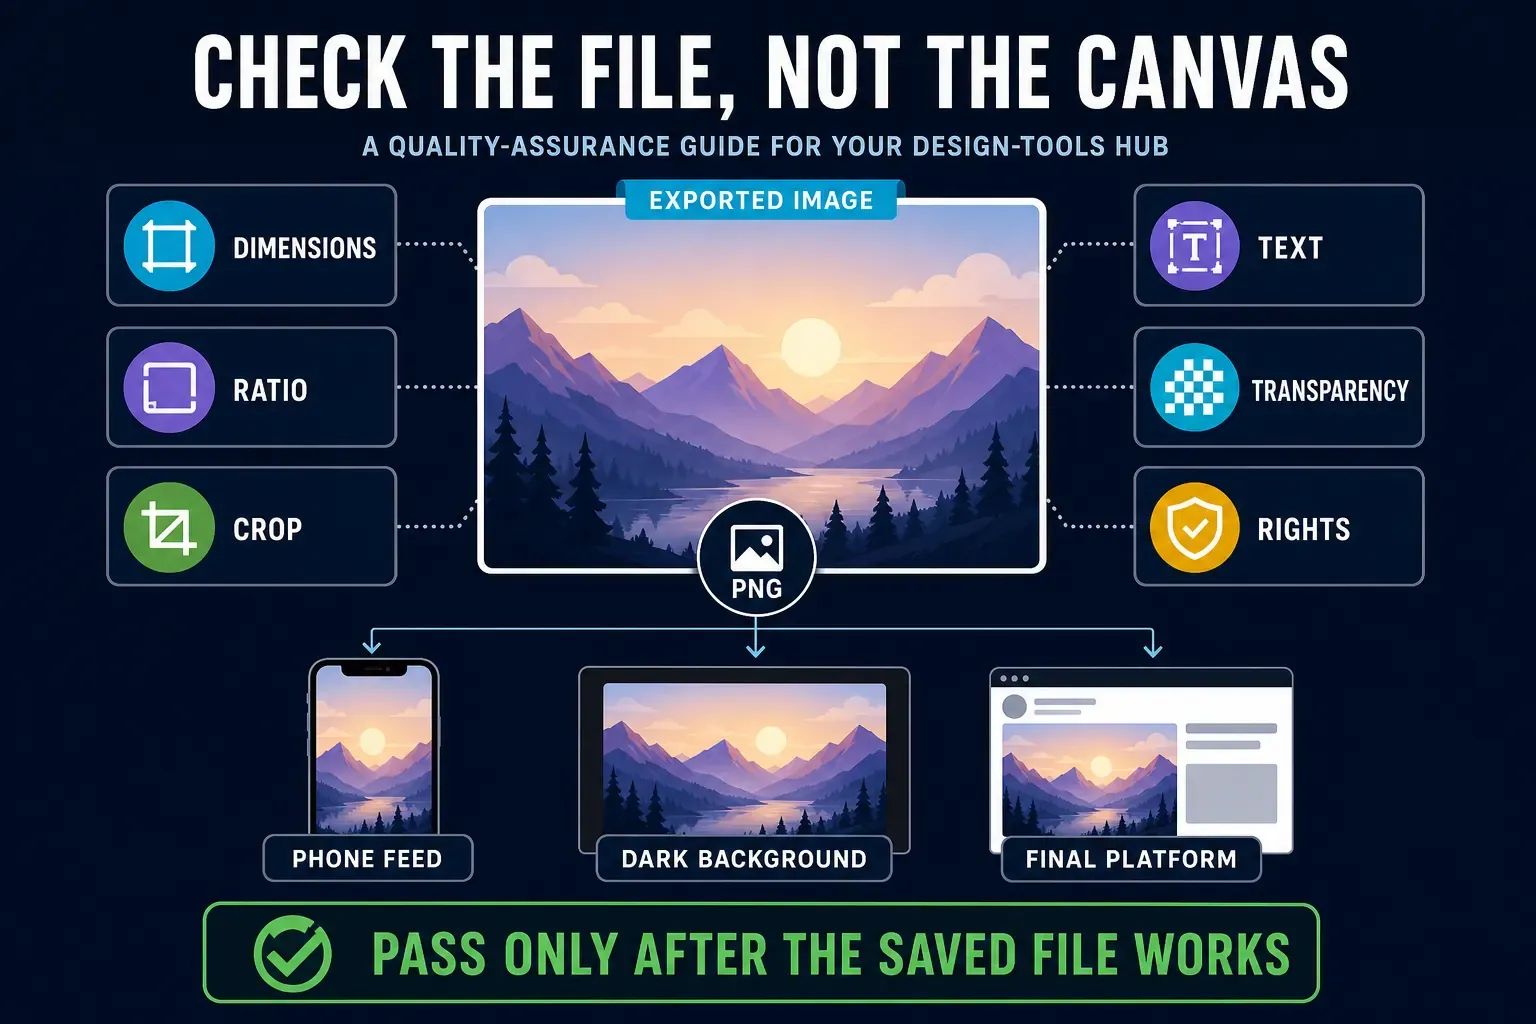
Editors show a comfortable zoom level, clean background and generous workspace. Viewers don't. The saved file may be cropped by a card, scaled down by a feed, placed on an unexpected background or compressed after upload. A five-minute output check catches more real problems than another round of decorative effects.
File checks
- Correct pixel dimensions and aspect ratio
- JPG or PNG chosen for the actual use
- Transparent areas really contain an alpha channel
- No unintended border, crop or soft edge
Viewing checks
- Text remains readable in a phone-sized preview
- Main subject is clear in light and dark surroundings
- Nothing important sits under platform overlays
- The uploaded version matches the saved file
Rights checks
- Source photos and reference images are cleared
- Font, template and stock licences fit the use
- A brand mark is not built from restricted library material
- The result is checked for confusing similarity
Continue by the part that is holding you up
The three core guides above own the finished deliverables. Use these narrower guides only when one component of the design needs extra work:
Where CapCut stops being the right design tool
CapCut is a practical choice for creator graphics, digital campaign assets and quick image work. It is not automatically the final production system for every design job. Move to a vector-capable editor when a printer, sign maker or brand team needs a genuinely scalable SVG, EPS or PDF master. Use a color-managed print workflow when exact CMYK output or spot colors matter. If the deliverable is a complete video rather than a still asset, return to our complete CapCut tutorial.
Legal clearance is also a separate job. CapCut's Materials License Agreement says Platform Materials must not be used as a trademark, design, brand, trade name, service mark or logo. Its legal centre points to terms and commercial-use guidance. A polished preview is not proof that a font, stock element, template or generated mark is safe for every commercial or trademark use.
CapCut design tools FAQ
Does CapCut have graphic design tools?
Yes. CapCut currently offers still-image and graphic-design surfaces alongside its video editor, including photo editing, AI Design or Design Agent routes, blank image canvases, text, cutout and image-generation tools. The exact labels and plan gates can vary by platform, account and region.
Should I use AI Design or a blank canvas?
Use AI Design to explore directions from a prompt or reference. Use a blank canvas when wording, spacing, alignment and brand consistency must be exact. A strong workflow often starts with AI exploration and finishes with manual correction.
Can I make a YouTube thumbnail in CapCut?
Yes. The dedicated thumbnail guide covers the current canvas, composition, file and upload checks. Build for the small video-card preview rather than judging only the full-size editor canvas.
Can CapCut export JPG and PNG images?
CapCut's current AI Design help documents JPG and PNG downloads on its still-design routes. Available resolution and other options may depend on the surface, account and current rollout, so read the live export panel before saving.
Can CapCut make a transparent logo?
It can be used to prepare a transparent PNG when the active editor and export route preserve transparency. Test the saved file on both light and dark backgrounds; a checkerboard inside the editor doesn't by itself prove that the exported file contains transparency.
Is CapCut enough for a professional logo?
It can produce a useful digital concept and PNG assets. If the mark needs a true vector master, print production, formal brand standards or trademark clearance, finish the job in specialist software and use professional legal advice where appropriate.
Why does my design look different after upload?
The platform may crop, scale or compress the file, and its interface may cover parts of the image. Check dimensions, safe areas, text size and transparency, then preview the uploaded version on the device where viewers will see it.