

To use a CapCut beat-sync template, choose one that fits your media count, tap Use template, supply the required photos or clips and open Preview. Check the crops and cuts with sound before exporting. Start with the four template links below, or time the cuts yourself when a preset does not fit. If the edit needs a designed intro, lyric layout or recap structure rather than beat timing alone, our guide to CapCut design tools maps those routes.
A beat-sync template is useful when its rhythm fits both the song and the media you already have. It is frustrating when it expects twenty-three strong shots and you have six, or when the fastest cut lands on the least important frame.
Need a quick choice? The examples below take 3, 5, 10 or 23 inputs, but none has a preview longer than about 16.4 seconds. More slots do not necessarily mean a longer video. Choose for the photos you have ready to use, then decide whether you want preset timing or control over each cut.
For more template styles and help saving links, use the main CapCut templates guide. Here, the choice is about fitting your photos and video clips to the music.
Choose the beat-sync route by how much control you need
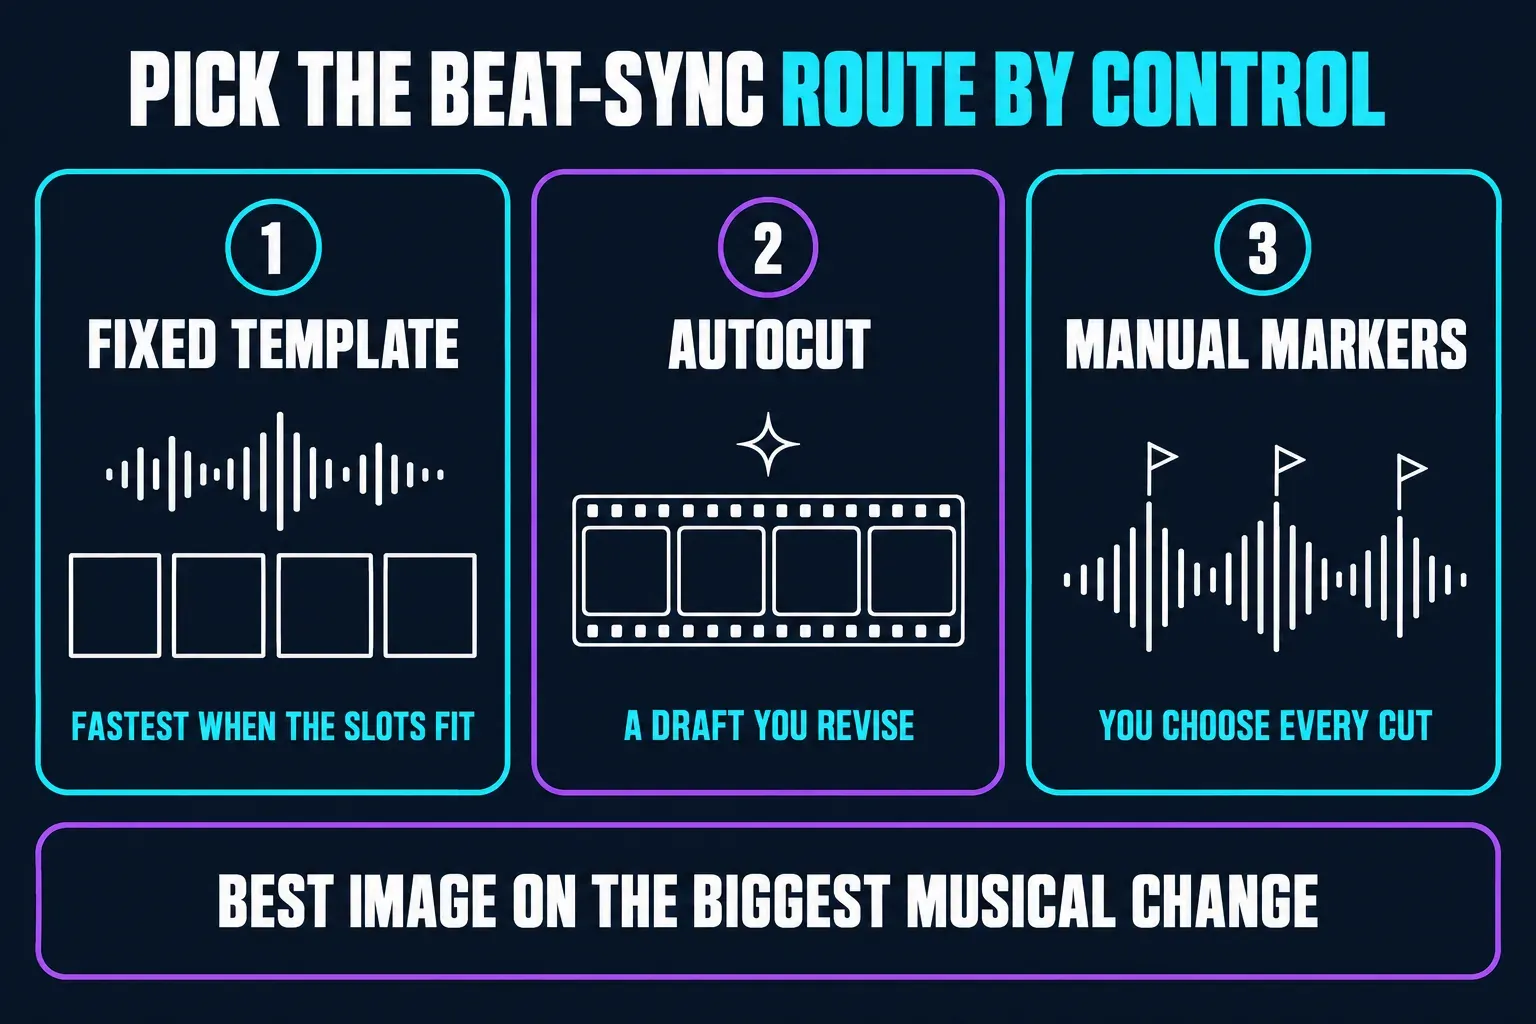
Fixed template
Choose this when the slot count, ratio and cut pattern already fit your photos or video clips.
AutoCut
Choose this when you have a folder of media and want CapCut to propose a rhythm-driven sequence you can revise.
Manual beat markers
Choose this when the story decides which beats deserve a cut and which moments need room to breathe.
Template plus cleanup
Use a template if its structure works. If an essential crop, order or music change is locked, rebuild that sequence in a normal project rather than expecting the template to unlock it.
Don't choose by speed alone. A rapid pattern can work for a sports burst and ruin a recap that needs time for people or places to register. The right route is the one that lets the most important image land on the most important musical change.
Four CapCut beat-sync templates: 3, 5, 10 and 23 clips
Detail pages checked September 5, 2026: the input counts and ratios below match the linked listings; approximate lengths come from their preview metadata. These are creator templates hosted by CapCut, not designs credited to CapCut itself. We checked the public pages, not their use or export in a signed-in account. Access, sound and editable controls may differ in your app.
Beat sync photo
The CapCut listing for Beat sync photo template displayed three required clips and a vertical 9:16 frame when checked.
Choose it for: testing a vertical edit when you have three useful inputs. Watch the preview to see whether its holds suit your sequence.
Skip it if: you need to tell a longer sequence or preserve a wide group shot.
5 Photo Beat Sync
The CapCut listing for 5 Photo Beat Sync template displayed five required clips and a 3:4 frame.
Choose it for: testing five photos in a portrait frame. The input count does not tell you how many beats or visible cuts the design uses.
Skip it if: the destination is full-screen 9:16 and the border or crop feels accidental.
10 Photo Beat Sync
The CapCut listing for 10 Photo Beat Sync template displayed ten required clips in 9:16.
Choose it for: a vertical photo run with enough visual variety to support repeated cuts.
Skip it if: filling ten slots forces you to use near-duplicates or weak filler.
23-clip Beat sync
The CapCut listing for 23-clip Beat sync template displayed twenty-three required clips and a 3:4 frame.
Choose it for: testing a dense event or travel montage. Its 23 inputs fit a preview of about 16.4 seconds, so do not mistake it for a long video.
Skip it if: the media budget looks impressive only because the same shot is repeated.
For more options, browse CapCut’s multi-photo beat-sync collection. Search with the song name, style or number of photos when you want a particular edit: “aesthetic” or a Hindi song title is more useful than repeatedly searching “new trend.” Read the input requirements on the chosen page before selecting your photos.
Check the template before fine-tuning every photo or clip
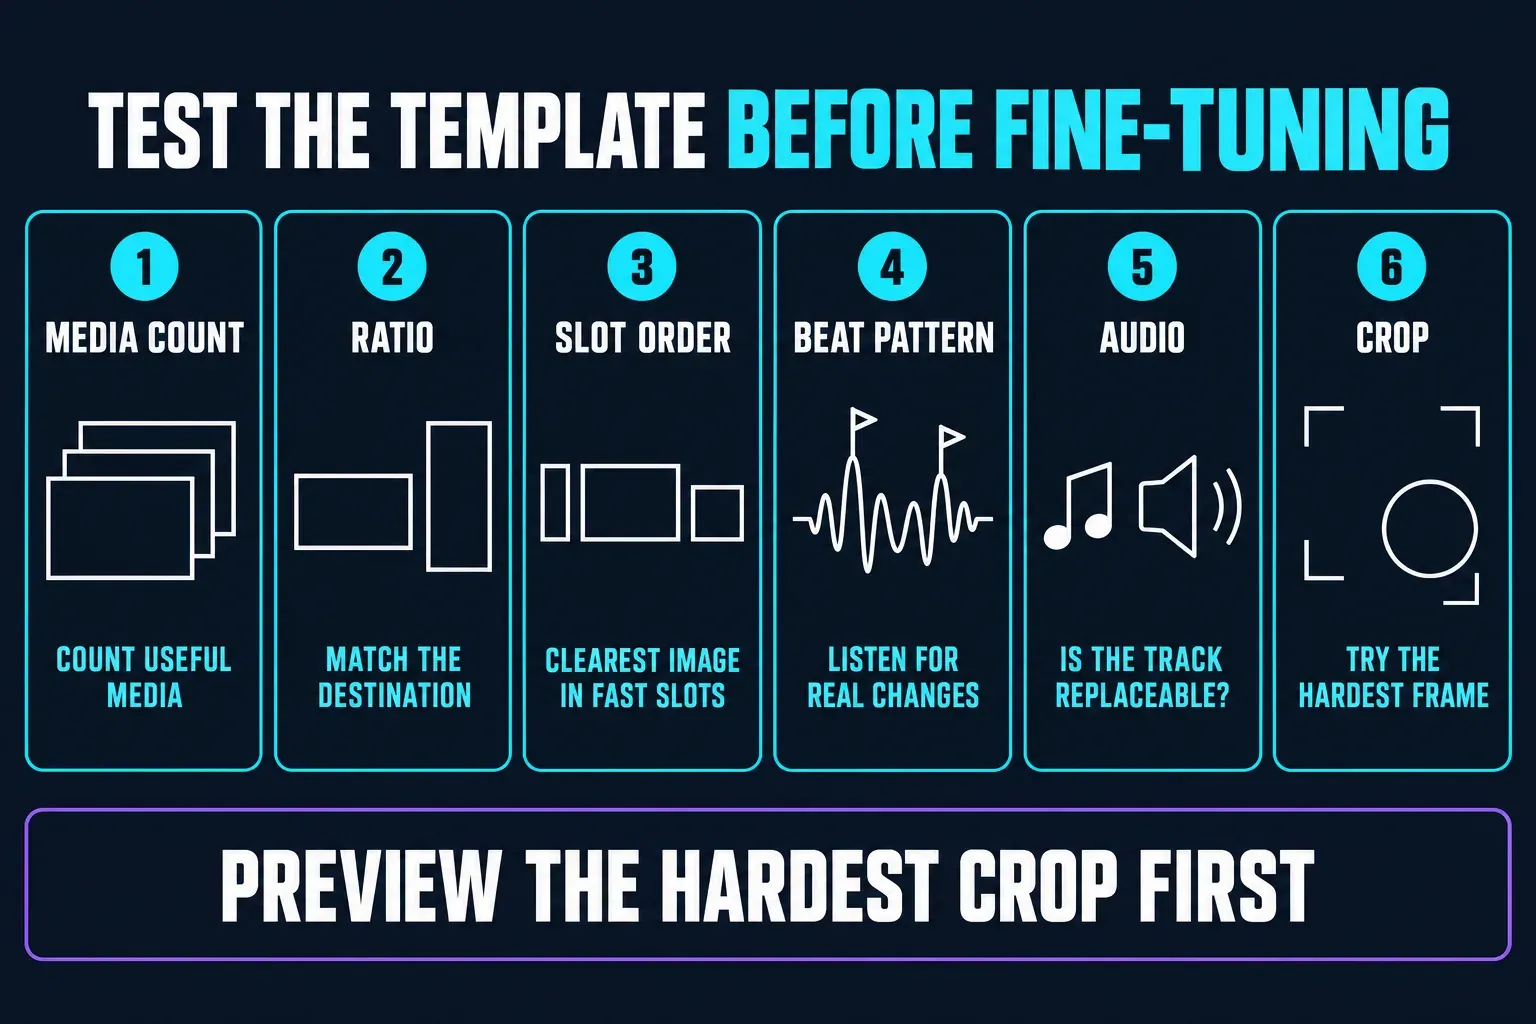
- Media count: count useful photos and clips before opening the replacement picker. Don't fill a long template with weak duplicates simply to satisfy it.
- Aspect ratio: match the frame to the destination. A 3:4 design is not the same shape as a full-screen 9:16 video. If that template cannot change shape, choose another one or use a normal project with an intentional background or crop.
- Slot order: note which positions hold longer and which flash quickly. Put the clearest image in the shortest slot and reserve detail-heavy frames for a longer hold.
- Beat pattern: listen for the actual musical changes. A template can use off-beats, fills or a rising sequence rather than cutting on every obvious kick.
- Editable audio: check whether the included track is present and replaceable. If you change it, the existing cut pattern may no longer make sense.
- Crop: test the widest group shot, closest face or subject near an edge. Replace the template when the essential part can't survive the slot.
Fill the required slots before expecting a preview. If Preview is unavailable while slots are empty, supply the missing inputs rather than assuming one test photo is enough. Once the preview opens, inspect the hardest crop first, before polishing all the other slots. If that frame cannot work, choose a different template.
A collection called “free” is not a promise about every item. CapCut documents paid template labels and purchase prompts. Check the selected item and its export screen before paying or building a batch of edits; inspect the saved file for an unexpected ending or watermark.
Use a CapCut beat-sync template
For a community template link, start on Mobile. CapCut’s documented flow puts media selection before Preview. Labels can move between releases, so use the controls your app shows.
- Watch the whole template preview with sound. Notice the first cut, the strongest musical change and the ending.
- Confirm the input count, ratio and any paid label. Choose photos or clips that fit those requirements.
- Tap Use template and supply the required media. Fill the slots in the order you want the story to play, then open Preview.
- Inspect the most difficult slot first. Select that segment and use Edit if available to crop or replace it. If the essential control is locked, switch templates or rebuild in a normal project.
- Preview from the beginning at normal speed. Scrubbing past the cuts hides timing problems.
- Export one complete version before repeating the workflow. Watch the file on the destination screen and check the first cut, audio and final frame.
CapCut’s January 13, 2026 use-and-export walkthrough limits community templates outside Mobile, while its January 12 template guide describes broader PC and Web access. Those pages do not establish identical access in every current build. If your link or button is missing, try the template troubleshooting steps rather than assuming a different device will open it.
Use AutoCut when you want CapCut to propose the first edit
A beat-sync template starts with a preset replacement structure. CapCut’s AutoCut help, dated February 3, 2026, describes generating an editable sequence from footage using music, speech or a prompt. That early-2026 documentation lists Mobile and Desktop rather than Web; it is not proof that every account has all those options today. Use AutoCut if the relevant control appears in your editor.
Choose AutoCut when your media doesn't fit one preset slot map, then treat its result as a draft. Remove repeated angles, restore any setup the automatic cut removed and shorten sections that miss the musical change. The CapCut AutoCut guide covers finding the tool, reviewing its first cut and recovering a failed attempt.
Pick one starting method. If you already like the template’s timing, make targeted corrections. If you want a new sequence from your own footage, try AutoCut or build it manually; there is no need to run an otherwise finished template through another automatic edit.
Build a manual beat map when the story matters more than the preset
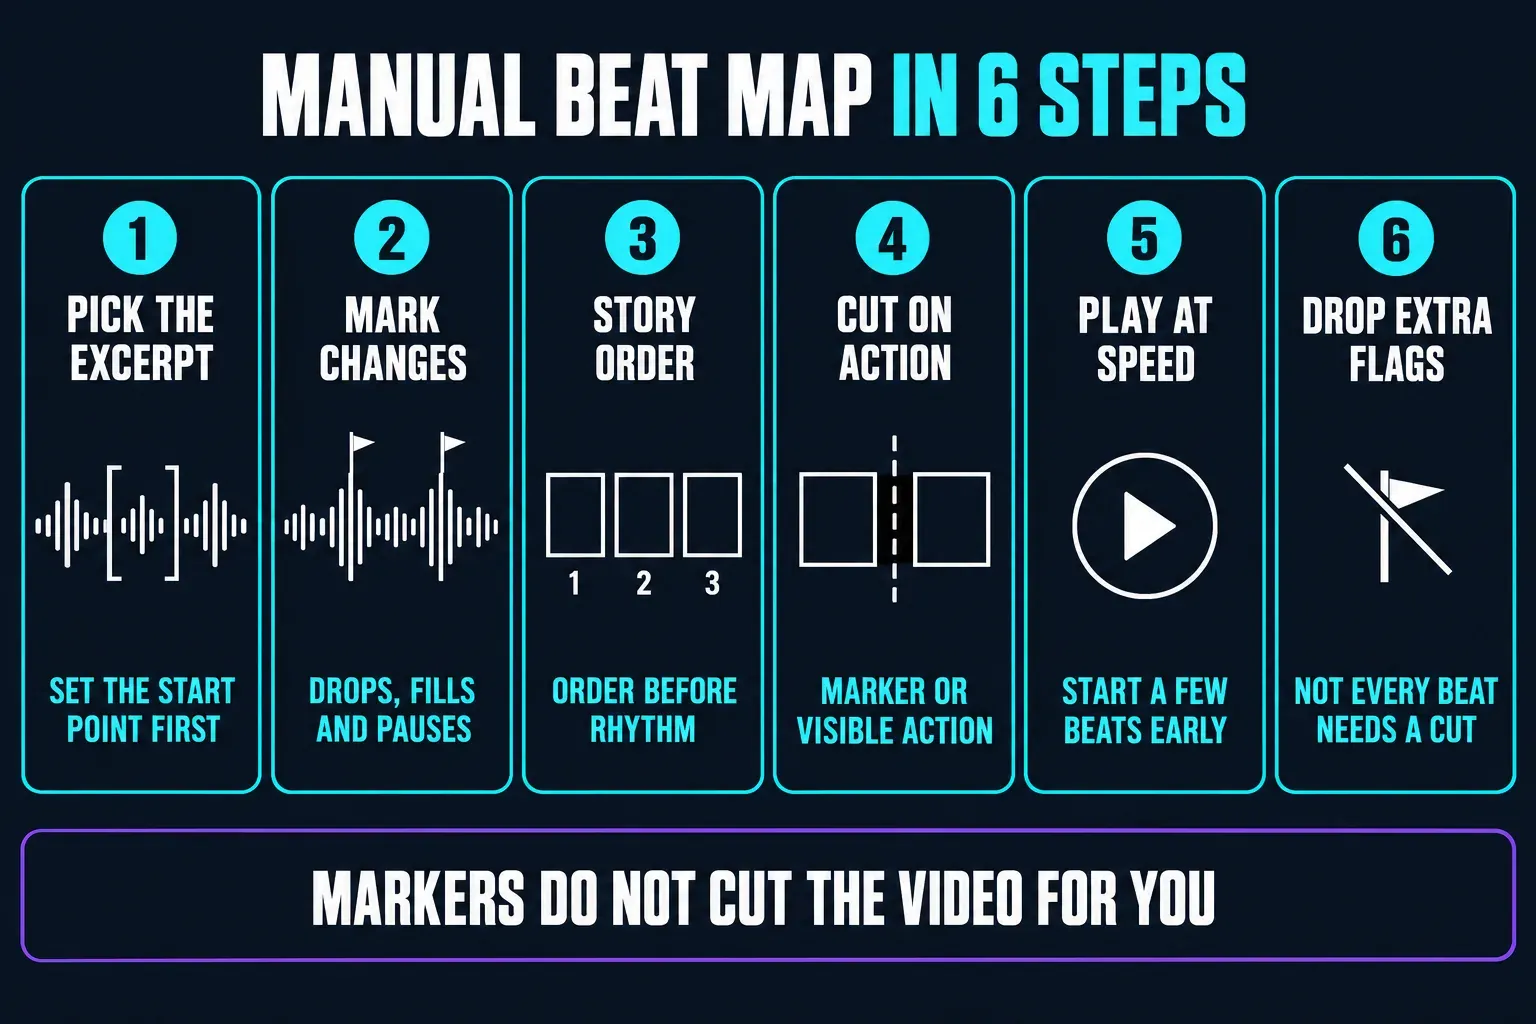
- Choose the song and the exact excerpt first. Set its starting point before timing the pictures. A different version, tempo or starting offset can move the musical changes.
- Listen once, then mark the changes you want to use. Select the audio track and place markers at the playhead if your editor offers that control. Mark a drop, fill or pause that should change the picture, not every peak you can see.
- Place the media in story order. A strong beat can't rescue the wrong sequence.
- Move each cut to the selected marker or visible action. When a jump, turn or camera movement occurs near the beat, prioritize the frame where the action reads cleanly.
- Preview from several beats before the cut. A cut can look aligned when scrubbed frame by frame and feel late in normal playback.
- Delete unnecessary markers. Repetition becomes tiring when every beat is treated as equally important.
Markers do not cut the video for you. CapCut’s June 2025 Web music tutorial describes selecting the audio, positioning the playhead and using Add beat (a flag icon). It also describes Beats detection (a flag with an A) for automatic markers. These are documented Web labels, not a promise about every current Mobile or Desktop build. If your editor offers them, use the markers as references and split or trim the video separately.
The CapCut music guide explains importing your track; the cut, trim and split tutorial walks through moving the clip boundaries. Matching picture changes to music is a different job from lining up a separate voice recording with someone’s lips.
Choose media that can survive fast cuts
- Lead with a readable frame: the first image must establish the person, place or subject before the rhythm accelerates.
- Alternate scale or angle: use wide, medium and detail views so adjacent cuts change something the viewer can perceive.
- Protect faces and text: avoid rapid slots for captions, screenshots or crowded group photos that need reading time.
- Use motion direction deliberately: two clips moving in opposite directions can feel like a collision unless the beat is meant to emphasize it.
- Reserve the strongest image: place it on the musical drop, pause or ending that carries the most weight.
- Repeat only with purpose: a deliberate return can create a refrain; filler repetition exposes that the template expects more media than you have.
For a slower photo story organized by time rather than music, the slideshow templates guide is the better route. For a month, year or event arc, the recap templates guide focuses on narrative coverage instead of beat density.
What changes on Mobile, Web and Desktop
- Mobile: is a practical first place to try a shared community link, because both template Help pages above document that route. It still depends on the template and access available to your account.
- Web: use the catalog and editing controls visible in your account. A Mobile template link may not offer the same workflow, and the early-2026 AutoCut documentation does not establish a Web AutoCut route.
- Desktop: use a normal timeline when you need precise clip timing. Check for templates in your build, but do not assume that a community link available on your phone is also usable there.
If a template does not open in your editor, keep the original media and try a normal project. You can still arrange cuts around the song without that particular template.
Fix missing templates, weak crops and cuts that feel late
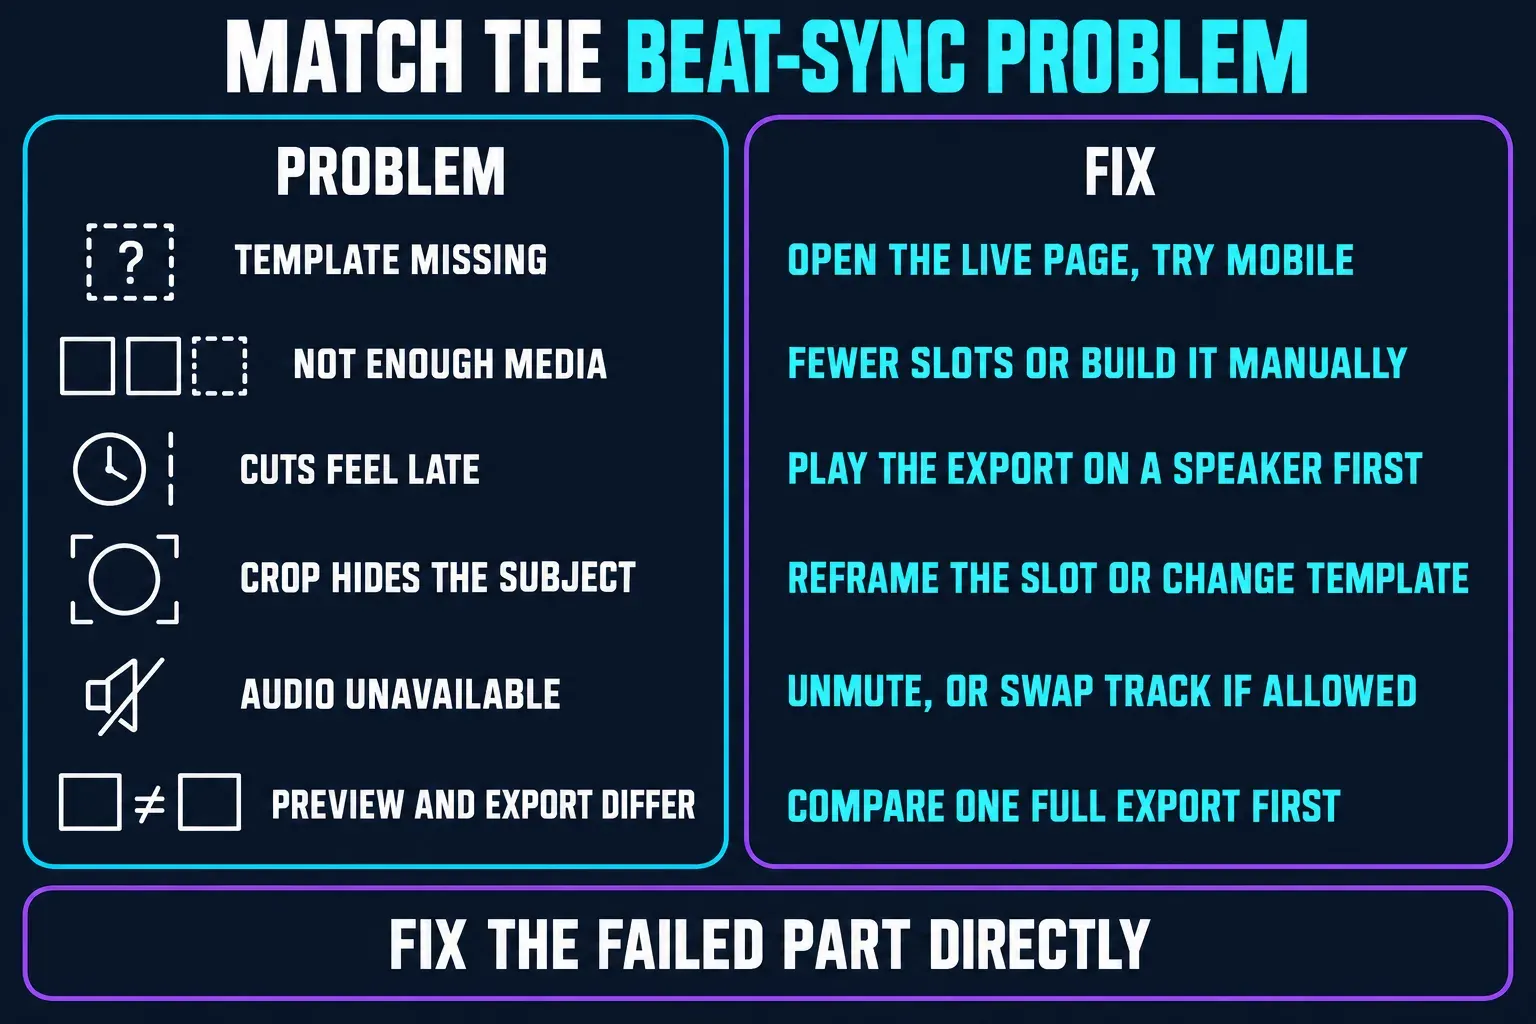
- Template missing: check the live detail page and try Mobile. CapCut’s missing-template guidance lists region, version, account and connection as possible factors, not a guarantee that one quick fix restores every design.
- Not enough media: choose a template with fewer slots or rebuild the strongest section manually. Repeat a shot only when the return has meaning.
- Cuts feel late: first play the same exported file outside CapCut, using the device speaker or wired audio as a comparison. If the timing still feels wrong, inspect the chosen beat and the frame where the action becomes clear before moving the cut.
- Crop hides the subject: reframe the slot if allowed; otherwise change the template or destination ratio.
- Audio unavailable: check volume and mute settings, then any message about the track. CapCut documents music-rights restrictions as a cause of muted templates. Replace the song only if an audio control is exposed; otherwise choose another template or use a normal project. Recheck the cuts against the new track.
- Preview and export disagree: compare one complete export with playback in the editor before revising the whole sequence. If only the preview stutters, reduce other heavy work and test again; changing every cut is not the first remedy.
Fill any required inputs first if Preview is unavailable. For a late-sounding edit, also rule out the listening setup. Sony’s headphone support guidance notes that Bluetooth playback can introduce audio delay. That makes a speaker or wired comparison useful; it does not prove your export has a Bluetooth-related fault.
Export the rhythm, then check the track and destination
Export one representative version using the real destination shape and a frame rate that matches the main project. Watch the opening, the first fast sequence, the strongest musical change and the ending on another device. Resolution, frame rate and codec choices are covered in our CapCut export settings breakdown.
Check permissions for the music as well as the pictures. CapCut’s Materials License Agreement distinguishes US and non-US users. Its non-US Commercial Sounds terms name CapCut, TikTok and TikTok for Business; publishing those tracks elsewhere requires separate rights. US users need the separate terms that apply to them. An included song or a paid subscription is not blanket clearance for a client video on every platform.
Transitions should support the rhythm rather than hide the media. Use the CapCut transitions guide when a specific shot-to-shot move needs work. If the cut already feels right, an extra effect may add nothing.
FAQs about CapCut beat-sync templates
Where can I find beat-sync templates in CapCut?
Use one of the linked template pages or search the Templates area for beat sync plus the song, style or photo count you need. Try Mobile for a community link, but check access in your account; a public preview does not guarantee that the template opens in your app.
How many photos do I need for a CapCut beat-sync template?
There's no single number. The live examples checked for this guide required three, five, ten and twenty-three media clips. Choose by the useful media you have, not the largest slot count.
Is AutoCut the same as a beat-sync template?
No. A template uses a fixed replacement structure. AutoCut analyzes your footage and a trigger such as music or speech to generate an editable first pass. Manual markers give you the most timing control.
Why is a CapCut beat-sync template missing on Desktop?
The official Help pages disagree about the extent of Desktop template access, and a shared Mobile template may not be available in your build or account. Try its live detail link on Mobile, or build a normal timeline around the song.
Why do my cuts feel slightly late even when they touch the markers?
Compare the exported file outside the editor and try the device speaker or wired audio first. If the timing is still wrong, listen for the beat you intended and check the visible action. A marker or waveform peak is only a reference, not proof that the cut belongs on that exact frame.
Can I change the song in a beat-sync template?
Only if that template exposes the audio control. A different song, excerpt or starting point may change where the beats fall. Recheck the important cuts and retime them as needed; if the control is locked, choose another template or use a normal project.
What should I do if I don't have enough clips for the template?
Use a smaller template, shorten the sequence or build the best section manually. Repeating the same media can work as a deliberate refrain, but filler repetition usually weakens the edit.
Are CapCut beat-sync templates free?
Some are offered free and others require payment. Check the specific template’s label and any export prompt in your account. A free collection title does not guarantee the cost, watermark behavior or music rights for every item.
Why does Auto Beats add markers without cutting my clips?
Beat detection identifies timing points in the audio; it does not mean the video clips will be split automatically. Use the markers to place your own cuts, or try an available AutoCut workflow if you want CapCut to propose an edit.