

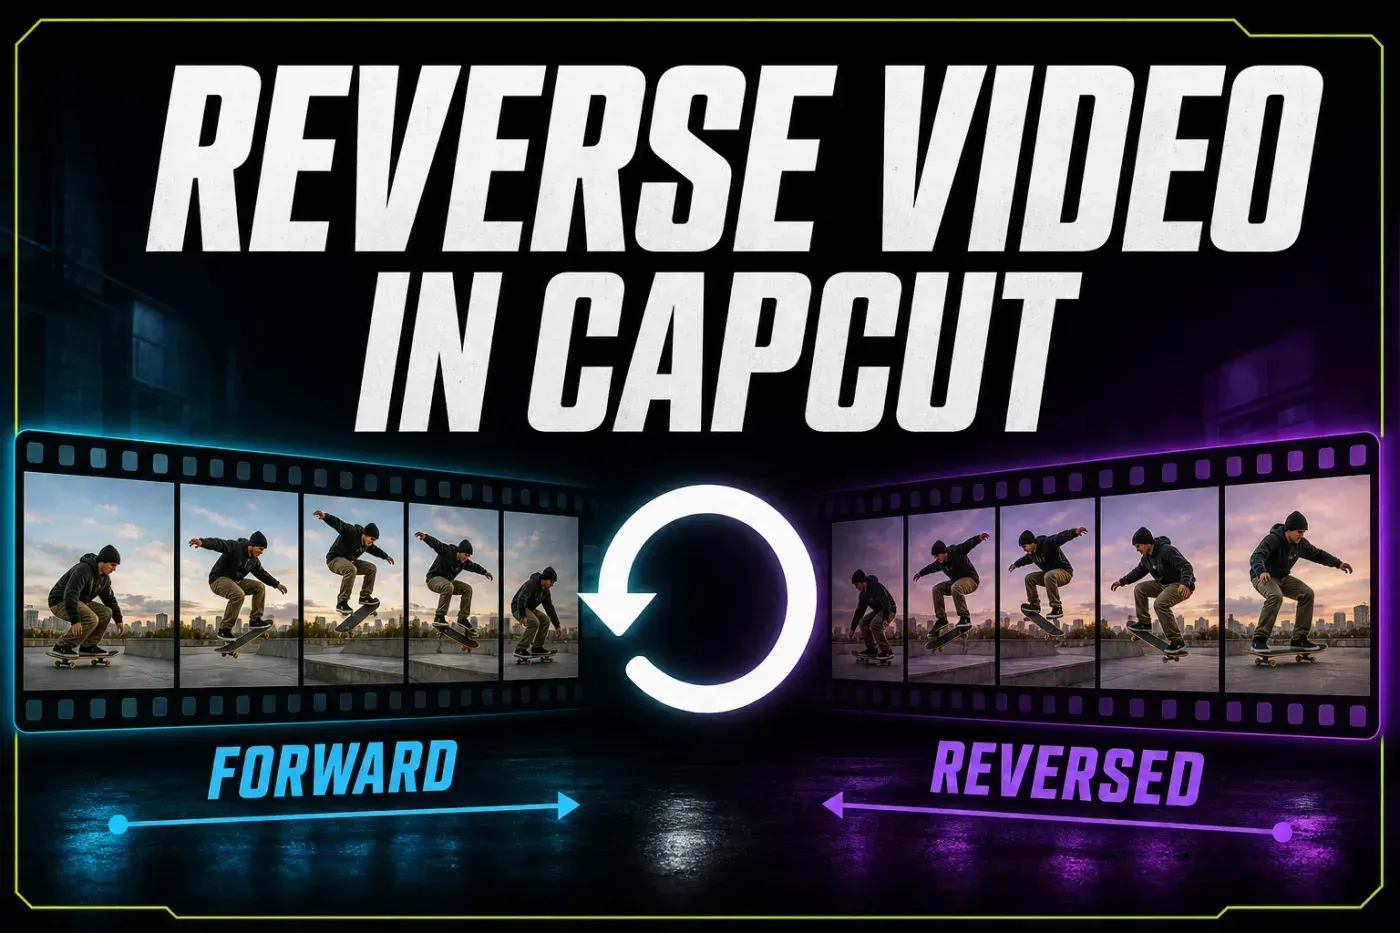
To reverse a video in CapCut, select the video clip on the timeline, find Reverse in the clip-editing toolbar, and wait for processing to finish. On Mobile you may need to open Edit and swipe the bottom toolbar. On Desktop and Web, the control sits in the toolbar above or near the timeline. Play the result before exporting: the selected clip should now run backward.
Checked October 1, 2026. CapCut currently documents Reverse on Mobile, Desktop and Web. The label is consistent, but its position can move between releases and screen sizes.
Choose Your Platform
| Platform | Quick path | What to look for |
|---|---|---|
| Mobile | Select clip → Edit → Reverse | Swipe the bottom toolbar if Reverse is off-screen. |
| Desktop | Select clip → Reverse | Look in the clip toolbar above the timeline; it may sit inside a compact tool menu. |
| Web | Select clip → Reverse | Use the toolbar above the browser timeline and keep the tab open while it processes. |
Before You Reverse the Clip
Make one decision first: do you want the whole selected clip to play backward, or only one moment inside it? Reverse applies to the active timeline clip. If you need a single action, such as a jump returning to the ground, split around that action before using Reverse. Placing an unreversed copy of that action before the reversed one creates the forward-then-reverse cycle that can help when you loop a video in CapCut.
For a live project, duplicate the project or at least keep the source footage untouched. This is especially useful if you later flatten a difficult clip by exporting and re-importing it. The original remains available if the processed version looks wrong.
How to Reverse a Video in CapCut Mobile
The same selection-first workflow applies on iPhone, iPad and Android. The order of tools can differ by screen width and app version, so follow the labels rather than expecting Reverse in one fixed position.
- Open an existing project or tap New project and add the video.
- Tap the intended video clip on the timeline. The clip must be selected before its editing controls appear.
- Open Edit if your layout shows that group, then swipe along the bottom toolbar until you find Reverse.
- Tap Reverse once and let the progress indicator finish. Avoid switching projects while CapCut is processing the clip.
- Play across the start and end of the reversed section. Check both the movement and the sound before you export.
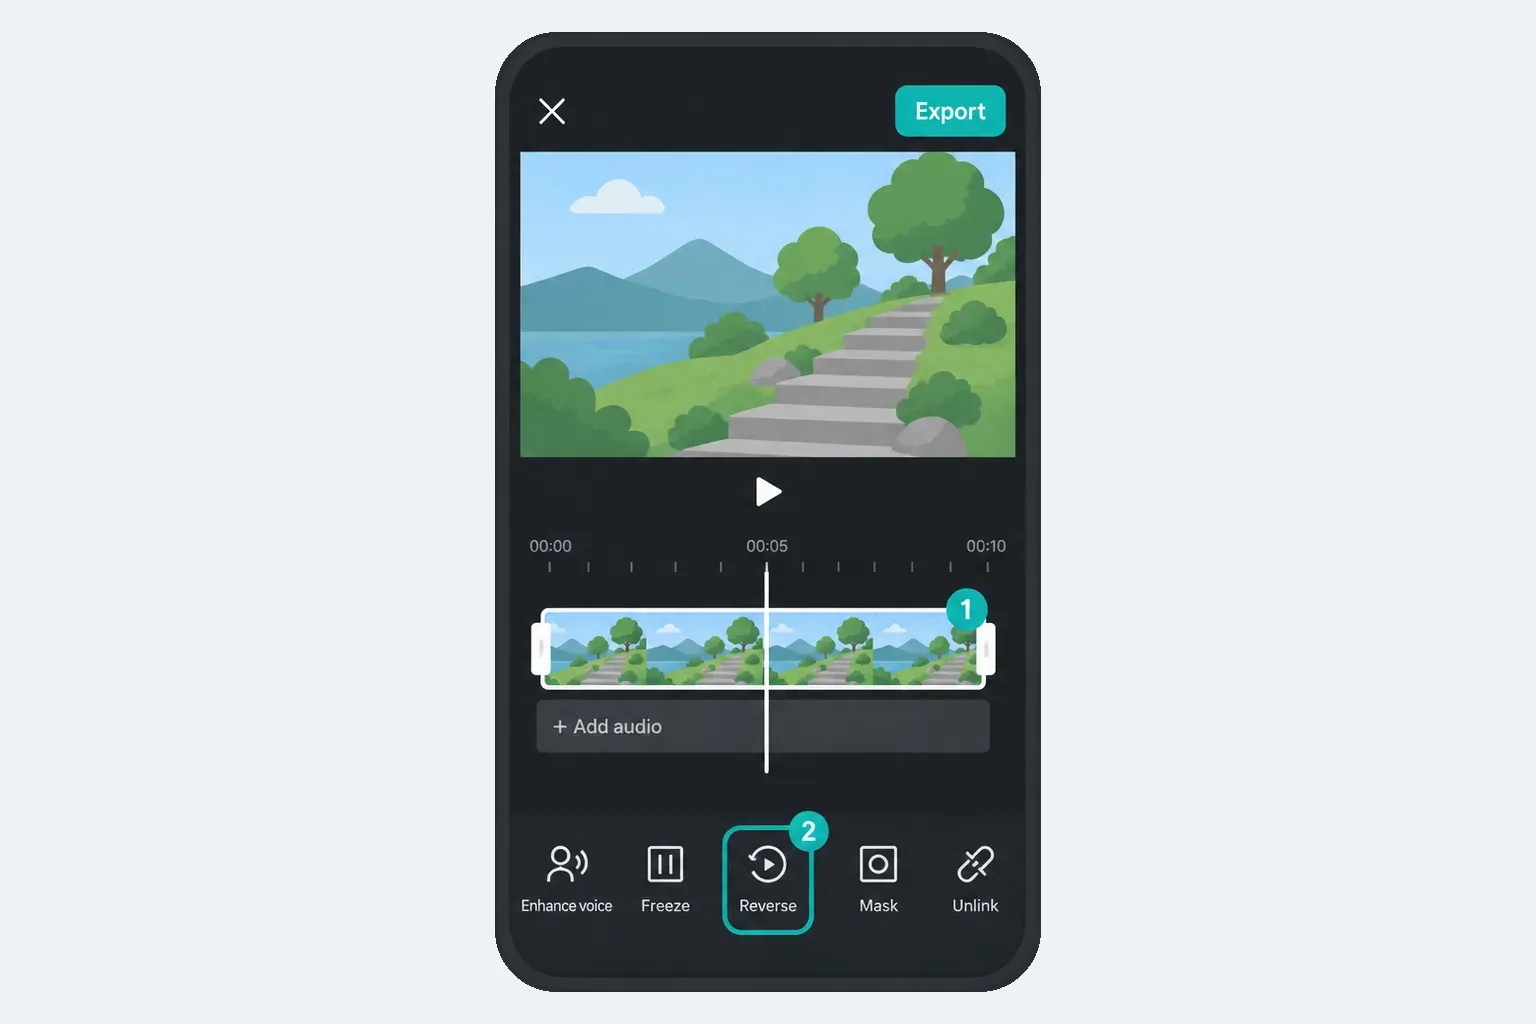
If the button is missing, tap the video itself rather than the canvas, audio waveform, text layer or empty timeline. CapCut's current troubleshooting page also lists low storage or memory, large or high-resolution footage and an outdated app as possible Mobile causes. Treat those as checks, not an automatic diagnosis.
How to Reverse a Video in CapCut Desktop
- Create or open a project, import the source and drag it to the timeline.
- Click the video clip you want to reverse and confirm that the timeline item is active, not the preview canvas or another layer.
- Choose Reverse in the toolbar above the timeline. On a narrow workspace, it may be grouped with Freeze, Mirror and Rotate.
- Wait until processing completes, then play the clip from just before the edit point through the end.
- Use Export only after the motion and audio behave as intended.
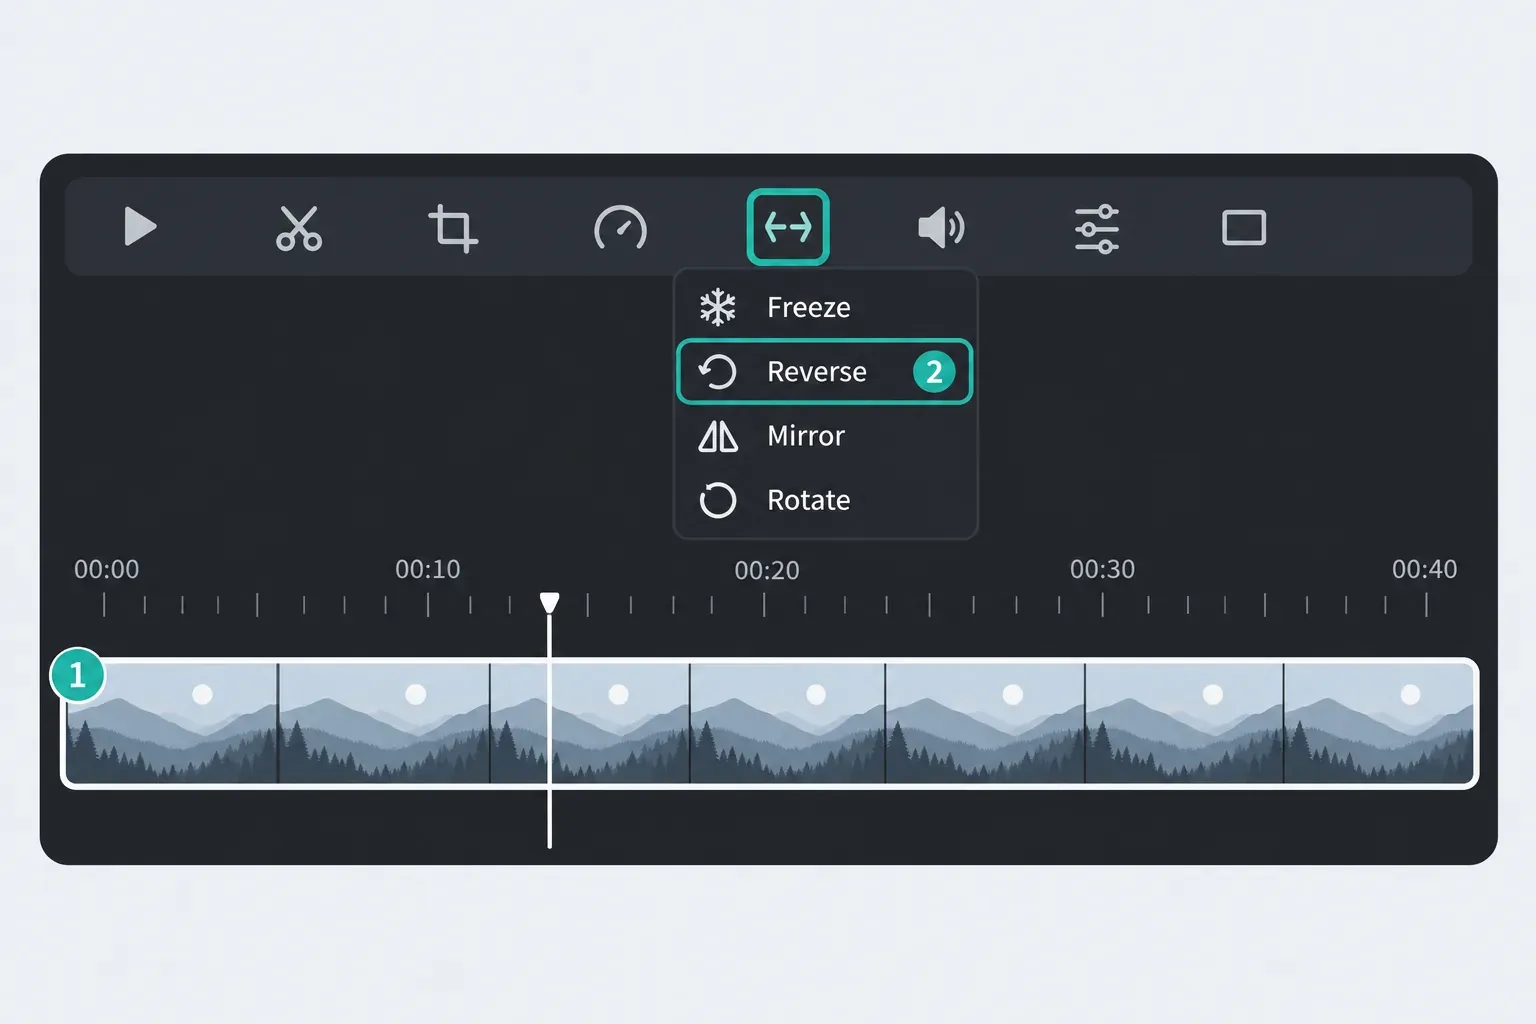
CapCut's Reverse troubleshooting guidance names insufficient RAM or GPU resources, speed changes, complex effects and format compatibility as possible Desktop blockers. If only this clip fails, remove or disable speed changes and heavy effects on a duplicate before treating the whole app as broken.
How to Reverse a Video in CapCut Web
- Open the project in the Web editor and wait until the media is available on the timeline.
- Click the video clip itself, not the preview canvas or an overlay, so the clip toolbar becomes active.
- Click Reverse above the timeline and leave the editor open until processing finishes.
- Preview the result. If the clip stutters in the editor, judge a short export rather than the browser preview alone.
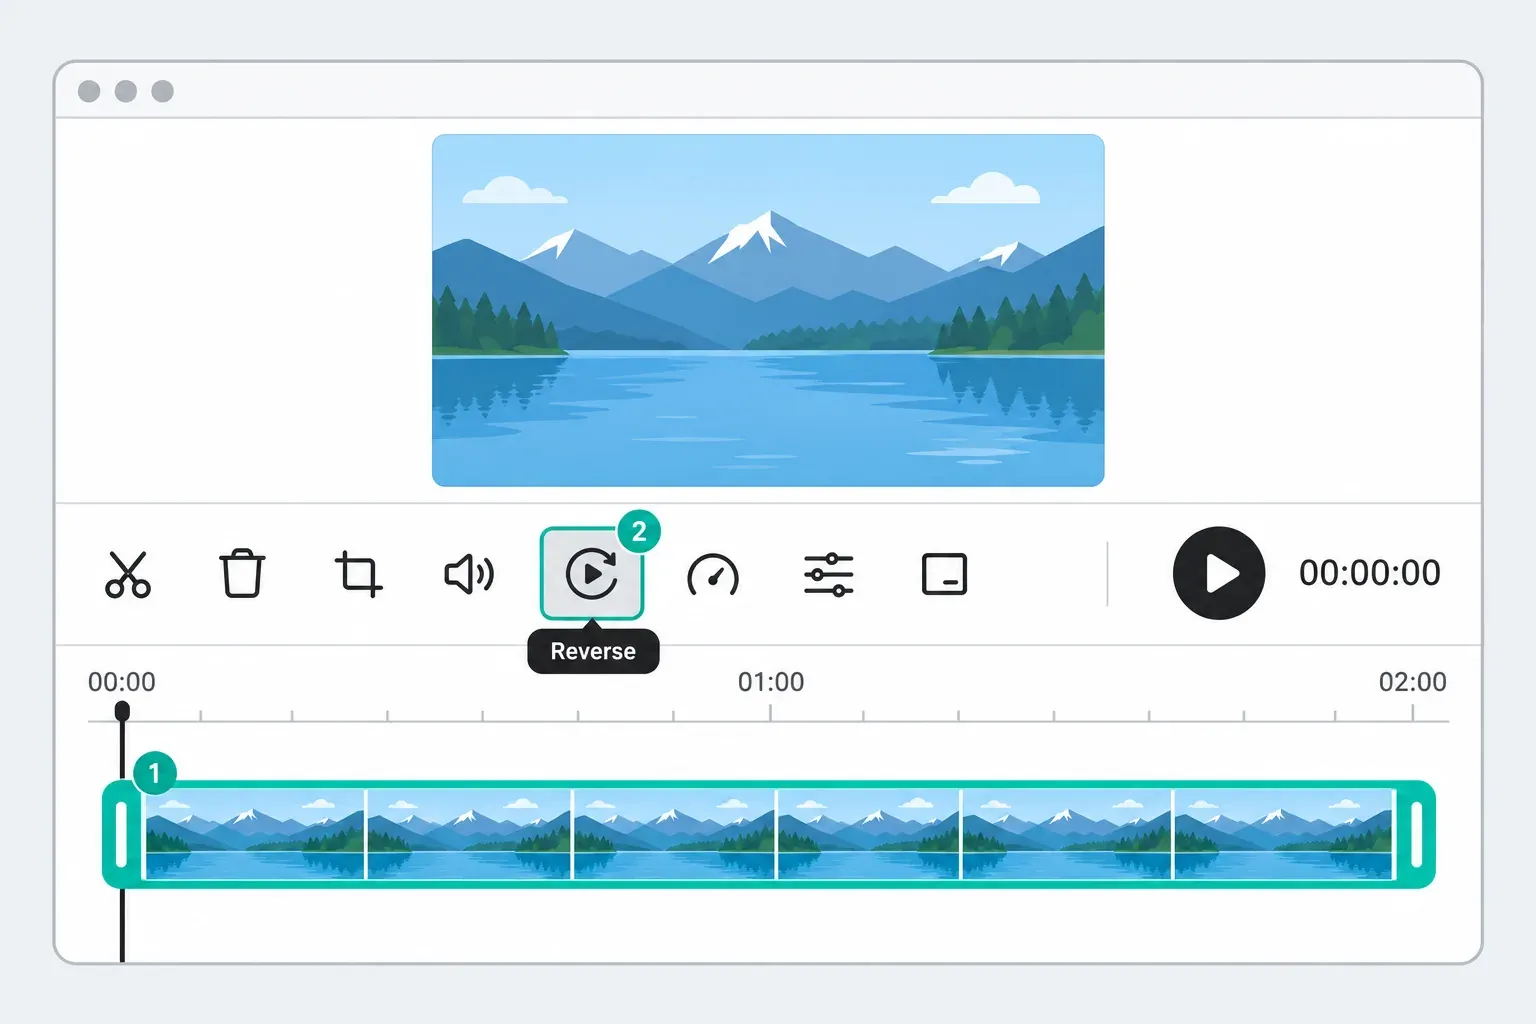
Web has a different failure profile from Desktop. CapCut lists long or large clips, limited browser memory and heavy effects, transitions or overlays as possible causes. After confirming your changes have saved and uploads have finished, try removing heavy effects, transitions or overlays in a copy of the project. Retry Reverse there before refreshing the browser tab. The CapCut Web Editor guide covers the wider browser and upload workflow when the problem is not limited to Reverse.
How to Reverse Only Part of a Video
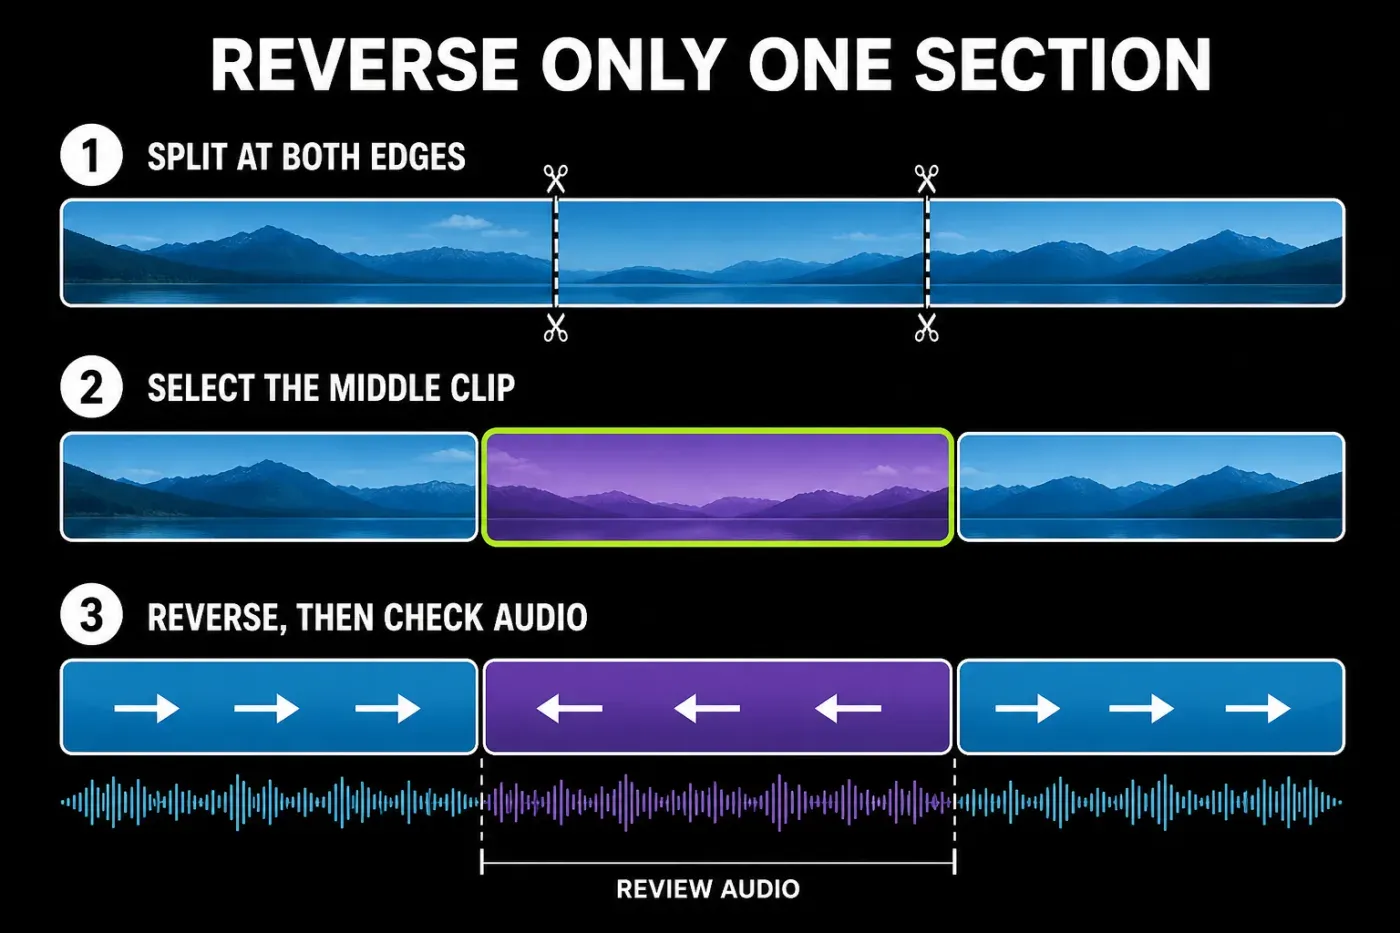
Reverse works on the selected timeline clip. To reverse one moment inside a longer recording, isolate that moment first:
- Put the playhead on the first frame that should run backward and choose Split.
- Move to the first frame after the reversed moment and split again.
- Select the new middle clip. Confirm that neither outer clip is selected.
- Choose Reverse and preview both joins.
The full CapCut cut, trim and split guide explains precise edit points and what can happen to captions, overlays and detached audio when a timeline section changes.
What Happens to the Audio?
Don't assume that one Reverse tap will create the soundtrack you want on every CapCut platform and build. CapCut's own reverse-music workflow tells editors to mute the original audio and add a new music track. That is a useful warning: motion can look right while speech, music or ambience sounds wrong.
After processing, listen to the selected clip with headphones. If the original audio is silent, unchanged, distorted or simply unusable backward, mute it and build the sound separately. Keep a clean copy of dialogue before experimenting. A reverse visual often works better with a short impact, whoosh or music cue than with backward speech.
How to Reverse Audio in CapCut PC
CapCut's own desktop steps for reversing audio run through a video clip: reverse the clip, then pull the backward sound out of it.
- Import the video that carries the sound and drag it to the timeline.
- Select the video clip and click Reverse in the toolbar above the timeline. Wait for processing to finish.
- Right-click the reversed clip and choose Extract audio. The sound moves to its own track.
- Delete the video clip if you only need the audio, then play the new track before you export it.
A standalone MP3 or WAV is the awkward case. CapCut's guides start from a video file, and a few desktop video tutorials point out that selecting an audio track alone doesn't bring up Reverse. Give the sound a video carrier: place a still image or a stock clip on the main track for the full length of the audio, export that as a video, import the exported file and run the four steps above. CapCut's own Reverse troubleshooting uses the same export-and-reimport move when Reverse fails on PC. Some tutorials skip the export by combining the image and the audio into a compound clip before reversing; if your build offers Reverse on that compound clip, it saves a round trip.
On Mobile, CapCut describes the same order: reverse the video clip, then extract the reversed audio.
Reverse Is Not Undo, Flip or Speed
- Reverse changes the playback order of the selected video clip.
- Undo cancels your latest editing action; it doesn't make footage play backward.
- Flip or Mirror swaps the picture horizontally or vertically.
- Rotate changes the picture orientation.
- Speed changes how long playback takes. You can change speed after reversing, but it is a separate edit.
That distinction matters because “reverse an edit” can mean two completely different things. If you chose the wrong tool a moment ago, use Undo. If the action inside the video should run from end to start, use Reverse.
Why Reverse Is Missing, Stuck or Failing
Work through the problem in this order. It avoids destructive fixes when the issue is only selection or clip complexity.
- Check the selection. Select a video clip, not audio, text, a still image, the preview canvas or empty timeline space.
- Expose the full toolbar. Swipe the Mobile toolbar or open the compact tool menu on Desktop. A narrow window can hide labels that are still available.
- Isolate a shorter section. Split around the moment you need and reverse that clip rather than a long source.
- Remove conflicts on a duplicate. Temporarily remove speed adjustments, keyframe effects, heavy effects, transitions and overlays.
- Free resources. Close other demanding apps or browser tabs and confirm that the device has working space available.
- Update safely. Check the App Store, Google Play or Desktop version controls. CapCut's Desktop update instructions warn that uninstalling during an update can risk locally saved projects, so don't make reinstall your first move.
- Flatten the problem clip. On Desktop, CapCut recommends exporting and re-importing the clip if Reverse still fails. Keep the original project and source before doing this.
If the entire editor is freezing, crashing or refusing to open, stop troubleshooting one button and use the broader CapCut not working checklist.
Export the Reversed Video Without Guessing at Quality
Reverse and export are separate decisions. The timeline operation changes playback order; the export panel decides the rendered resolution, frame rate and other available output settings. CapCut's export documentation says high-resolution options vary by platform, device and source footage, so a universal 4K promise would be misleading.
Use a short test export before rendering the whole project. Watch it on another device and check the two edit points, motion smoothness, audio, resolution and any watermark. Then use our breakdown of CapCut export settings to match the delivery platform instead of selecting the biggest number by habit.
CapCut Reverse FAQ
Where is Reverse in CapCut Mobile?
Tap the video clip on the timeline, open Edit if that group appears, then swipe the bottom toolbar until you find Reverse. If you selected audio, text, an image or empty space, the video control may not appear.
Can I reverse a video in CapCut on PC or Mac?
Yes. CapCut documents Reverse in its Desktop editor. Select the video clip and use Reverse in the toolbar above or near the timeline, then wait for processing and preview the result.
Can I reverse only one part of a video?
Yes. Split at the first and last frame of the moment, select the new middle clip and apply Reverse to that clip. Preview both joins and check any linked or detached audio.
Does CapCut reverse the audio too?
In CapCut's own reverse-audio steps, yes: the sound that is part of the video clip plays backward with it, and Extract audio then pulls that backward sound onto its own track. Builds can differ, so preview the processed clip. A separate MP3 or WAV needs a video carrier first, and backward speech or music often needs replacing anyway, which is why CapCut's reverse-music guidance suggests muting it and adding a new track.
Why is Reverse not working in CapCut?
The wrong media type may be selected, the toolbar may be hidden, or the clip may conflict with speed changes, effects or available device resources. CapCut also lists browser memory, storage, high-resolution footage and format compatibility as possible platform-specific causes.
Does reversing a video reduce quality?
CapCut doesn't publish a universal zero-loss guarantee for Reverse. Check a short exported sample and review the output resolution, frame rate and other available settings. Don't judge quality only from a low-resolution timeline preview.
This lesson is part of our step-by-step CapCut tutorial. Once the backward motion is clean, fix the sound and export before adding more effects; the useful test is the finished file, not how busy the timeline looks.