

Checked September 23, 2026. CapCut features, ChromeOS menus, Play Store support and administrator policies can change, so confirm the route on the exact Chromebook and account you use.
CapCut works on a Chromebook through three official routes: open CapCut in Chrome, install the web editor as a web app, or install the Android app from Google Play on a compatible device. CapCut’s Chromebook guidance describes all three.
My default recommendation is CapCut Web or its installed PWA. They use the same browser editor, work across more Chromebook models and avoid the mobile-layout compromises of the Android app. Choose Android only when your Chromebook supports Google Play and you specifically prefer CapCut’s touch-oriented mobile interface.
Web, PWA or Android: choose the right route
| Route | Best for | What you install | Main limitation |
|---|---|---|---|
| CapCut Web | Trying CapCut quickly, shared devices, occasional edits | Nothing; open the official site in Chrome | Depends heavily on the browser session, connection and available memory |
| CapCut PWA | Frequent browser editing with a shelf icon and app-like window | The CapCut website as a Chrome web app | It remains the web editor; installation does not guarantee full offline editing |
| CapCut Android | Touch use, a mobile-style layout, compatible Play Store devices | Android app from Google Play | Not every Chromebook supports Android apps; managed devices may block it |
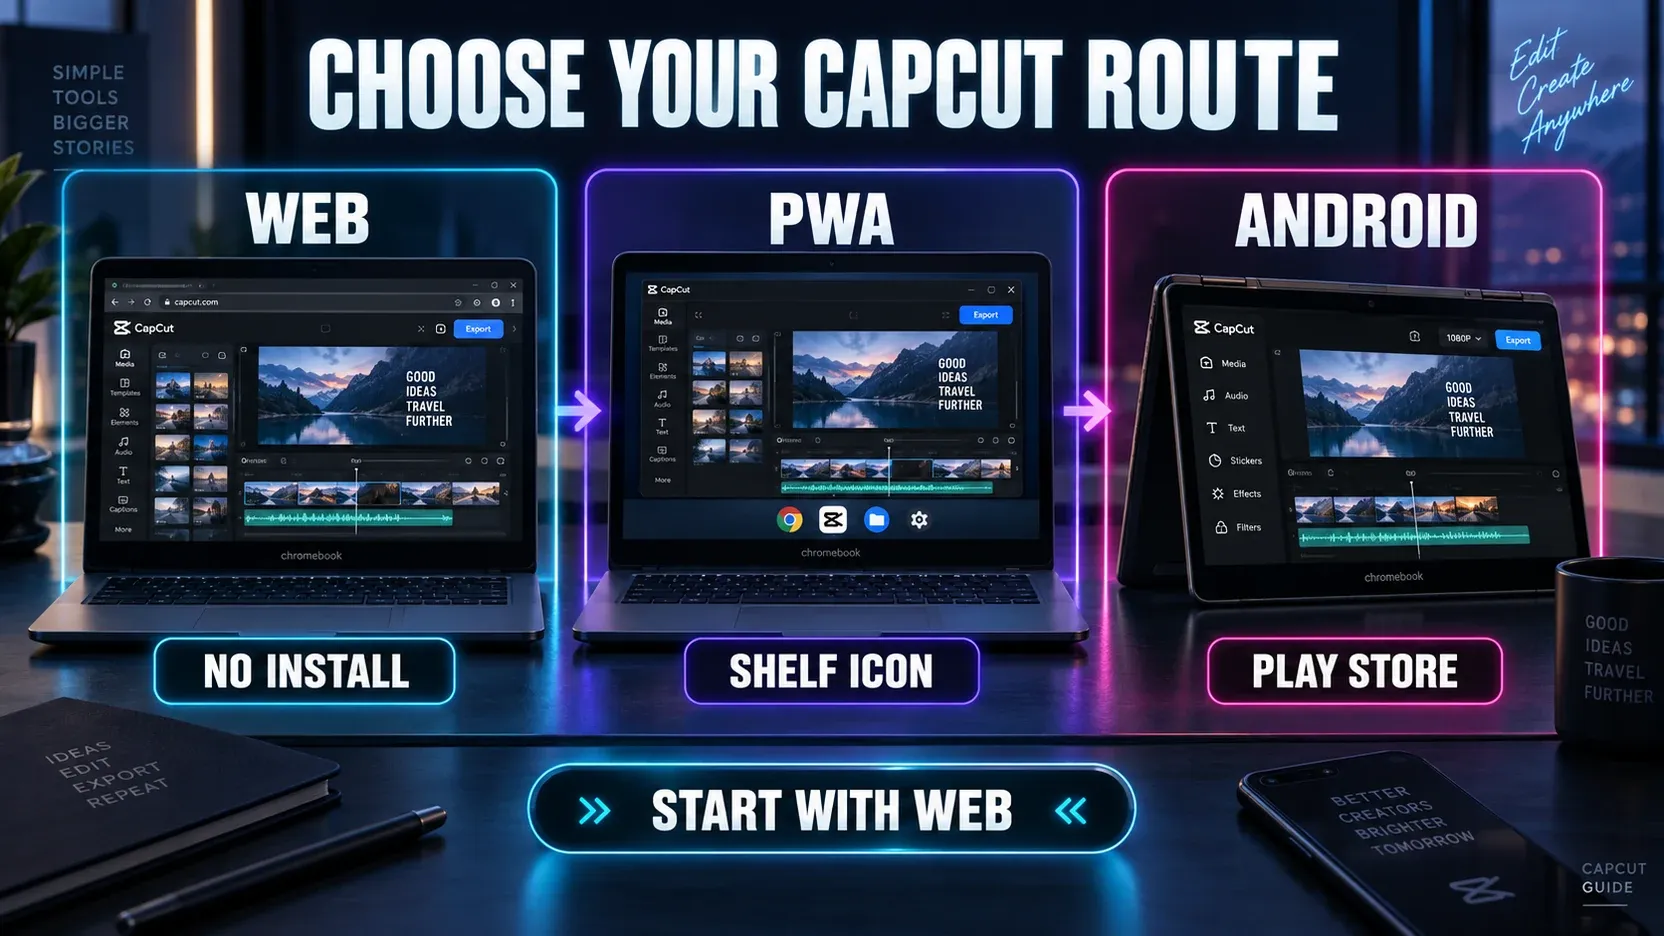
Do not treat “PWA” as a separate desktop edition. It is the web editor installed by Chrome so it can launch from the Chromebook shelf in its own window. The project and feature set still depend on CapCut’s web service and your account.
Route 1: open CapCut Web in Chrome
- Open Chrome and type
capcut.comyourself rather than searching for an extension. - Choose the online video editor from CapCut’s site.
- Sign in with the account that should own or access the project.
- Import one short, replaceable clip first.
- Add a simple cut and export it before committing a large project.
The short trial separates account, upload and export problems from project complexity. If the first clip cannot upload or export, adding more media will not fix the underlying issue. For the full browser workflow, use the CapCut Web editor guide.
CapCut Web is the safest first choice on a low-cost Chromebook because it does not depend on Android support. That does not make every Chromebook equally fast. Browser editing still needs memory, local working space, a stable connection for cloud-dependent features and enough time to encode the export.
Route 2: install CapCut as a PWA
A PWA gives CapCut its own launcher icon and window while keeping the browser-based editor. Google’s current web-app instructions explain how Chrome installs supported sites as apps.
- Open the official CapCut website in Chrome.
- Look for the install icon in the address bar or Chrome’s option to install the page as an app.
- Confirm the installation.
- Pin the new CapCut icon to the shelf if you want faster access.
- Open it and verify that you are signed into the intended CapCut account.
Choose PWA over a normal tab when CapCut is part of your regular workflow and you want fewer browser tabs around the editor. Choose a normal tab on a borrowed or shared Chromebook where you do not want to leave an app shortcut behind.
Installing a site as an app does not turn an online editor into a fully local desktop program. Projects, templates, stock assets, account sync and some editing features may still need a connection. If offline work is essential, verify the exact functions you need before taking the Chromebook away from a network.
Route 3: install the Android app
Google says Android apps are available only on supported Chromebooks. Check support before troubleshooting CapCut itself:
- Open ChromeOS Settings.
- Select Apps.
- Look for Manage Google Play preferences or the current Google Play Store setting.
- If the option exists and is allowed, open Google Play and search for CapCut.
- Check the app and publisher carefully, then install through Google Play.
If the Google Play option is absent, the Chromebook does not offer the normal Android-app route. Use CapCut Web instead. If the option is present but disabled on a school or work Chromebook, the administrator controls it.
The Android app can make sense on a touchscreen Chromebook or when you already know CapCut’s mobile interface. Keyboard shortcuts, file pickers, window sizing and export destinations may feel different from a native desktop editor. Do not assume an Android app becomes a ChromeOS desktop app simply because it runs in a laptop window.
For official Android download checks and package risks, see the CapCut Android installation guide.
School and work Chromebooks
A managed Chromebook follows the organisation’s policies. Google’s administrator documentation confirms that managed users receive only Android apps their administrator allows. The same organisation may also restrict website access, sign-in providers, uploads, downloads, removable drives or cloud storage.
Use this order:
- Check whether
capcut.comopens. - Confirm whether your account is allowed to sign in.
- Ask whether uploading the intended media is permitted.
- Check whether Google Play and CapCut are approved if you want the Android route.
- Use only storage locations approved by the school or employer.
Do not try to bypass an administrator block with an extension, sideloaded package or personal account. A technical workaround does not override the organisation’s rules for private footage, student data or company files.
Import video from Downloads, Drive, USB or SD
ChromeOS handles files through the Files app. Google’s Chromebook file guide covers local files, Google Drive and external storage. The practical choice is whether the editor needs a local copy or can reach the file through the picker.
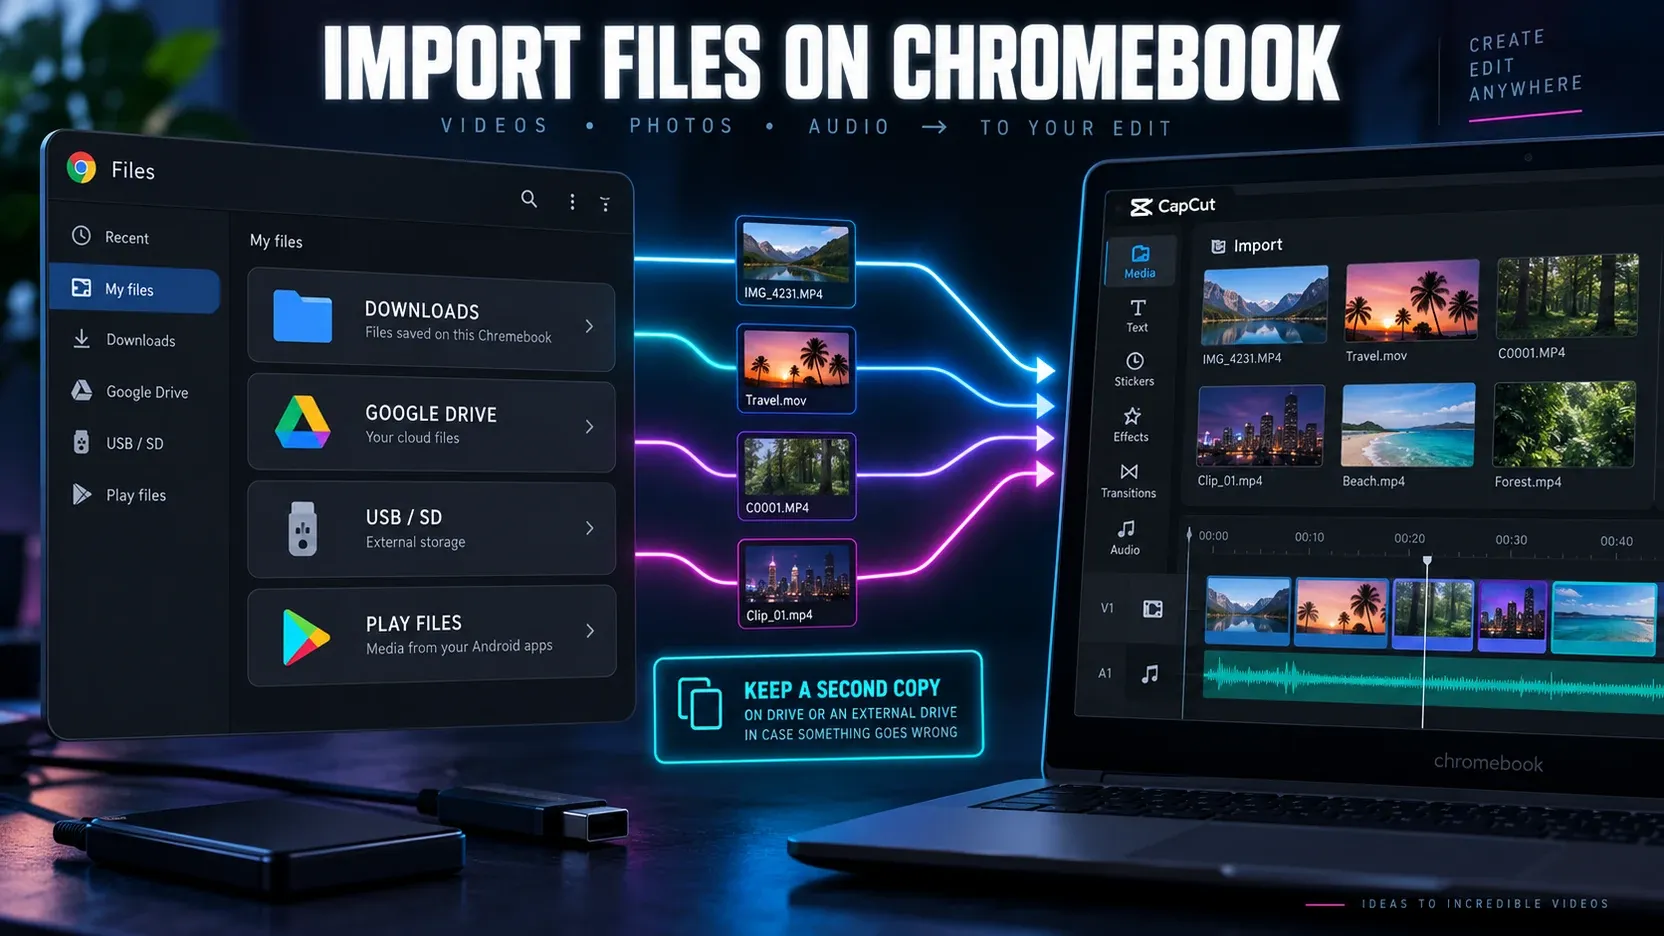
From Downloads
Open Files → My files → Downloads and confirm the file is fully present, not a partial browser download. Open it in another current player and scrub through several points. Then import it in CapCut.
Downloads is convenient staging space, but it is a poor home for the only copy of important footage. ChromeOS can remove downloaded local files when storage is critically low. Keep the original in Drive, on an external drive or on another backed-up device.
From Google Drive
Wait until large files are available locally when the connection is slow or unreliable. A visible filename or thumbnail does not always mean every byte is ready for sustained video editing. Copying the clip to a local project folder can make access more predictable, provided the Chromebook has enough space.
From USB drive or SD card
Connect the device, open Files and confirm the volume appears. Copy media to a controlled project folder when the removable drive is slow or will be disconnected during editing. If the Android app cannot see external media, review its file and storage permissions; ChromeOS may require explicit access.
From the Android file area
Files created or downloaded by Android apps can appear under My files → Play files. Use that area when a clip is visible to the Android app but not where you expected in Downloads. Moving a file changes its path, so finish the move before importing and avoid renaming or relocating it mid-project.
If CapCut rejects a clip that ChromeOS can open, inspect the actual codec rather than trusting the .mp4 or .mov extension. The CapCut supported formats guide explains why a familiar container can still hold an unsupported video or audio stream.
Protect source files before editing
A Chromebook with small internal storage can put project media and exports in competition for the same free space. Use one stable project folder and keep a second copy outside Downloads.
A simple layout is enough:
CapCut_Project/
  01_Source/
  02_Audio/
  03_Graphics/
  04_Exports/
  05_Archive/
Before removing anything, distinguish the editable project from its media and from the finished export. They are not interchangeable. The CapCut project-location guide explains that an exported MP4 does not restore separate timeline tracks and effects.
For important work, keep the source media in Drive or on external storage, make a local working copy when performance requires it, and copy the approved export back to durable storage. Do not let Downloads contain the only source and the only export.
Make CapCut more reliable on a limited Chromebook
Chromebooks range from low-memory education models to higher-end devices. There is no honest universal clip-length or resolution limit because performance depends on the device, source codec, browser state, effects, free space and the current CapCut build.
Use these controls instead of guessing:
- Close unused tabs and Android apps before editing.
- Restart ChromeOS when a long session has accumulated memory pressure.
- Keep enough free internal space for uploads, temporary data and the export.
- Edit a short representative section before building the full timeline.
- Reduce simultaneous overlays, high-resolution sources and heavy effects when playback becomes unstable.
- Split a long production into sections only if you can reassemble and check them without losing timing or quality.
- Preserve the original media before creating lower-resolution working copies.
A smooth preview does not guarantee a successful final export, and a stuttering preview does not always mean the source is damaged. Export a demanding 15–30 second section early. It is cheaper to discover a codec, storage or effect problem there than at the end of a long timeline.
Export the video and move it out of Downloads
- Confirm the timeline’s beginning, end, aspect ratio and frame rate.
- Choose an export resolution supported by the source and intended destination.
- Save a short representative export first when the project is demanding.
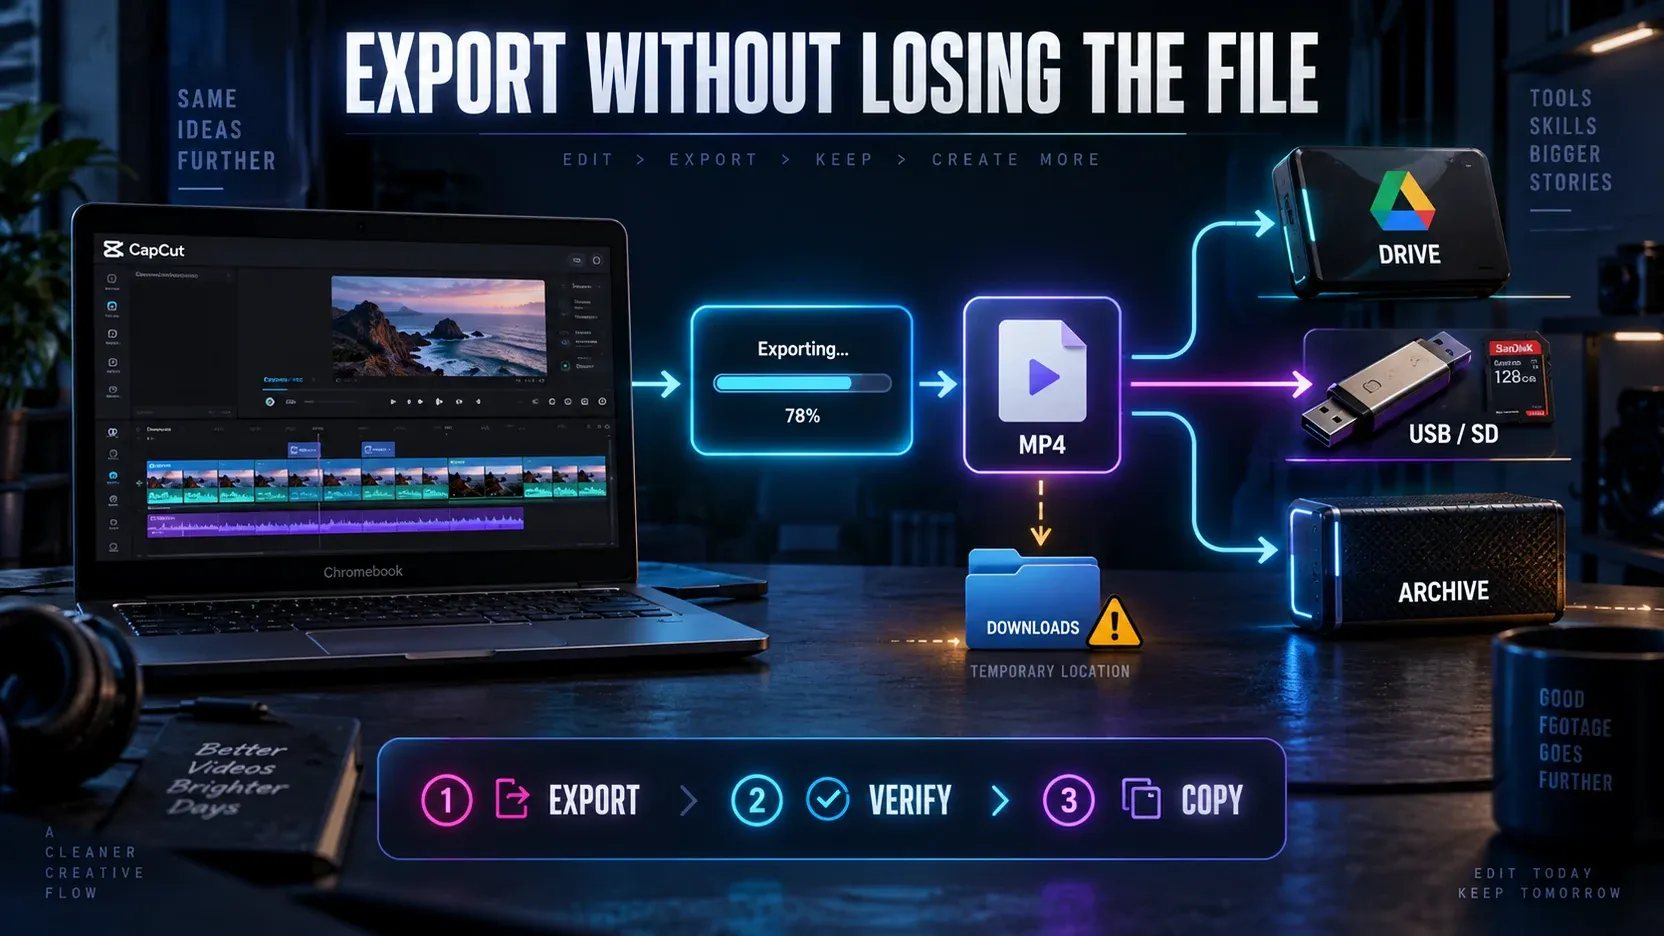
- Open the finished file outside CapCut and check picture, sound, captions and duration.
- Find it in the location selected by the browser or Android app, commonly Downloads.
- Rename it clearly and copy the approved version to Drive or external storage.
- Keep the earlier version until the new copy opens correctly from its final location.
Do not choose the highest available number automatically. Upscaling cannot restore detail missing from the source and can increase export time and storage use. The CapCut export settings guide covers resolution, frame rate, codec and bitrate, while the export quality guide helps separate source softness from an encoding problem.
Avoid random “CapCut” Chrome extensions
The observed Google results include a Softonic extension page and a Chrome Web Store listing alongside CapCut’s own pages. A result title that contains “CapCut” does not prove that CapCut published the extension.
The official Chromebook routes documented by CapCut are its website, the installed web app and the Android app through Google Play. Start from capcut.com or a verified Google Play listing. Before granting any extension access, check the publisher, privacy disclosure, requested permissions, update history and whether the extension is needed at all.
For normal CapCut Web use, an extension should not be necessary. Avoid tools that ask to read all browsing data, replace downloads or access files without a clear reason tied to the editing task.
CapCut on Chromebook FAQ
Is CapCut free on Chromebook?
CapCut offers a browser editor and Android app, but available features, assets, cloud services and paid plan limits can change. Check the account and export screen for the exact feature you need rather than assuming every tool is free.
Is the CapCut PWA different from CapCut Web?
It is the website installed as a Chrome web app. The PWA gets its own window and launcher icon, but it still uses CapCut’s web service rather than becoming a separate native ChromeOS editor.
Can I use CapCut offline on a Chromebook?
Do not plan around complete offline access without checking your exact route. A PWA installation alone does not guarantee offline editing, and web assets, account sync and cloud features may need a connection. Android local editing can also depend on assets and features that were not downloaded.
Why is CapCut missing from Google Play?
The Chromebook may not support Android apps, the account or region may not expose the listing, or an administrator may block it. If ChromeOS Settings has no Google Play preferences, use CapCut Web.
Where does CapCut save exports on Chromebook?
The selected download location controls the result. Browser and Android exports commonly appear in Downloads, but settings and file pickers can change the destination. Open Files immediately after exporting and move the approved file to durable storage.
Can a school Chromebook run CapCut?
Only if the school allows the website or app, sign-in method, media upload and storage route. Ask the administrator; do not bypass device policy.
The practical recommendation
Open CapCut Web first. If the trial import and export work and you want a dedicated launcher, install the same editor as a PWA. Choose the Android app only when Google Play is supported, the administrator allows it and the touch-oriented interface fits your workflow.
Keep important media out of Downloads as the only copy, run a short export before building a large edit, and verify the final file outside CapCut. That workflow matters more than whether the editor opens in a browser tab, a PWA window or an Android container.