

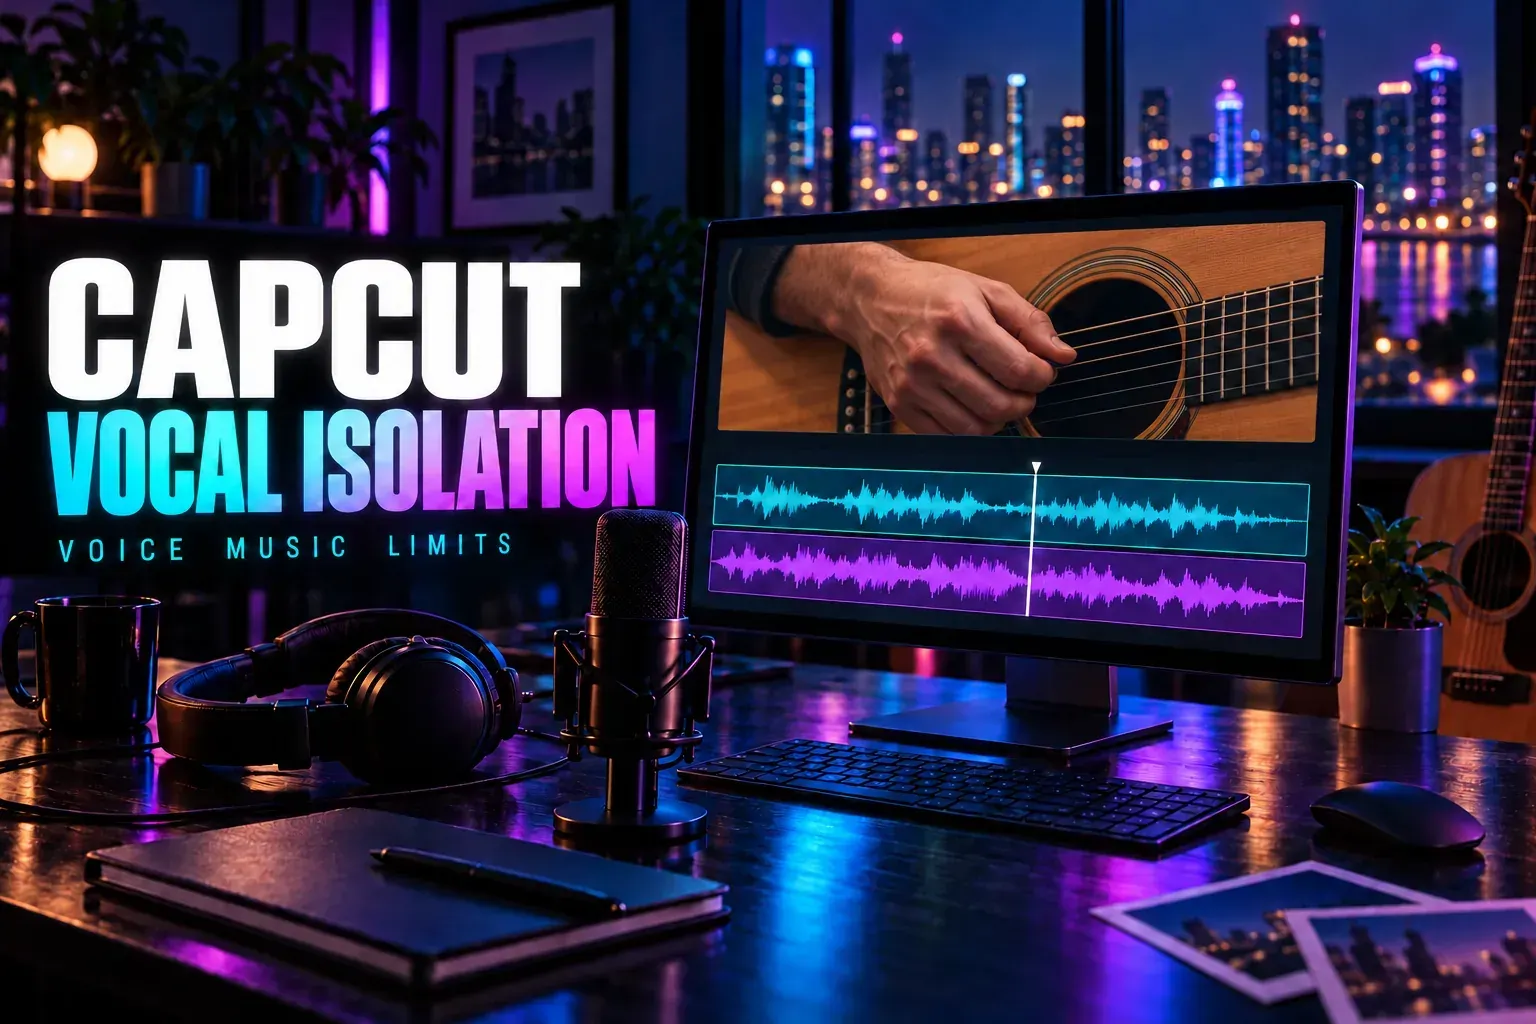
In CapCut Desktop, select the song on the timeline, open its Basic audio settings and enable Vocal isolation. Choose Keep vocal for the vocal part, or Remove vocal for the instrumental. If the song is inside a video clip, look under that clip’s Audio settings. CapCut’s Desktop vocal-isolation instructions document these two modes; labels and availability can vary by build and account.
The choice that matters is what you want to hear afterward. A vocal for a remix and a backing track for singing are opposite outputs. Neither one gets the original studio tracks back: the software estimates the parts from a recording where they’ve already been mixed together.
I’d decide on the musical job before touching the setting. Knowing the job first makes the next decisions much easier, especially when a result sounds impressive in one passage and falls apart in another.
Choose the mode for the part you need
Keep vocal aims to hold on to the singing or voice while turning down the accompaniment. Pick this mode when you want an acapella-style vocal part. Instruments, room sound or effects can stay with that voice.
Remove vocal aims to turn down the singing while keeping the accompaniment. That’s the direction for an instrumental or karaoke-style backing track. Traces of the singer can still remain, and some musical detail may disappear along with the voice. CapCut’s vocal-removal guide acknowledges that complete separation isn’t guaranteed.
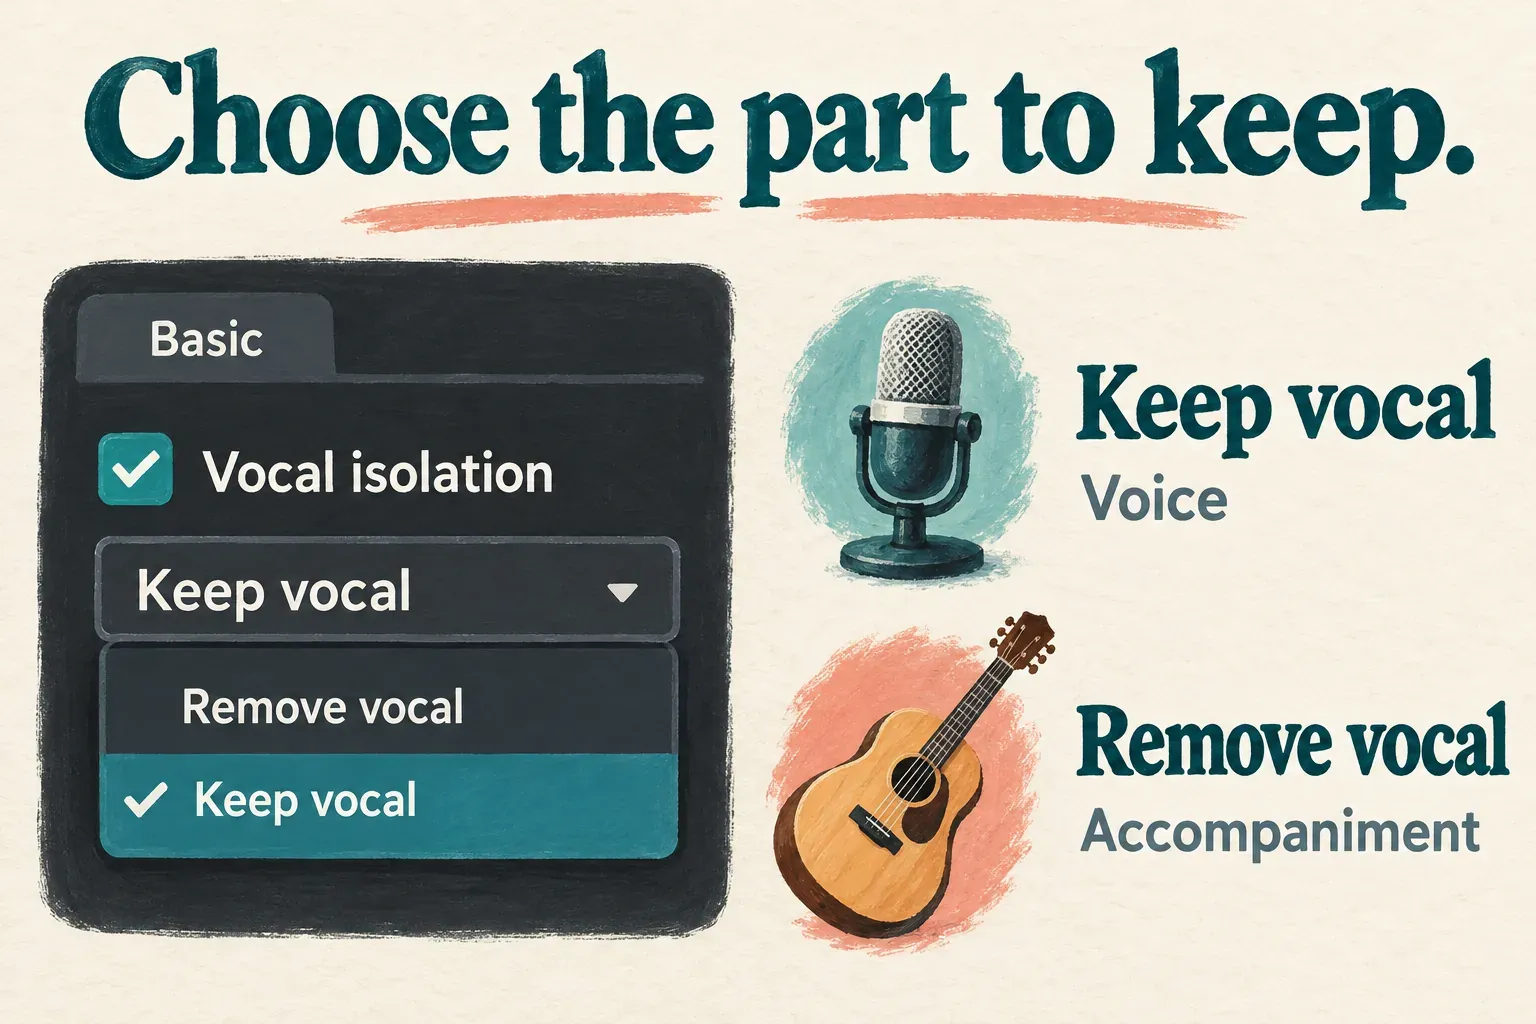
Start with the source recording you’re entitled to use, and keep an untouched copy. Put the recording on the timeline, select it and find the audio panel. Enable Vocal isolation, choose the mode you need and let processing finish before you judge the result. A blank moment during processing doesn’t prove the song has been separated successfully.
If the setting isn’t there, make sure you selected a timeline clip that carries audio. Then check your platform, build and the account’s feature access. This Desktop route doesn’t prove the menu is identical on every Mobile or Web version. A payment prompt is an access condition to review, instead of a reason to download an unofficial older build.
There’s no reliable blanket promise that a currently available mode will also export free on every account. Read the feature and export prompts in your own version before you build a whole project around that mode.
Listen where the arrangement gets difficult
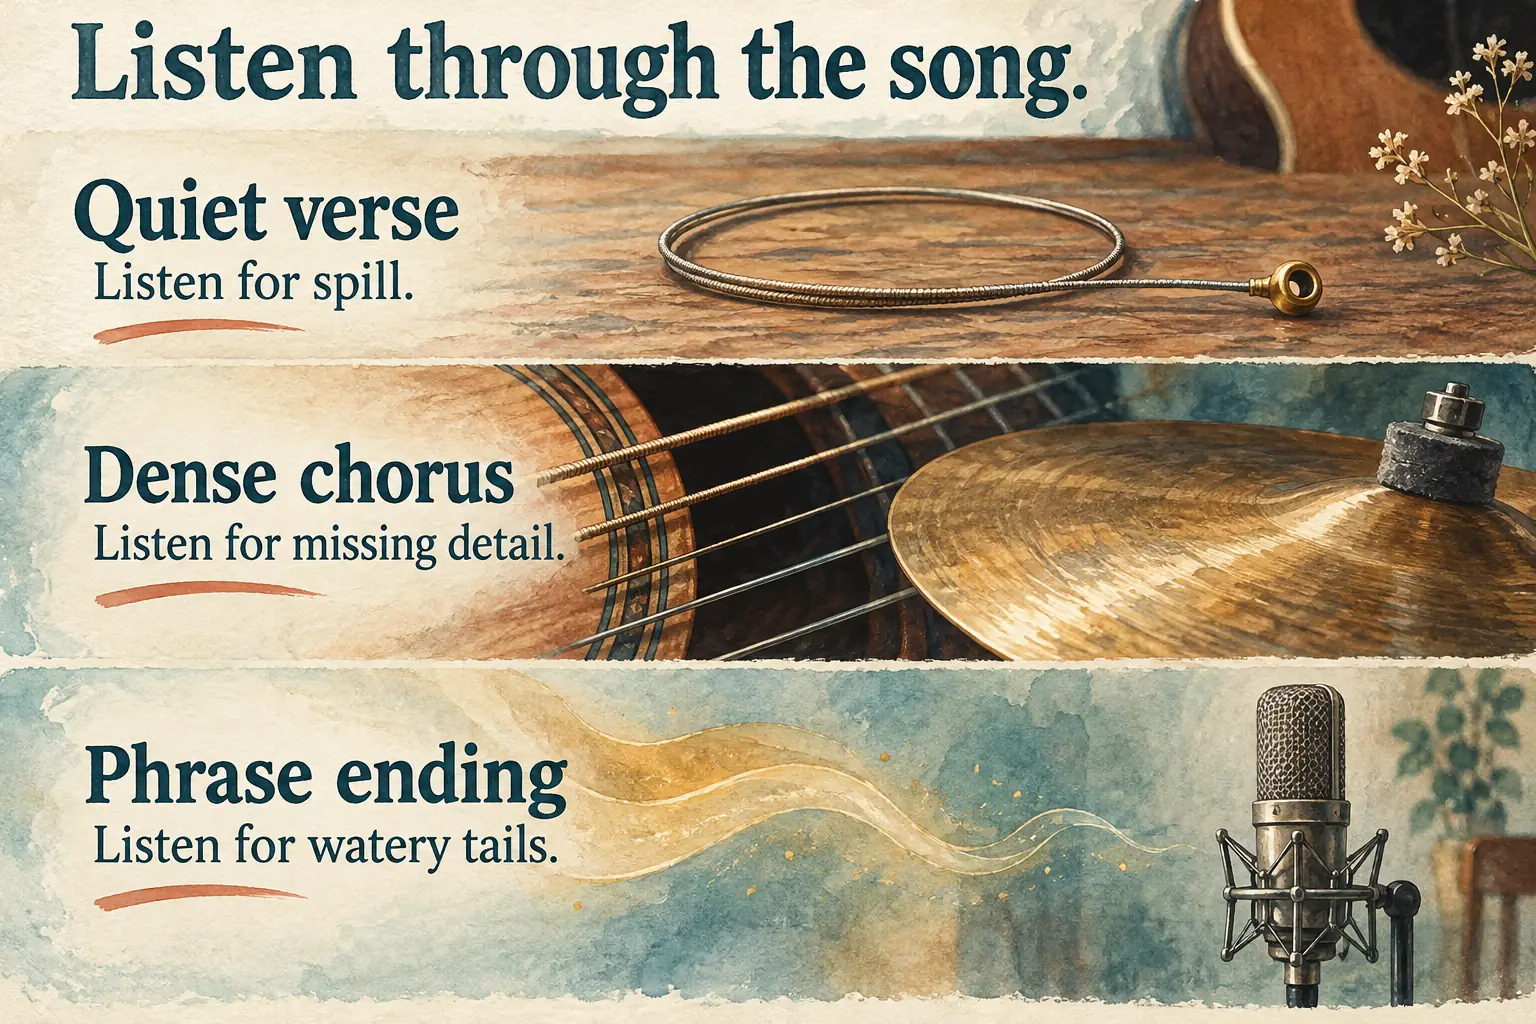
A sparse verse can hide problems that a full chorus exposes. Before you rely on the separated part, listen through the passages that matter to the edit you have in mind, including where each phrase starts and ends.
For a vocal, focus on consonants, held notes, breath and word endings. Listen for guitars or cymbals bleeding through, watery changes in the voice, and backing singers who’ve turned thin or incomplete. Vocal effects can stay attached to the singing. Don’t expect a dry studio microphone track from a mix that’s already reverberant.
For an instrumental, listen for a faint lead vocal, missing musical accents or a hollow patch when the singer enters. Drums and guitars that sound fine between phrases may change when the voice overlaps them.
Listen to the part you want on its own, then inside the edit where you plan to use it. A little leftover accompaniment may hide under a new arrangement but stand out in a solo vocal. That’s a call about this output and this use, not proof that the separator worked perfectly.
Don’t reach straight for a stack of effects to compensate. Decide first whether the separation is usable. Louder output can make the leftover sound louder too. Speech enhancement isn’t a general repair for an instrumental whose instruments have been damaged.
If you need a clean professional acapella, the licensed original vocal stem is the better source when one’s available. For a backing track, a properly licensed instrumental release saves you from asking separation to rebuild information that’s tangled up in the mix.
Keep the original timing and export one deliberate version
If you want both a vocal and an instrumental, treat them as two deliberate outputs. Having two modes doesn’t mean that picking one automatically gives you two independent studio stems or a special multitrack export.
Keep the source start position and intended end consistent between versions. Save a working duplicate before you switch the isolation choice. Give the resulting files different names so you can tell the vocal from the instrumental later. When you rebuild an edit, line them up to the same source position instead of trimming each one until it only sounds close.
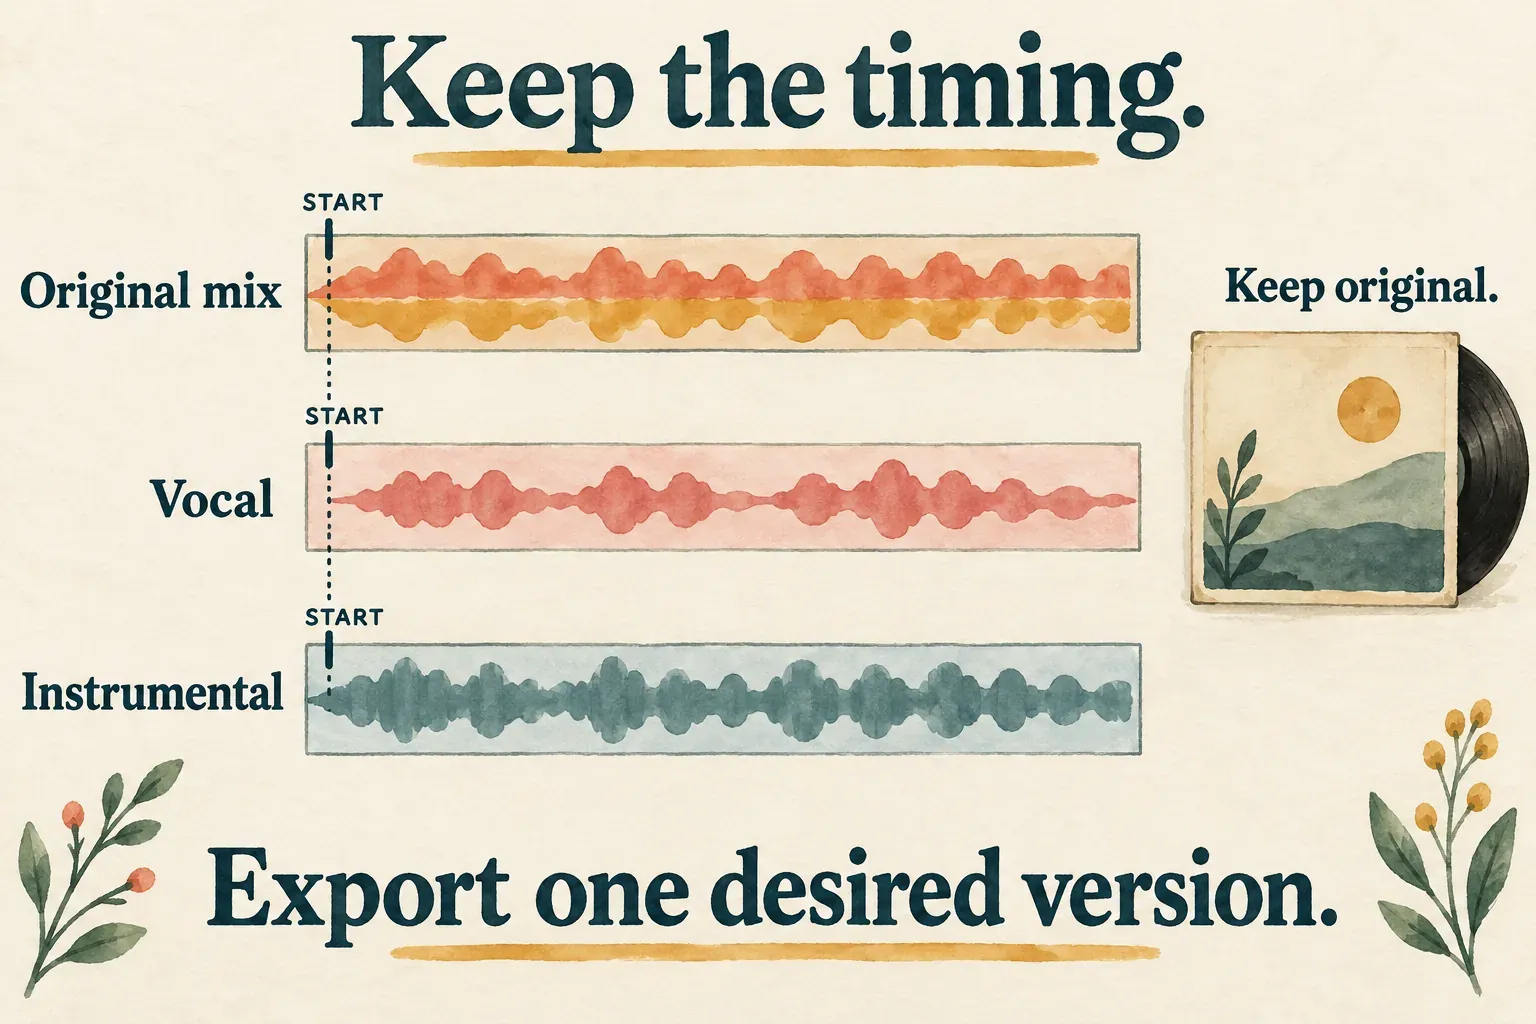
Before you export, make sure the untouched mix isn’t also audible underneath the separated version. The original can bring back the singer or instruments you were trying to remove. Look for other copies of the same song elsewhere on the timeline too.
Use the audio-only export guide for the output controls available in your build. Isolation and export format solve different problems. Choosing a higher-bitrate file won’t turn a poor separation into an original stem.
Open the saved file and listen to the same difficult passages. Check that the file holds the part you wanted, that the beginning and ending are intact, and that no other timeline track slipped into the export. These checks are about the file you’ll use. An encouraging preview on its own isn’t enough.
Know when another audio task is the better route
Vocal isolation is useful for pulling apart a mixed musical recording. That’s a different job from reducing room hiss, muting a clip or balancing separately recorded tracks.
If your goal is clearer interview speech, start with the background-noise guide, which covers the surrounding cleanup decisions. If you want silence, remove the clip’s audio instead of asking a separator to leave an empty track. When you already have separate voice and music recordings, the audio-mixing guide is the more direct route to balance them.
A processed song still carries its rights obligations. Removing the singer doesn’t make someone else’s composition or recording yours. CapCut’s music-license terms require the relevant rights or permissions for uploaded music; CapCut library materials have their own permitted uses and conditions. Check the exact track’s license and intended destination before you publish a remix, karaoke video or commercial edit.
Pick the mode, weigh the musical compromises and export the part you were after. Keep the original so a usable separation stays a choice you can come back to.