

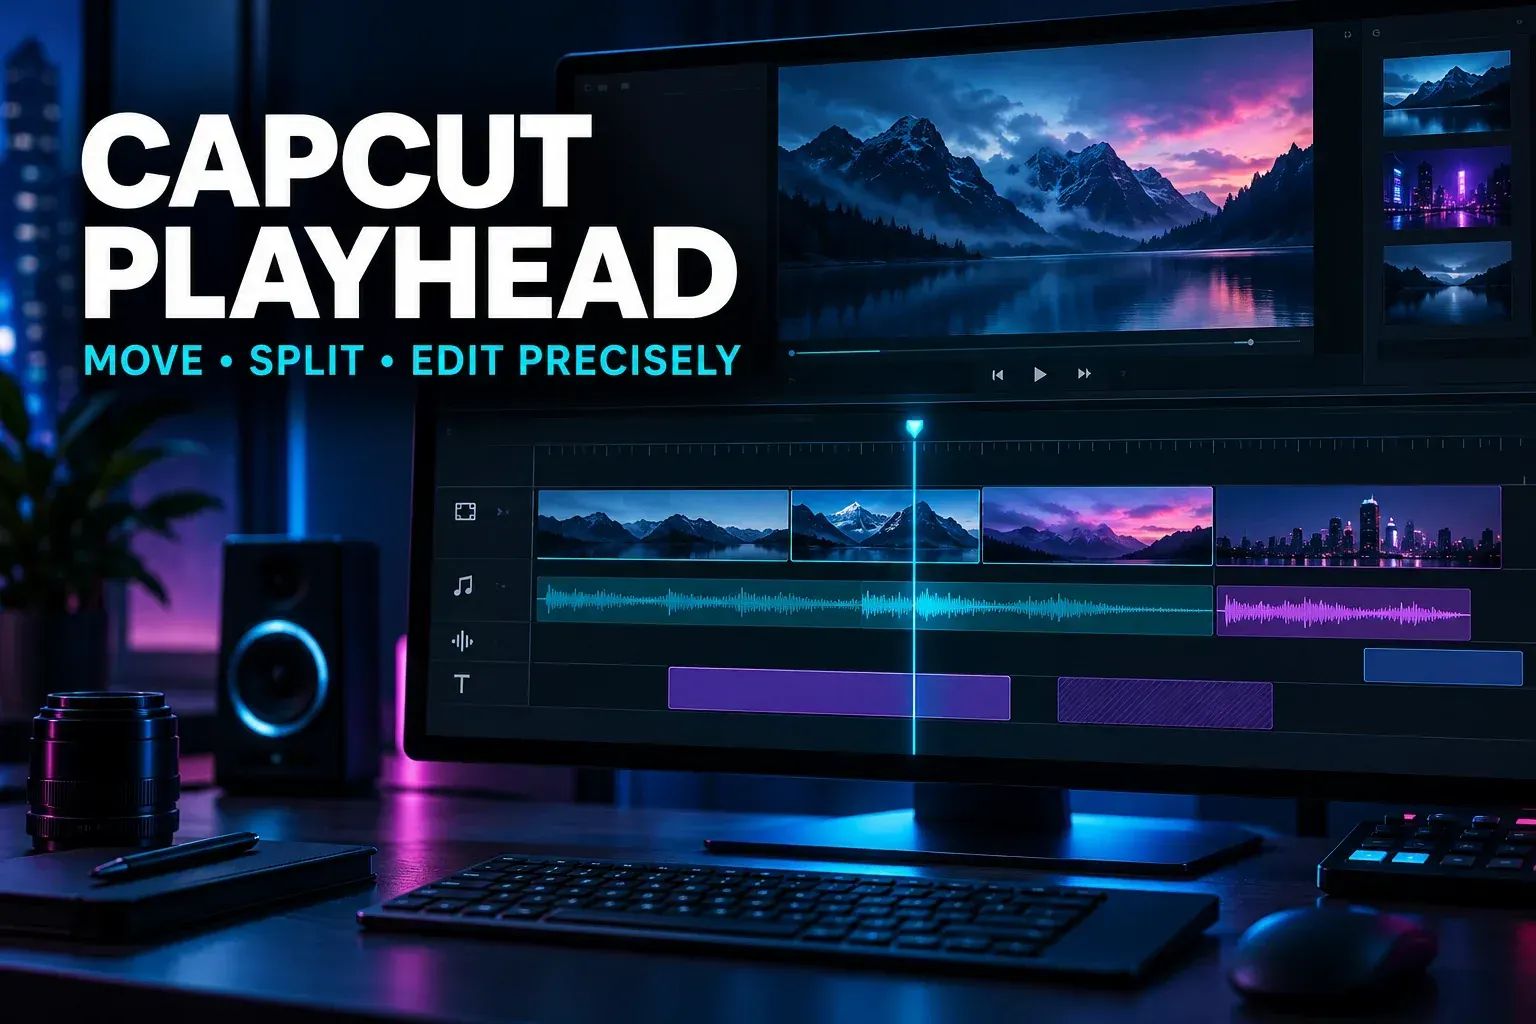
The playhead is the vertical position marker on the CapCut timeline. It identifies the current moment in the project: the preview shows the frame at that position, and commands such as Split act there. Place it before you cut, add a keyframe or inspect a transition.
A playhead is easy to overlook because it looks like a thin line, but much of timeline editing depends on it. If a cut lands early, a keyframe appears at the wrong time or the preview seems unrelated to the clip you selected, the first thing to check is the playhead position.
This guide explains what the marker controls, how to move it accurately on CapCut Mobile, Desktop and Web, and how to diagnose the common cases where it jumps or feels imprecise. For the broader beginner sequence, start with the CapCut tutorial learning path.
What is the playhead in CapCut?
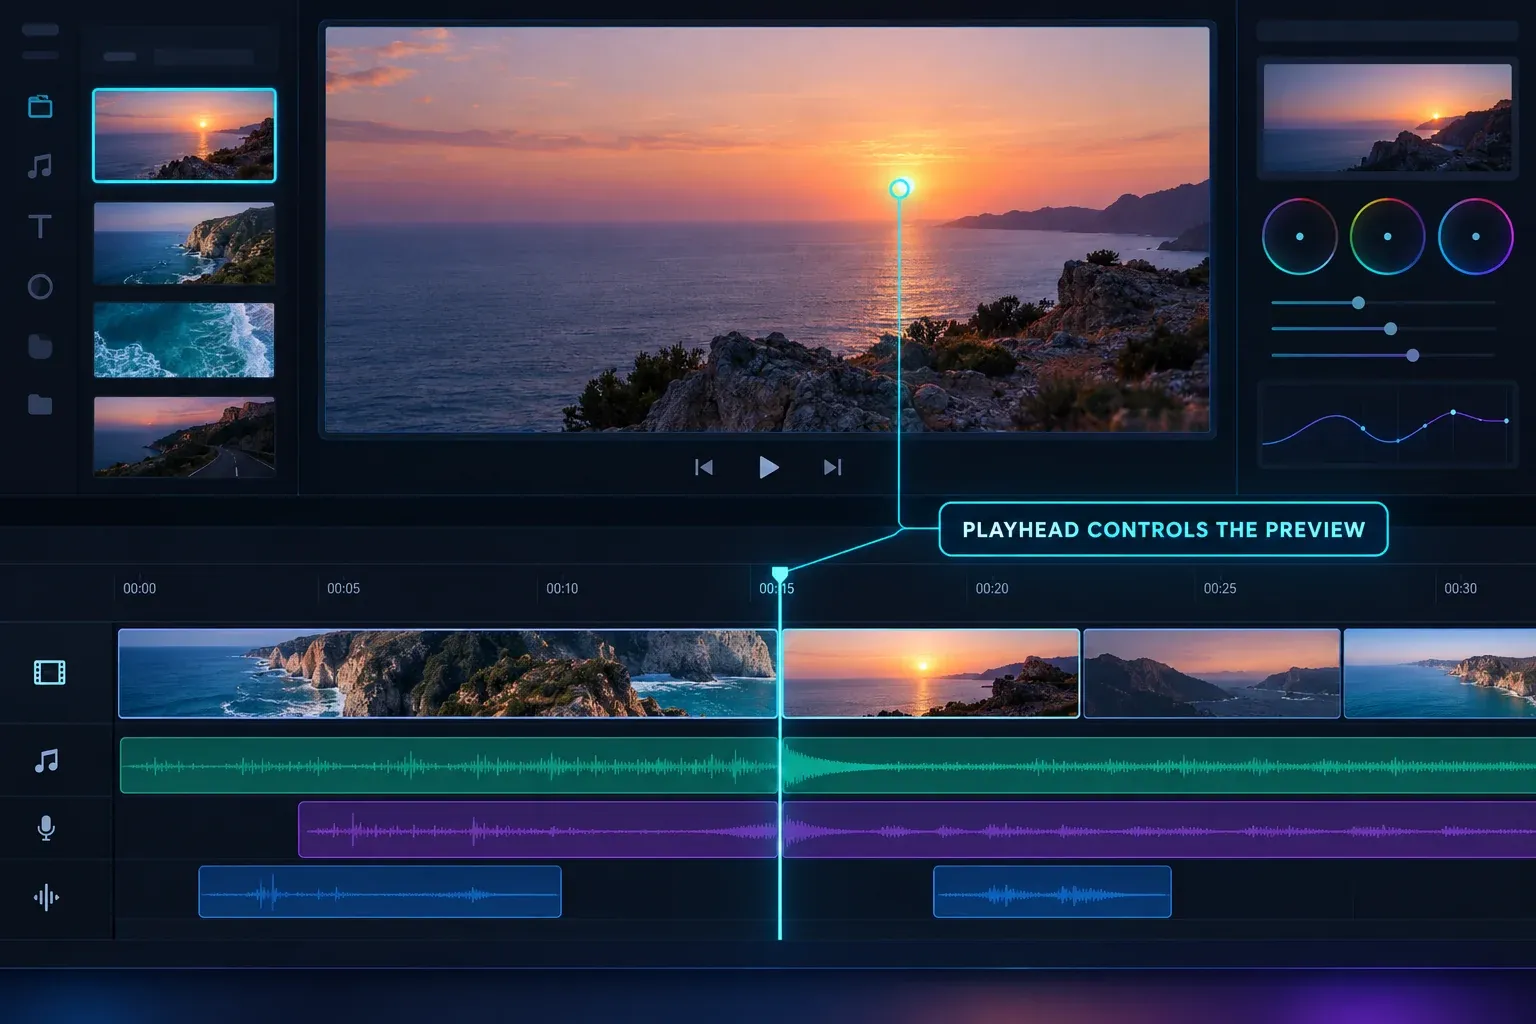
The playhead marks one timecode on the timeline. CapCut's preview, timeline tools and time-based controls use that position as a shared reference. When you move the marker, the preview changes to the corresponding frame. When you press play, the marker travels along the sequence. When you stop, it remains at the current position.
The playhead is different from a selected clip. Selection answers which item you intend to edit; the playhead answers where in time the action should happen. A clip can be selected while the marker sits over another point in the project. Many editing mistakes come from checking only one of those two states.
- Timeline: shows clips, audio, text, effects and their timing.
- Playhead: marks the current time within that timeline.
- Preview: shows the video frame produced at the playhead position.
- Selection: identifies the clip or layer that will receive an edit.
How to move the playhead
The basic action is the same on every platform: move to the required moment on the timeline, then verify the preview. The controls differ because touch, mouse and keyboard input offer different levels of precision.
Mobile
- Open the project and locate the timeline beneath the preview.
- Swipe the timeline horizontally until the intended moment meets the stationary playhead, or drag the marker if the current mobile layout allows it.
- Pinch outward on the timeline to zoom in before choosing a precise frame.
- Check the preview and the time display, then select the clip that should receive the edit.
On a phone, zoom matters more than finger speed. A long clip compressed into a narrow timeline makes a small movement cover several frames. Enlarge the timeline first, then make the final adjustment.
Desktop
- Click the timeline at the approximate moment you need.
- Click or drag again after zooming in if the first position is too broad.
- Give the timeline keyboard focus and use the Left and Right Arrow keys for frame-by-frame movement where the current shortcut mapping supports it.
- Press Space to play or stop the preview, then compare the frames immediately before and after the intended boundary.
Keyboard commands depend on focus. If an arrow key changes a value in the inspector or moves through another control, click the timeline and try again. CapCut also allows shortcut customization in some desktop versions, so the visible shortcut settings are the final authority for that installation.
Web
Click the online editor's timeline to place the marker, then zoom the timeline for a closer choice. CapCut's online trimmer instructions use the same upload, timeline edit, preview and export sequence, although the Web editor does not always expose every Desktop control. If a documented keyboard command does nothing, use the visible timeline and toolbar controls rather than assuming the project is broken.
How to position the playhead precisely
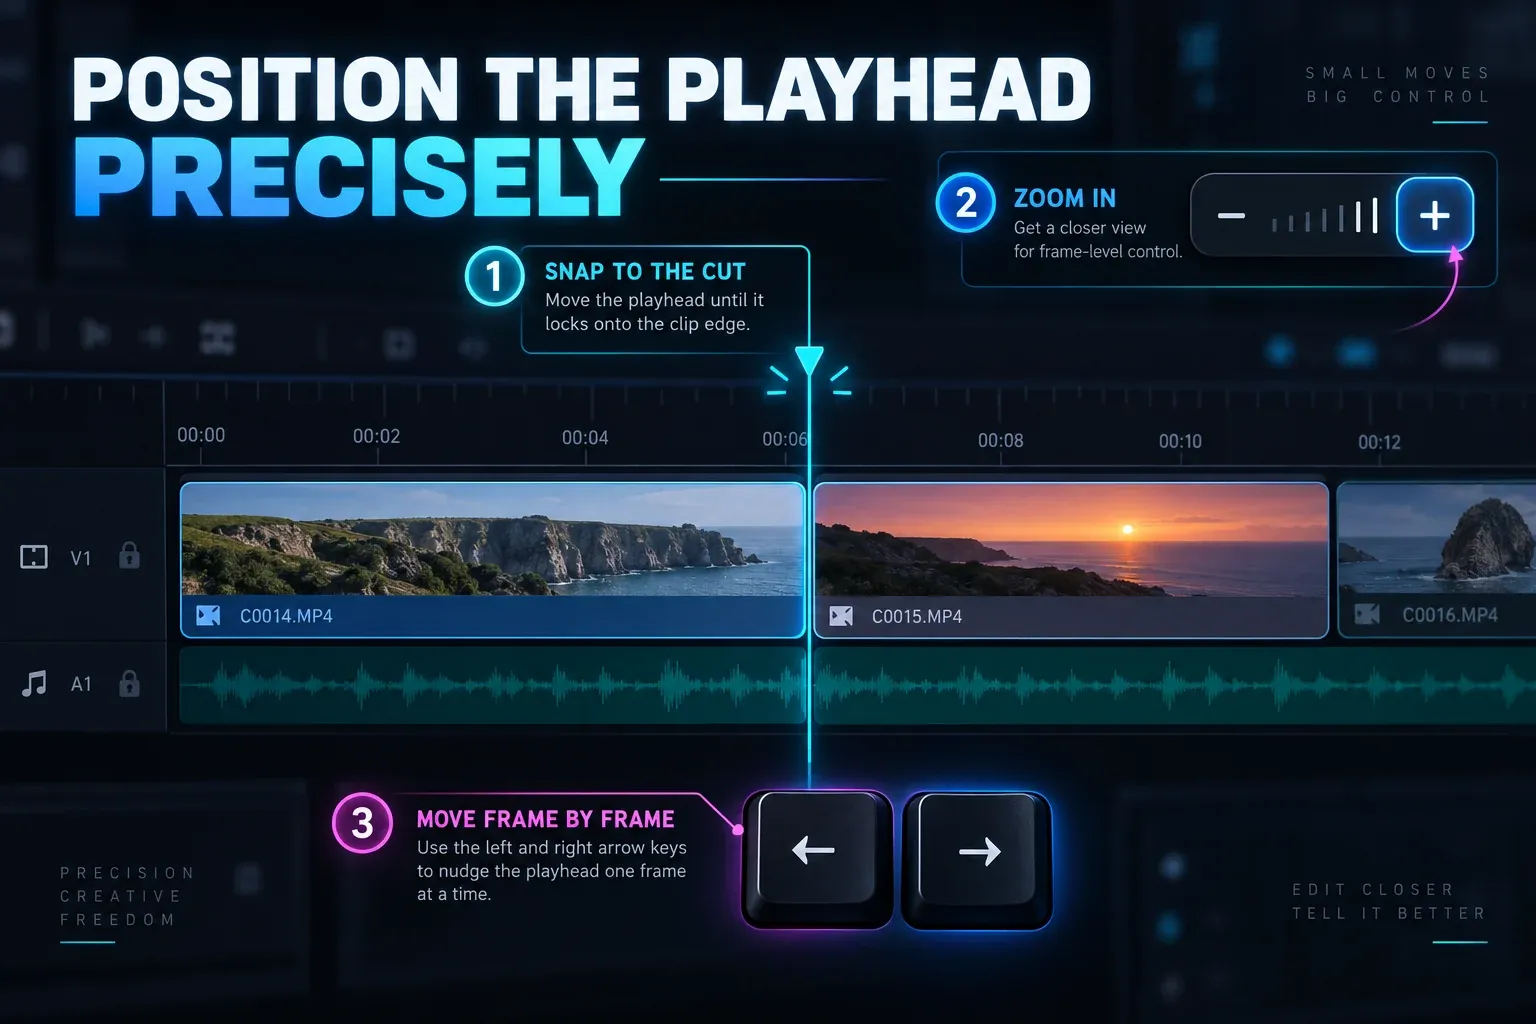
A precise edit starts with a broad move and ends with a small one. Trying to land on the exact frame in a fully zoomed-out timeline is slower and less reliable than narrowing the range in stages.
- Find the event. Play the section once and stop near the action, word or beat.
- Zoom the timeline. Increase timeline scale until individual movement is easier to judge.
- Step around the boundary. On Desktop, use frame movement when available. On touch devices, make shorter swipes after zooming.
- Read the preview. Decide which frame belongs before the cut and which belongs after it.
- Check the target clip. Confirm that the intended video, overlay, audio or text item is selected.
How Split uses the playhead
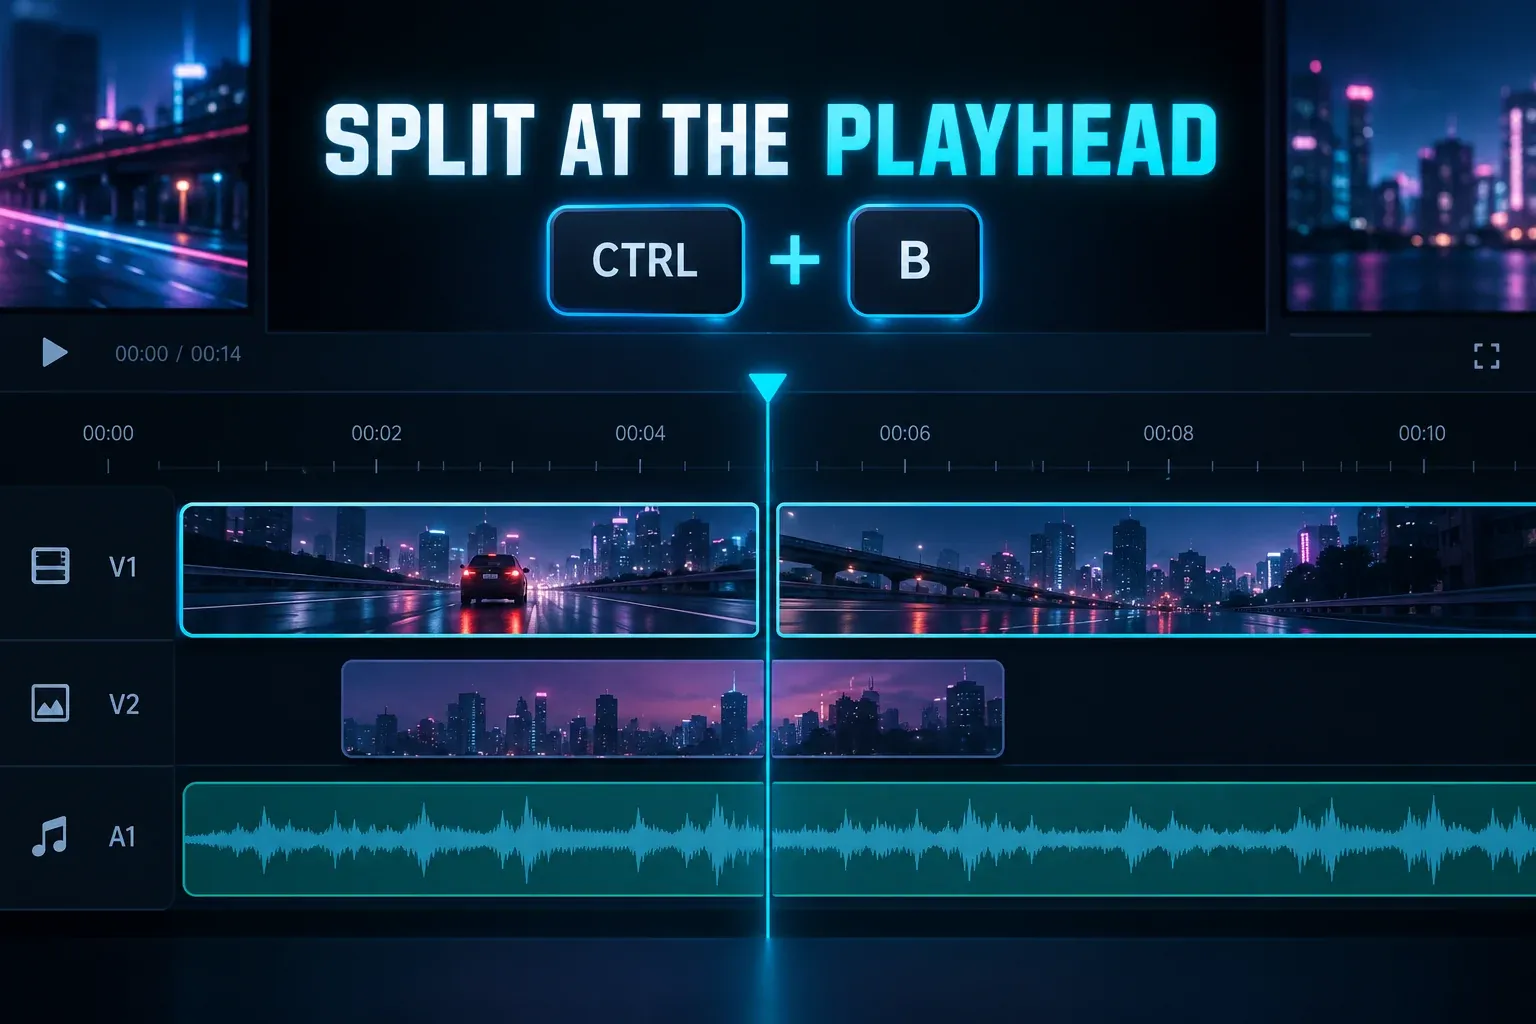
Split divides a selected timeline clip at the marker. CapCut's current split-video guide describes the same sequence: put media on the timeline, move the playhead to the required point and choose Split. The full CapCut cut, trim and split guide covers trimming clip edges, removing a middle section and keeping dependent layers in sync.
- Select the intended clip on the timeline.
- Move the playhead to the first frame of the new section.
- Use the visible Split control. On Desktop, use the shortcut shown in CapCut's current shortcut settings if you prefer the keyboard.
- Select each resulting section separately and verify that the correct clip was divided.
- Play through the join with sound before deleting, moving or retiming either side.
If Split is unavailable, the marker may be correctly placed while the wrong item is selected. Select the editable clip itself, not an empty track area, locked item or unrelated layer. The visible toolbar can also change with platform, version and window size.
Why the preview and timeline can seem out of sync
The preview represents the whole composition at the playhead: the main clip plus every visible overlay, title, effect and transition active at that moment. The selected clip is only one part of that composition. This explains several confusing situations:
- The playhead is over one clip, but an overlay covers most of the preview.
- A transition blends two clips, so the preview contains information from both sides.
- A frozen or duplicated layer hides the movement in the main clip.
- The marker sits in a gap, while a longer background or audio layer continues.
- Playback preview lags on a complex project and catches up after playback stops.
Stop playback, wait for the preview to settle and inspect which layers cross the marker. If the problem appears only during playback, preview performance may be the issue rather than the playhead position. CapCut describes lower preview resolution and proxy editing as performance aids in its PC editor overview.
Why the playhead jumps or will not stay where you put it
A jump is usually caused by timeline scale, snapping, playback or input focus. Work through these checks in order.
| Symptom | Likely cause | What to do |
|---|---|---|
| The marker lands near a clip edge | Snapping is attracting it to a nearby boundary | Zoom in and temporarily adjust Auto Snapping if the current editor provides that control. |
| A tiny drag moves too far | The timeline is compressed | Increase timeline zoom before the final movement. |
| Arrow keys change another control | The timeline does not have keyboard focus | Click the timeline, then use the current frame-movement shortcut. |
| The marker keeps moving | Playback is still active | Stop playback with Space or the visible play button before positioning it. |
| The preview shows an unexpected image | Another visible layer crosses that time | Inspect overlays, text, transitions and track visibility at the marker. |
| The line is hard to see | Low contrast, dense tracks or narrow workspace | Enlarge the timeline area, collapse unused tracks and move away from a crowded boundary. |
Snapping is useful when the goal is to align with a clip edge. It becomes unhelpful when you need a nearby frame that does not share that boundary. Do not disable it permanently by habit; change it only for the edit that needs freer movement, then check alignment again.
How the playhead relates to keyframes
A keyframe stores a property value at a specific timeline position. The playhead chooses that position before the keyframe is added or adjusted. CapCut's keyframe instructions describe moving the playhead to a start point, adding a keyframe, moving to a later point and changing the same property to create motion between the two states.
Selection still matters. CapCut's PC help notes that keyframe controls may not appear until a supported video, image or text clip is selected. The marker can be in the right place while the property panel belongs to the wrong item. Use the CapCut keyframes guide for the complete start-state, end-state and easing workflow.
Mobile, Desktop and Web differences
The playhead's job does not change, but the way you control it does.
- Mobile: the timeline often moves beneath a central marker. Pinch zoom and short swipes provide the practical route to accuracy.
- Desktop: mouse placement, timeline zoom and keyboard controls make adjacent-frame comparison easier. Shortcut mappings may be customized.
- Web: click and drag controls cover the main workflow, but some Desktop shortcuts or advanced panels may be absent or arranged differently.
CapCut updates interface labels and tool placement over time. Use the purpose of the control—current time, timeline zoom, Split, playback—rather than relying on one interface layout's exact button position.
A short playhead workflow for a clean cut
- Duplicate the project or protect the current editable version before a structural change.
- Play the section once and stop near the intended cut.
- Zoom the timeline and compare the adjacent frames.
- Select the intended clip and verify the preview.
- Split at the playhead.
- Play from a few seconds before the cut through a few seconds after it, with sound.
- Check overlays, captions, effects and detached audio that cross the boundary.
- Undo immediately if the wrong item split or timing shifted.
When the edit is complete, inspect the exported file as a separate step. The playhead helps you build the timeline; export settings determine the encoded result. Use the CapCut export settings guide when the destination has specific resolution, frame-rate or format requirements.
Quick answers
Where is the playhead in CapCut?
It is the timeline's current-position marker, usually shown as a vertical line with a handle or time indicator. On some Mobile layouts the marker stays near the center while the timeline moves beneath it.
Does moving the playhead change the video?
Moving it alone does not cut, delete or export anything. It changes the current timeline position and preview. An editing command may then use that position.
Why did CapCut split in the wrong place?
The marker may have been on a nearby frame, snapping may have pulled it to an edge, or a different clip was selected. Undo, zoom in, reposition the playhead, verify the selection and split again.
Is a playhead the same as a scrubber?
The terms are often used together. The playhead is the current-position marker; scrubbing is the act of moving through the timeline to preview different moments.
Editorial basis: this guide was checked against CapCut's current official instructions for basic editing, splitting, online trimming, Desktop editing and keyframes on September 20, 2026. Controls can vary by platform, account, region and app version, so the labels visible in your editor take priority when they differ.