

To remove the yellow line that follows your mouse across the CapCut Desktop timeline, turn off Preview Axis in the toolbar above the timeline, near the zoom controls. Click the same control to bring hover preview back. If your shortcut layout assigns S to Preview Axis, that key toggles it too, provided you're working in the timeline rather than typing in a text field.
I'd use the visible button first, because it identifies the setting without changing your editing tools. Turning off hover preview leaves the project intact. You don't need to delete a clip, buy a plan or reinstall CapCut to hide this interface line.
Find the Preview Axis button
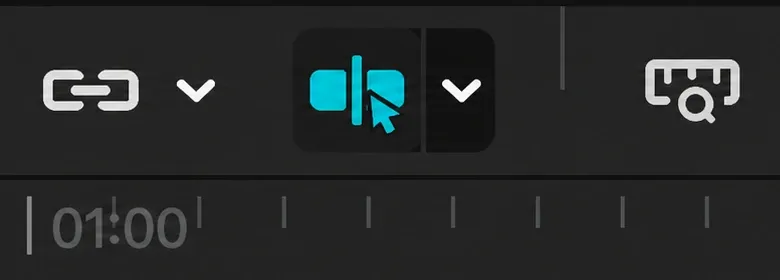
Open a project in the Windows or Mac desktop editor and look at the right-hand end of the toolbar immediately above the timeline. Preview Axis sits among the timeline controls near Zoom to fit and the zoom slider. Its position can shift with the layout, so hover over the icons and read the tooltip before clicking.
The control is visible in Rough Cut Media's timeline walkthrough, alongside snapping, linkage and zoom. Its accompanying text calls it “Preview Access”; the setting you're looking for is Preview Axis. Identify it by the tooltip and its hover-preview behavior, not by the article's typo.
- Pause playback and move the mouse over the timeline. Confirm that the unwanted line follows the pointer.
- Hover over the toolbar icons near the timeline zoom controls until the tooltip identifies Preview Axis.
- Click that control once.
- Move the pointer across the clips again. With hover preview off, the following yellow line should disappear and simply hovering should stop changing the player frame.
- Click a timeline position or move the playhead when you want to choose a frame deliberately.
If you wanted to restore the line instead, use the same button and move the pointer back over the footage. There isn't a separate restore command. On lets you skim by hovering; off removes that hover behavior.
What the yellow line does, and what it doesn't
Preview Axis lets you inspect footage by moving the mouse over the timeline. The player follows the hovered moment so you can look through a shot without repeatedly dragging the main playhead. The firsthand timeline-control explanation describes this mouse-driven preview separately from the selection, split, snapping and zoom controls.
The yellow hover line and the playhead can make the editor feel as if it has two competing positions. That's why the picture may change when you move the mouse even though you haven't intentionally chosen another editing point. Move the pointer out of the timeline, then check the playhead and current-time display before making a precise edit.
| What you see | What it means | What to change |
|---|---|---|
| A yellow line follows the mouse; the player changes as you hover | Preview Axis is active | Toggle Preview Axis |
| A position marker stays at a chosen time or advances during playback | The main playhead | Move the playhead when choosing an editing point |
| Clicking a clip repeatedly cuts it | A cutting tool is active | Return to the selection tool |
| Clip edges pull toward nearby boundaries while you drag | Snapping or main-track magnet behavior | Check the relevant snapping control |
| A line appears inside the actual picture in a separate video player | The line is in the exported picture or playback path | Inspect the source, layers and export separately |
Our playhead guide covers choosing frames and placing edits. If you want to leave a note at a moment rather than preview it temporarily, use timeline markers. Neither task requires leaving the yellow hover line enabled.
Use the S shortcut without changing text
S is a commonly documented Preview Axis toggle in the desktop layout. The missing-yellow-line discussion includes both the toolbar location and reports of using S to switch it on and off. It's a useful shortcut once you've confirmed the assignment in your own editor.
First finish typing in any text layer, search box or naming field. Give the timeline focus without making a destructive edit, then press S once and move the pointer across a clip. If the line switches state, you have the right shortcut. If nothing happens, use the visible control and check CapCut's Shortcuts panel for Preview Axis rather than trying a series of unrelated keys.
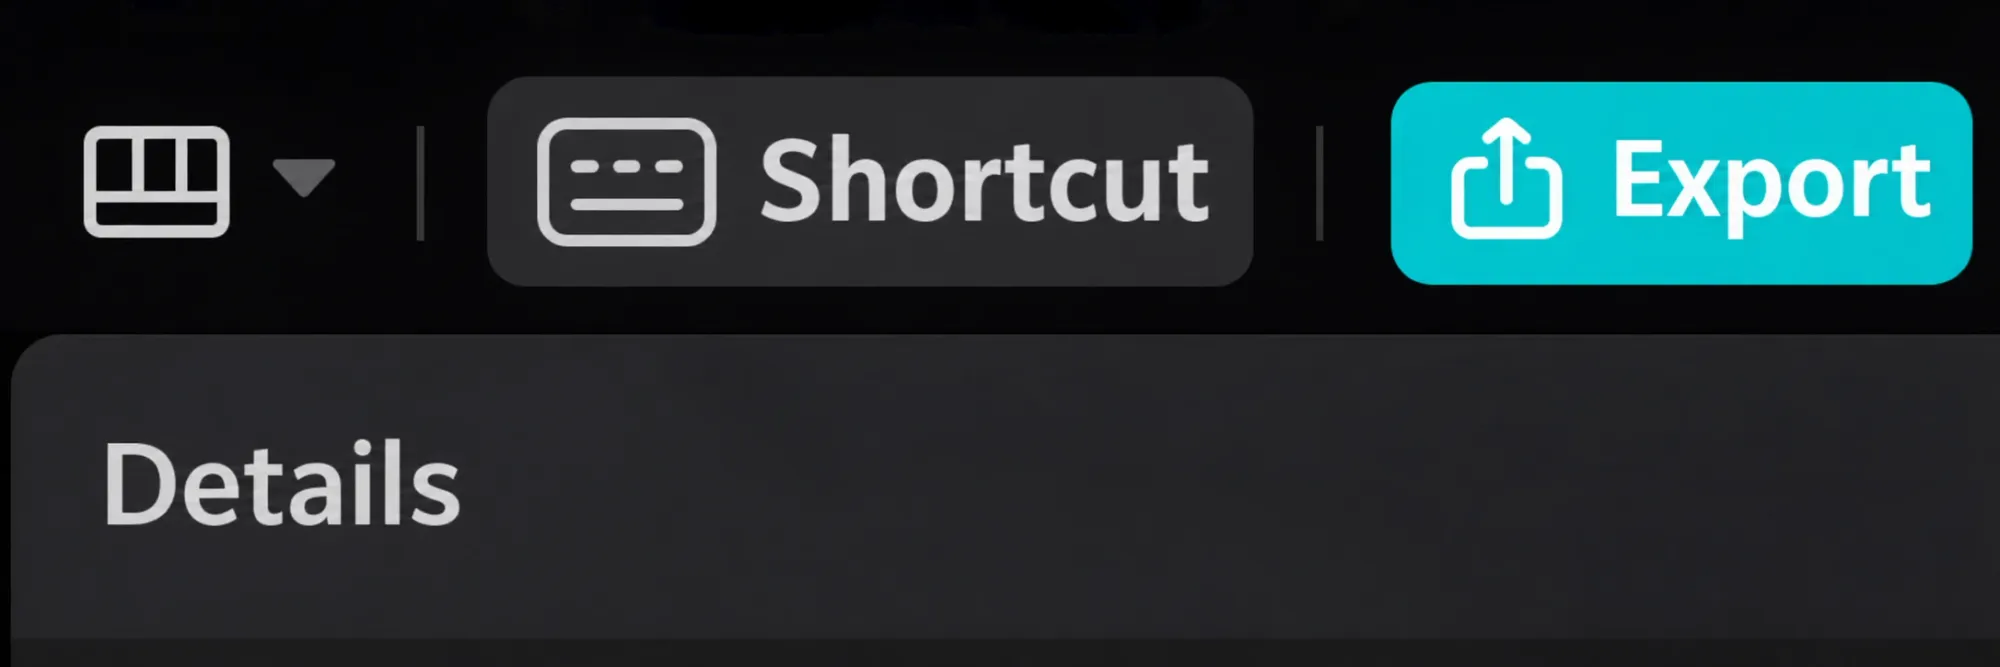
Custom keyboard layouts and changed assignments can make a remembered key unreliable. The CapCut keyboard shortcuts guide explains how to check the active map. Treat the command name as the reference, not an old shortcut list from another computer.
Don't use A or B as substitutes for Preview Axis. Those keys are associated with selection and cutting in common desktop layouts. A preview setting and a cutting tool answer different questions: one changes how you inspect footage, while the other changes what a click does to a clip.

The yellow line disappeared and won't come back
Check where you're moving the pointer before changing anything else. Hover preview needs a timeline area containing footage to preview. Moving over the media library, a text-entry field or an empty part of the workspace isn't the same check.
Use this order:
- Open the working project and pause playback.
- Find Preview Axis by its tooltip and switch it on with the button.
- Move the pointer over a visible video clip. Look for both the following line and the corresponding change in the player.
- If the player changes but the line is hard to see, zoom the timeline and inspect a less crowded area before concluding the command failed.
- If neither changes, check the active window and keyboard focus, then toggle the visible button off and on once more.
If the toolbar is cramped, enlarge the CapCut window or adjust the timeline area so you can inspect its right-hand controls. Don't toggle linkage or the magnet at random just because their icons are nearby. They affect how clips behave during editing, so changing them can introduce another problem while leaving Preview Axis untouched.
If the button changes state but the preview remains frozen, save the project and reopen the editor before considering more disruptive repairs. That separates a stuck interface from the setting itself. Keep a restorable project backup before clearing app data or resetting anything that could remove local work.
Will the yellow line appear in an exported video?
The Preview Axis line belongs to the editor's timeline interface. It isn't a video layer, so hiding it changes how you work rather than changing the footage you export. A screen recording of the whole editor can capture interface elements; a normal video export follows the project's video content.
If a line is visible inside your exported picture, open the exported file in a separate player and inspect the same frame. Then compare it with the original source clip and the layers at that moment in CapCut. A shape, text element, border, effect or line already present in the source requires a content fix. Preview Axis is the wrong control for that job.
If the separate file looks right but a screen recording contains the yellow line, record the intended video output rather than the entire editing interface. If the exported file itself is wrong, follow the export settings guide and inspect the content before changing encoding options.
Should you leave Preview Axis on?
I'd leave it off while placing precise cuts or adjusting keyframes, because an unintended hover preview can distract from the frame I'm choosing. Turn it on when quickly browsing a long shot is the useful part of the task. Neither setting improves the quality of the exported video.
This is a desktop mouse workflow. On iPhone or Android, don't hunt for a desktop Preview Axis button to fix a stationary timeline marker. Use the touch timeline to choose the frame you need, and keep the distinction between previewing a moment and selecting an object.
Once the line behaves as expected, return to the CapCut tutorial library for the editing step you were trying to complete. The right fix is a predictable preview, with the rest of the project still where you left it.